
Cog Hill Course #2 - Ravines
Hole-by-Hole Photos
Palos Park, Illinois • 18 holes • 100 photos
Hole 1
5 photos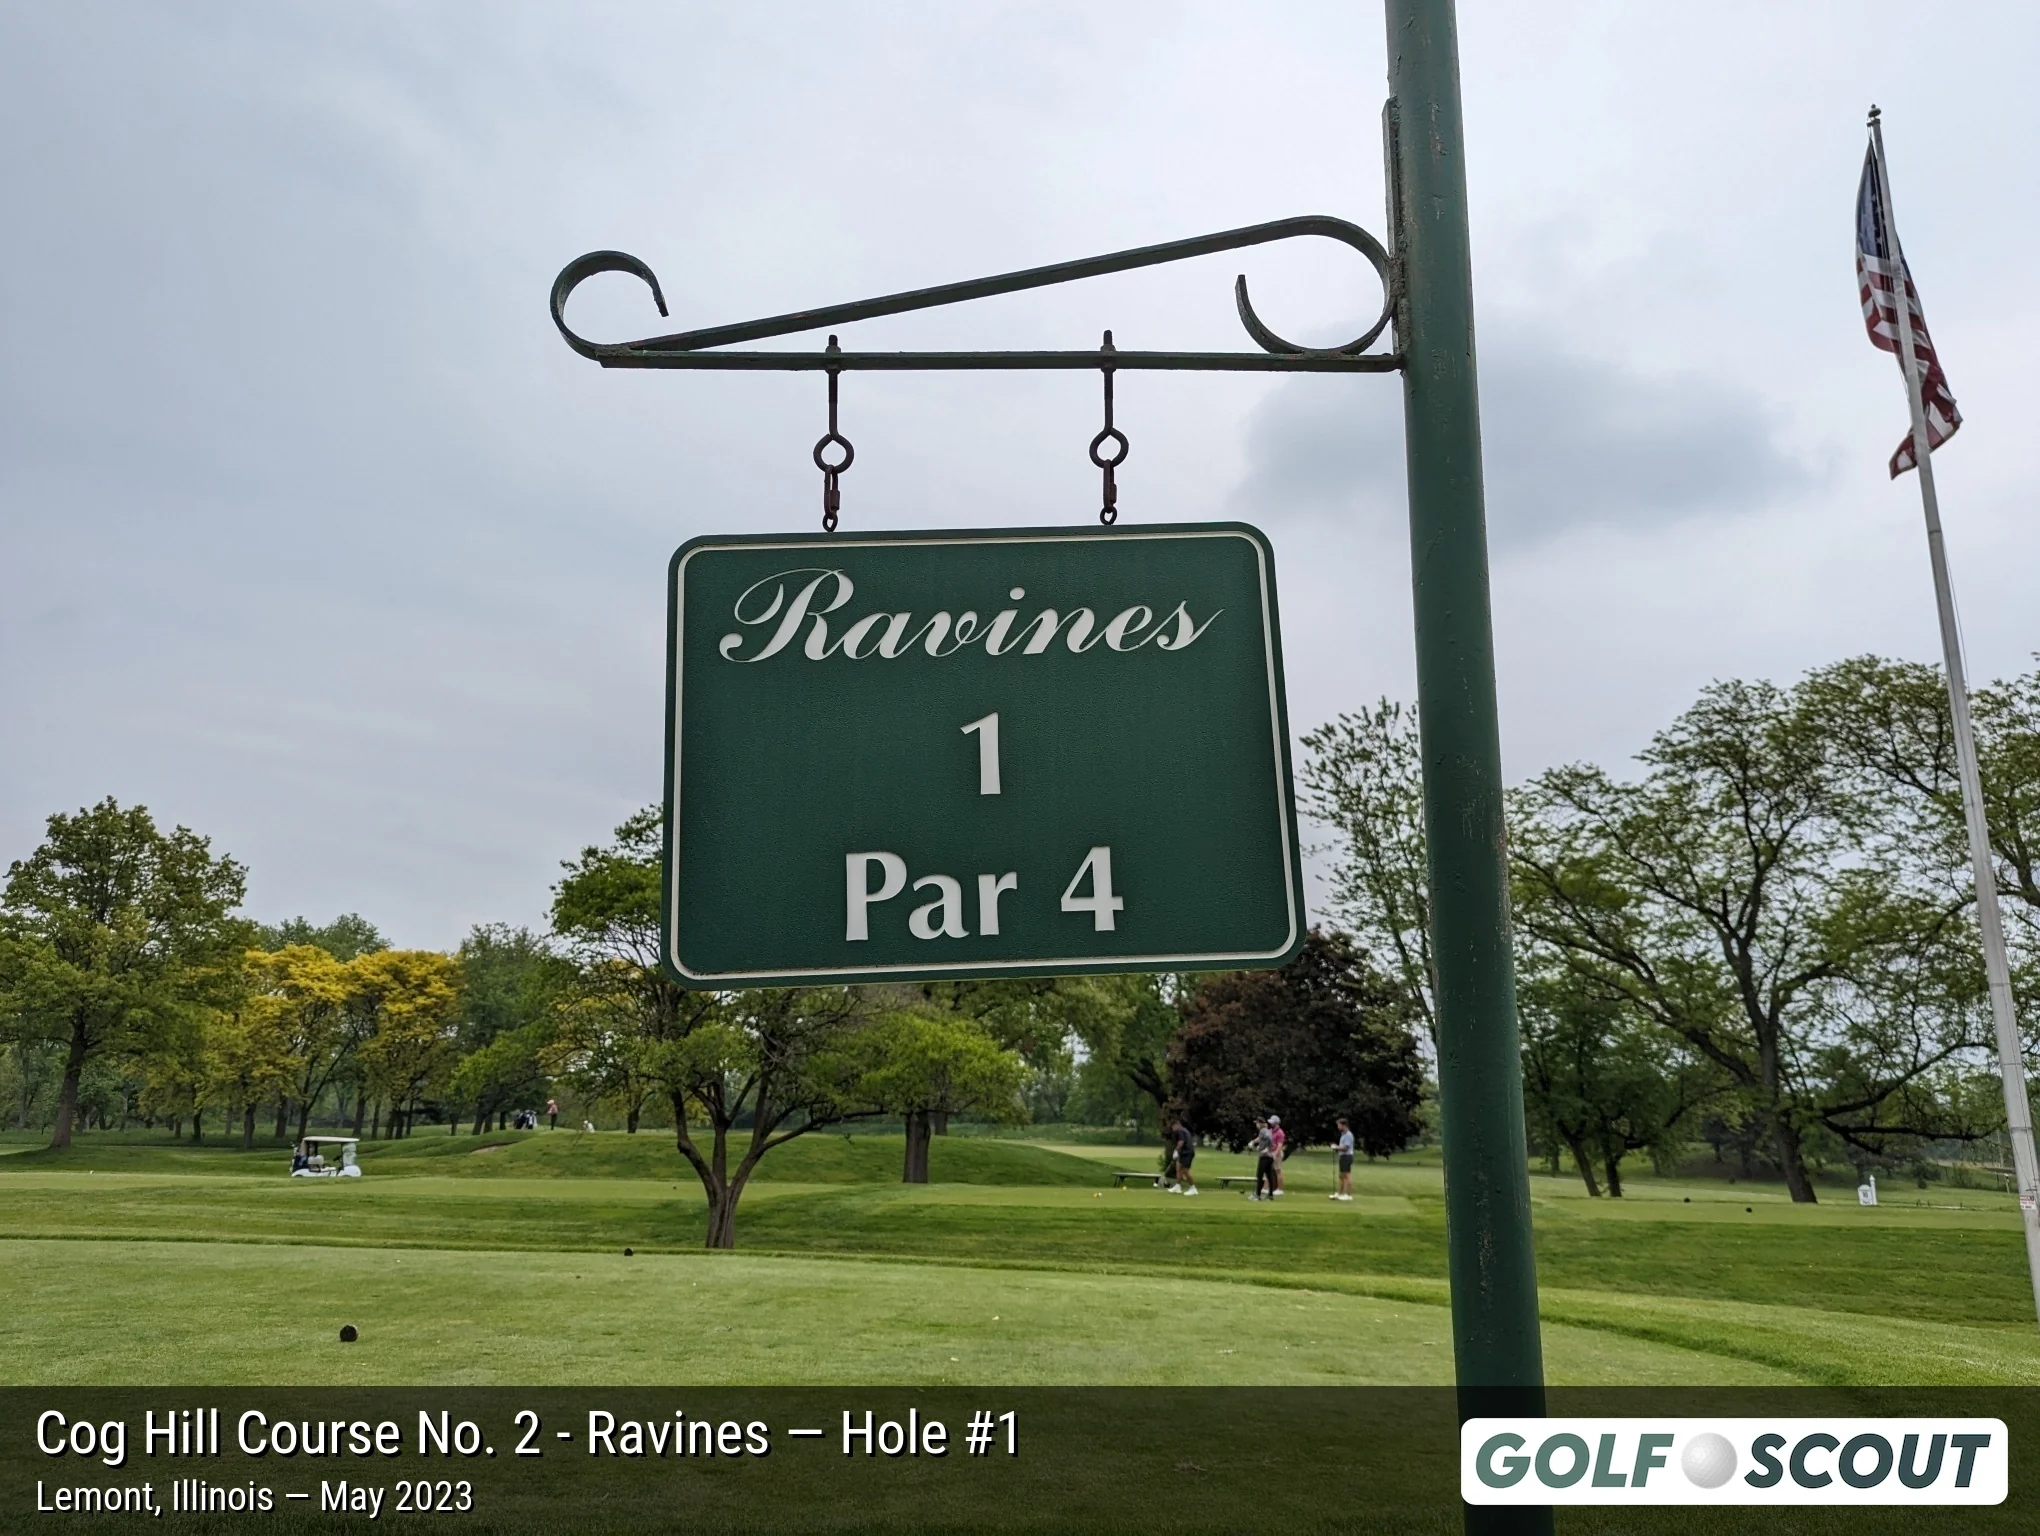
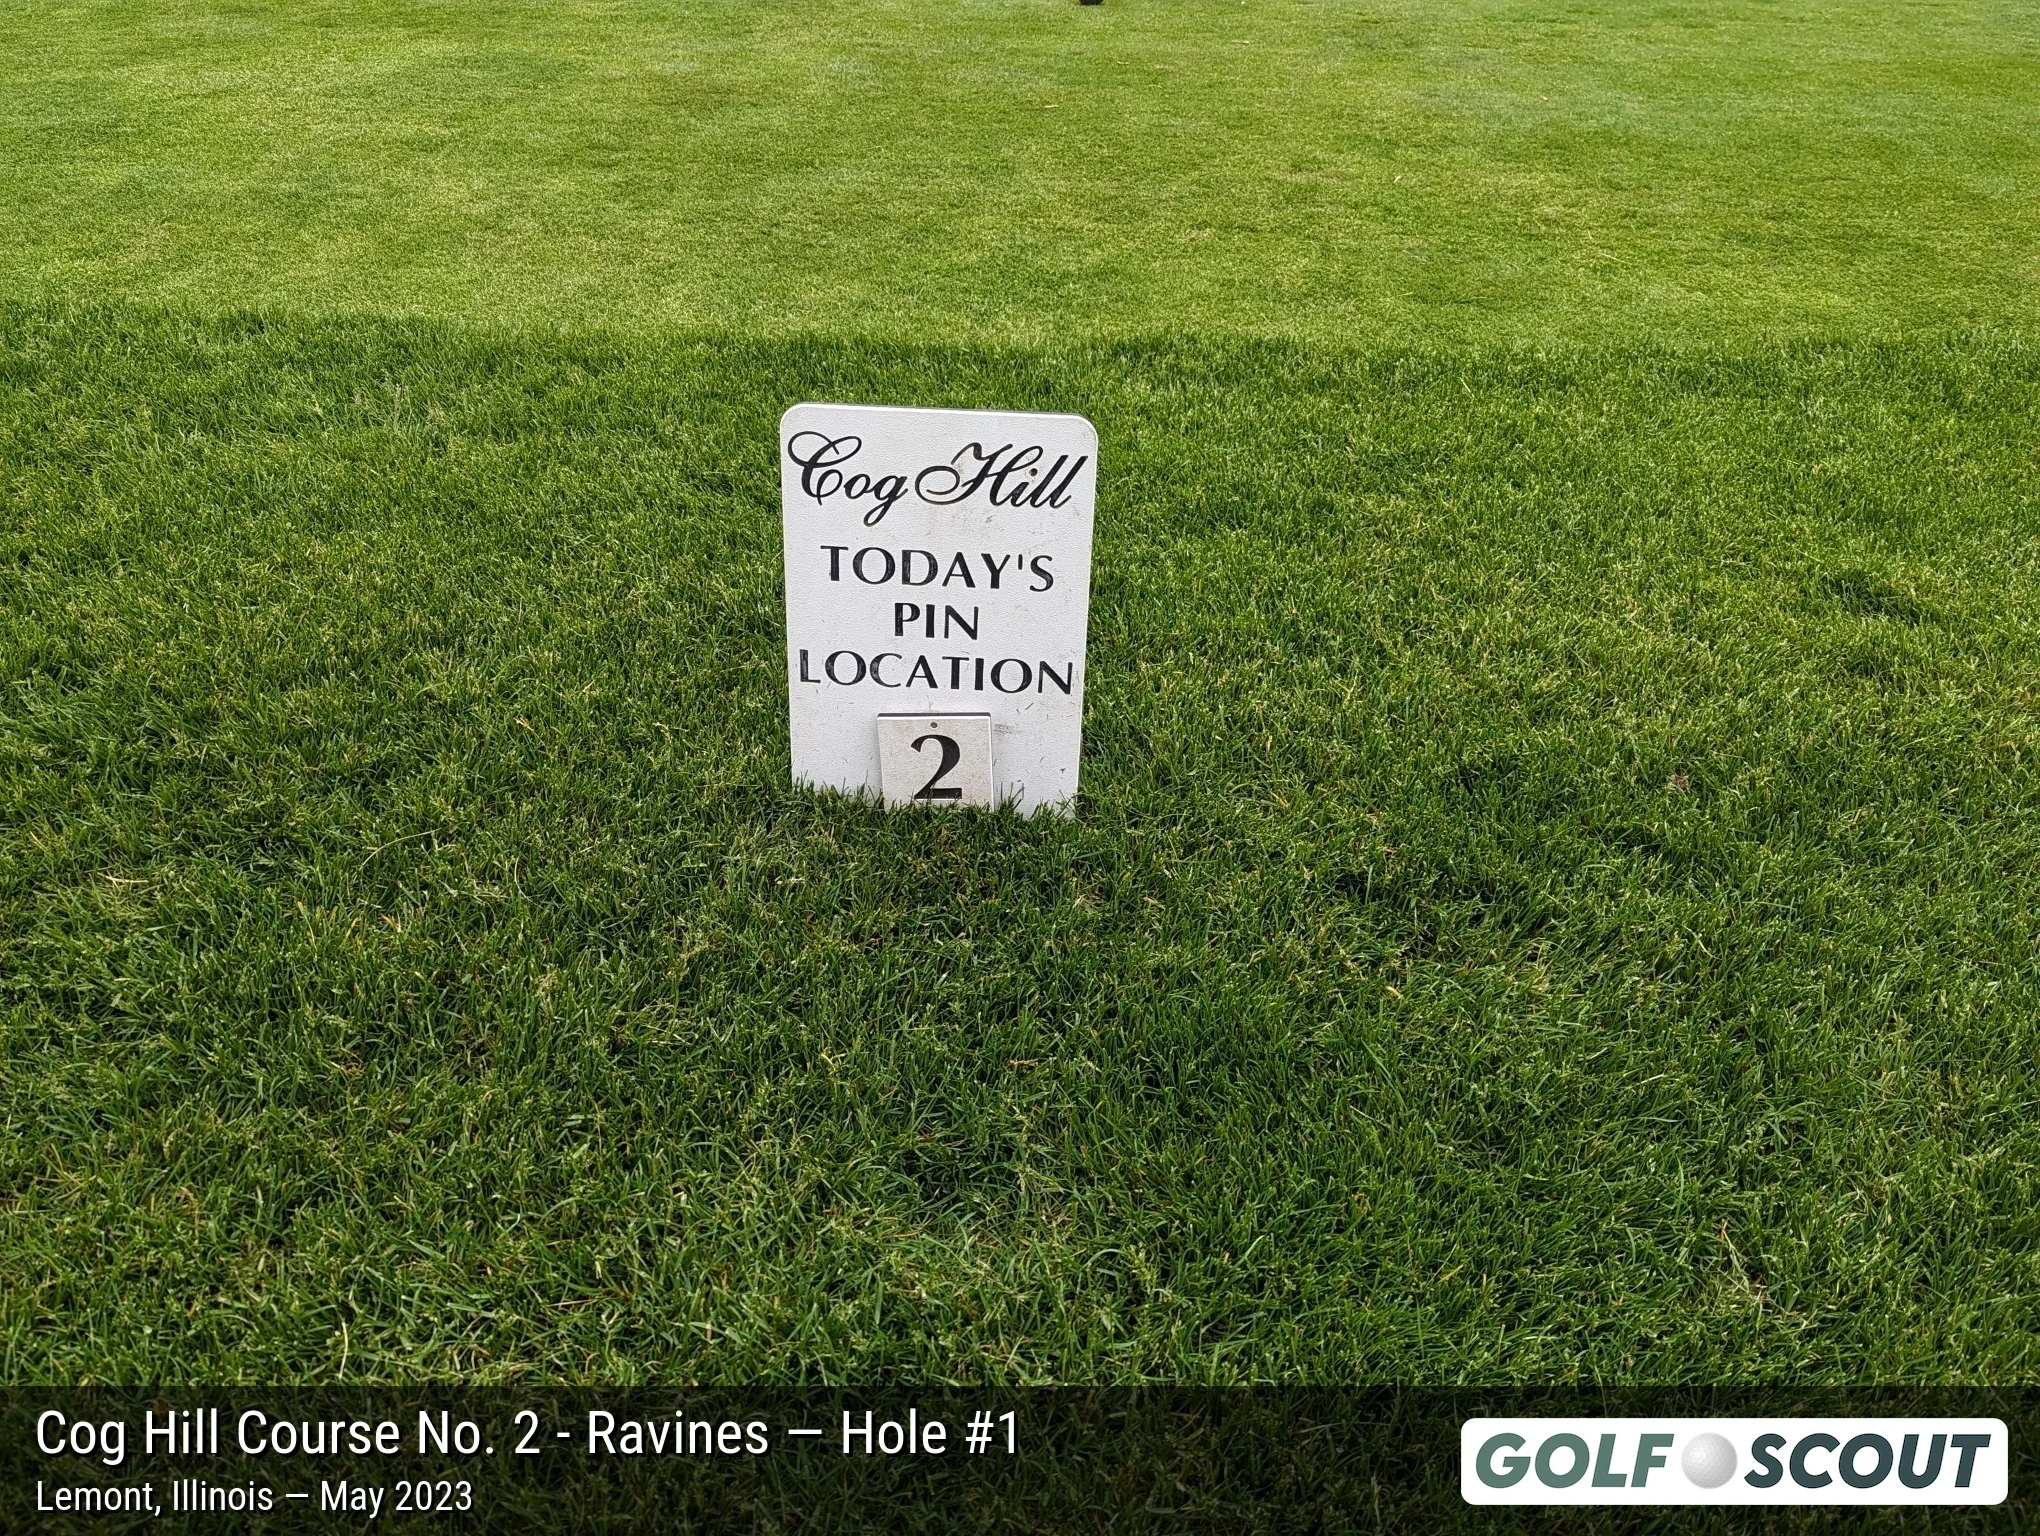
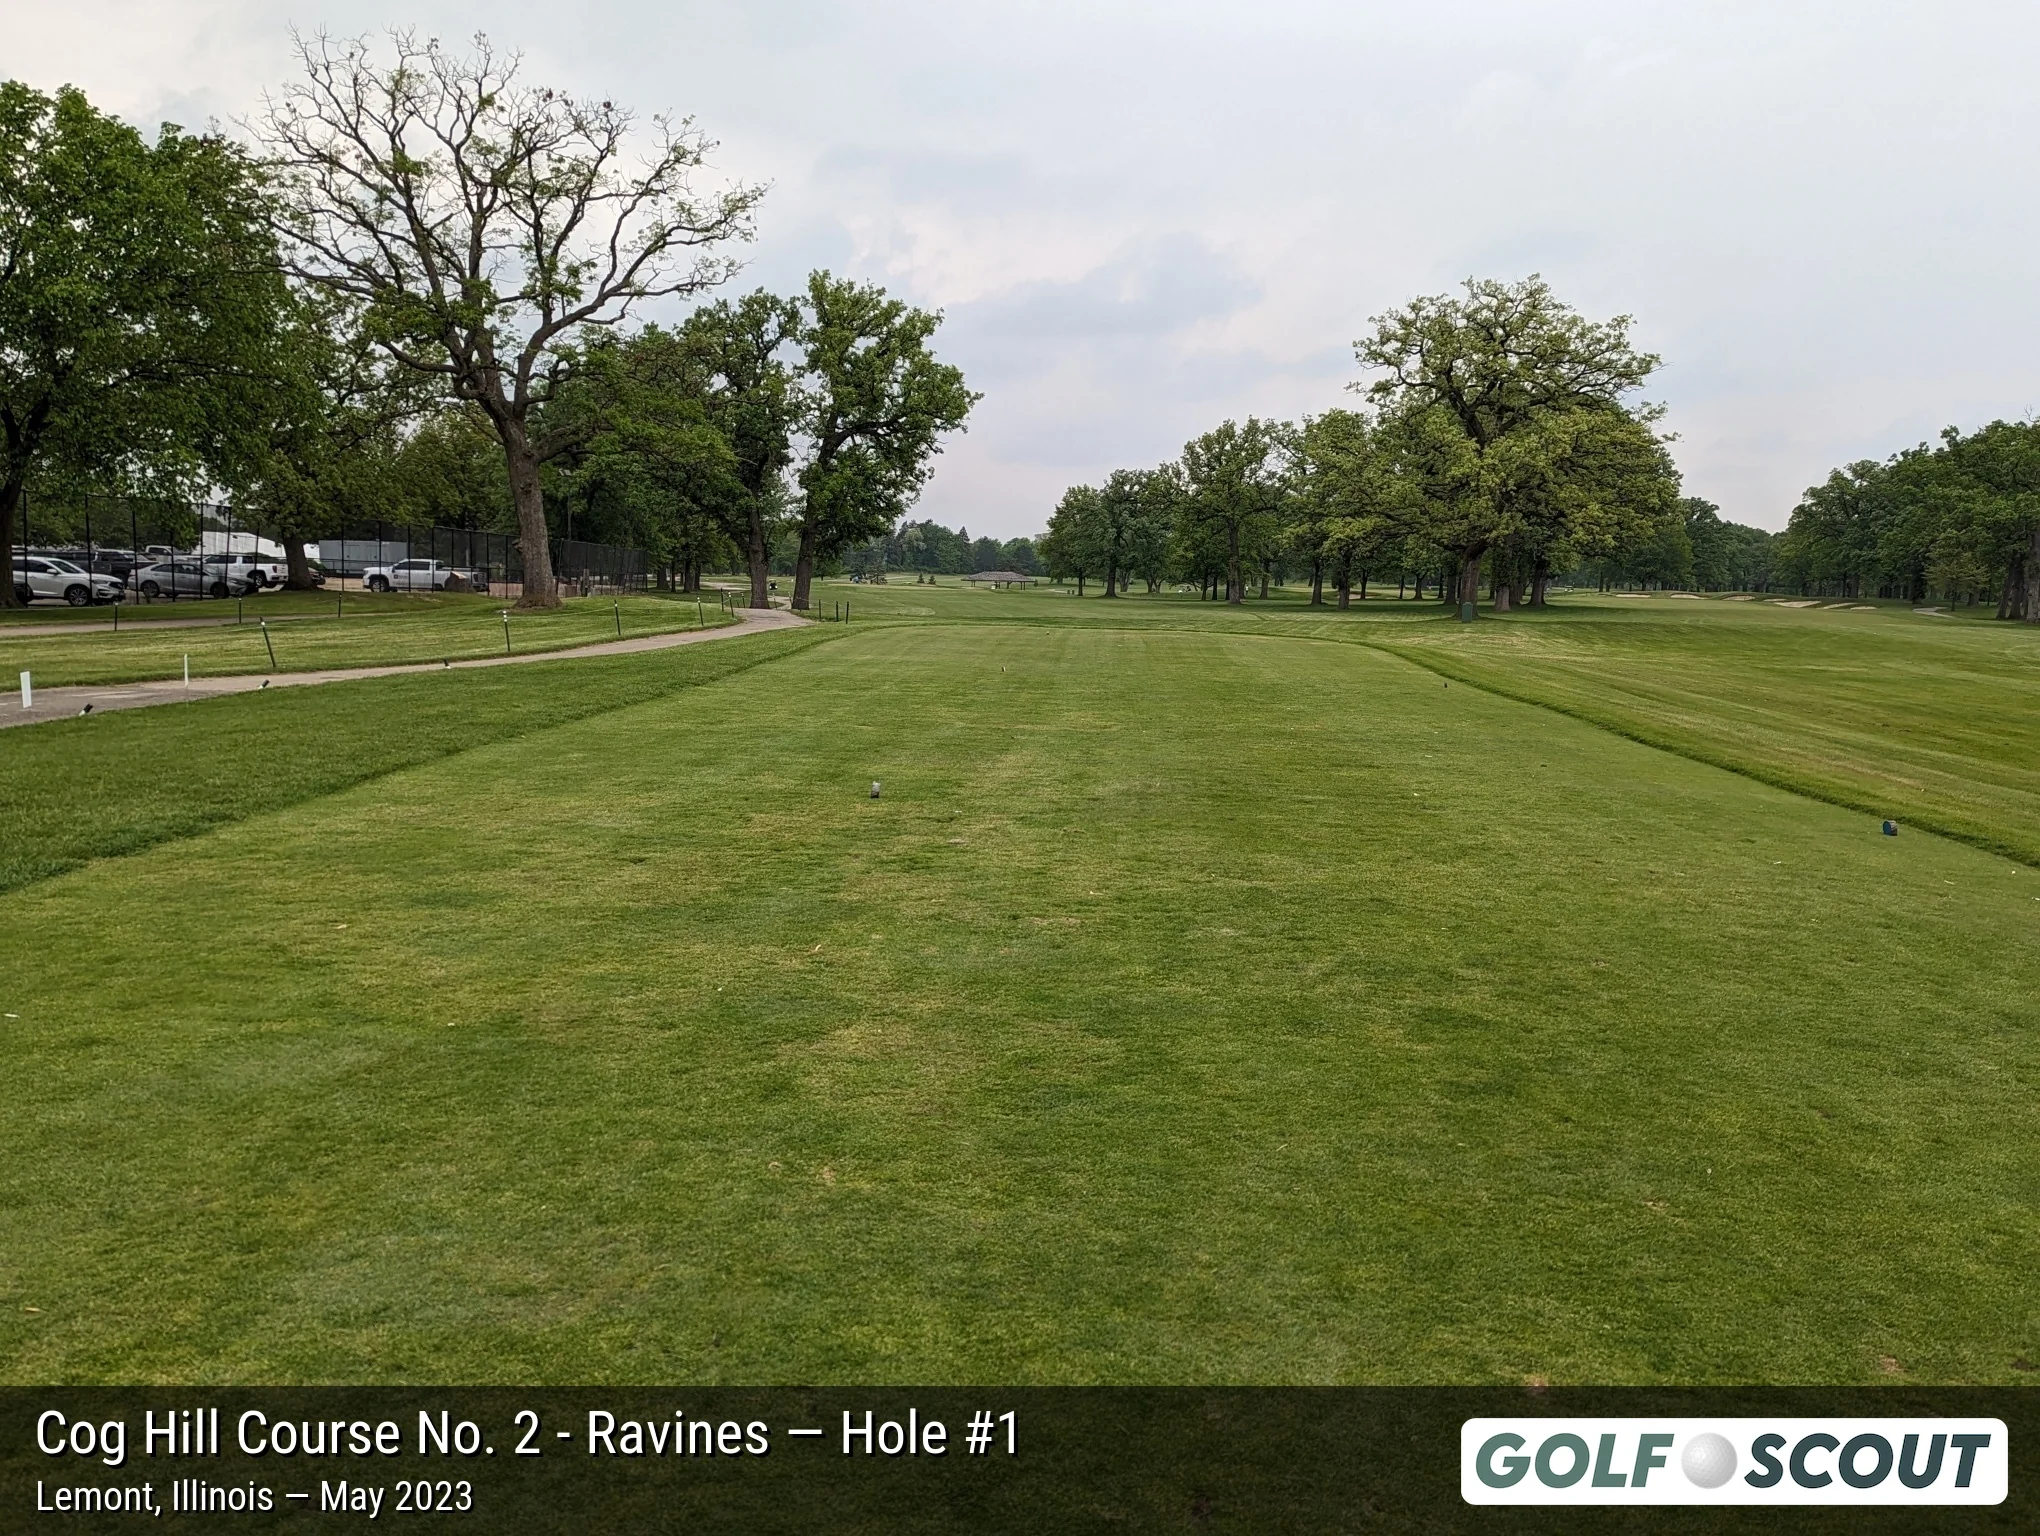
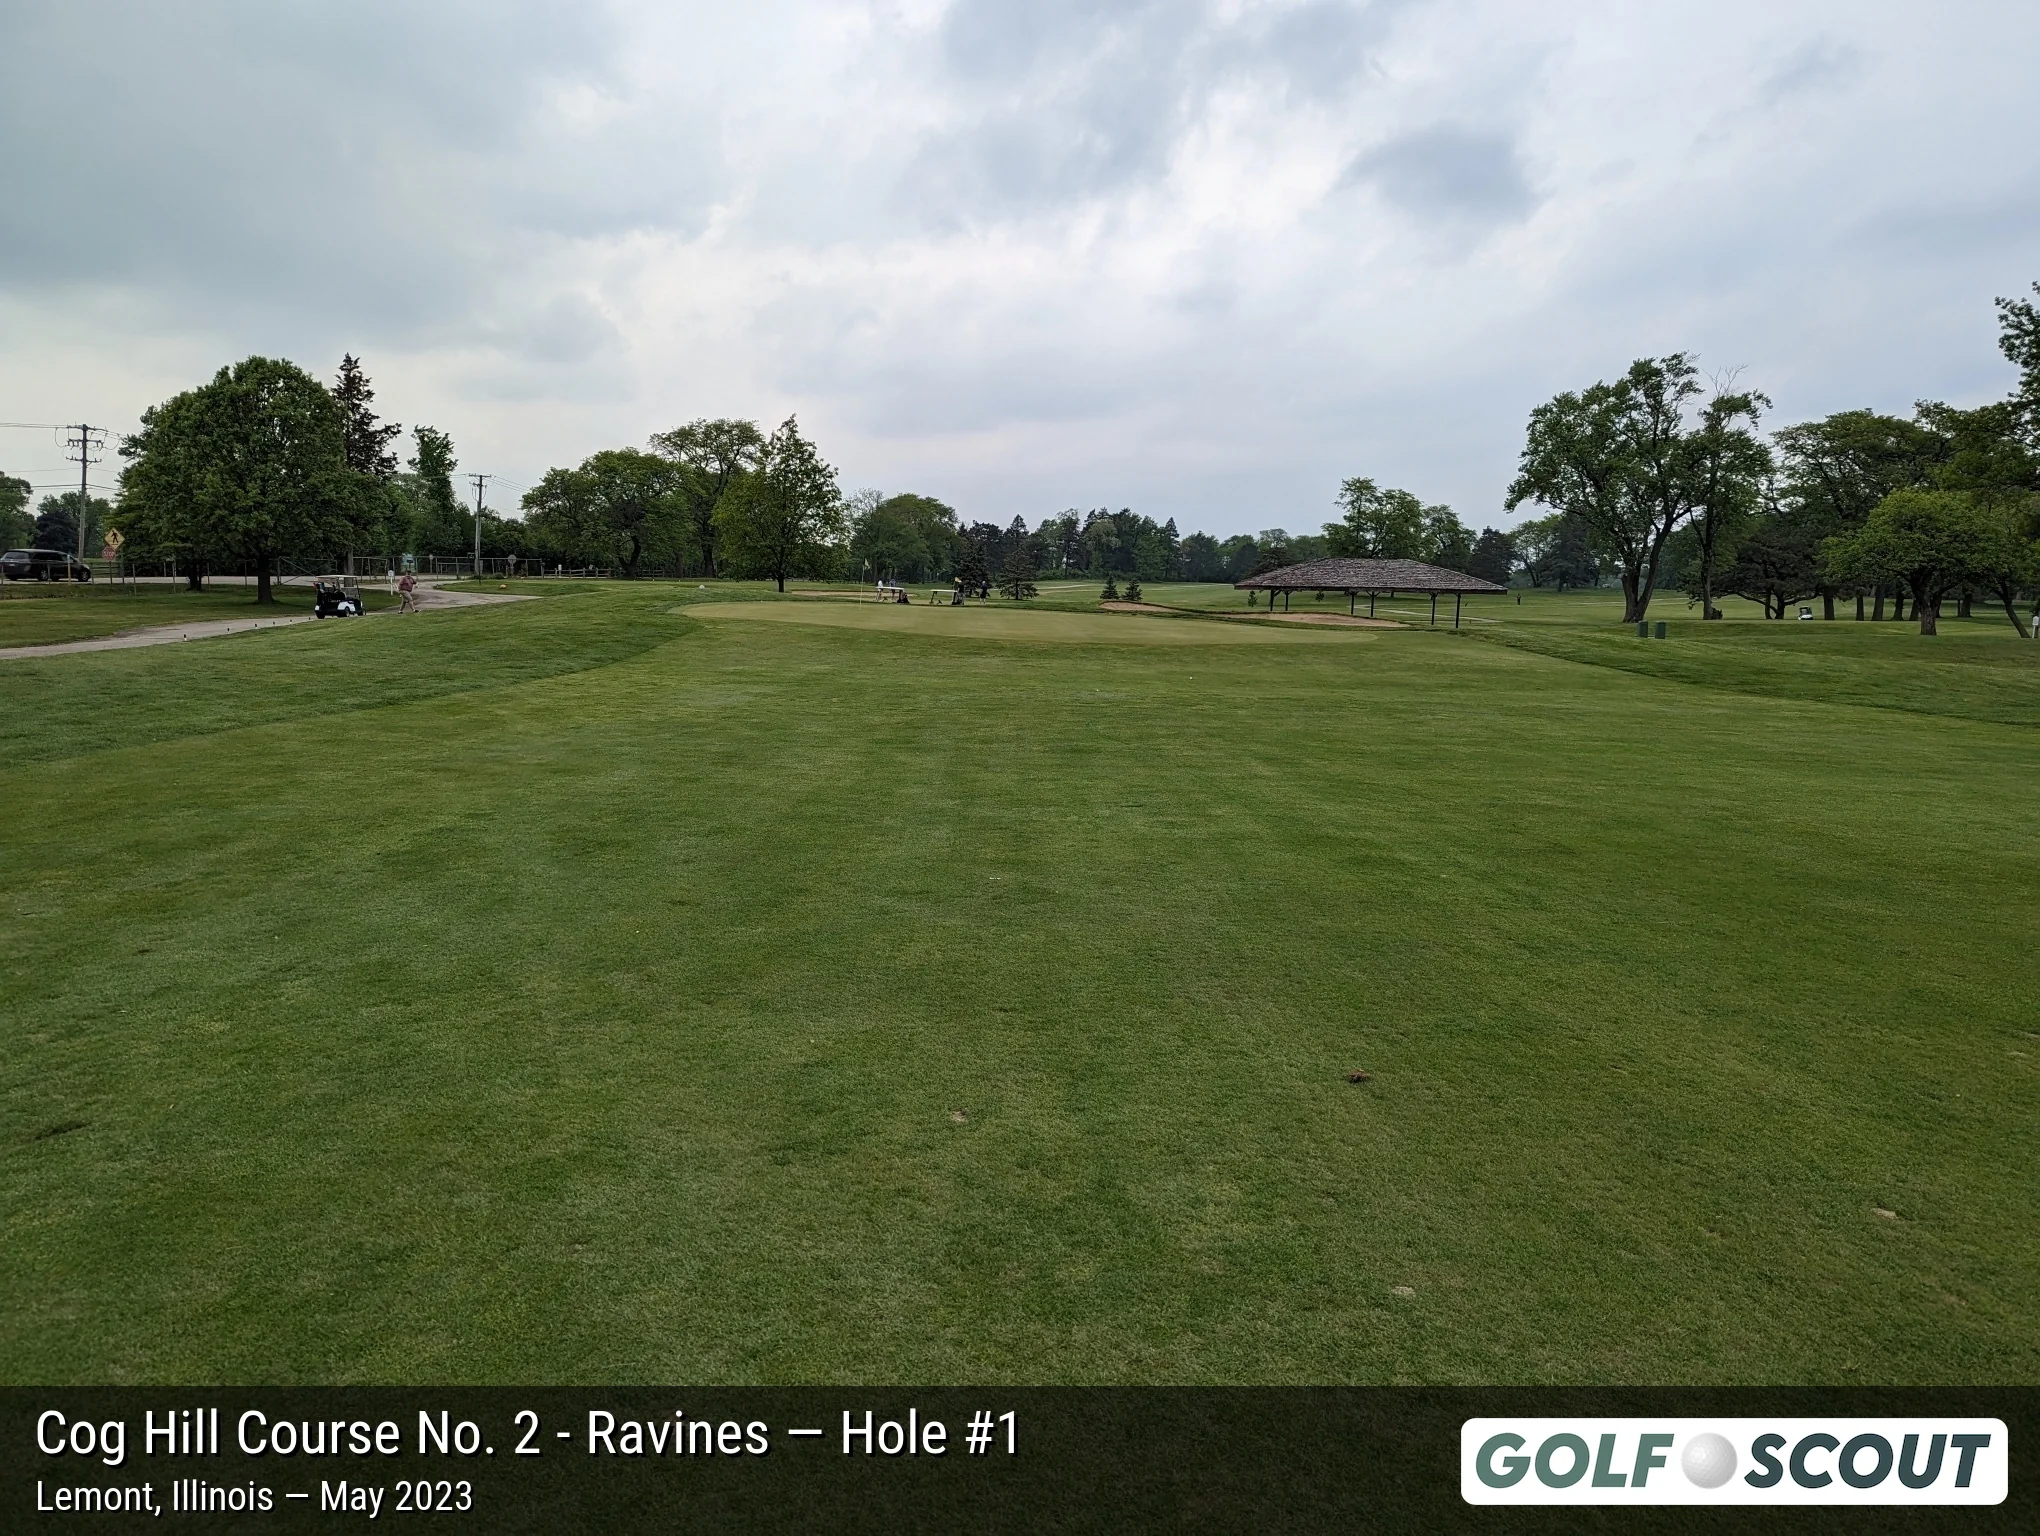
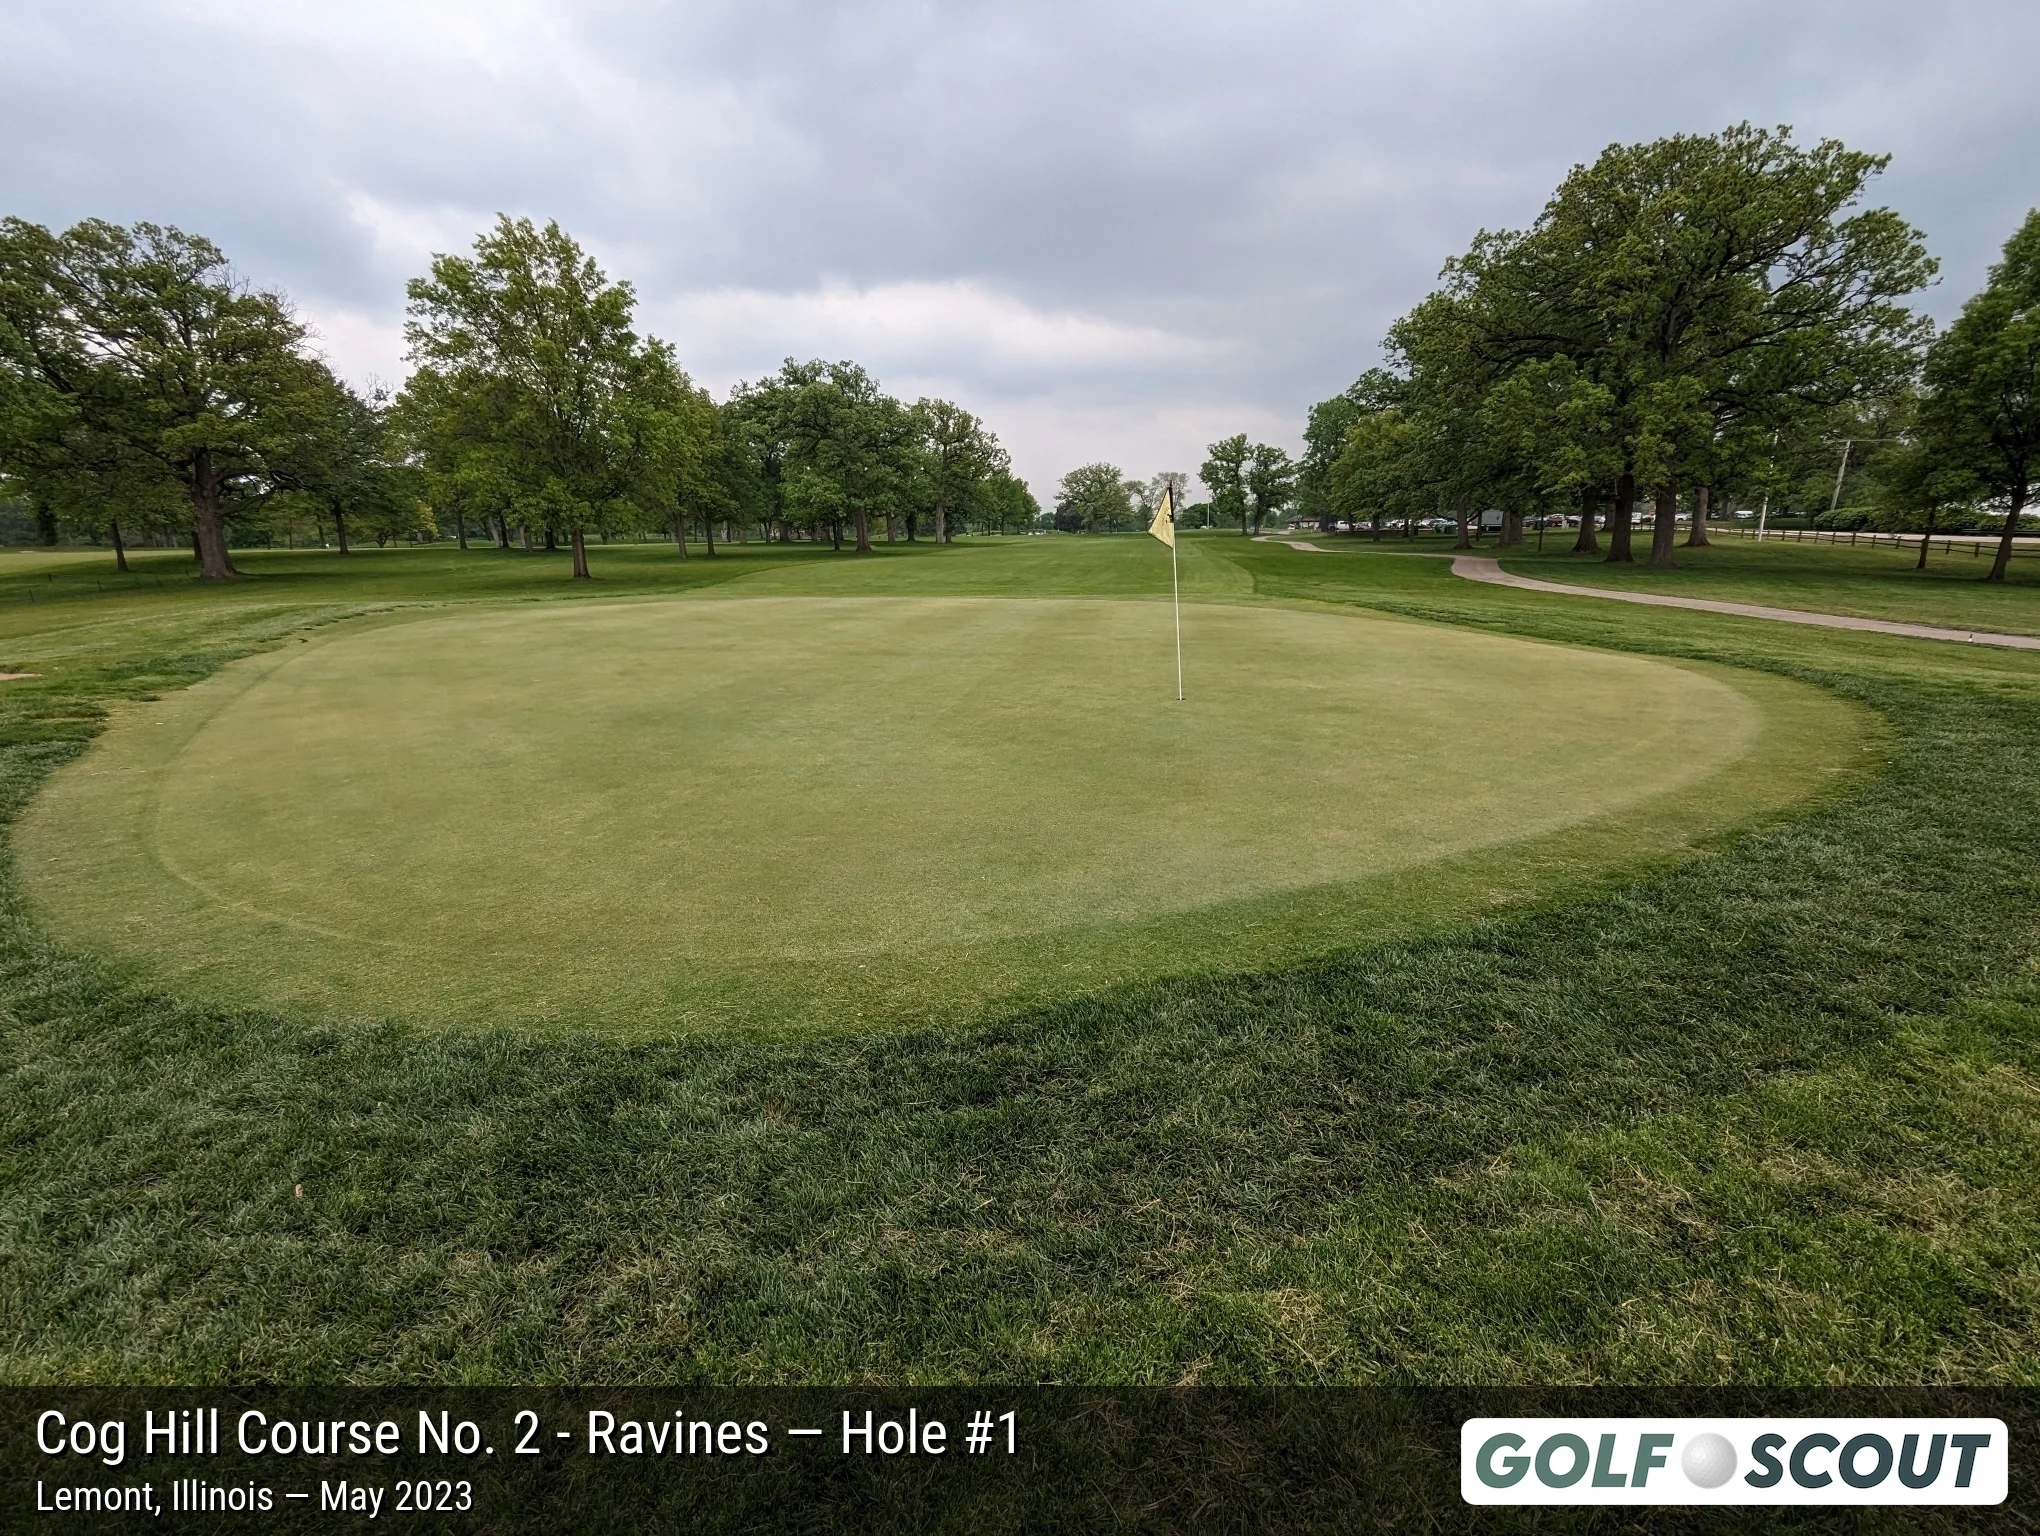
Last photo is typically a reverse angle from behind the green.
Hole 2
5 photos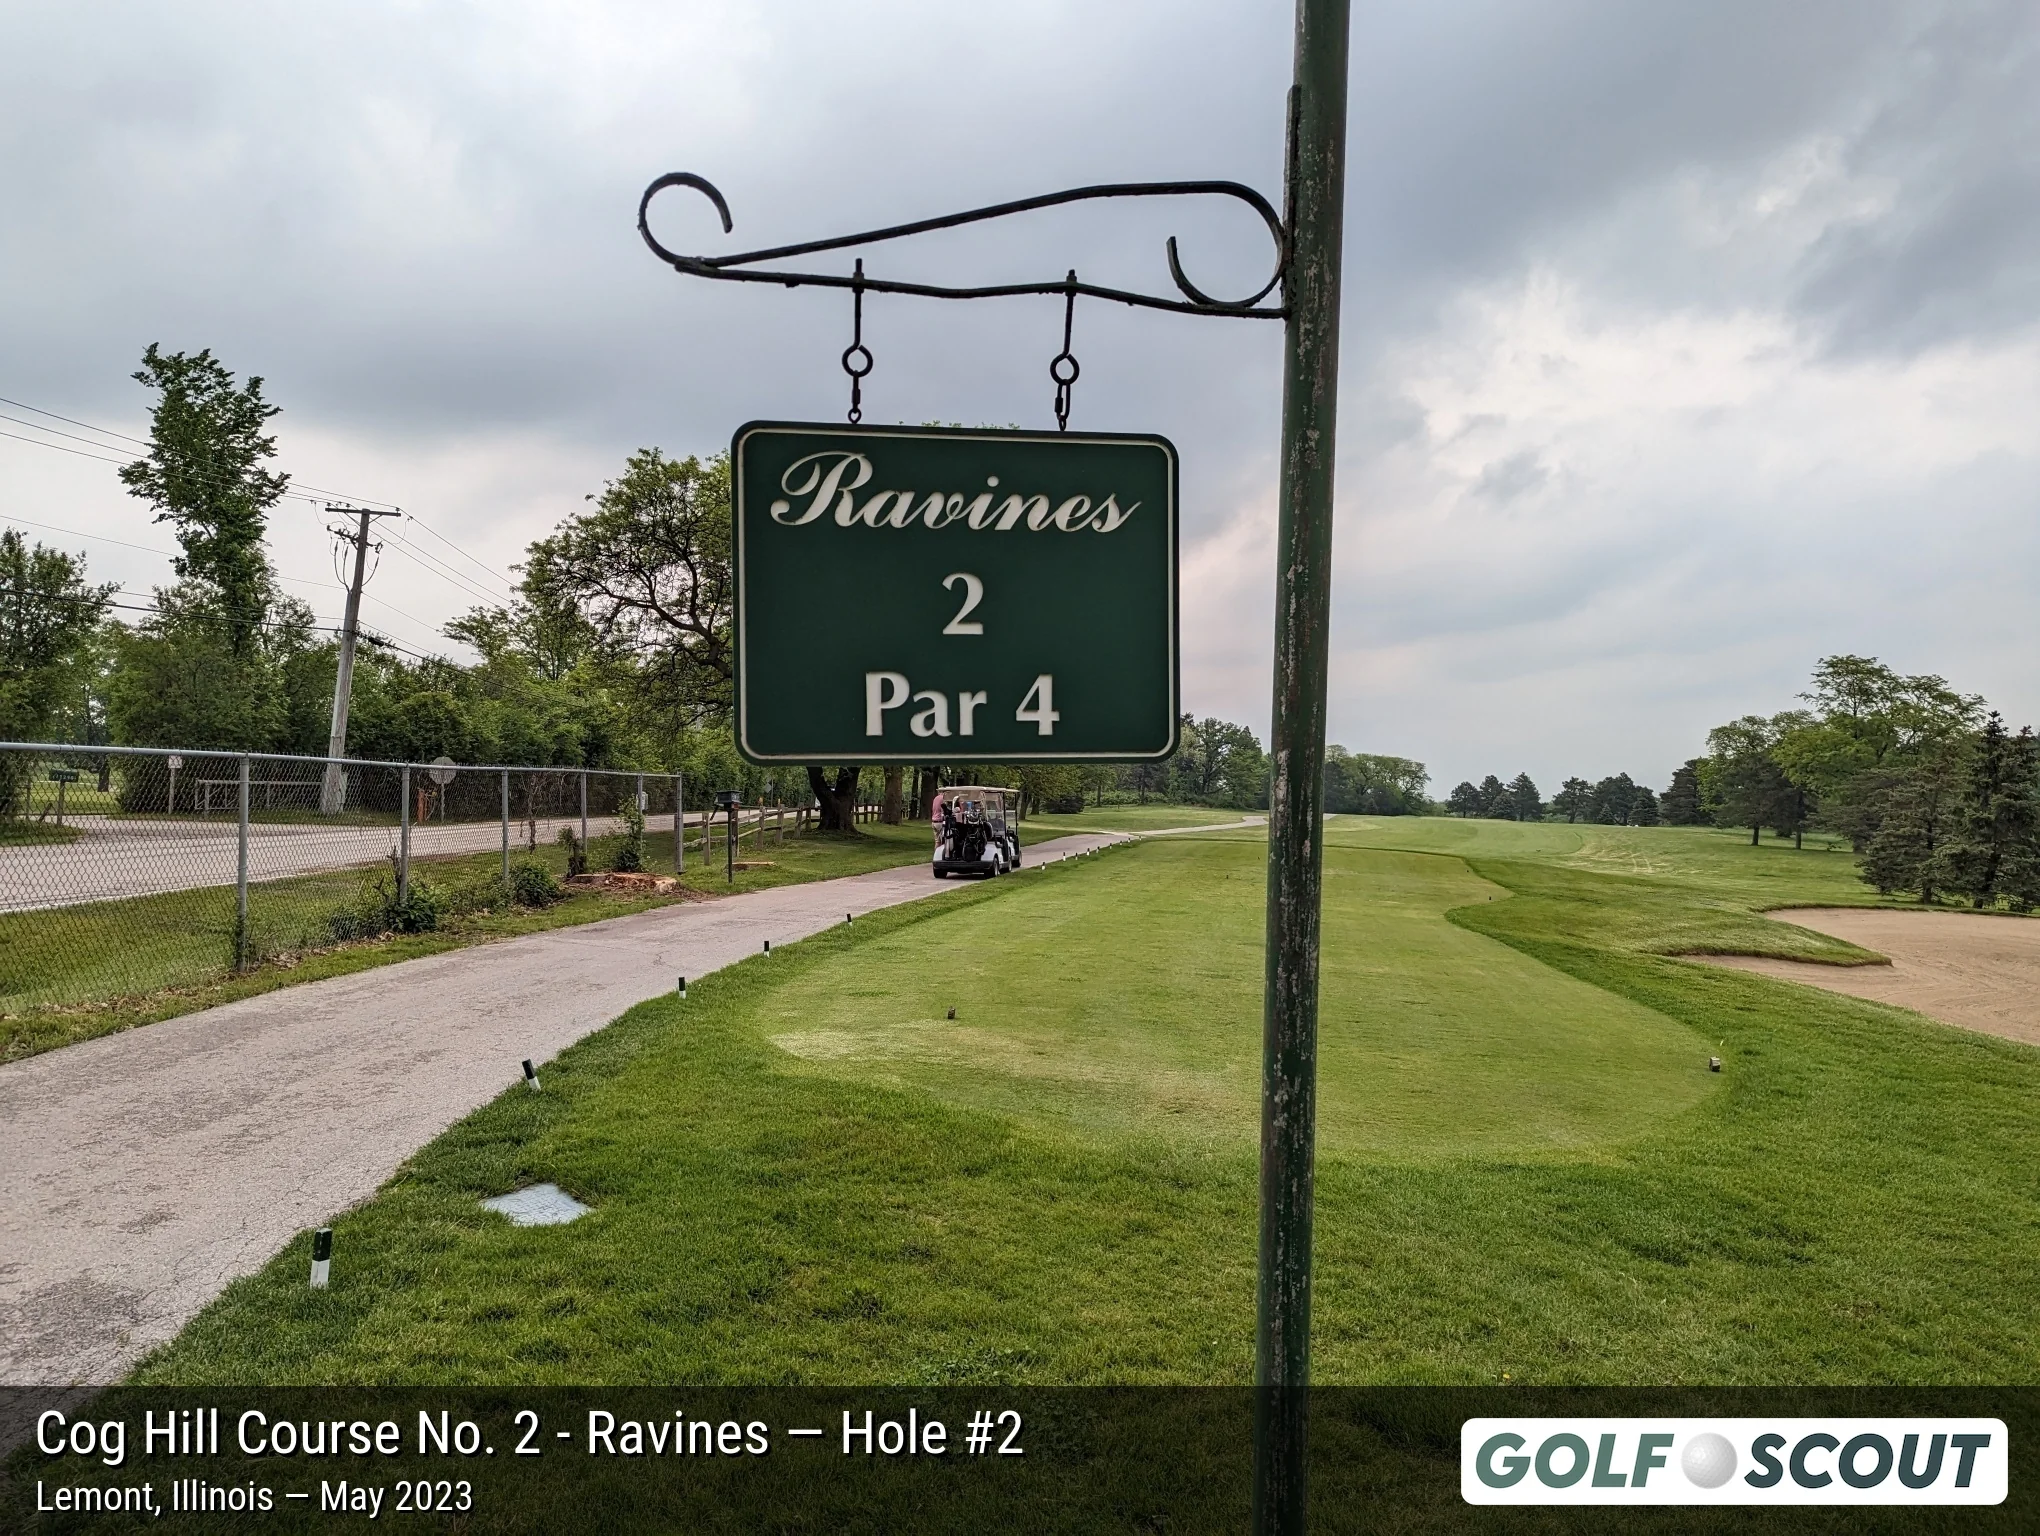
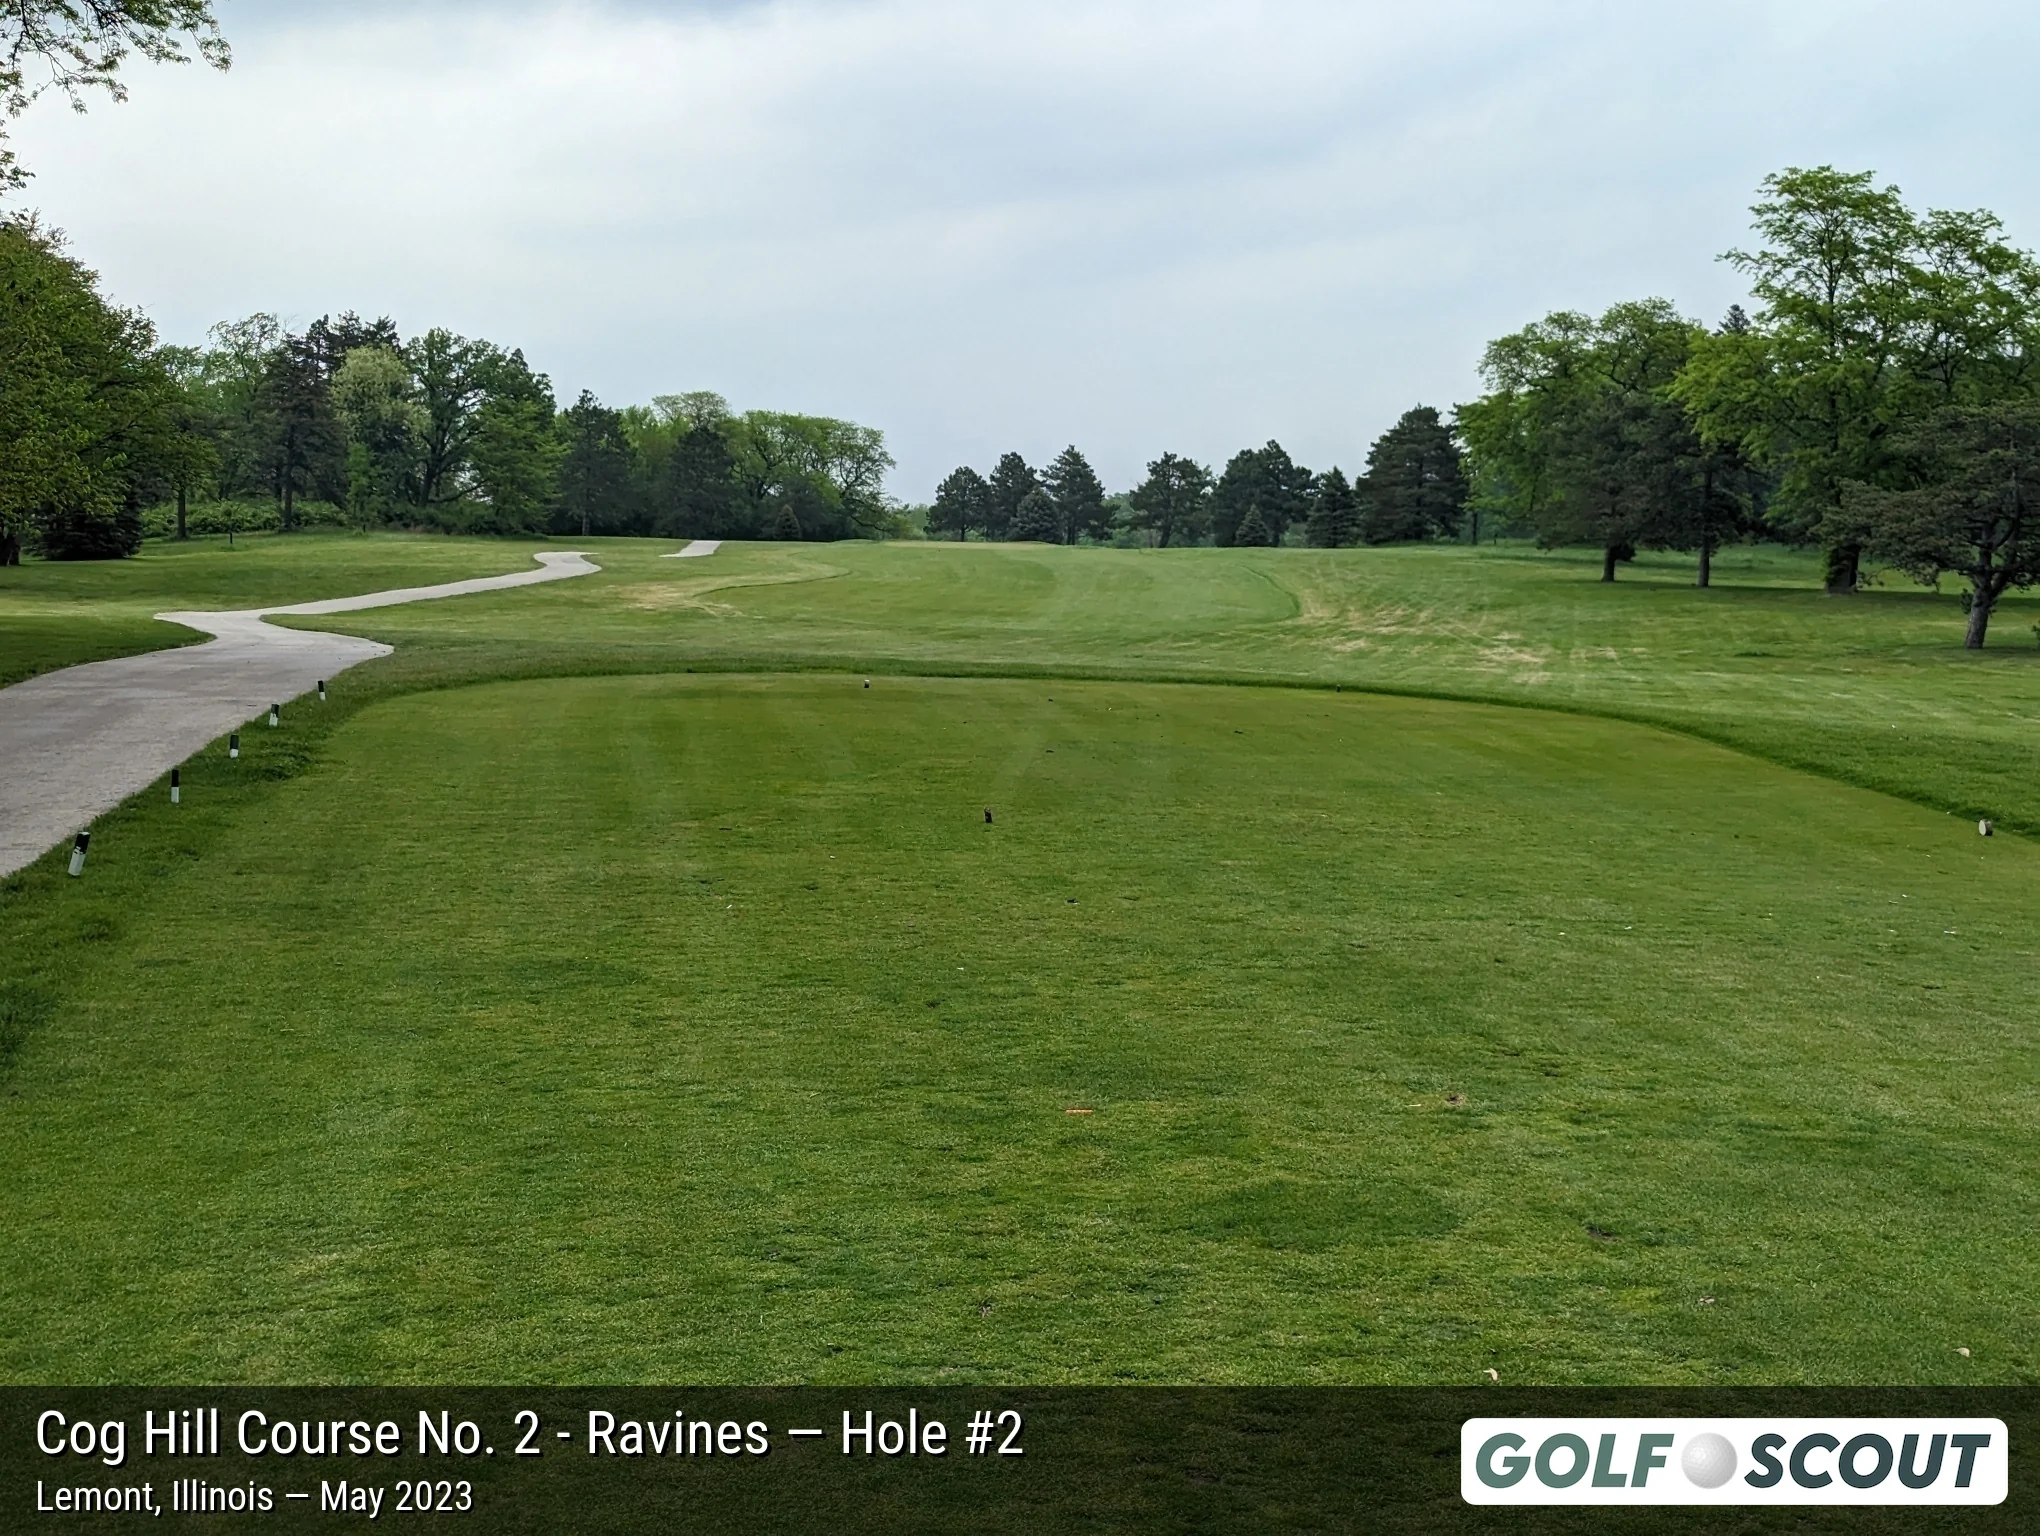
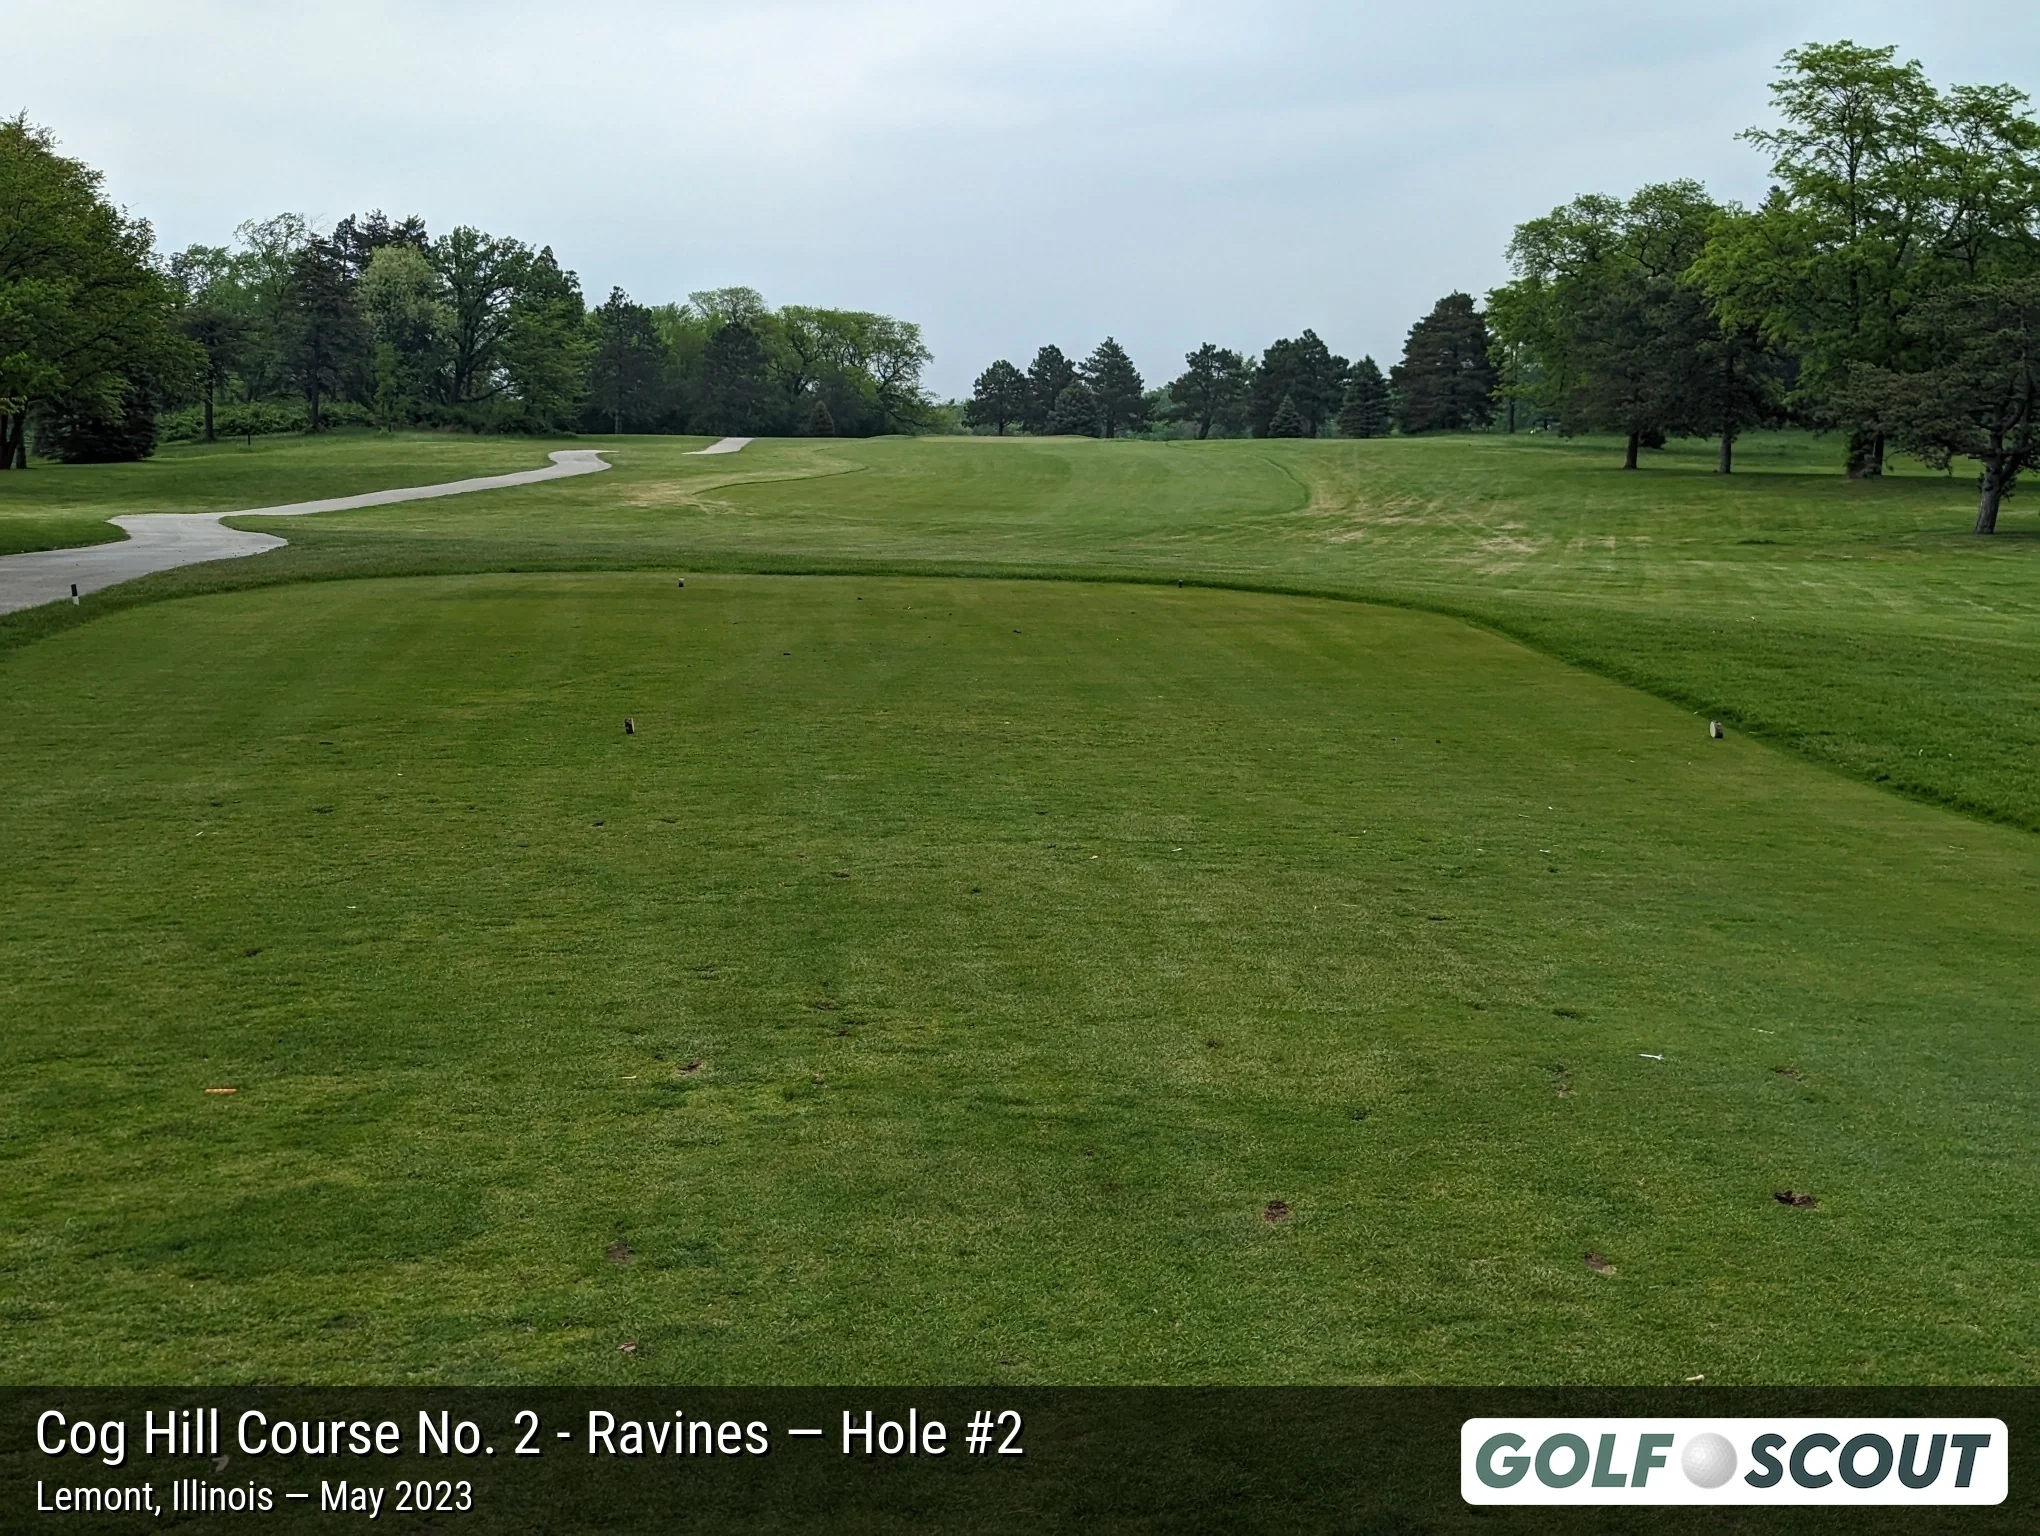
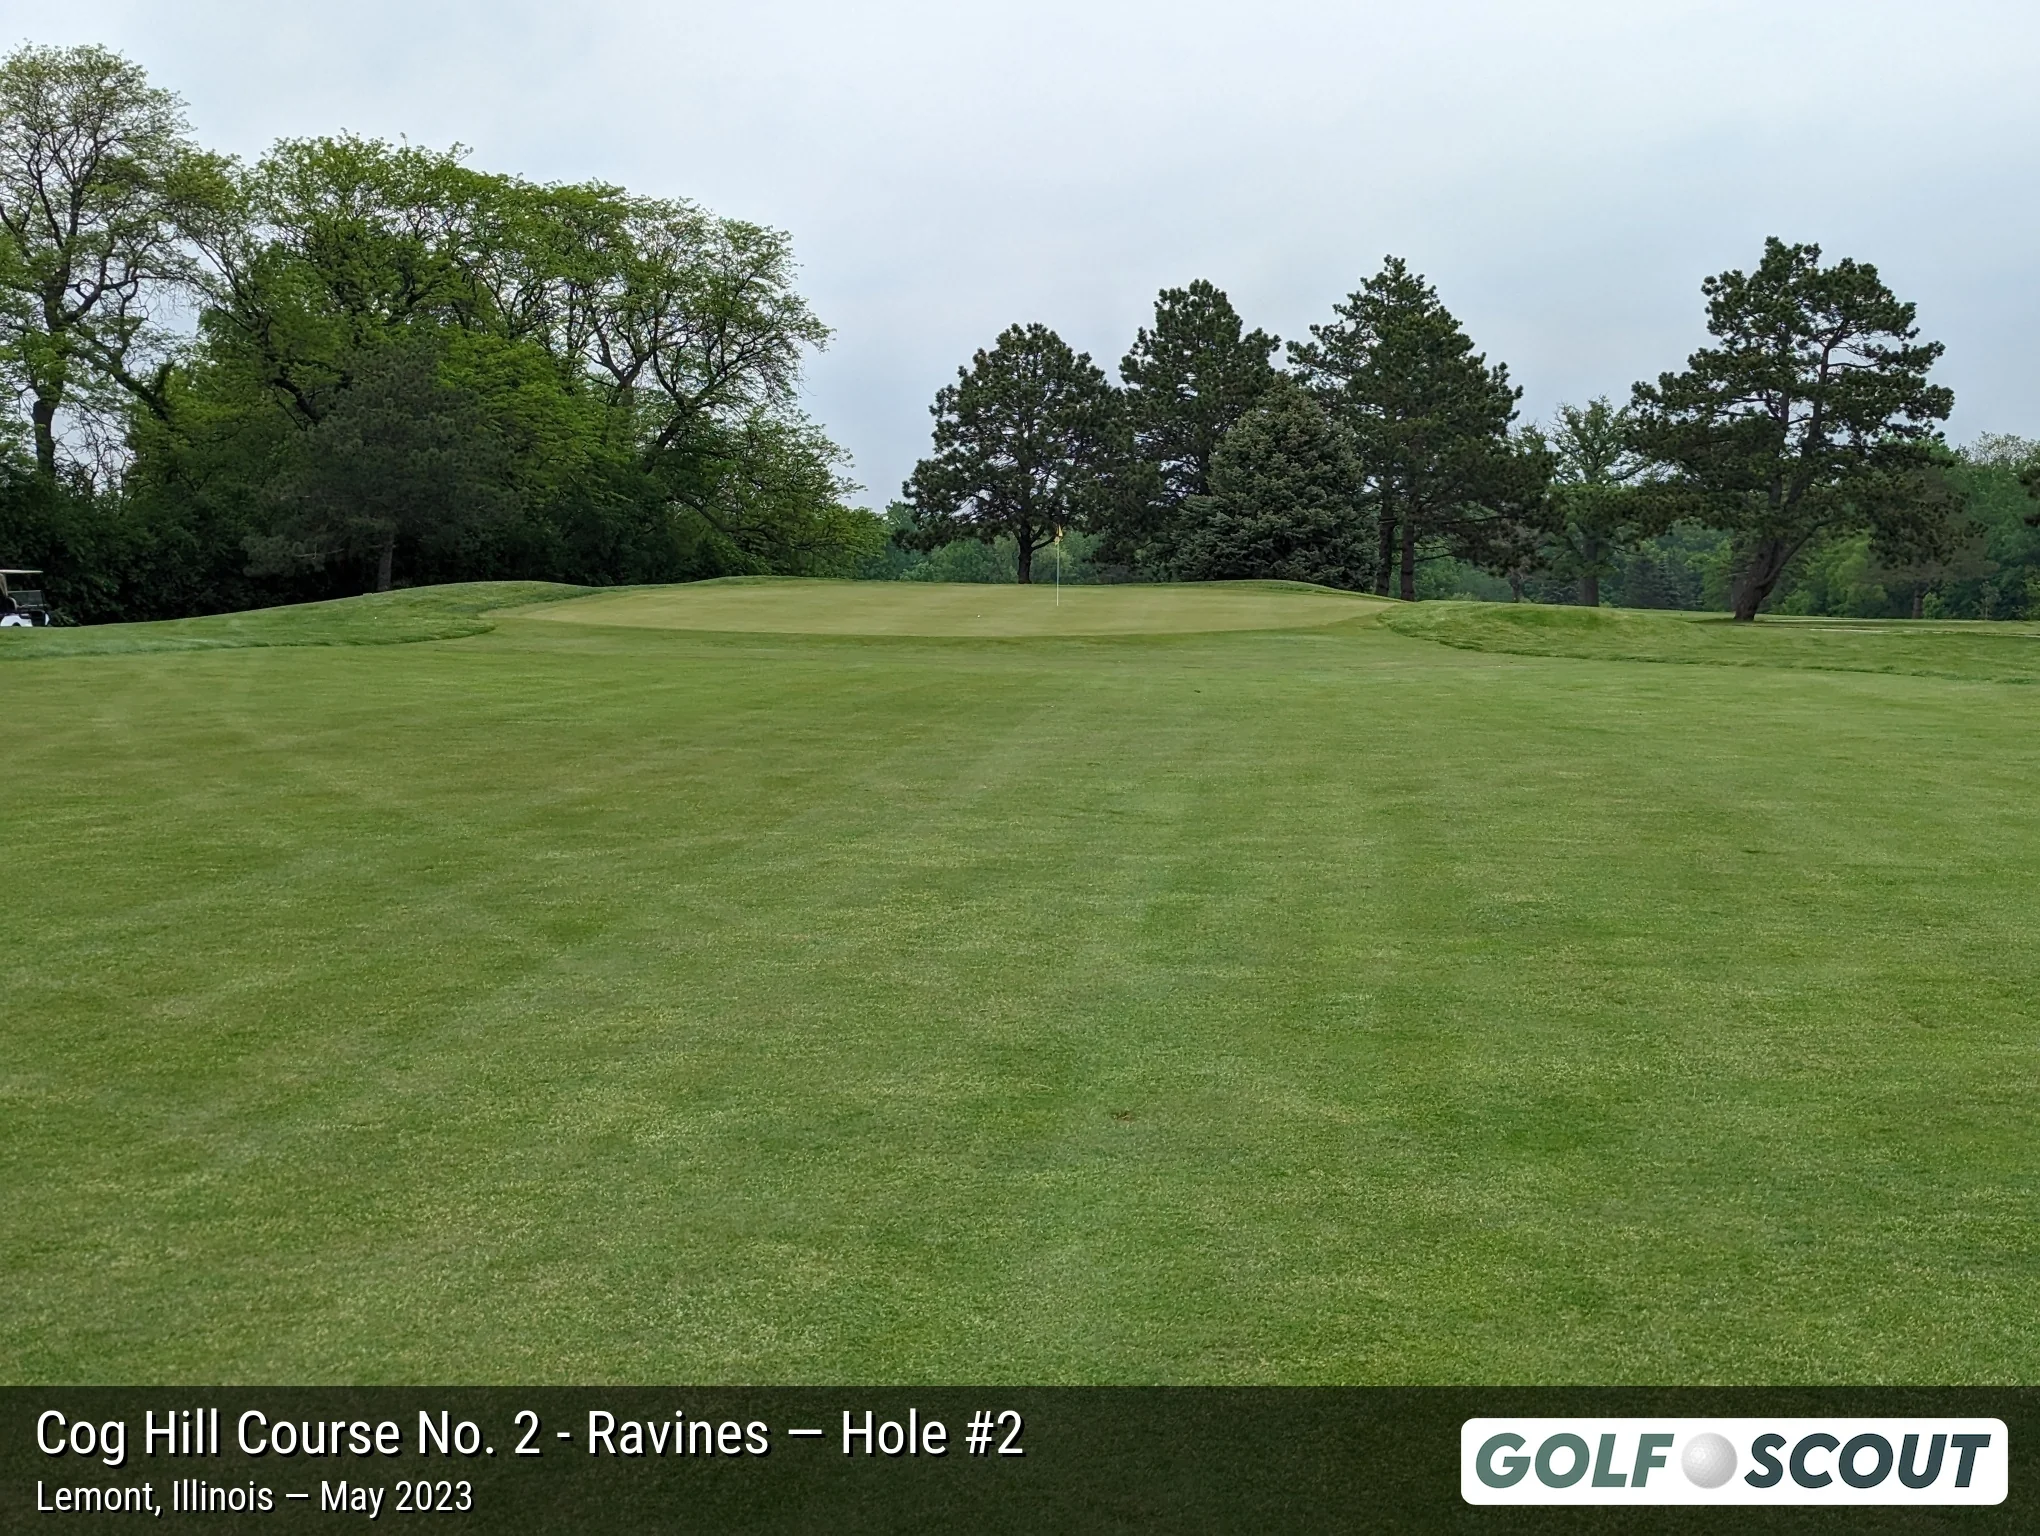
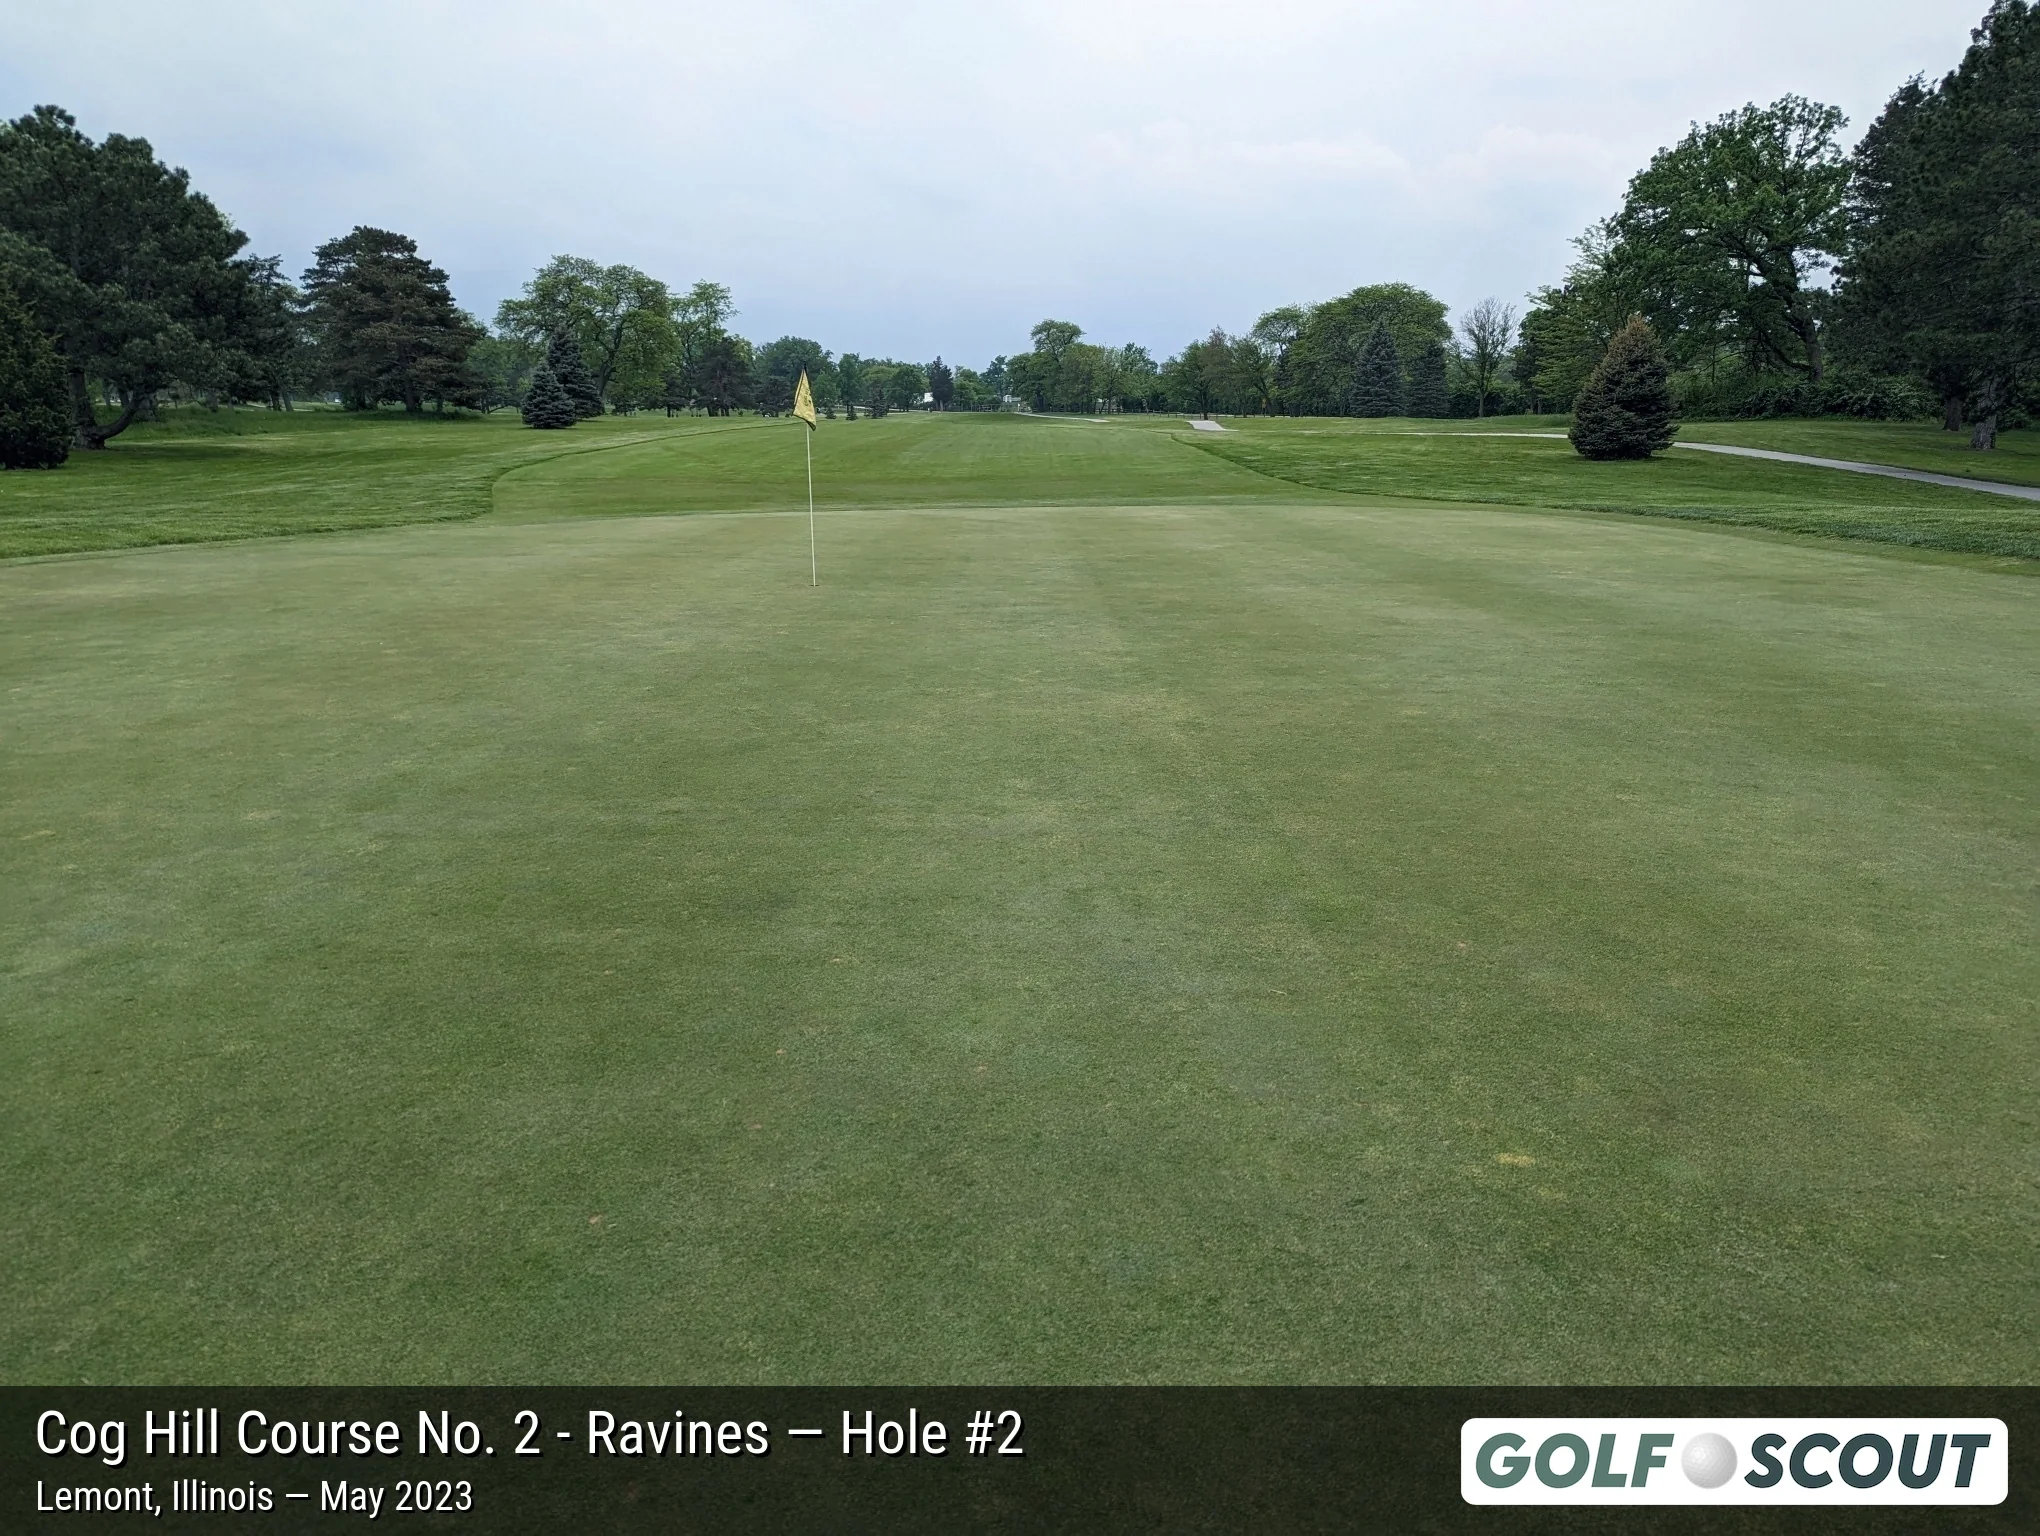
Last photo is typically a reverse angle from behind the green.
Hole 3
5 photos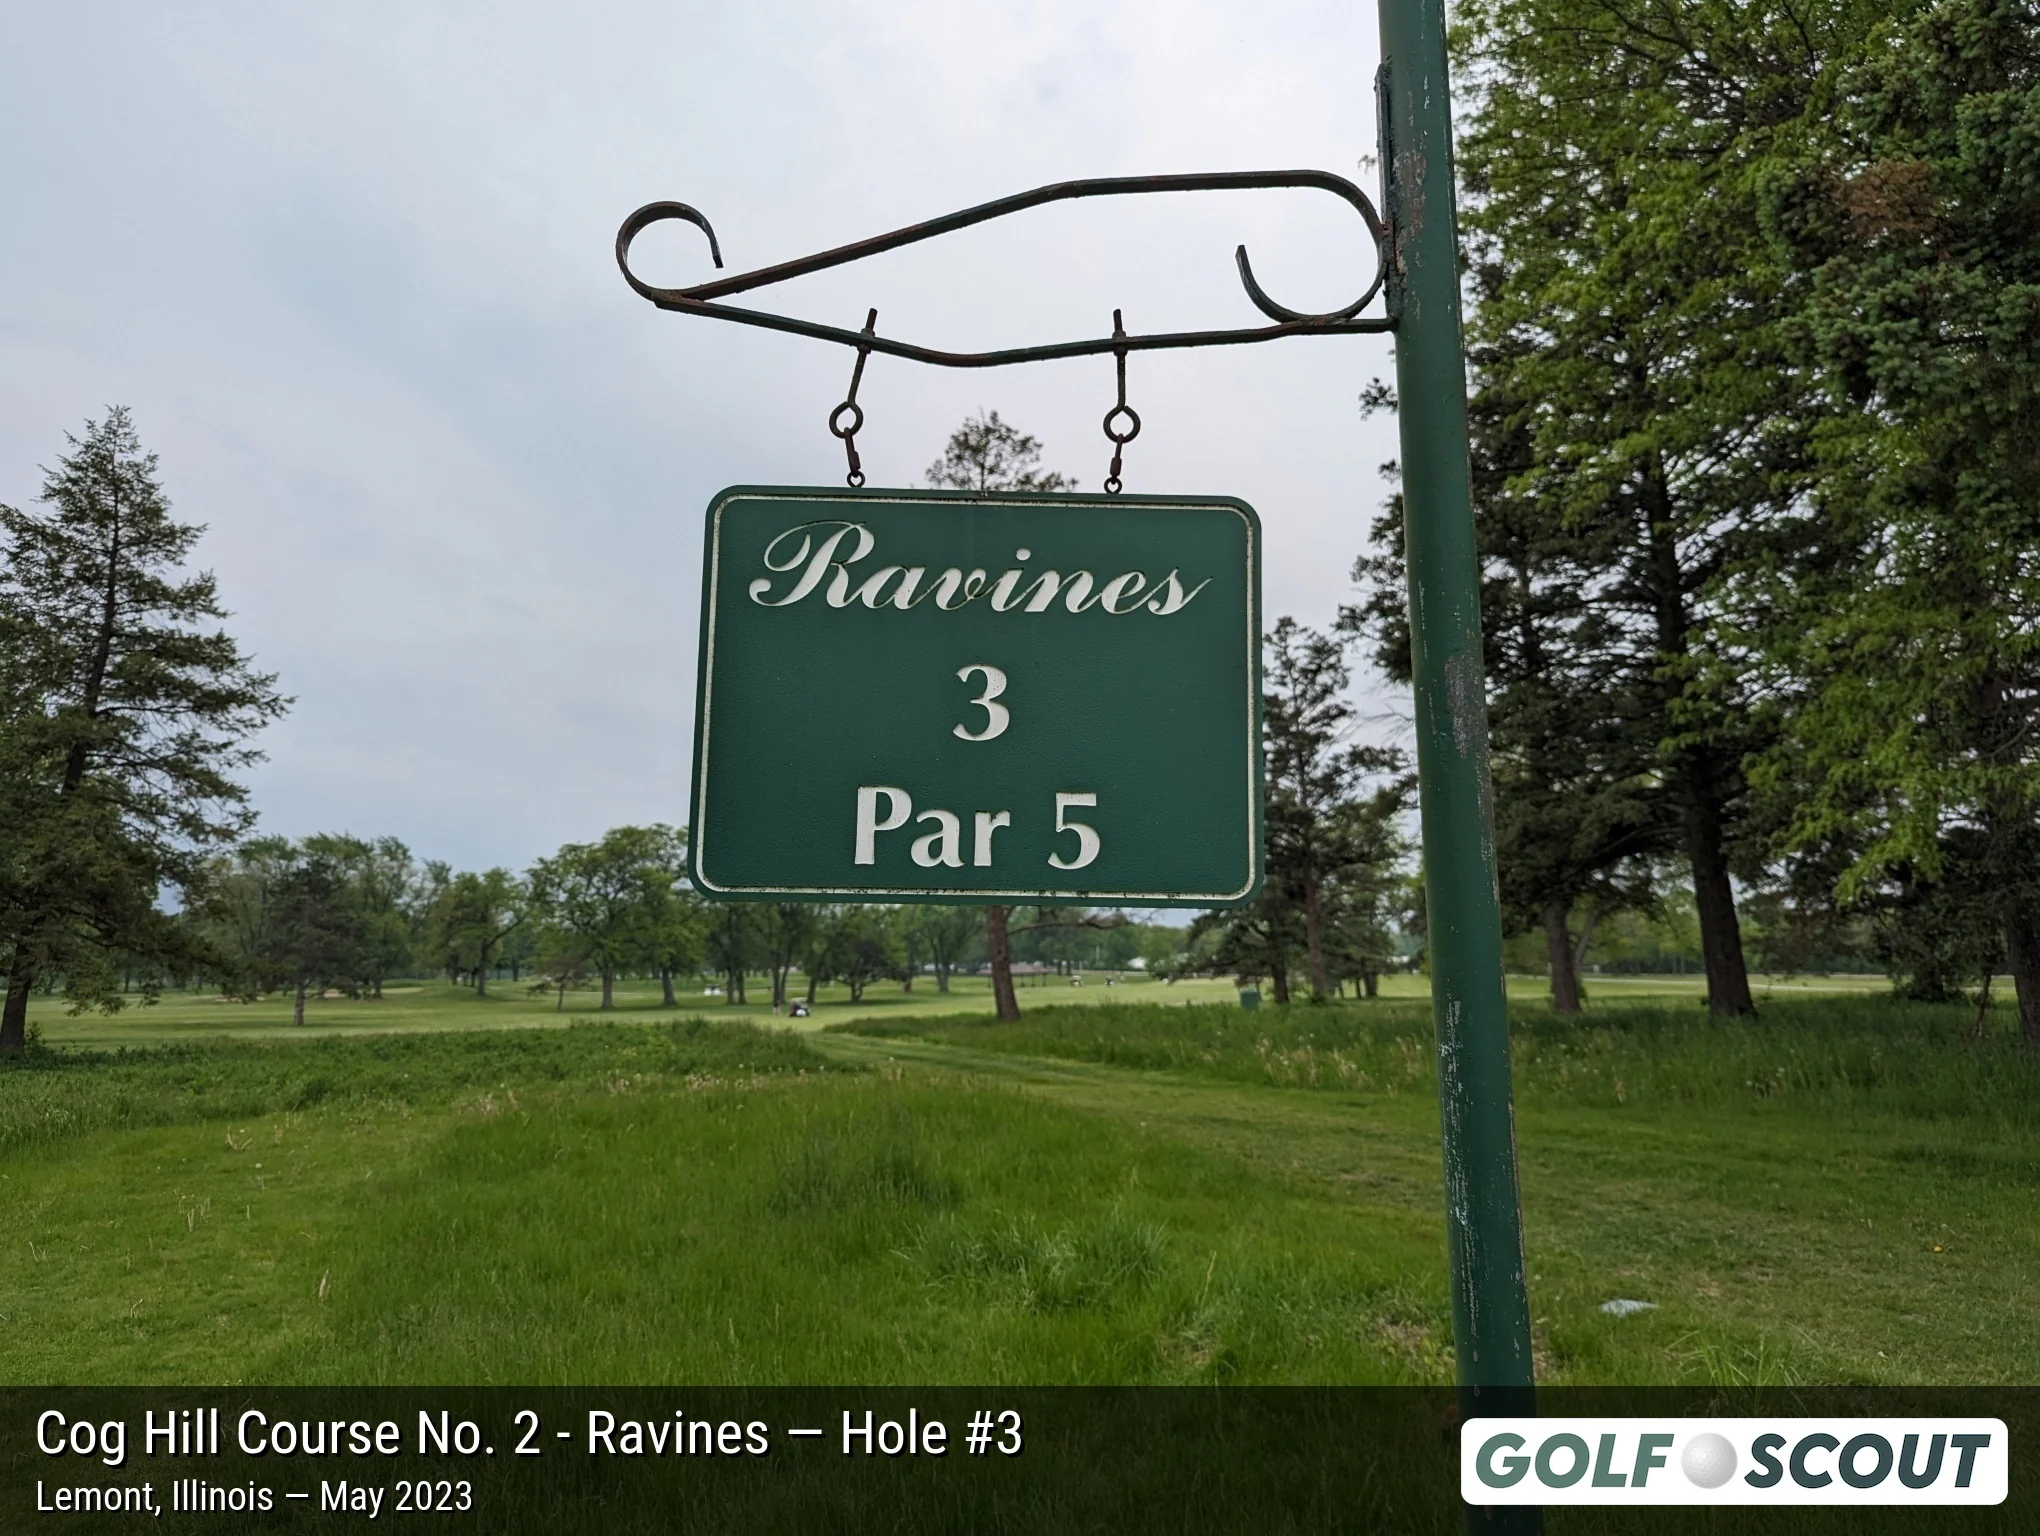
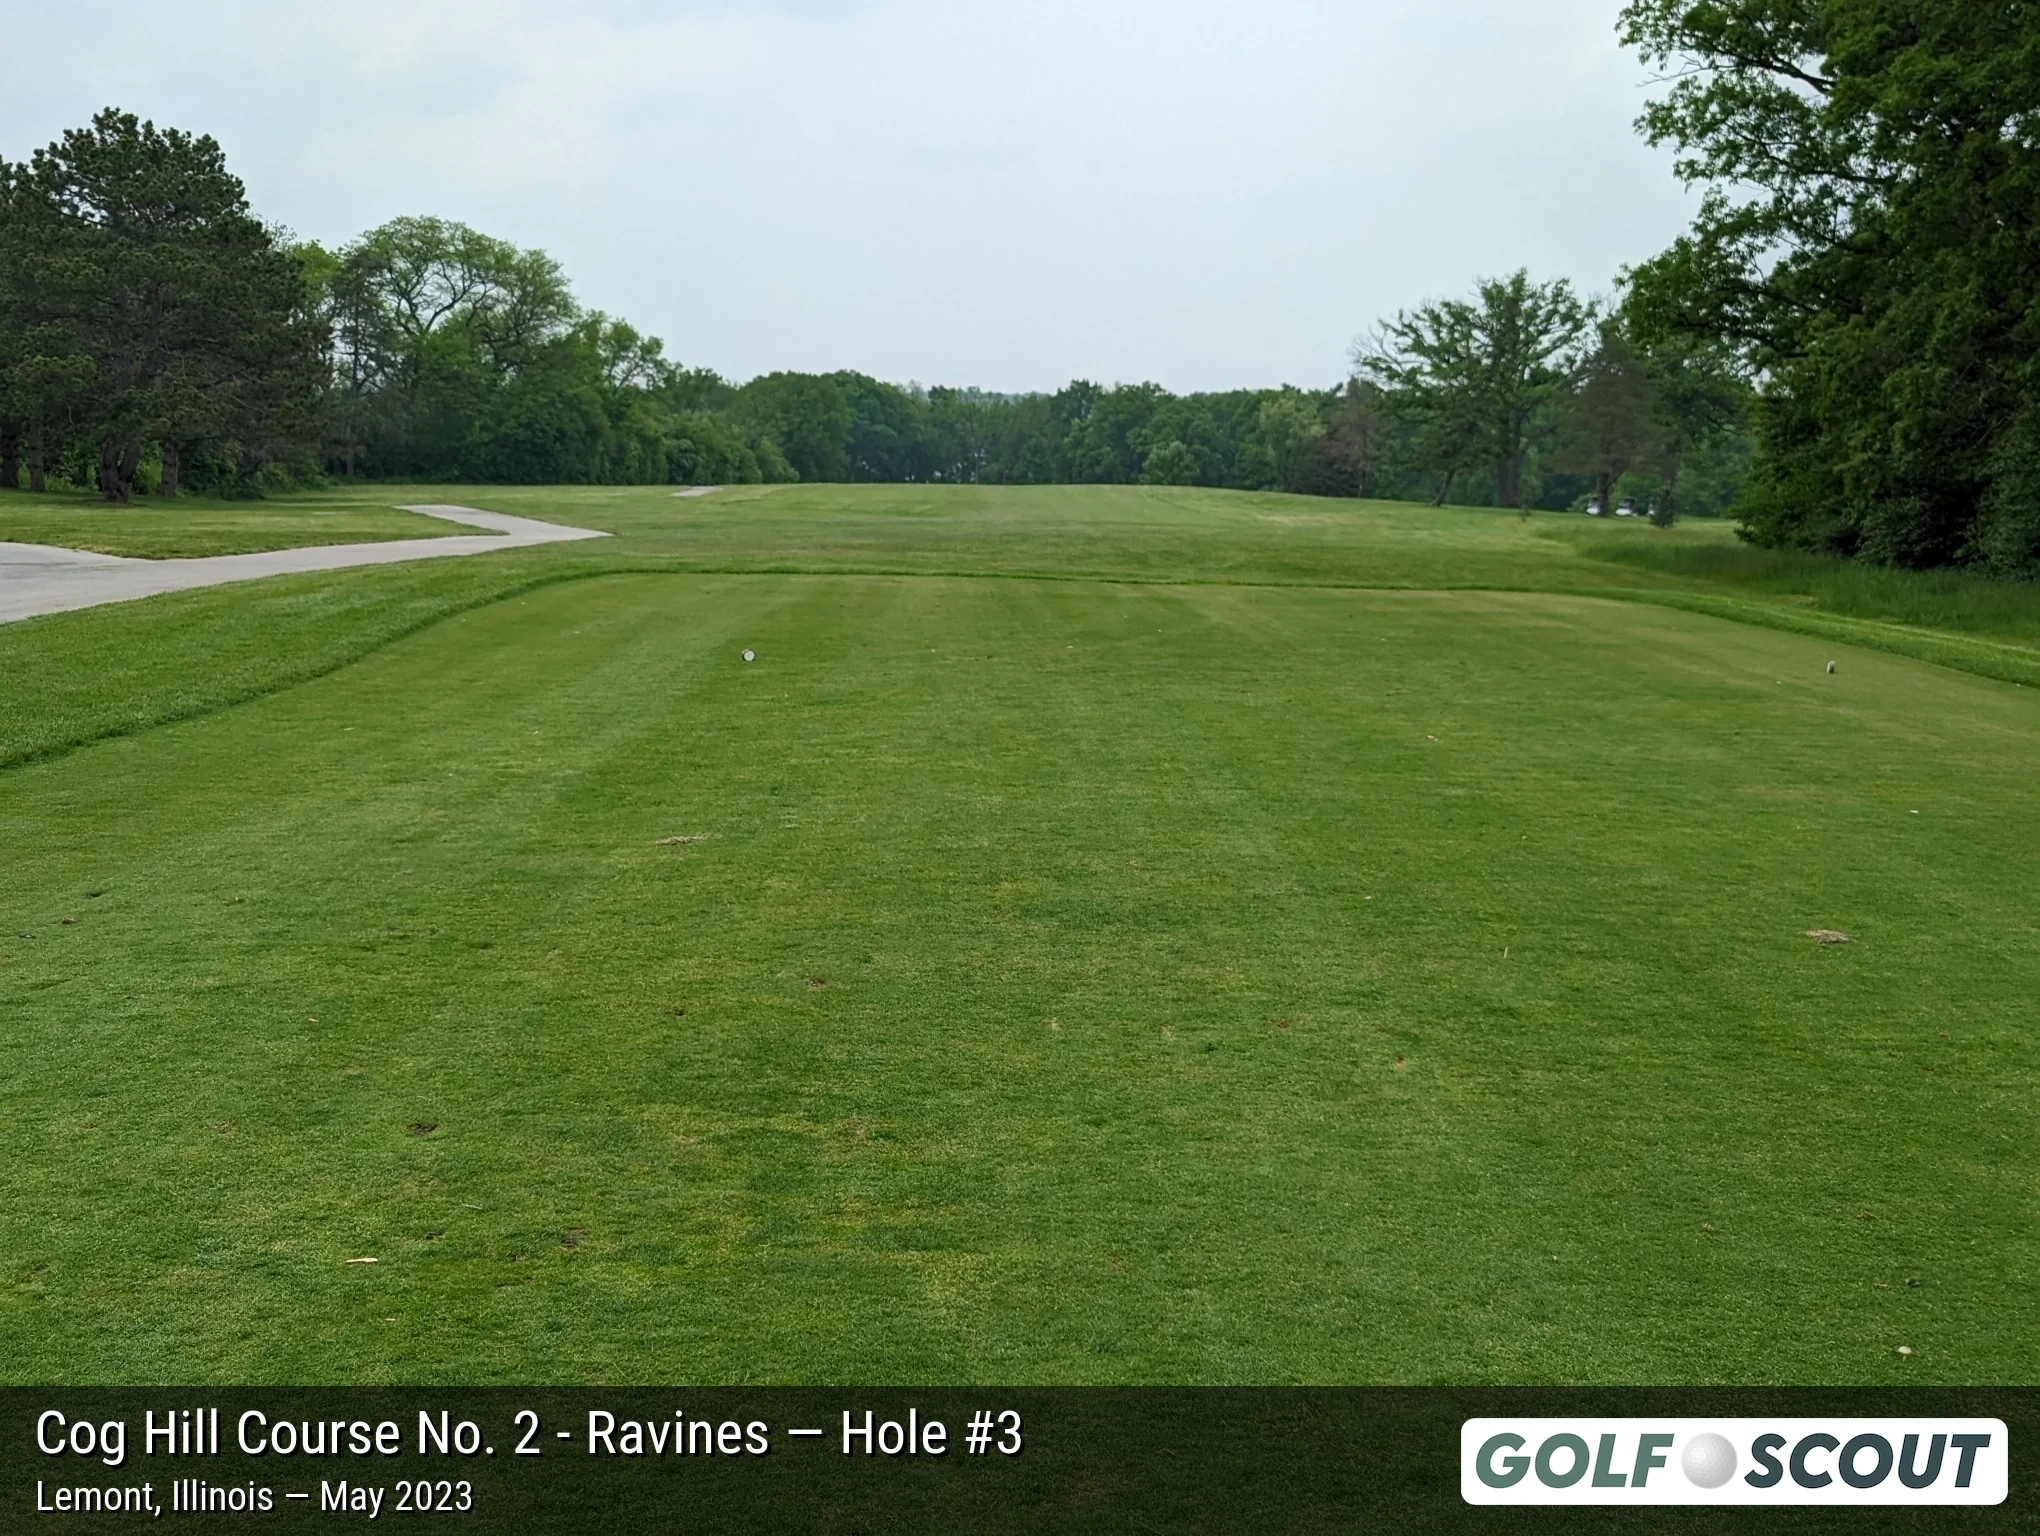
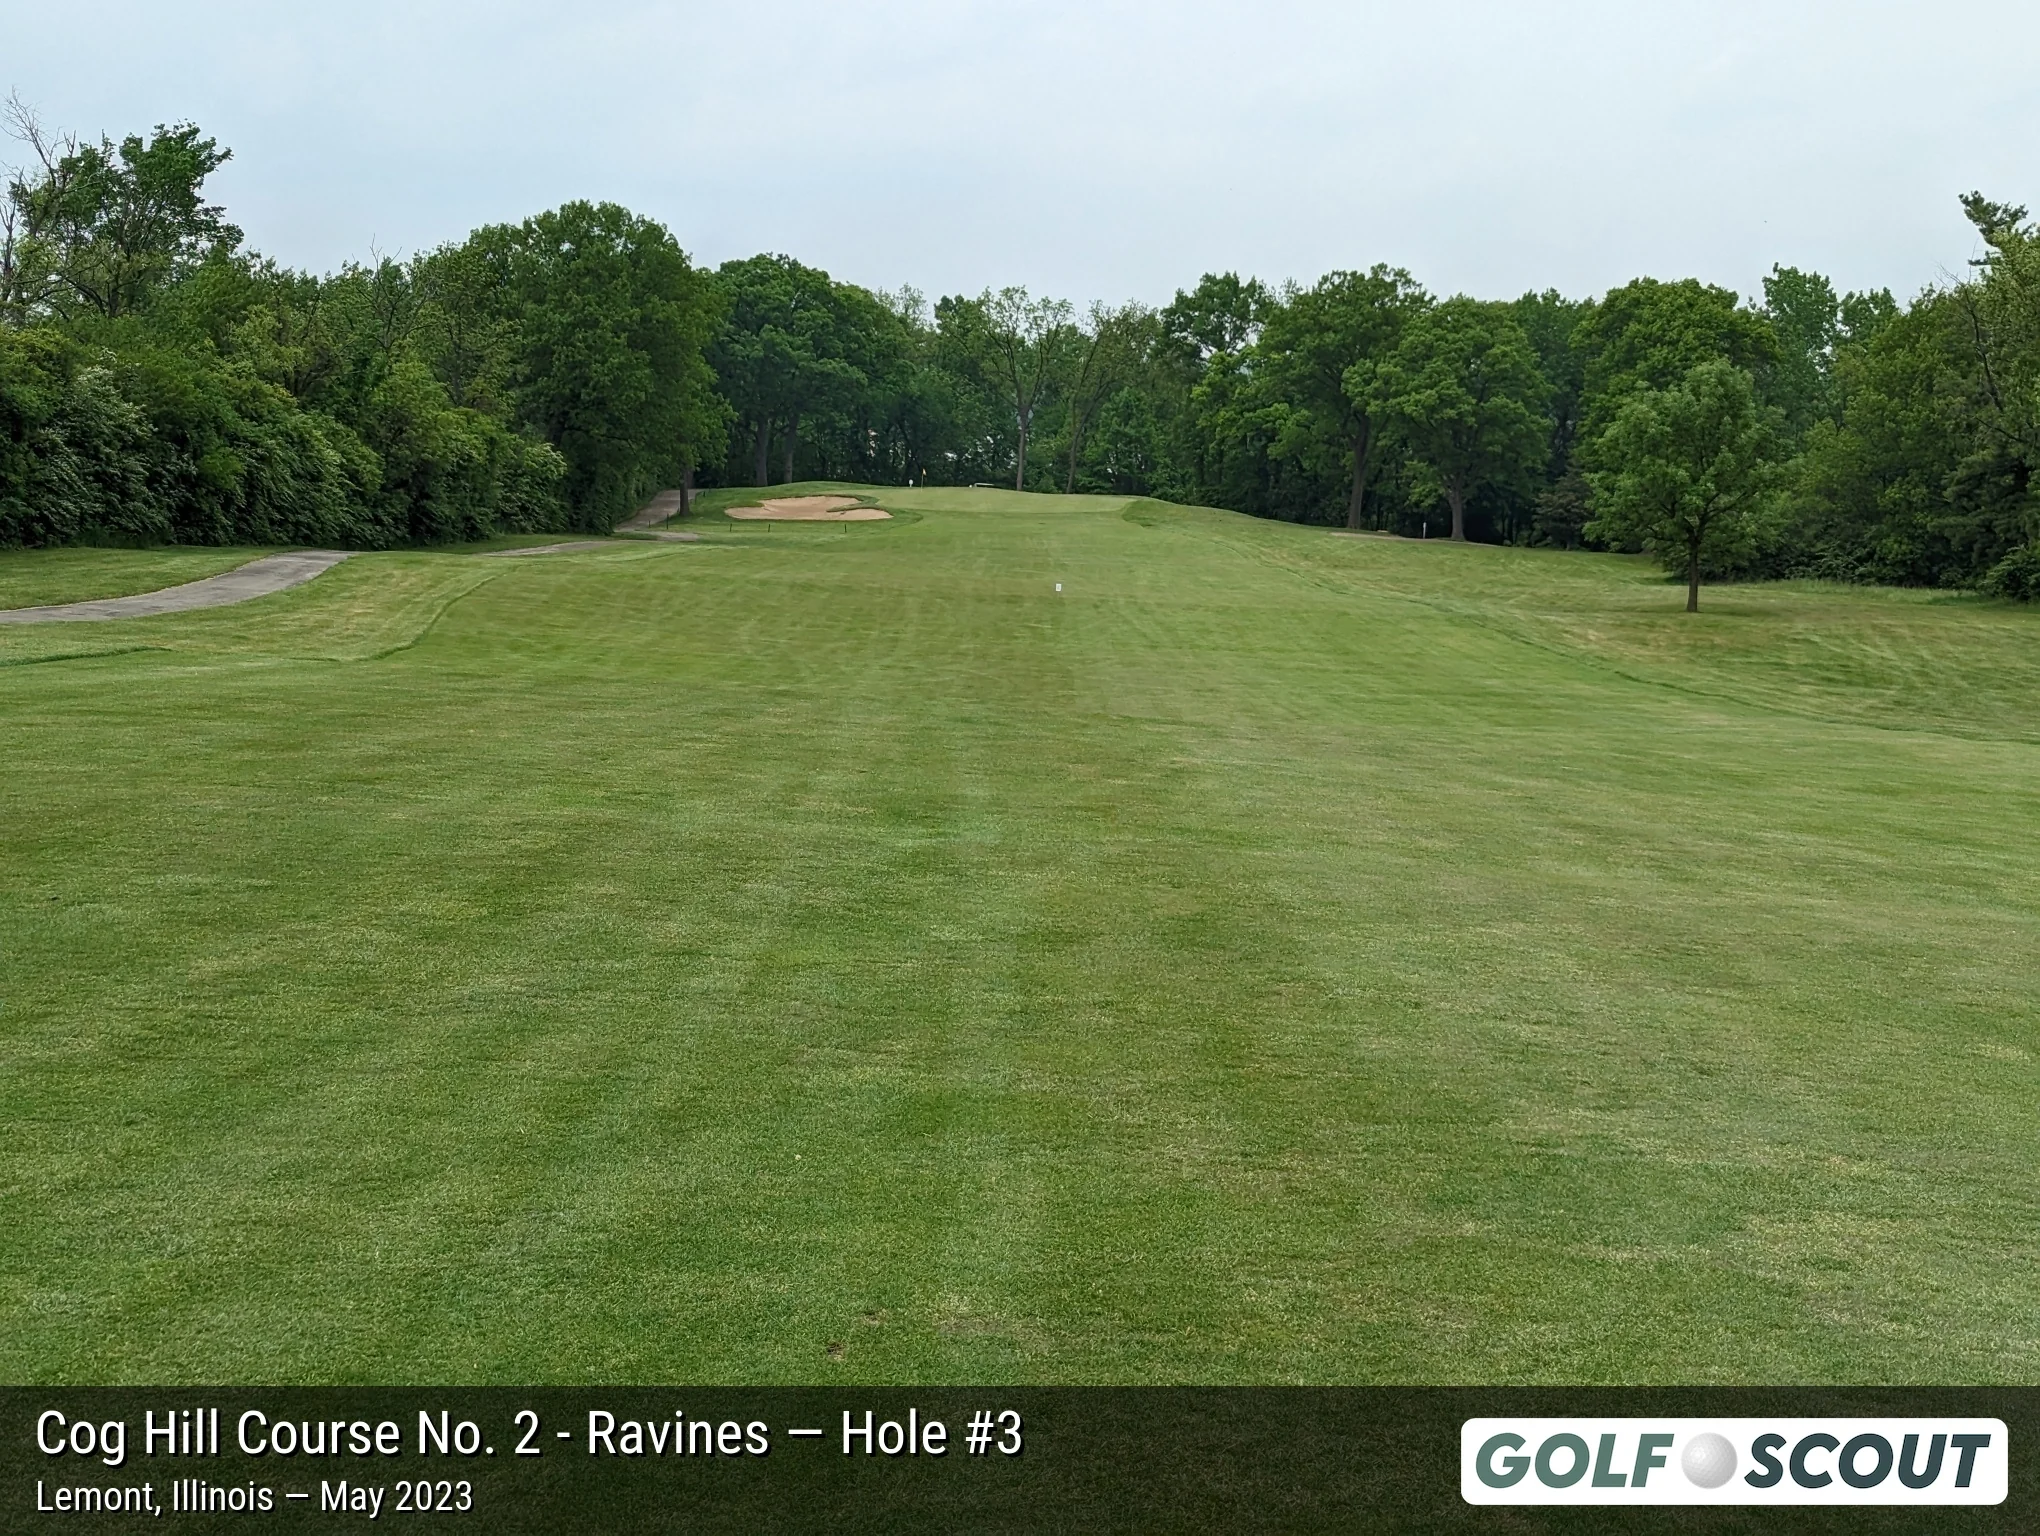
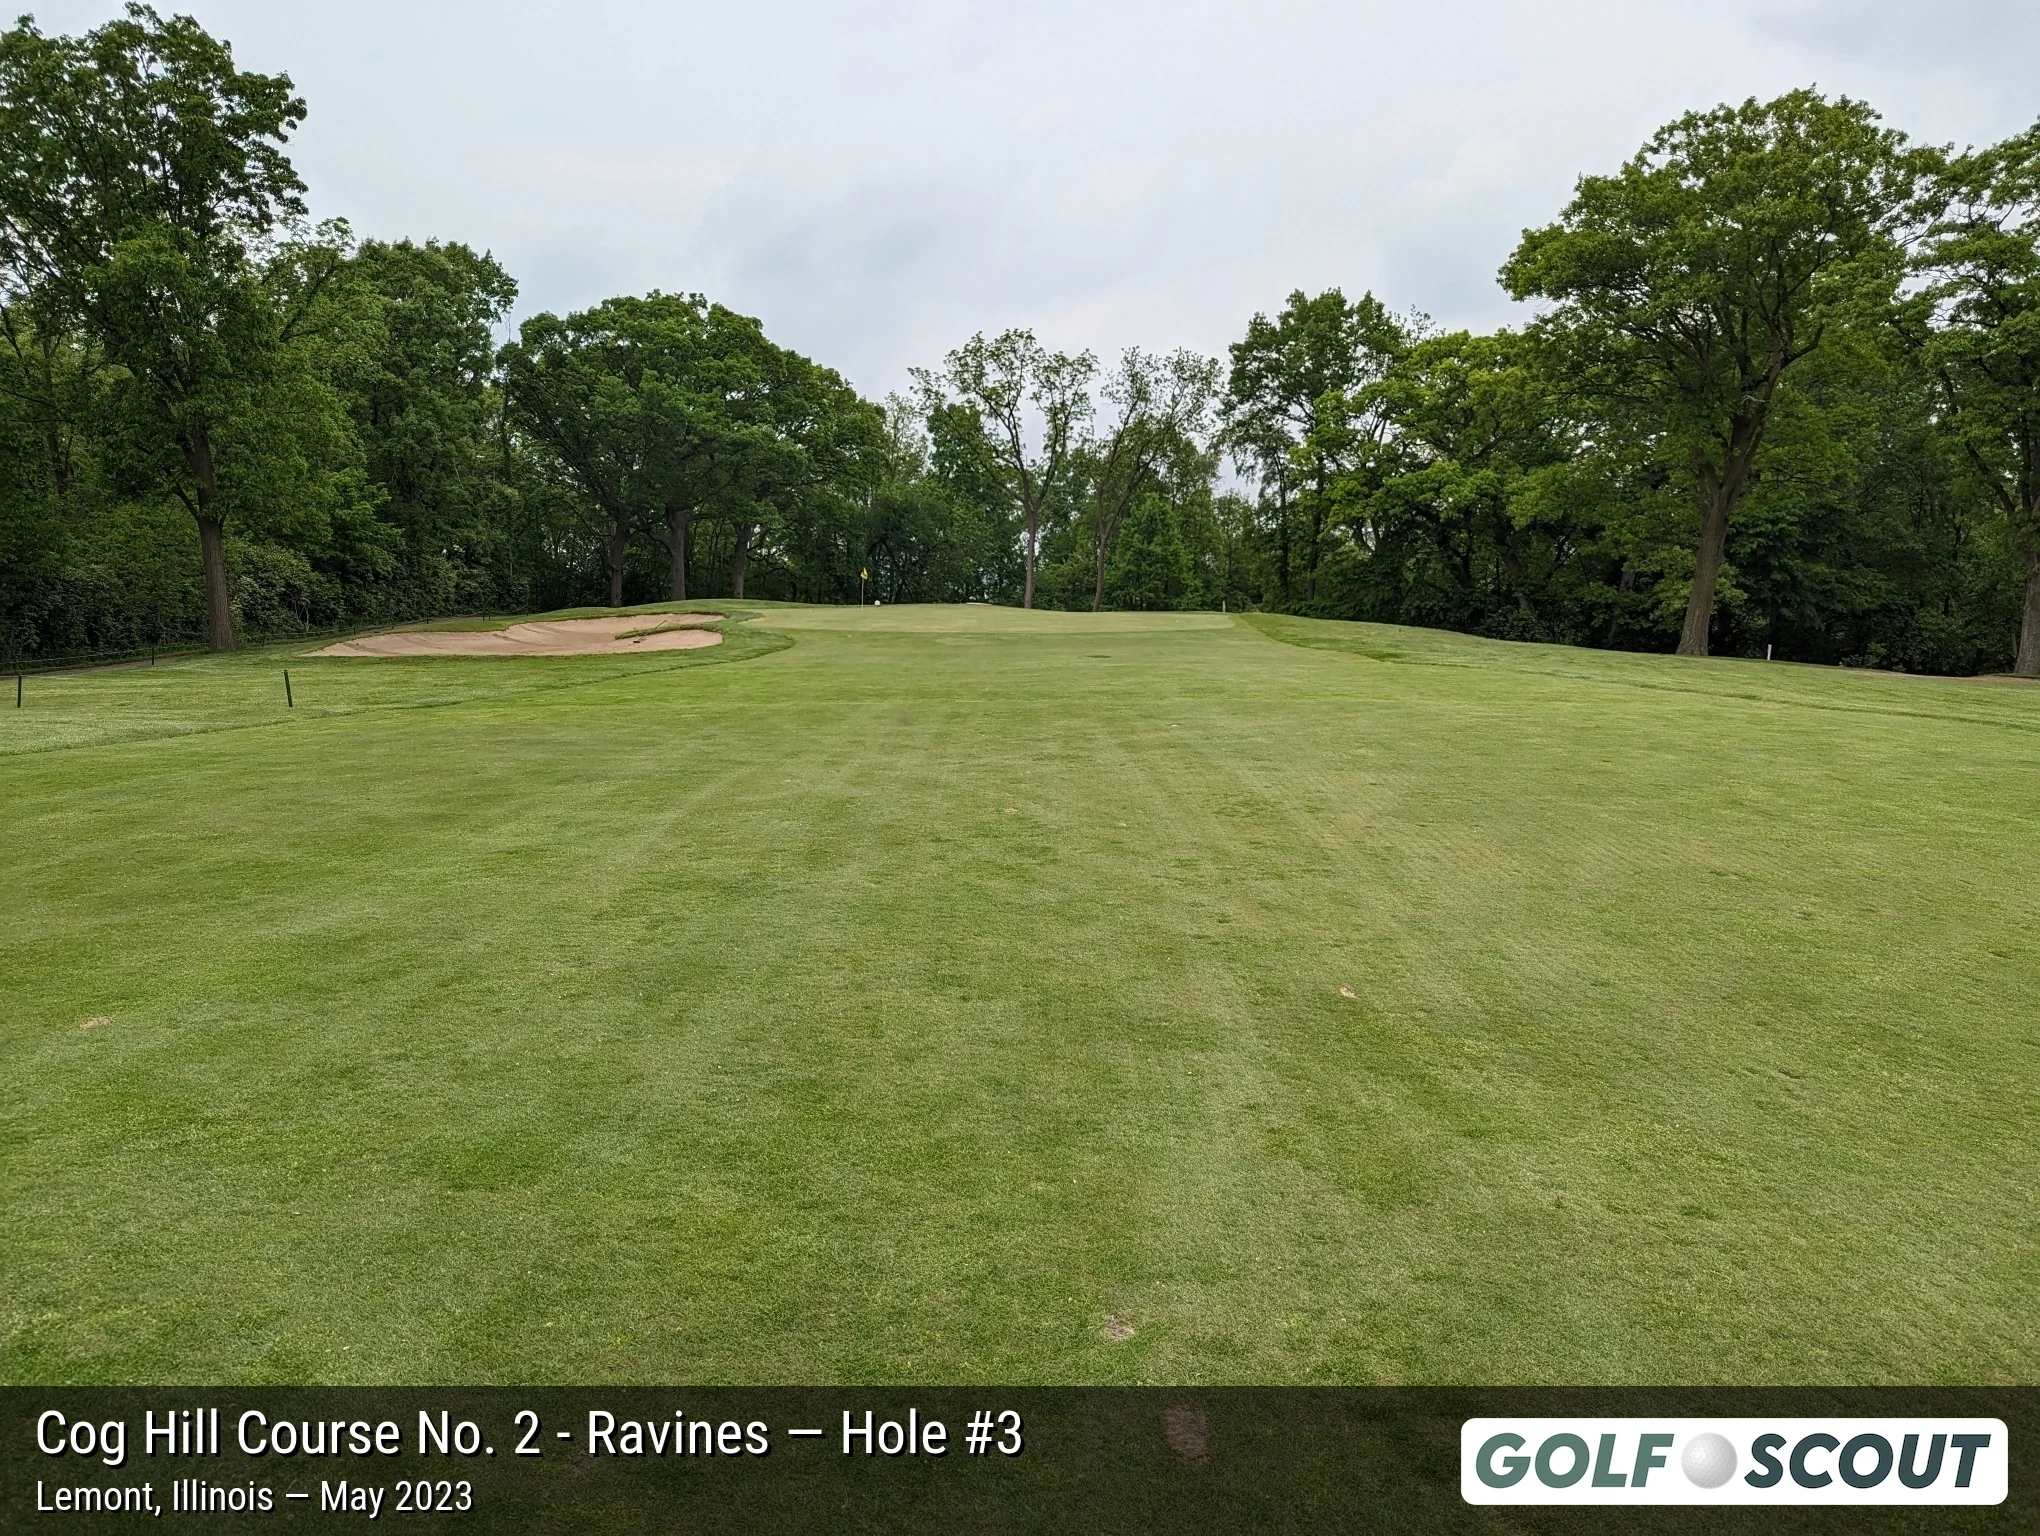
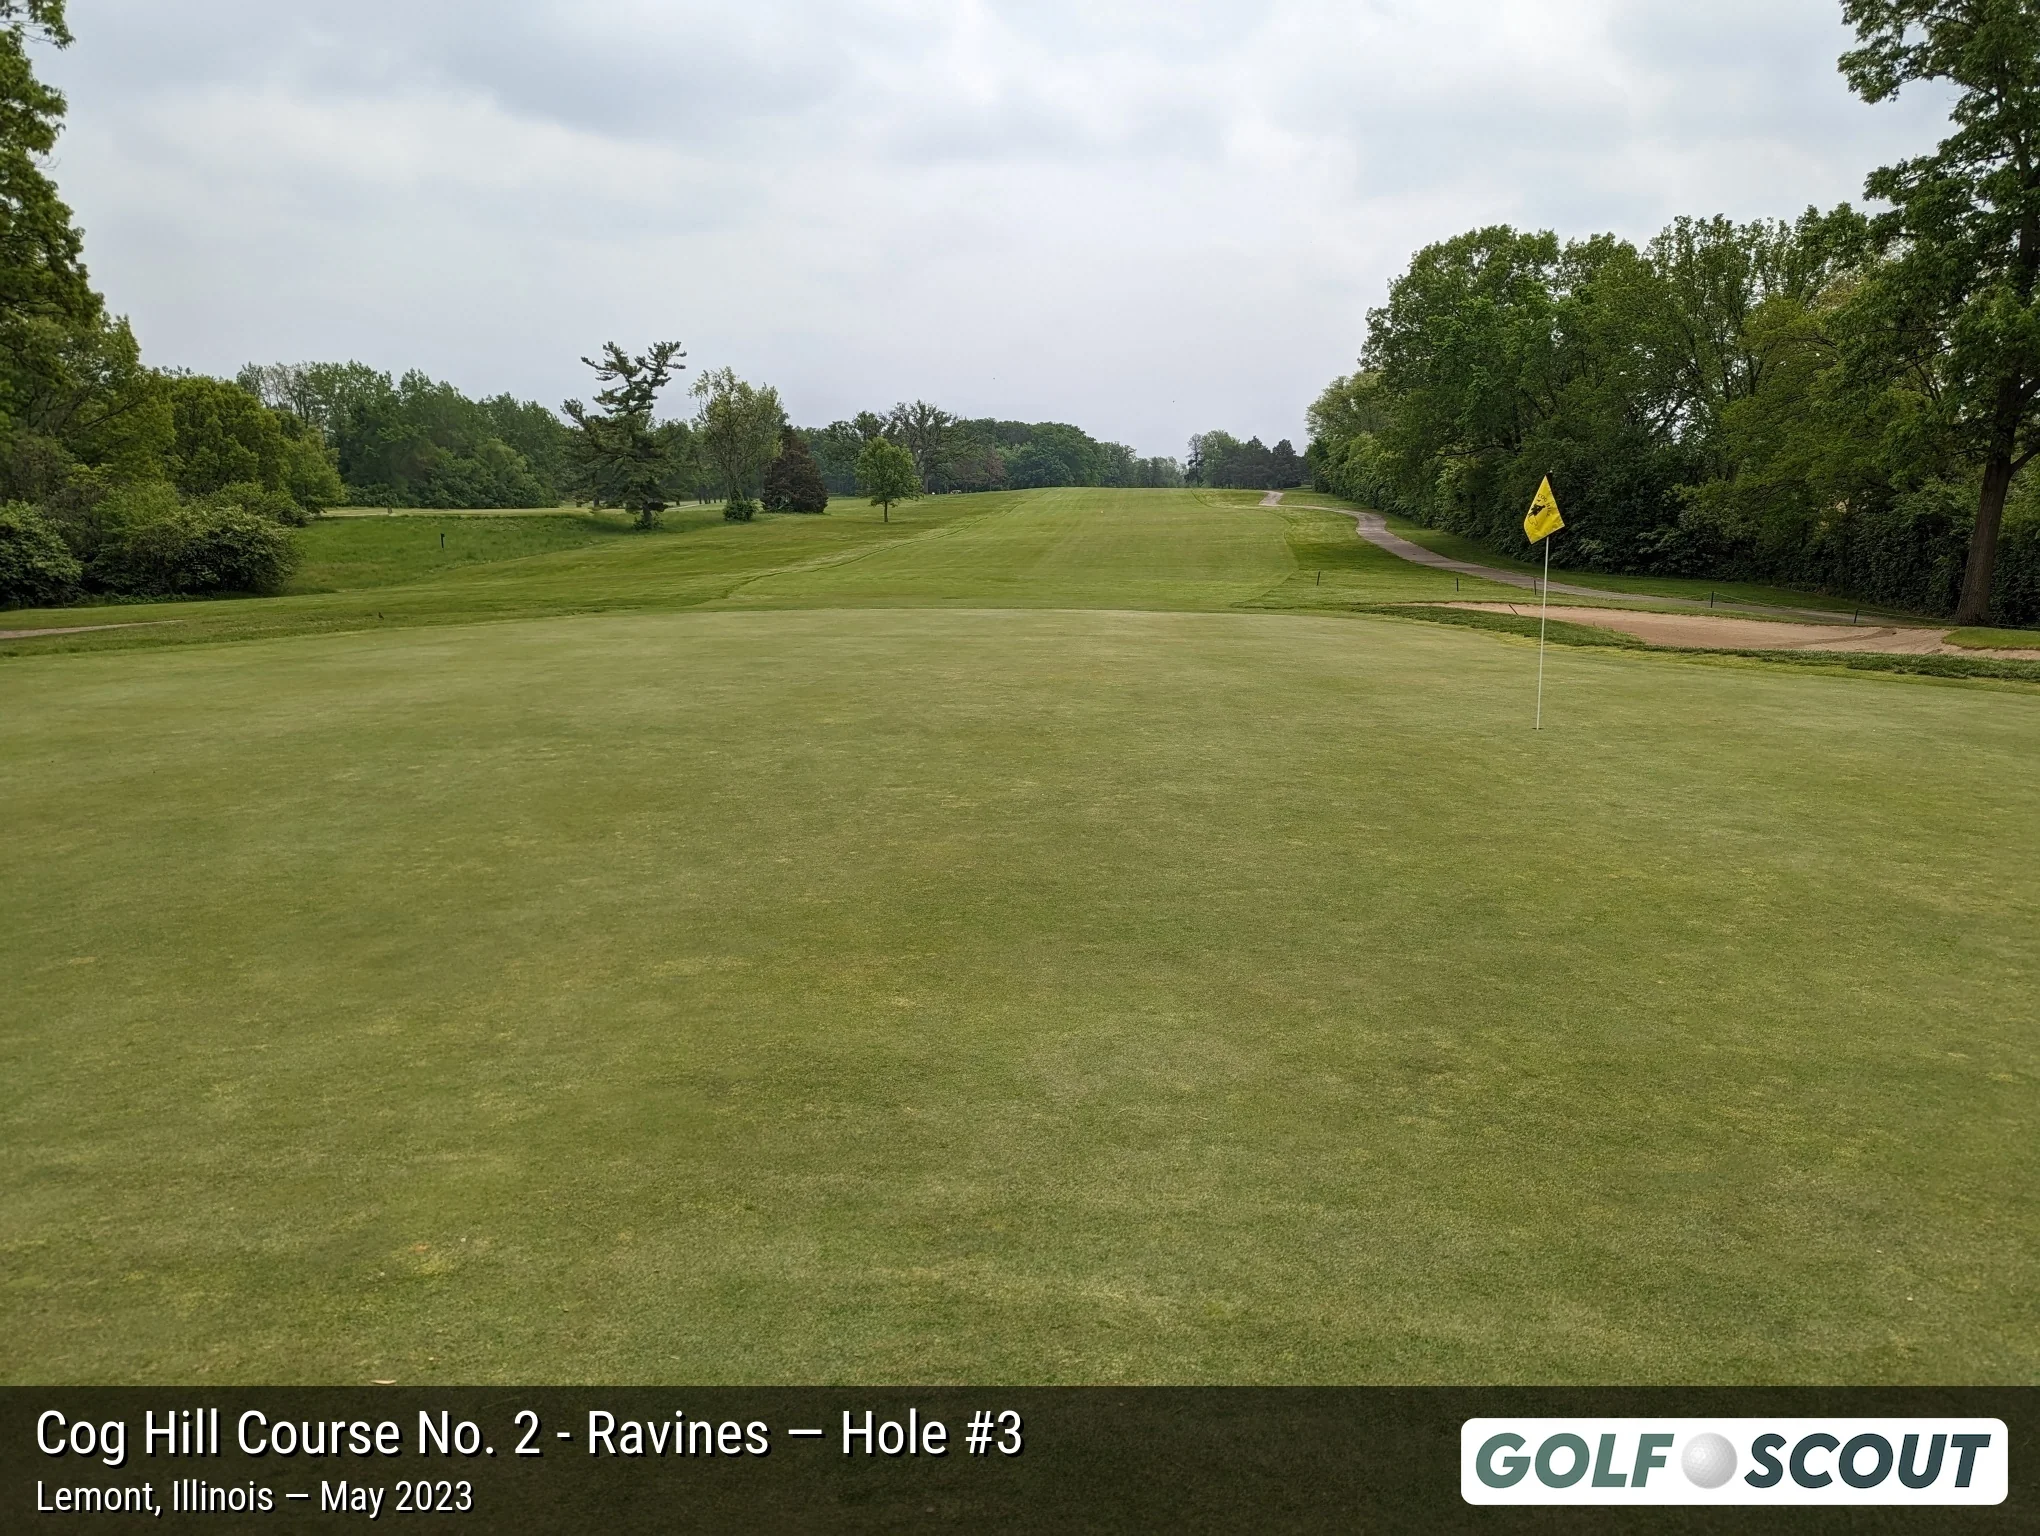
Last photo is typically a reverse angle from behind the green.
Hole 4
6 photos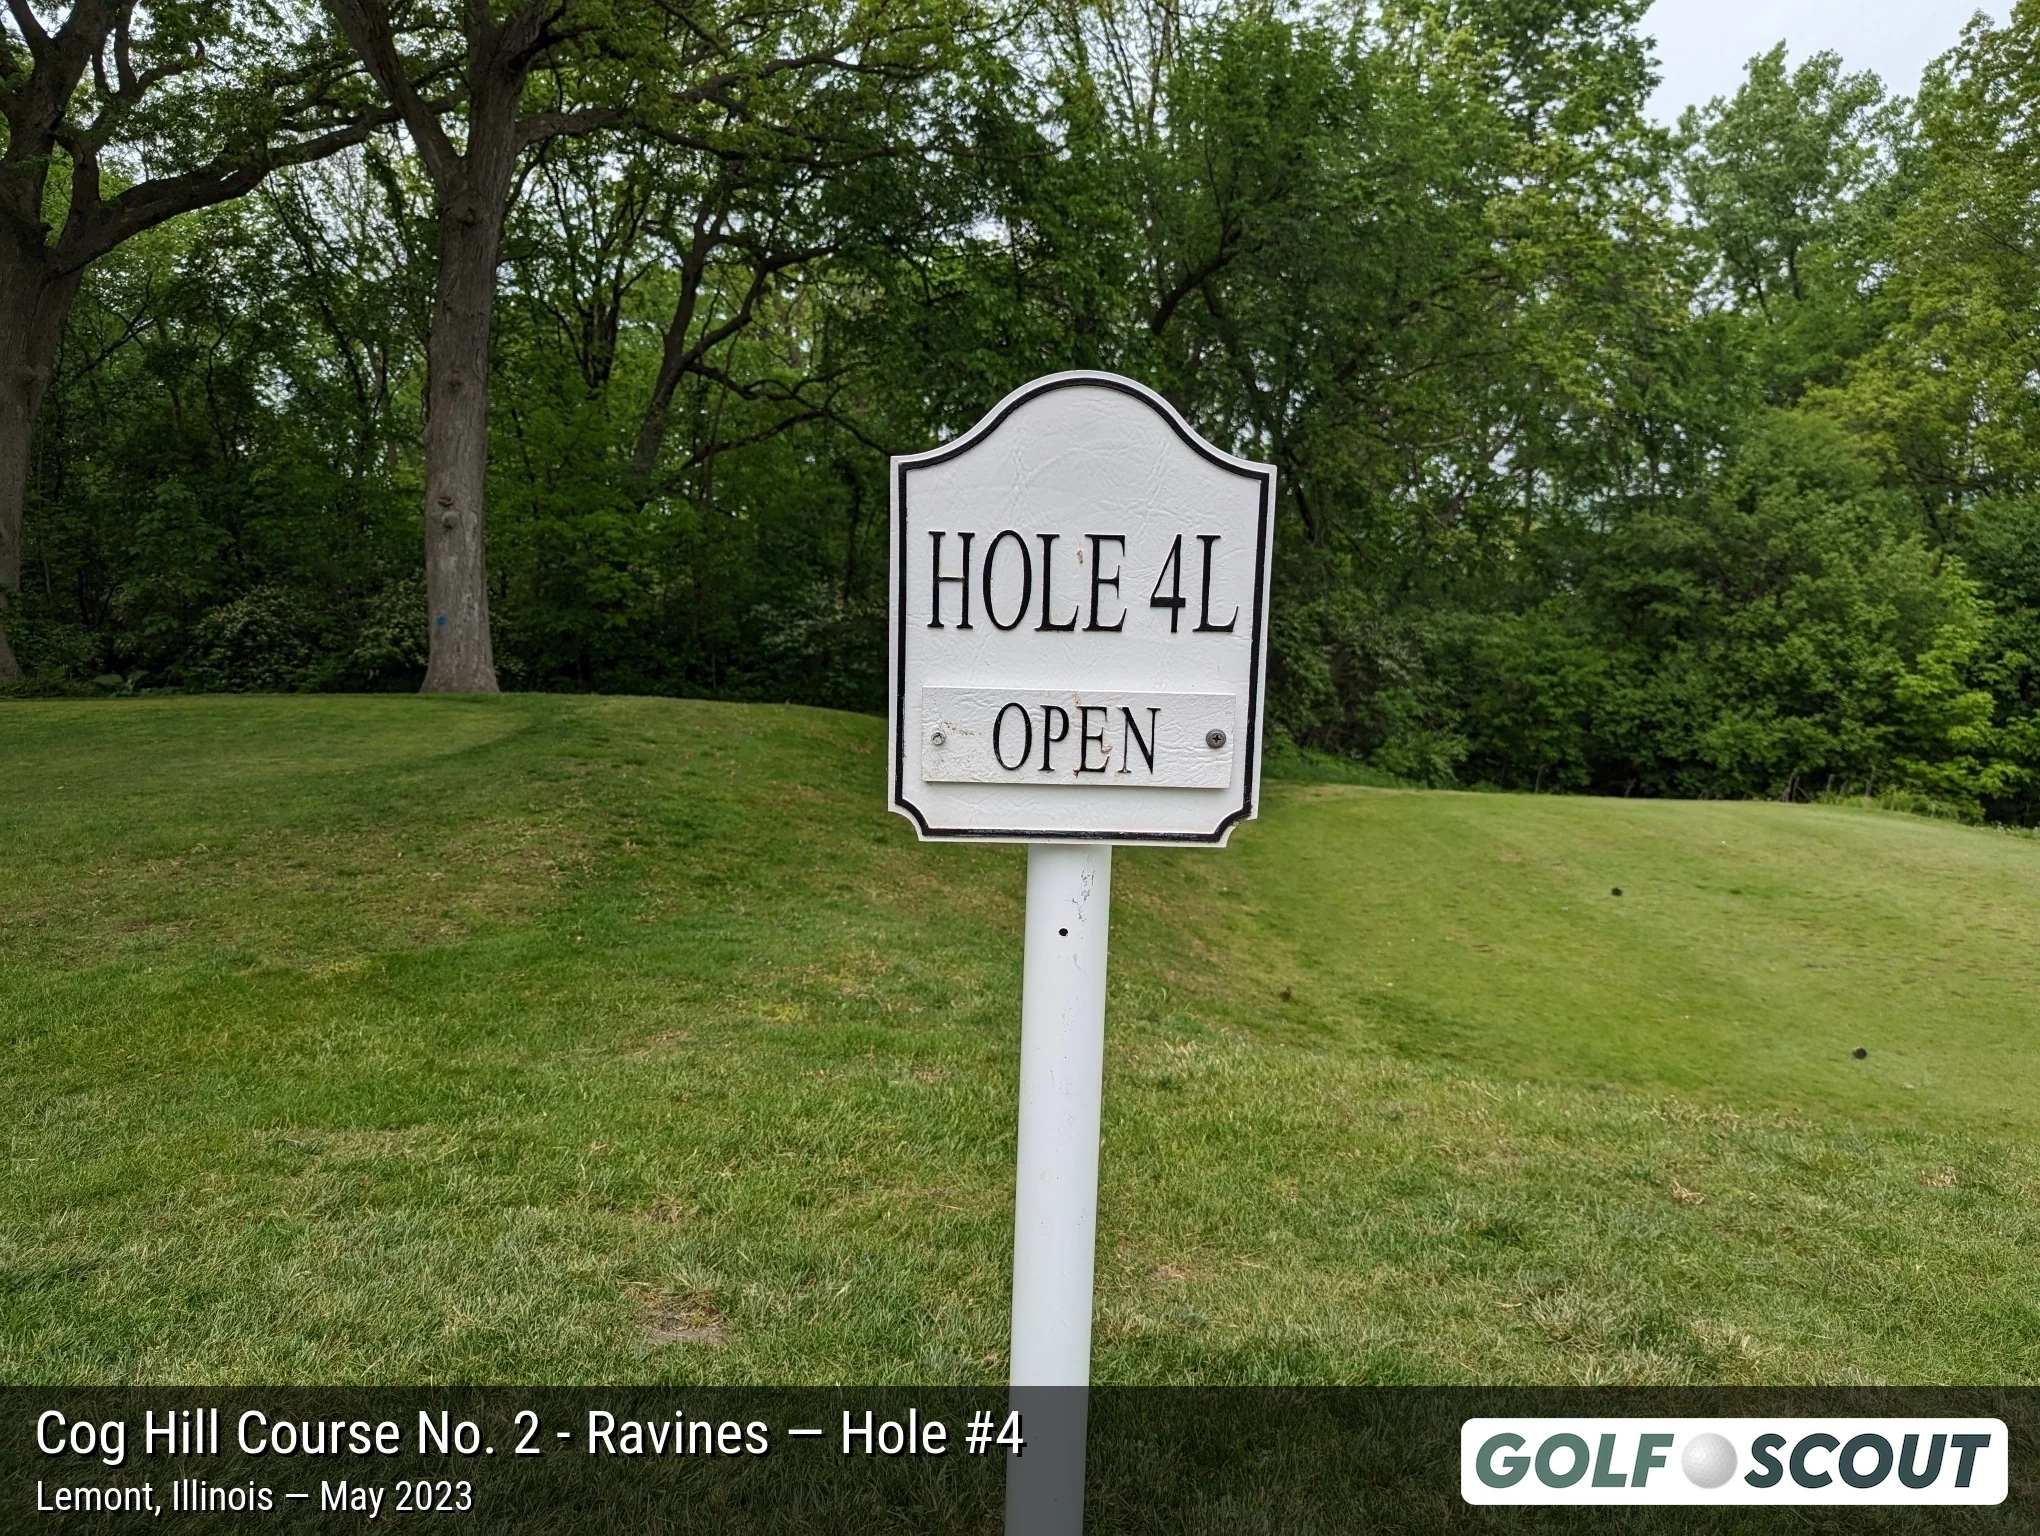
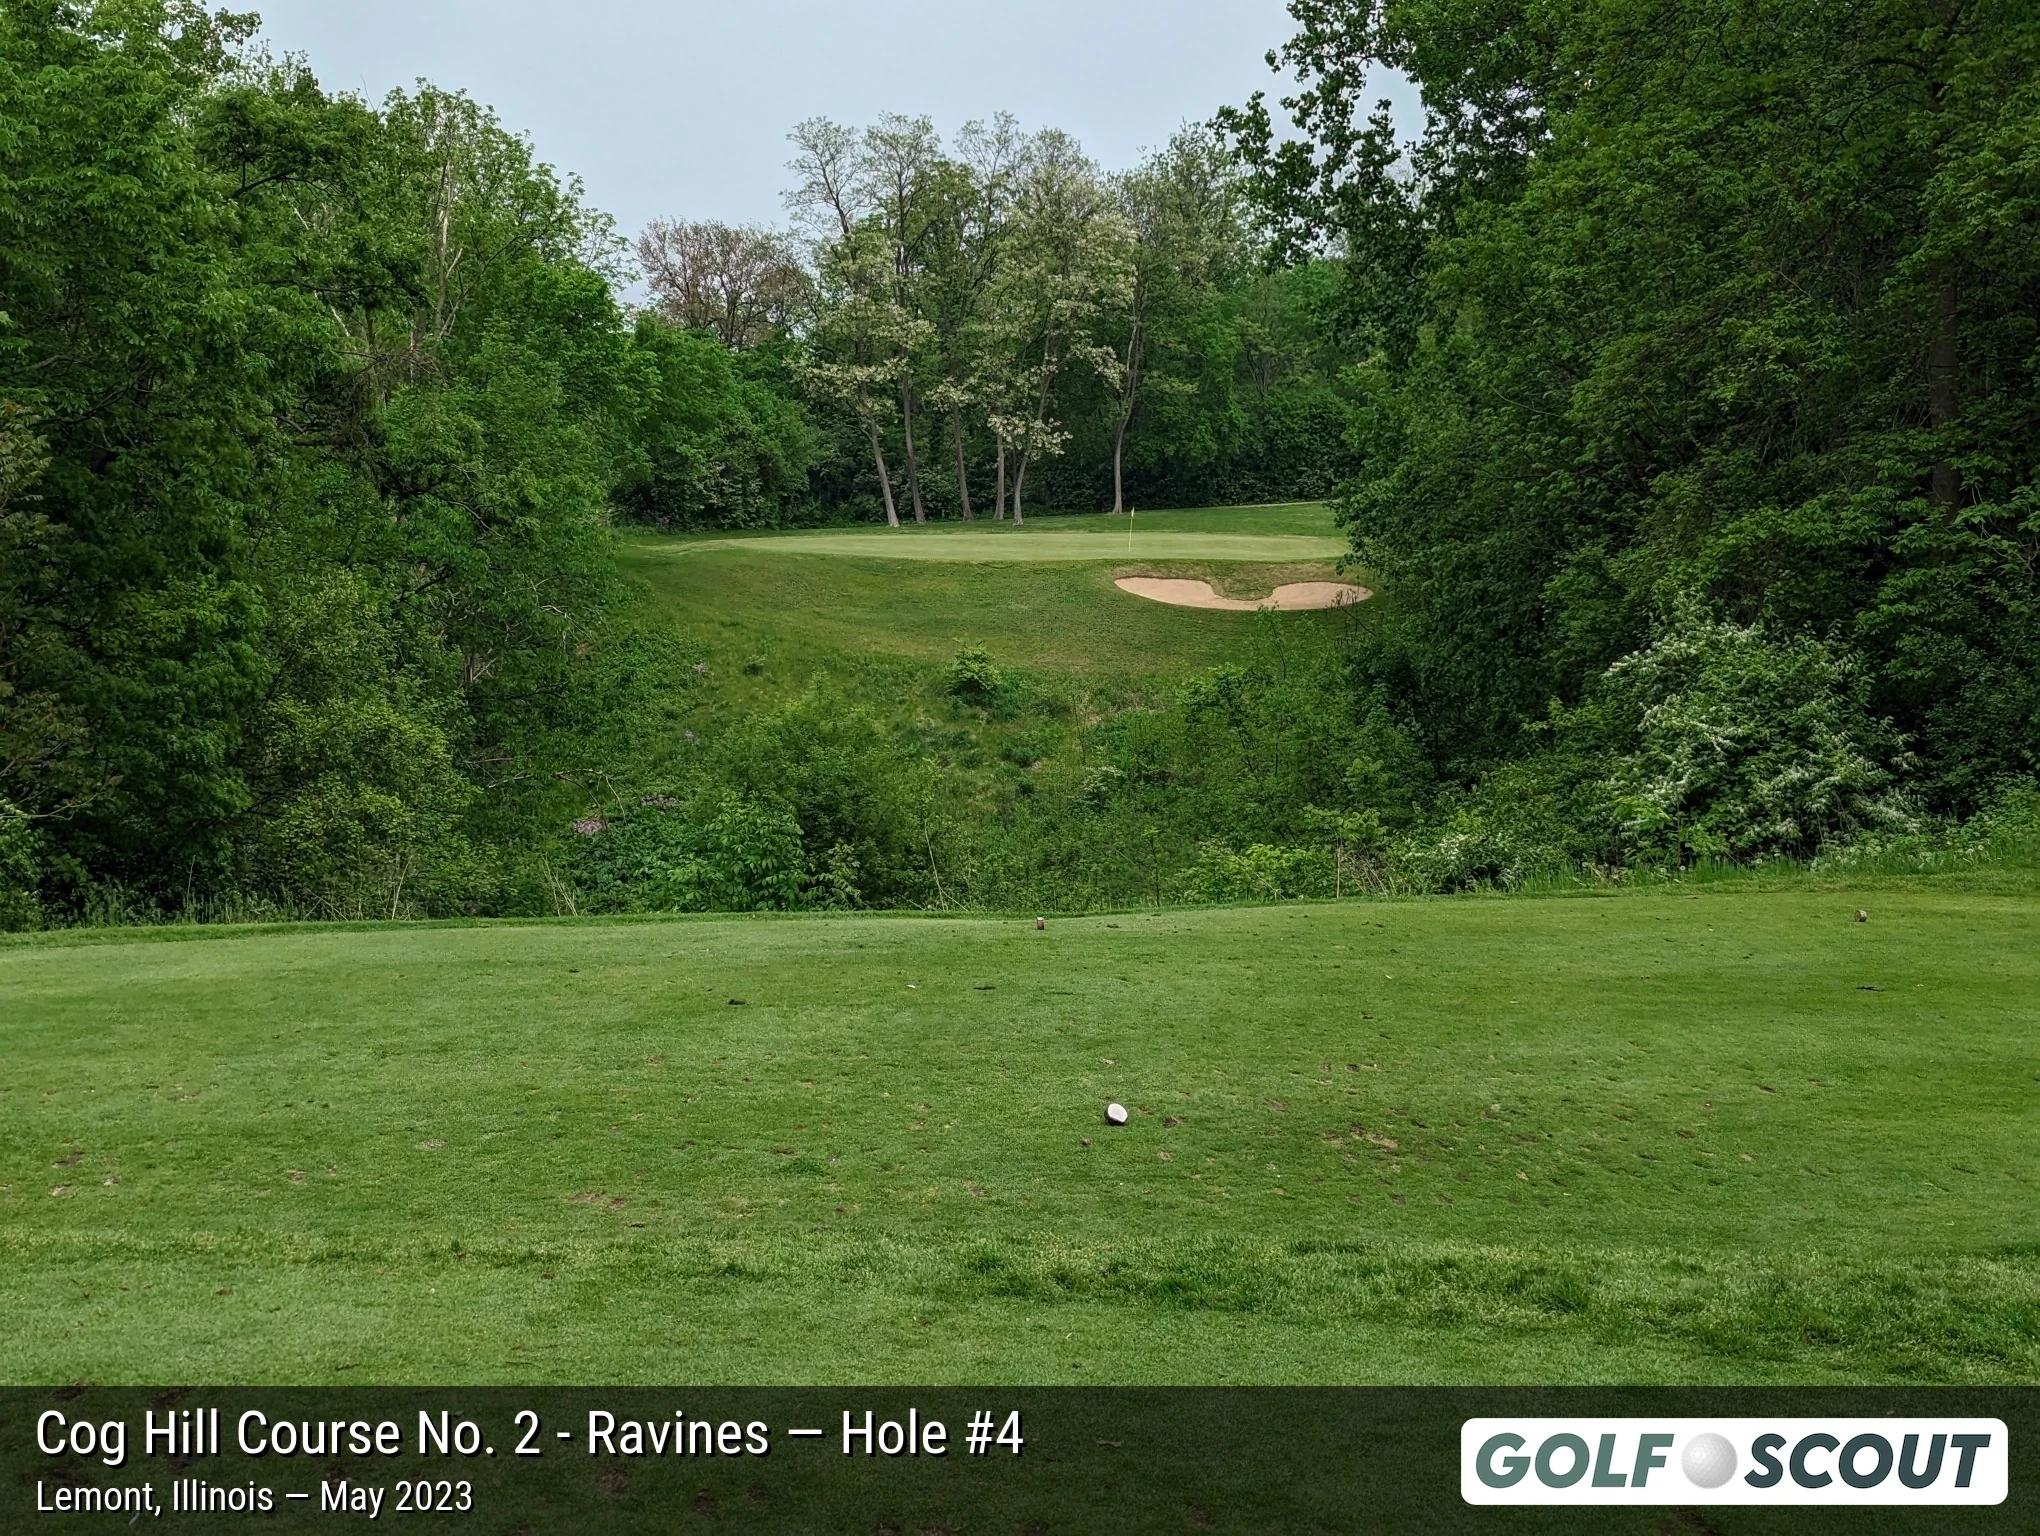
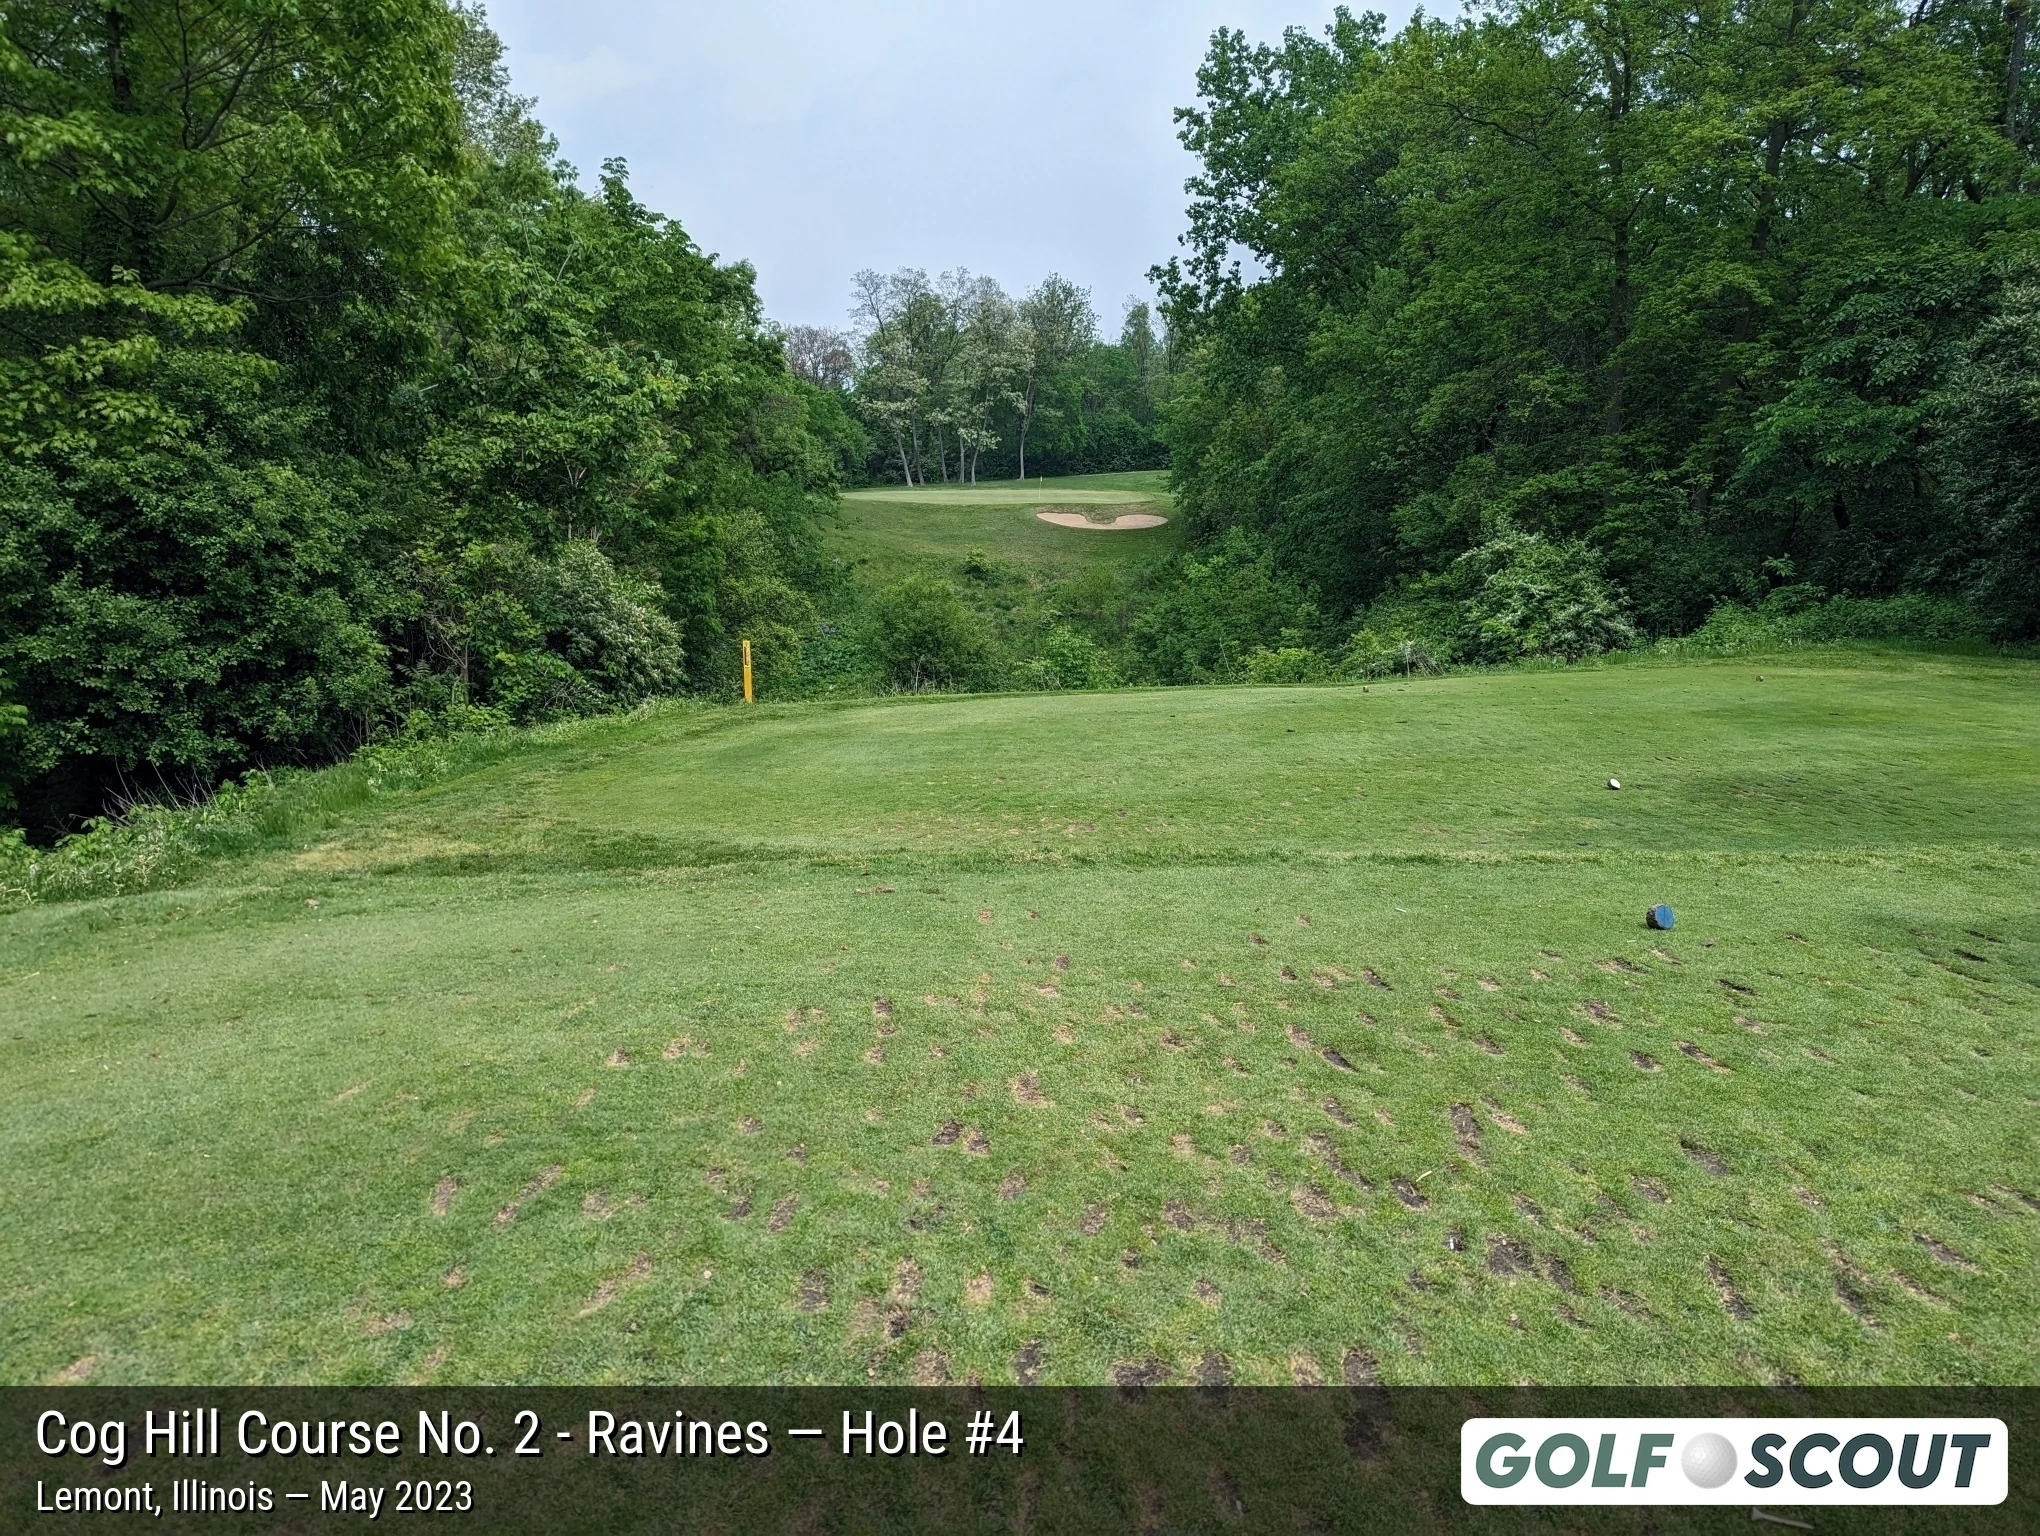
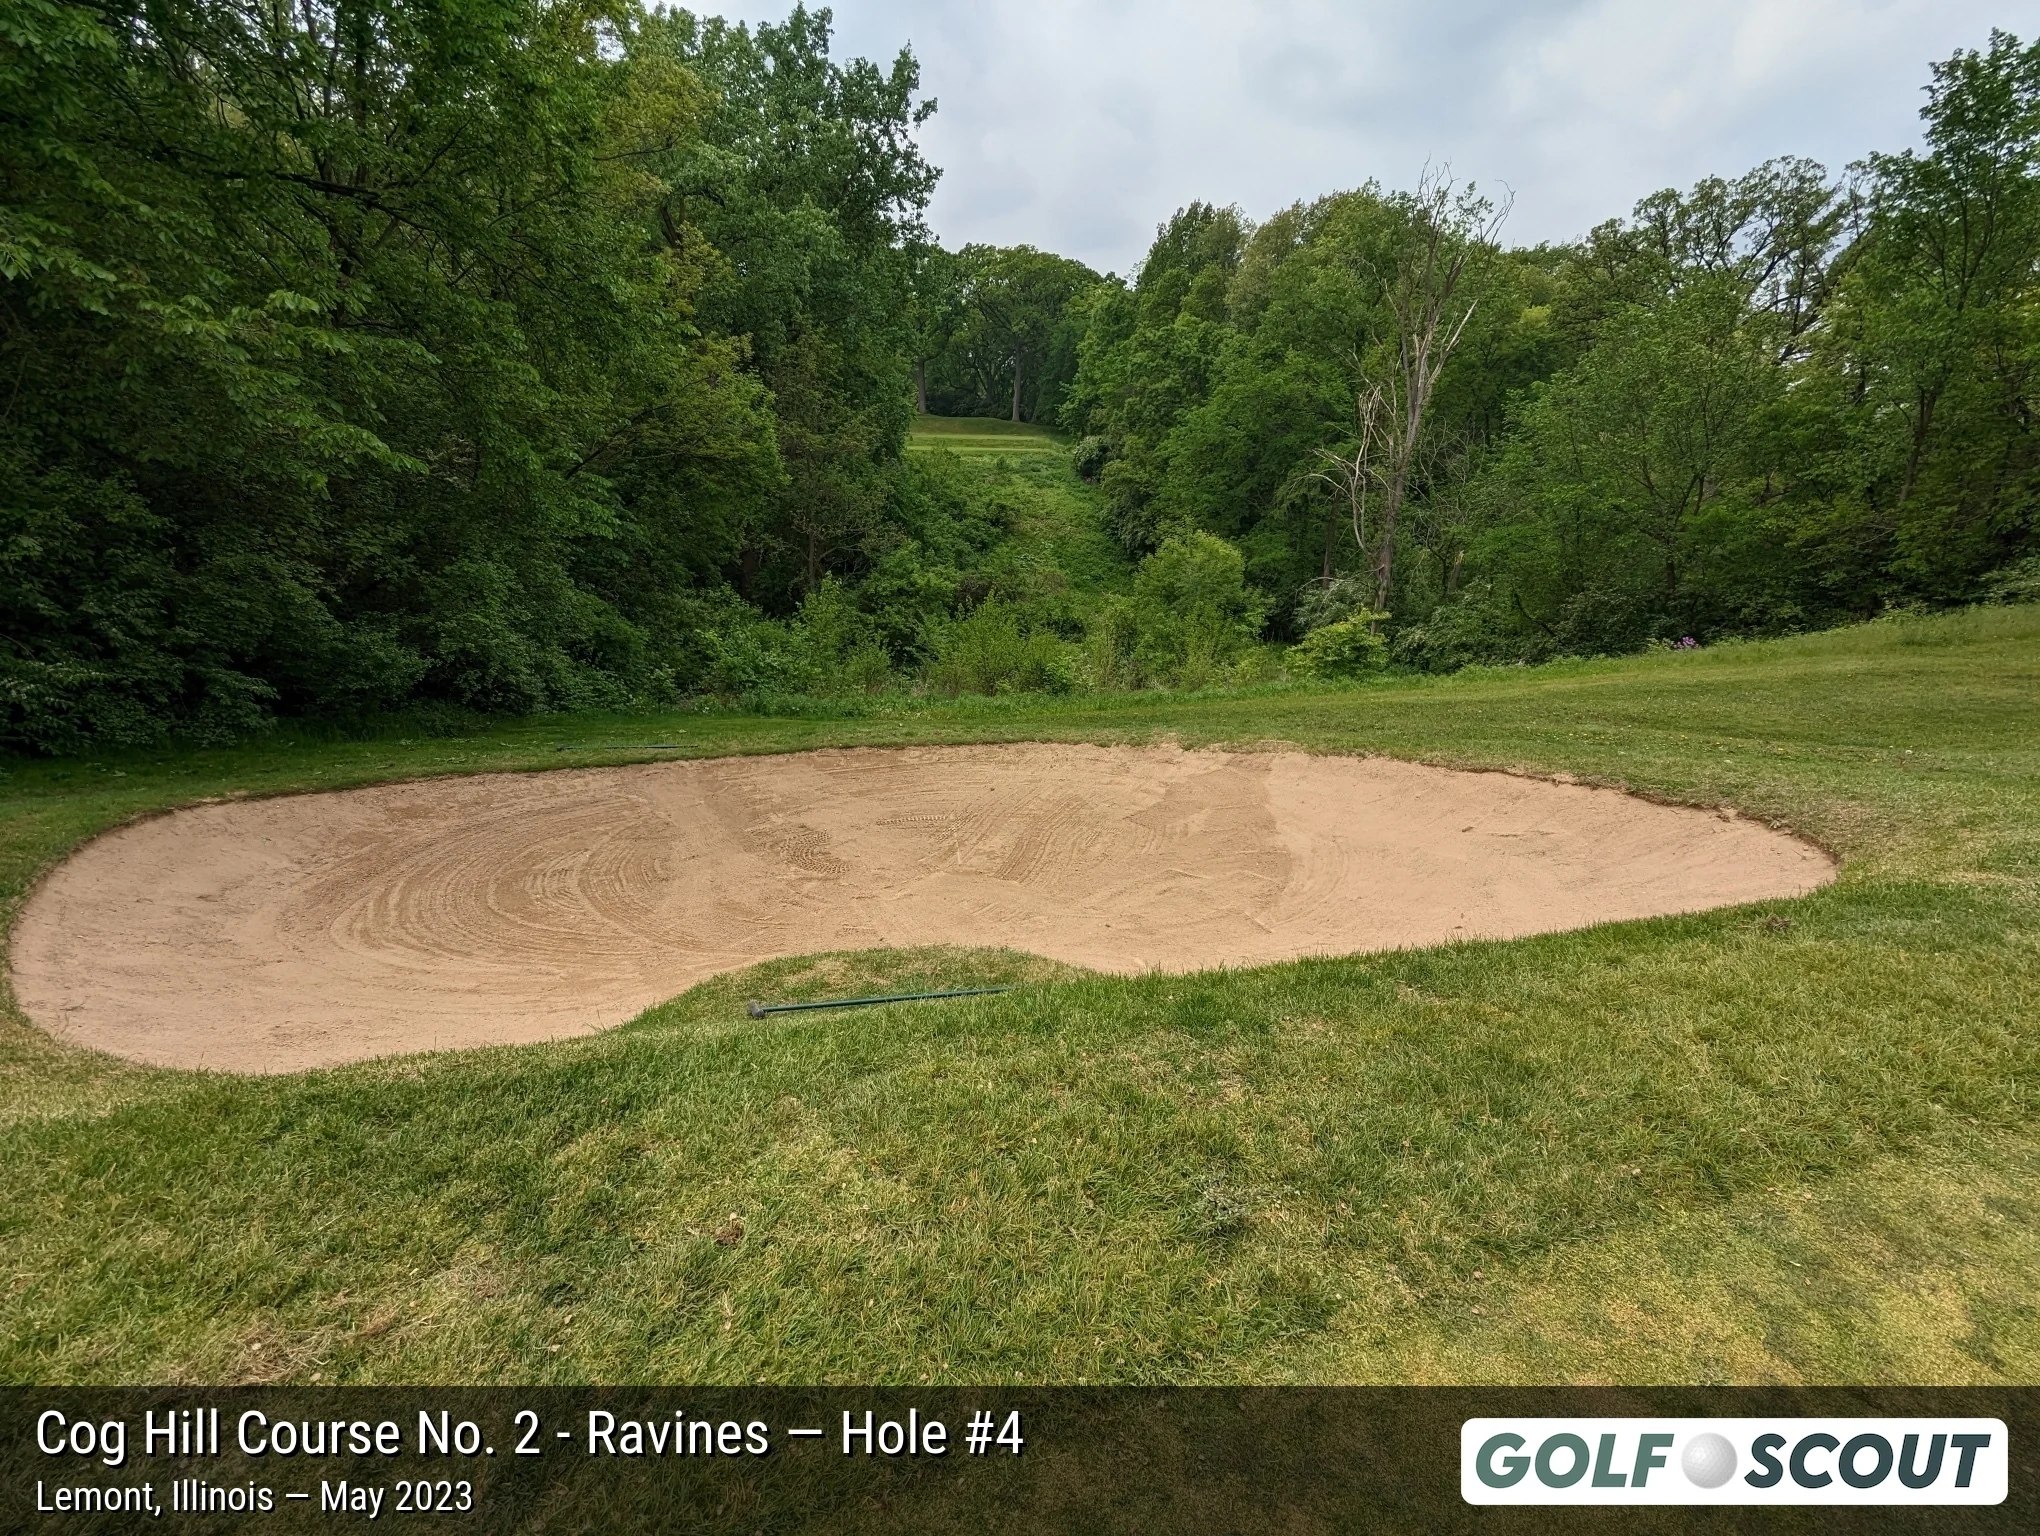
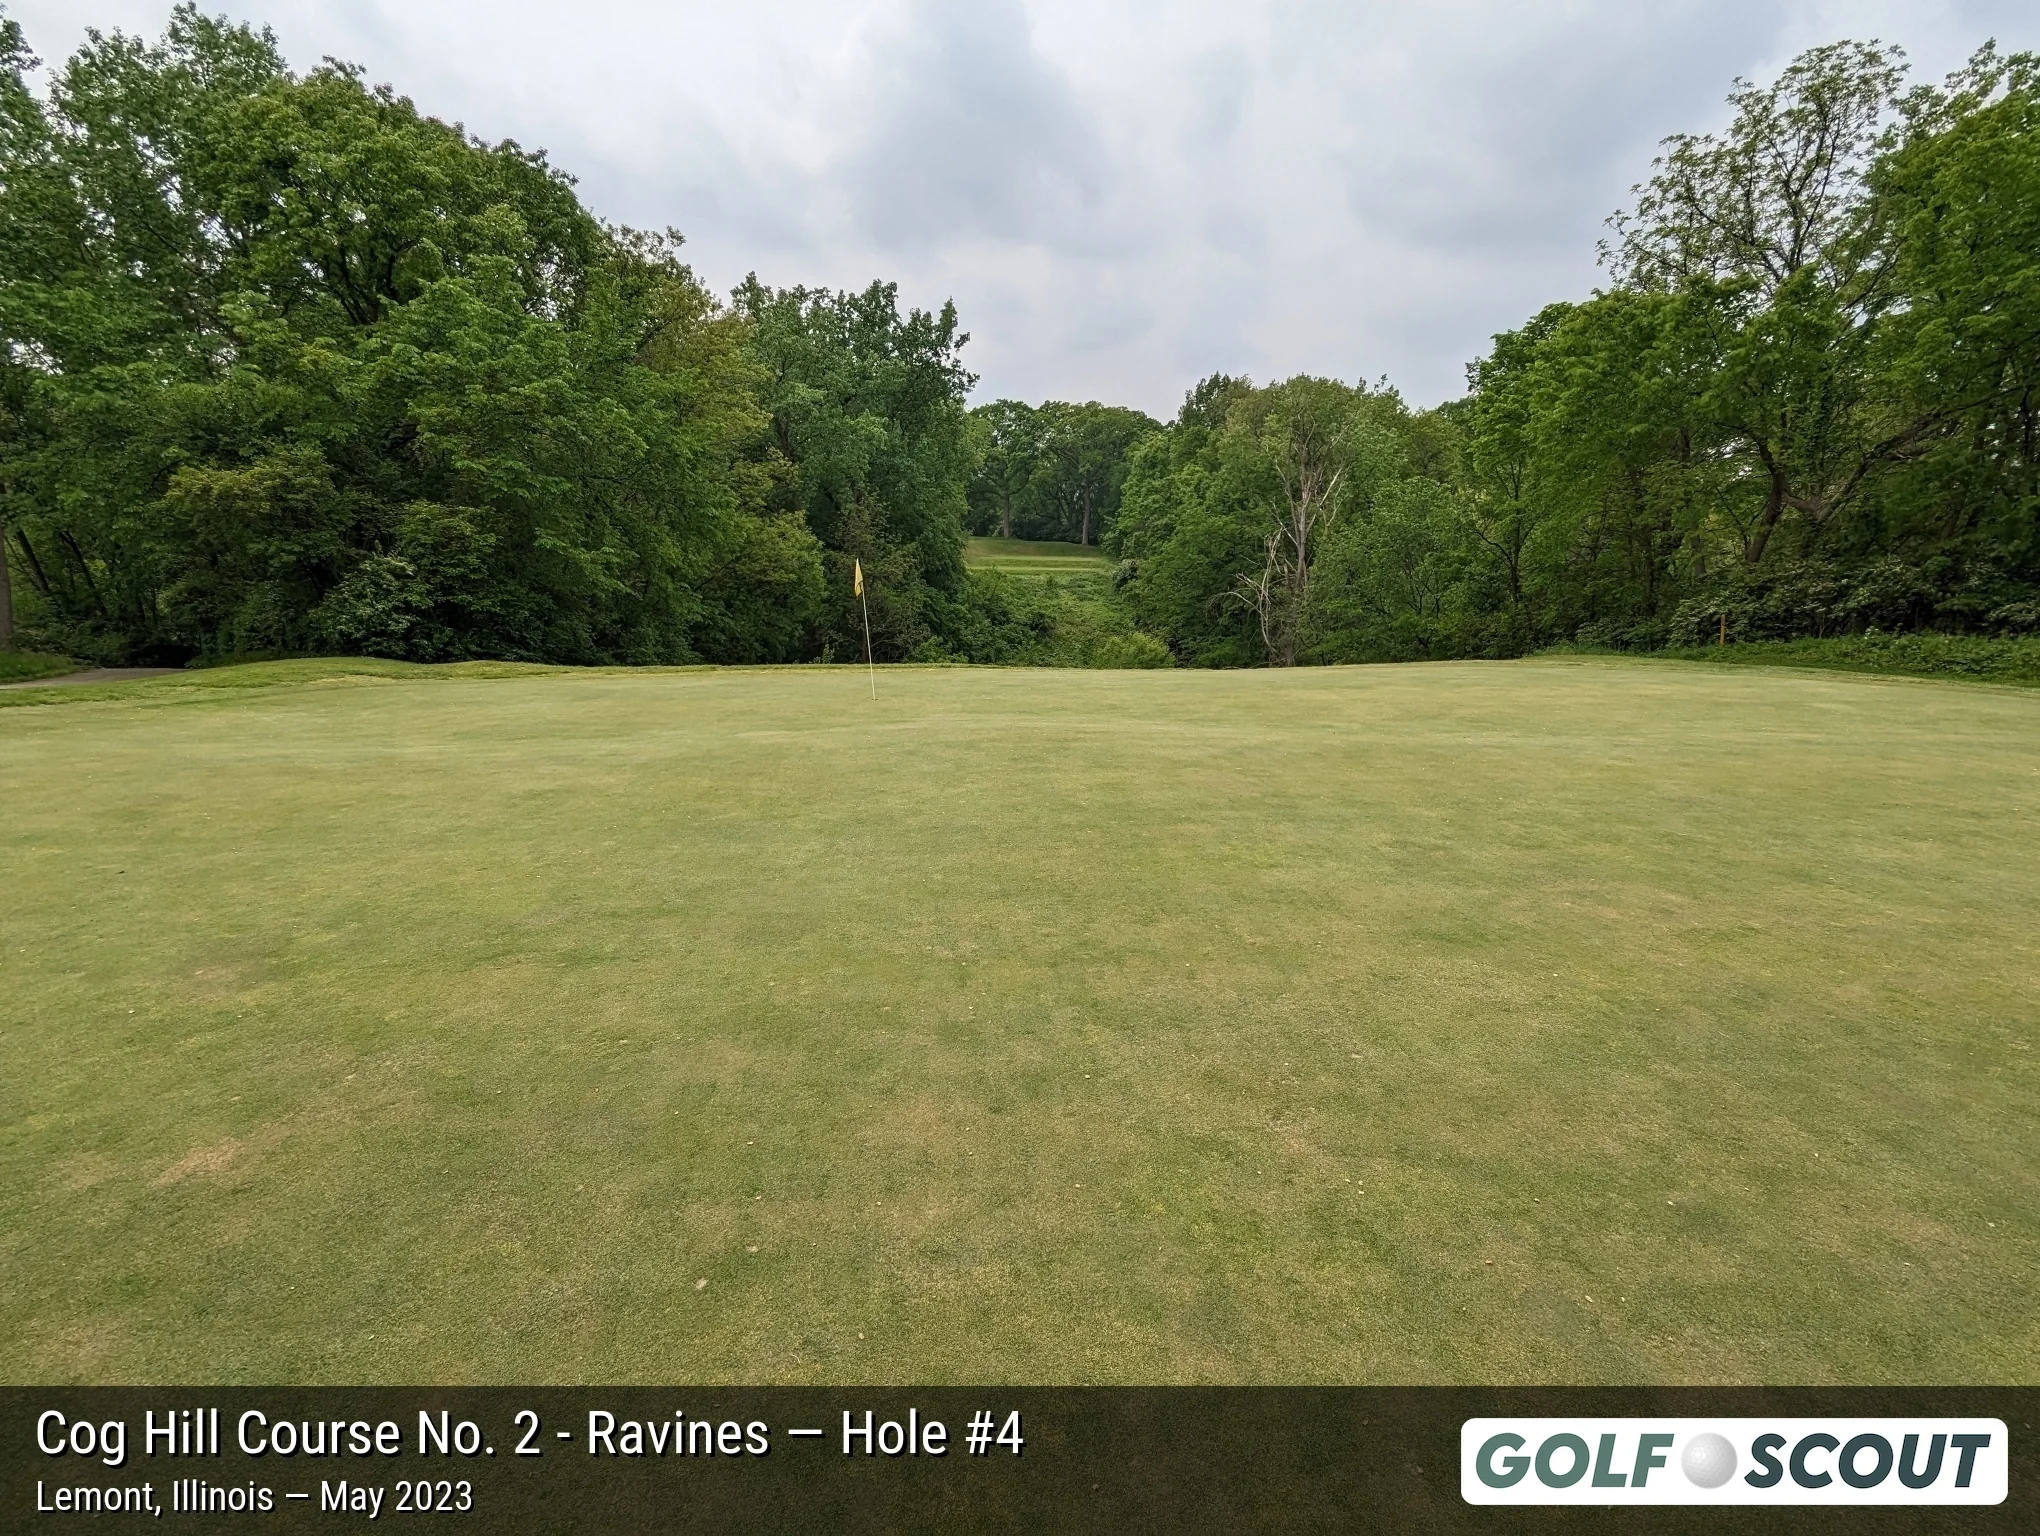
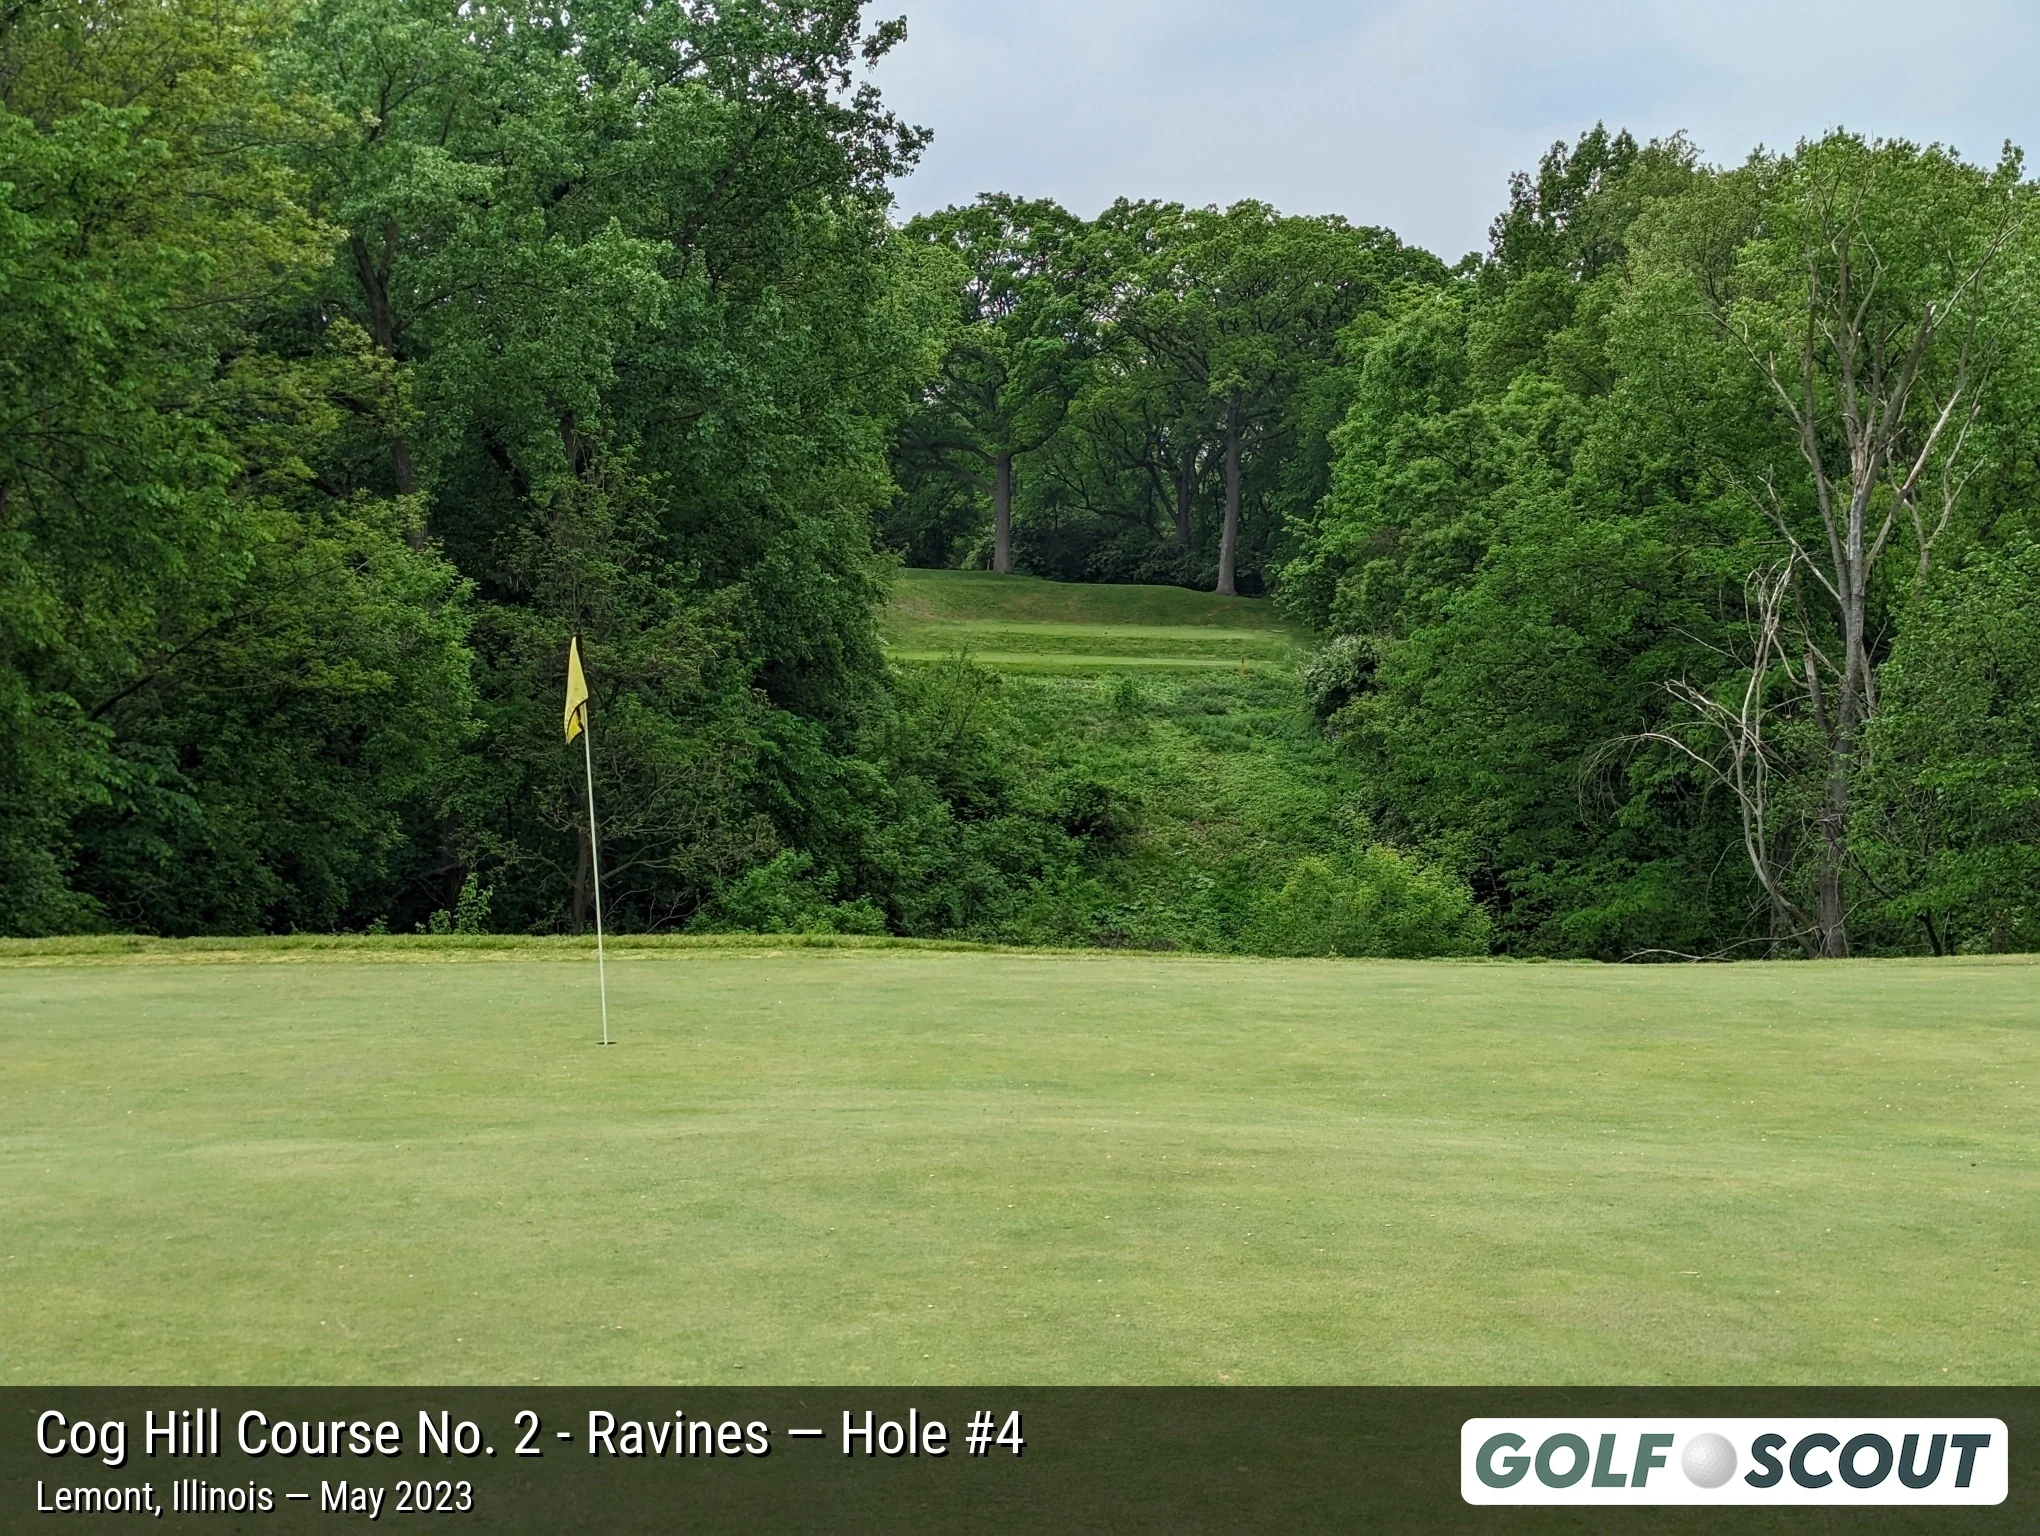
Last photo is typically a reverse angle from behind the green.
Hole 5
5 photos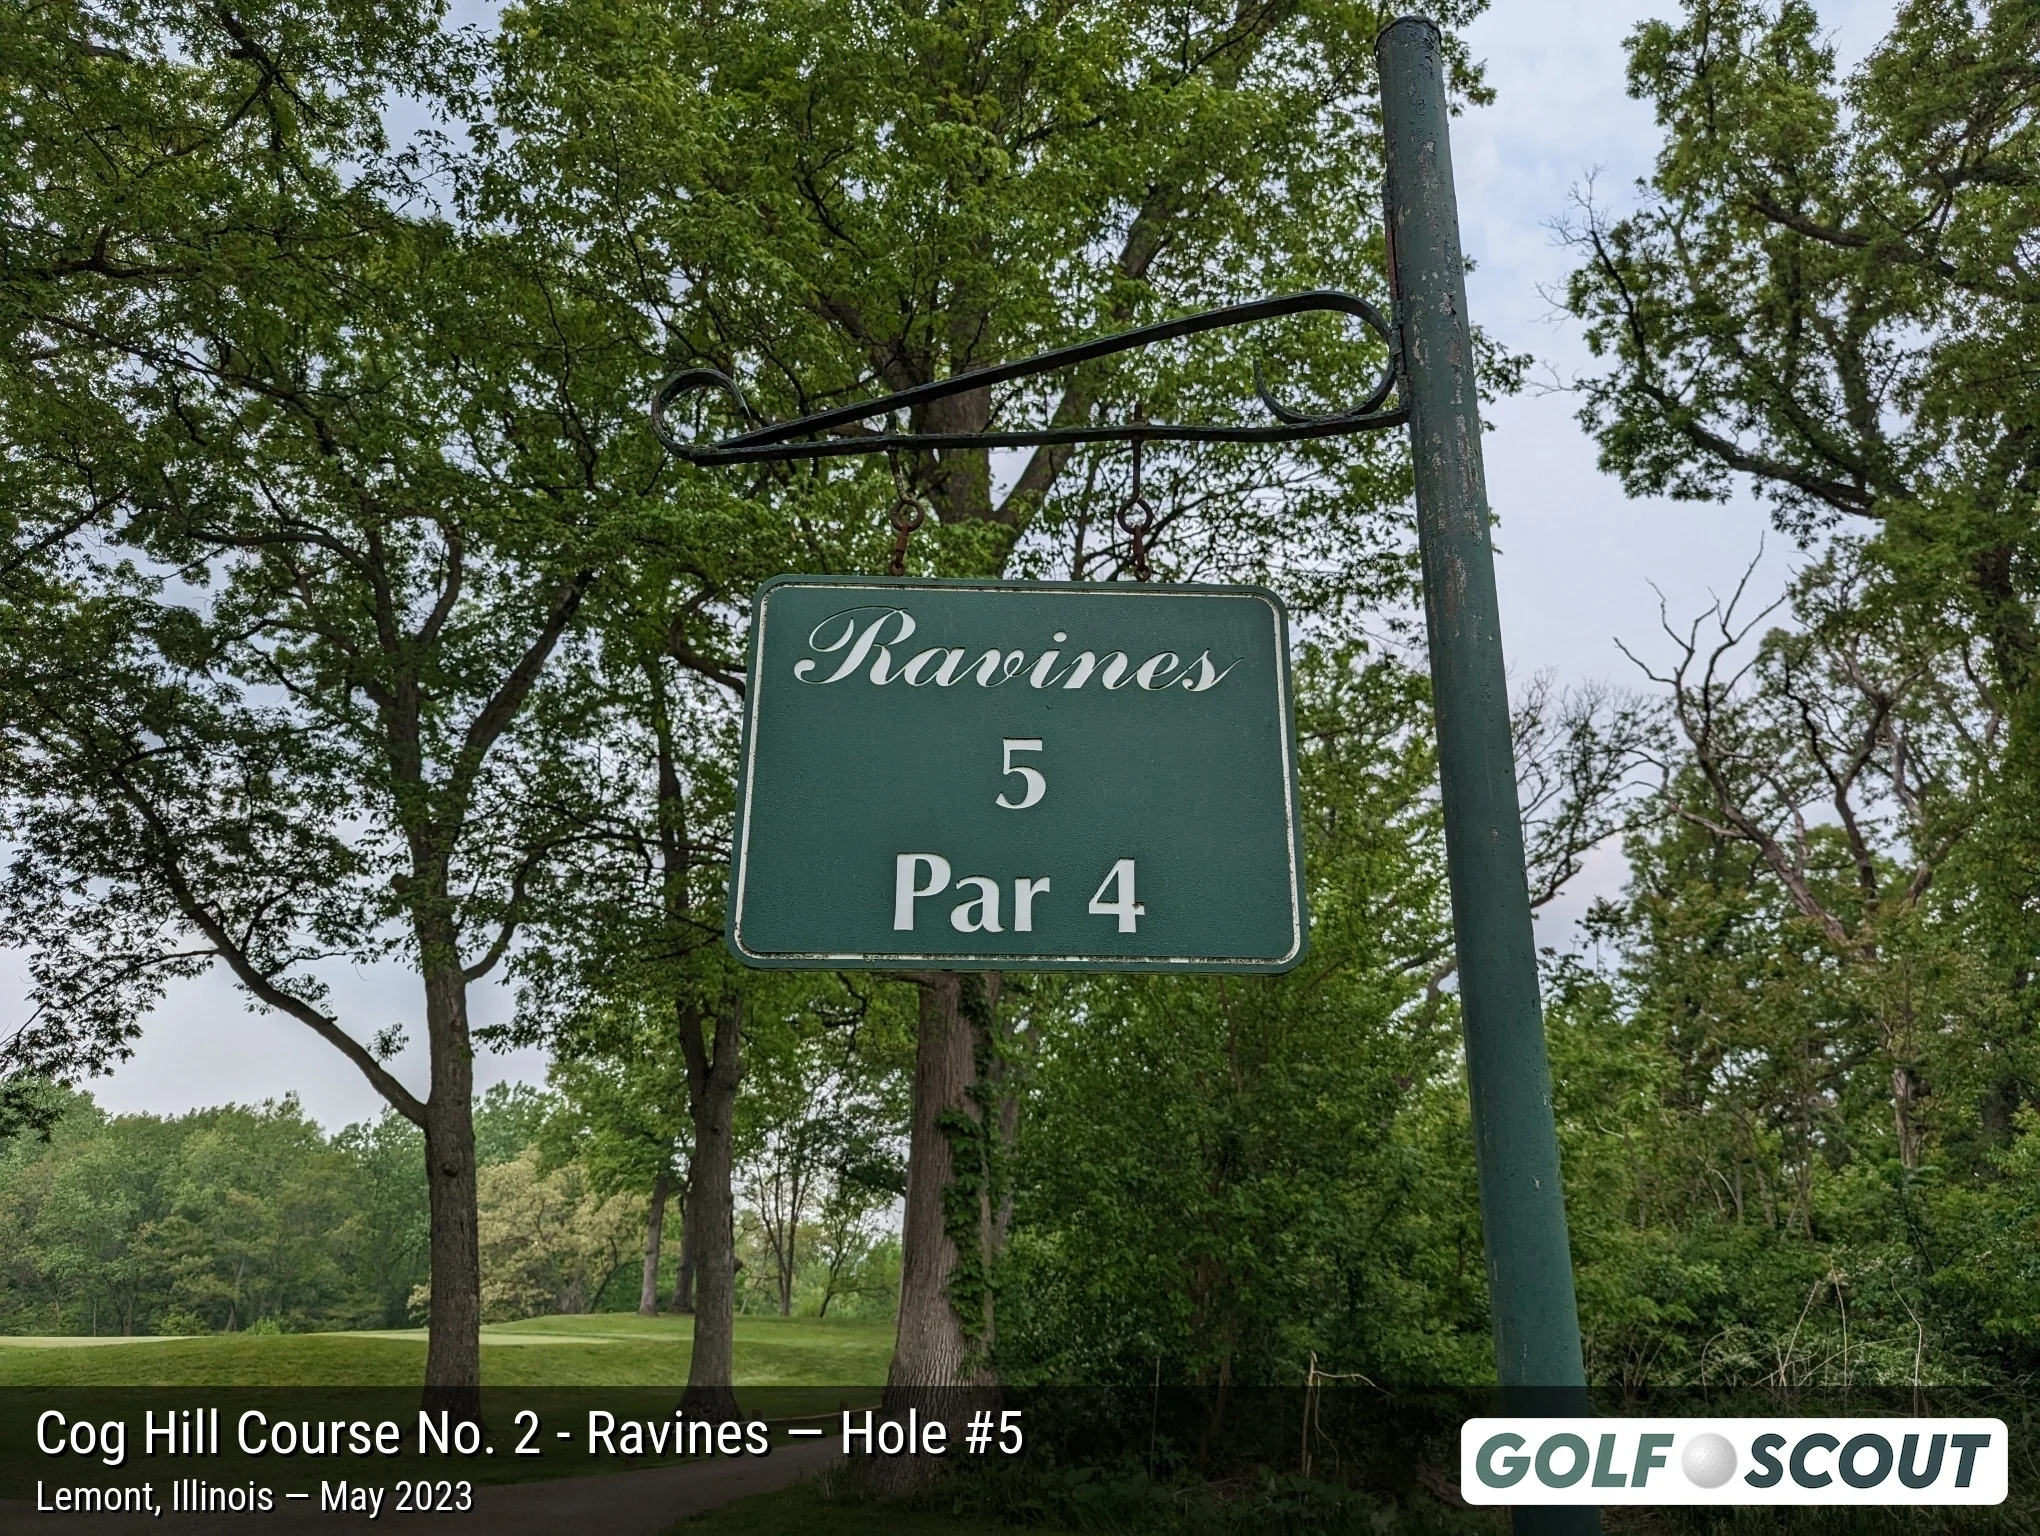
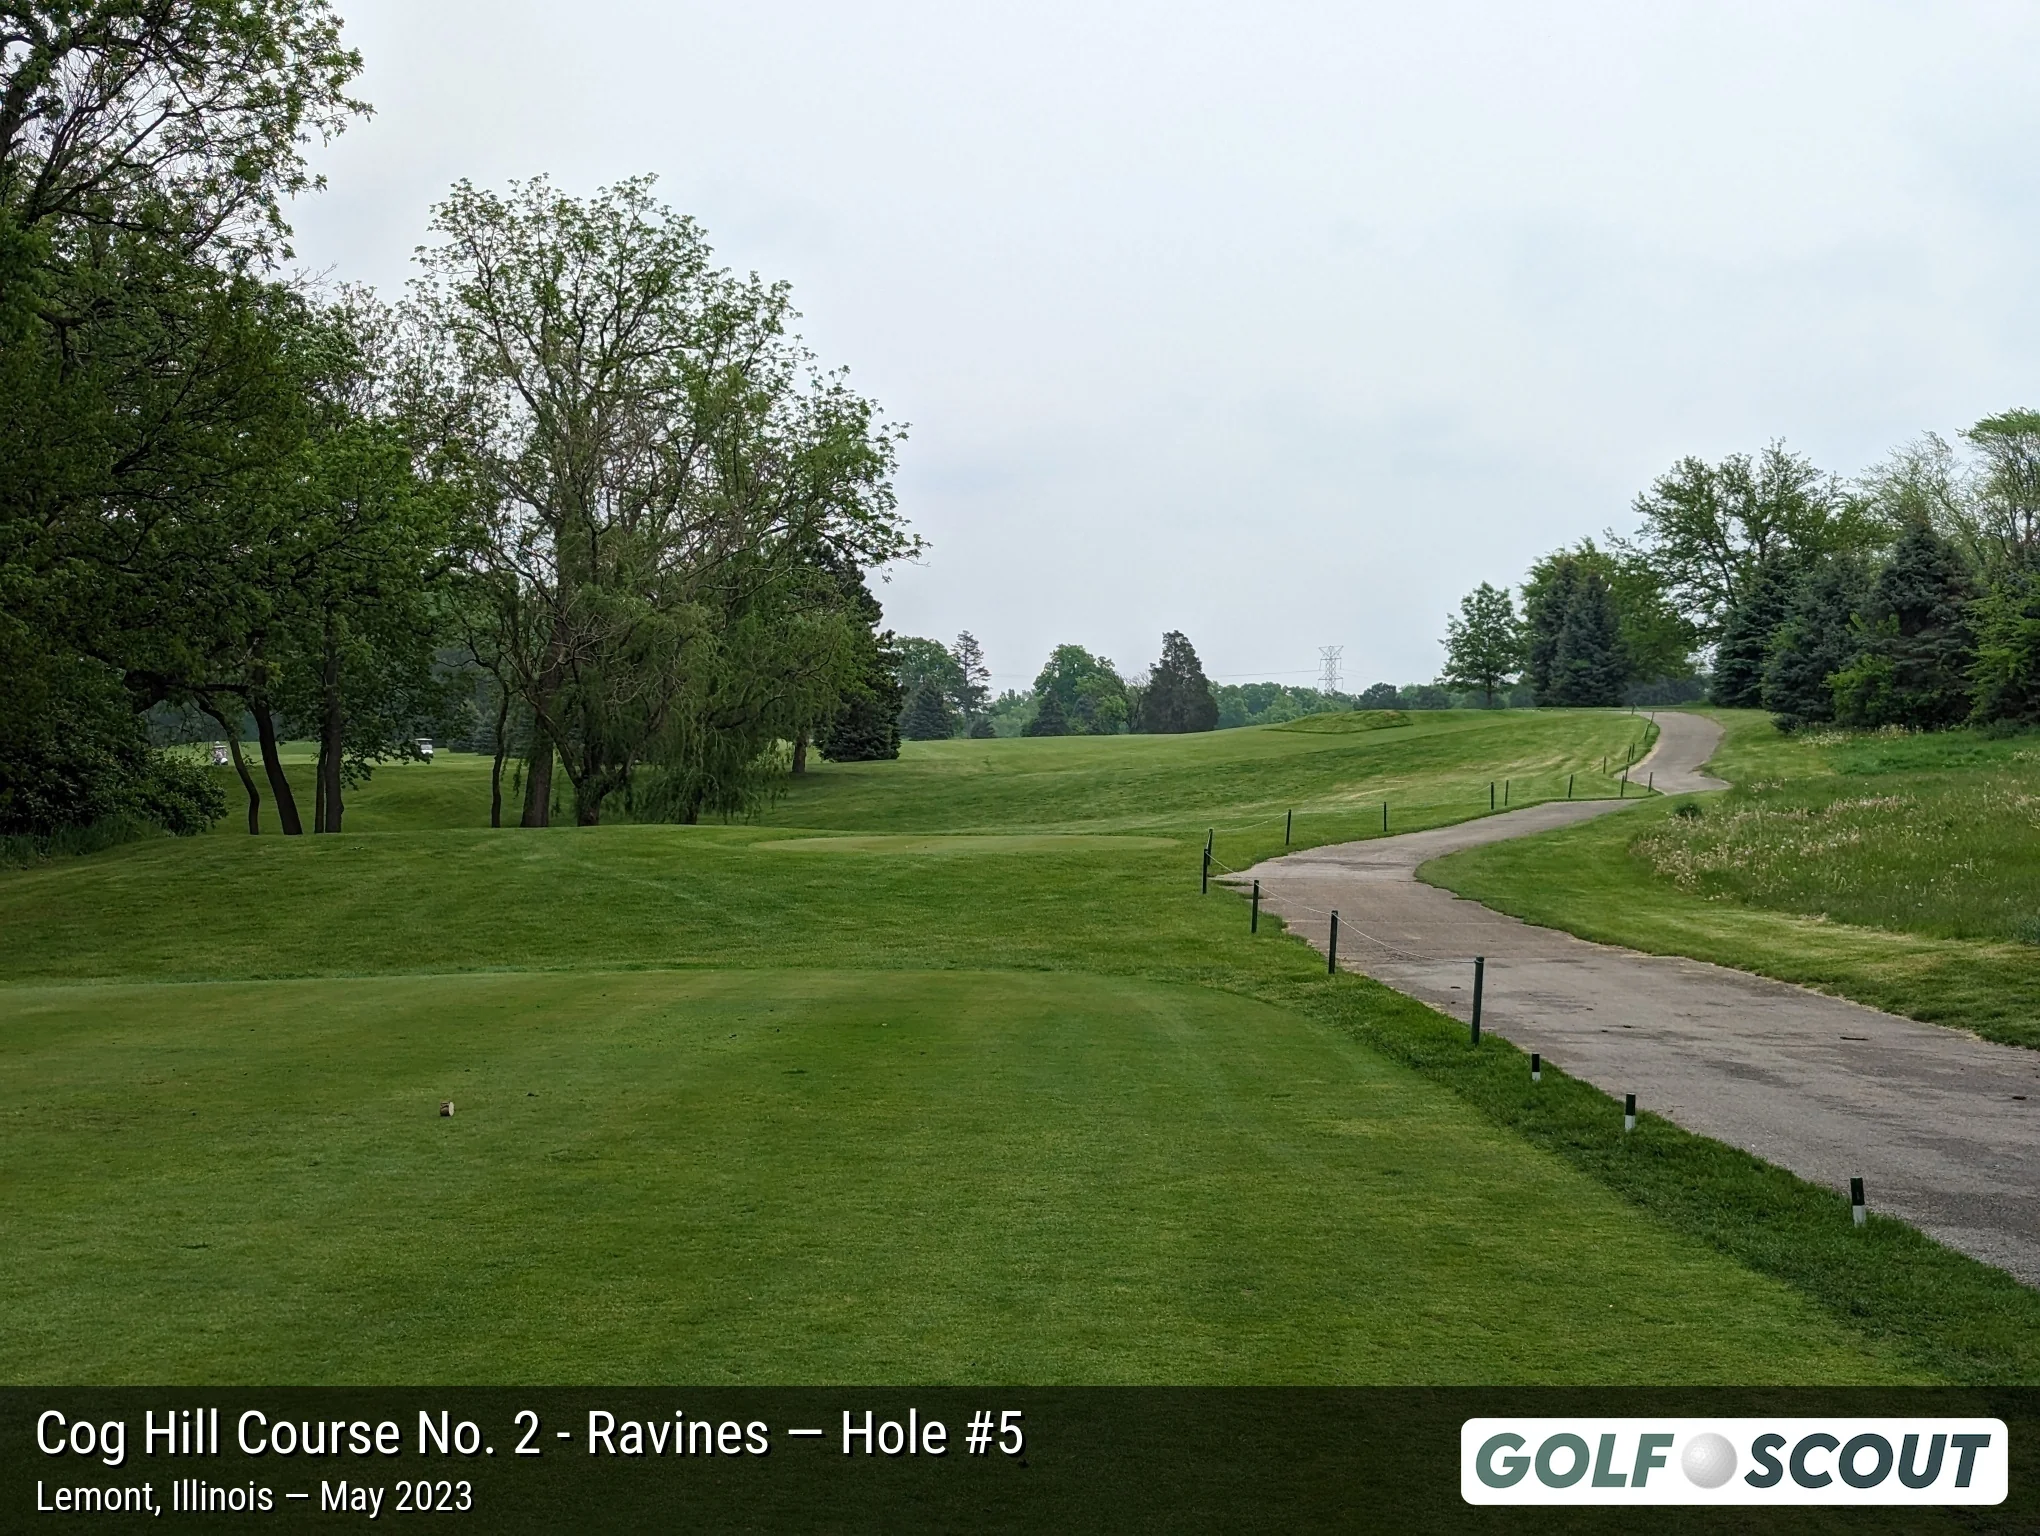
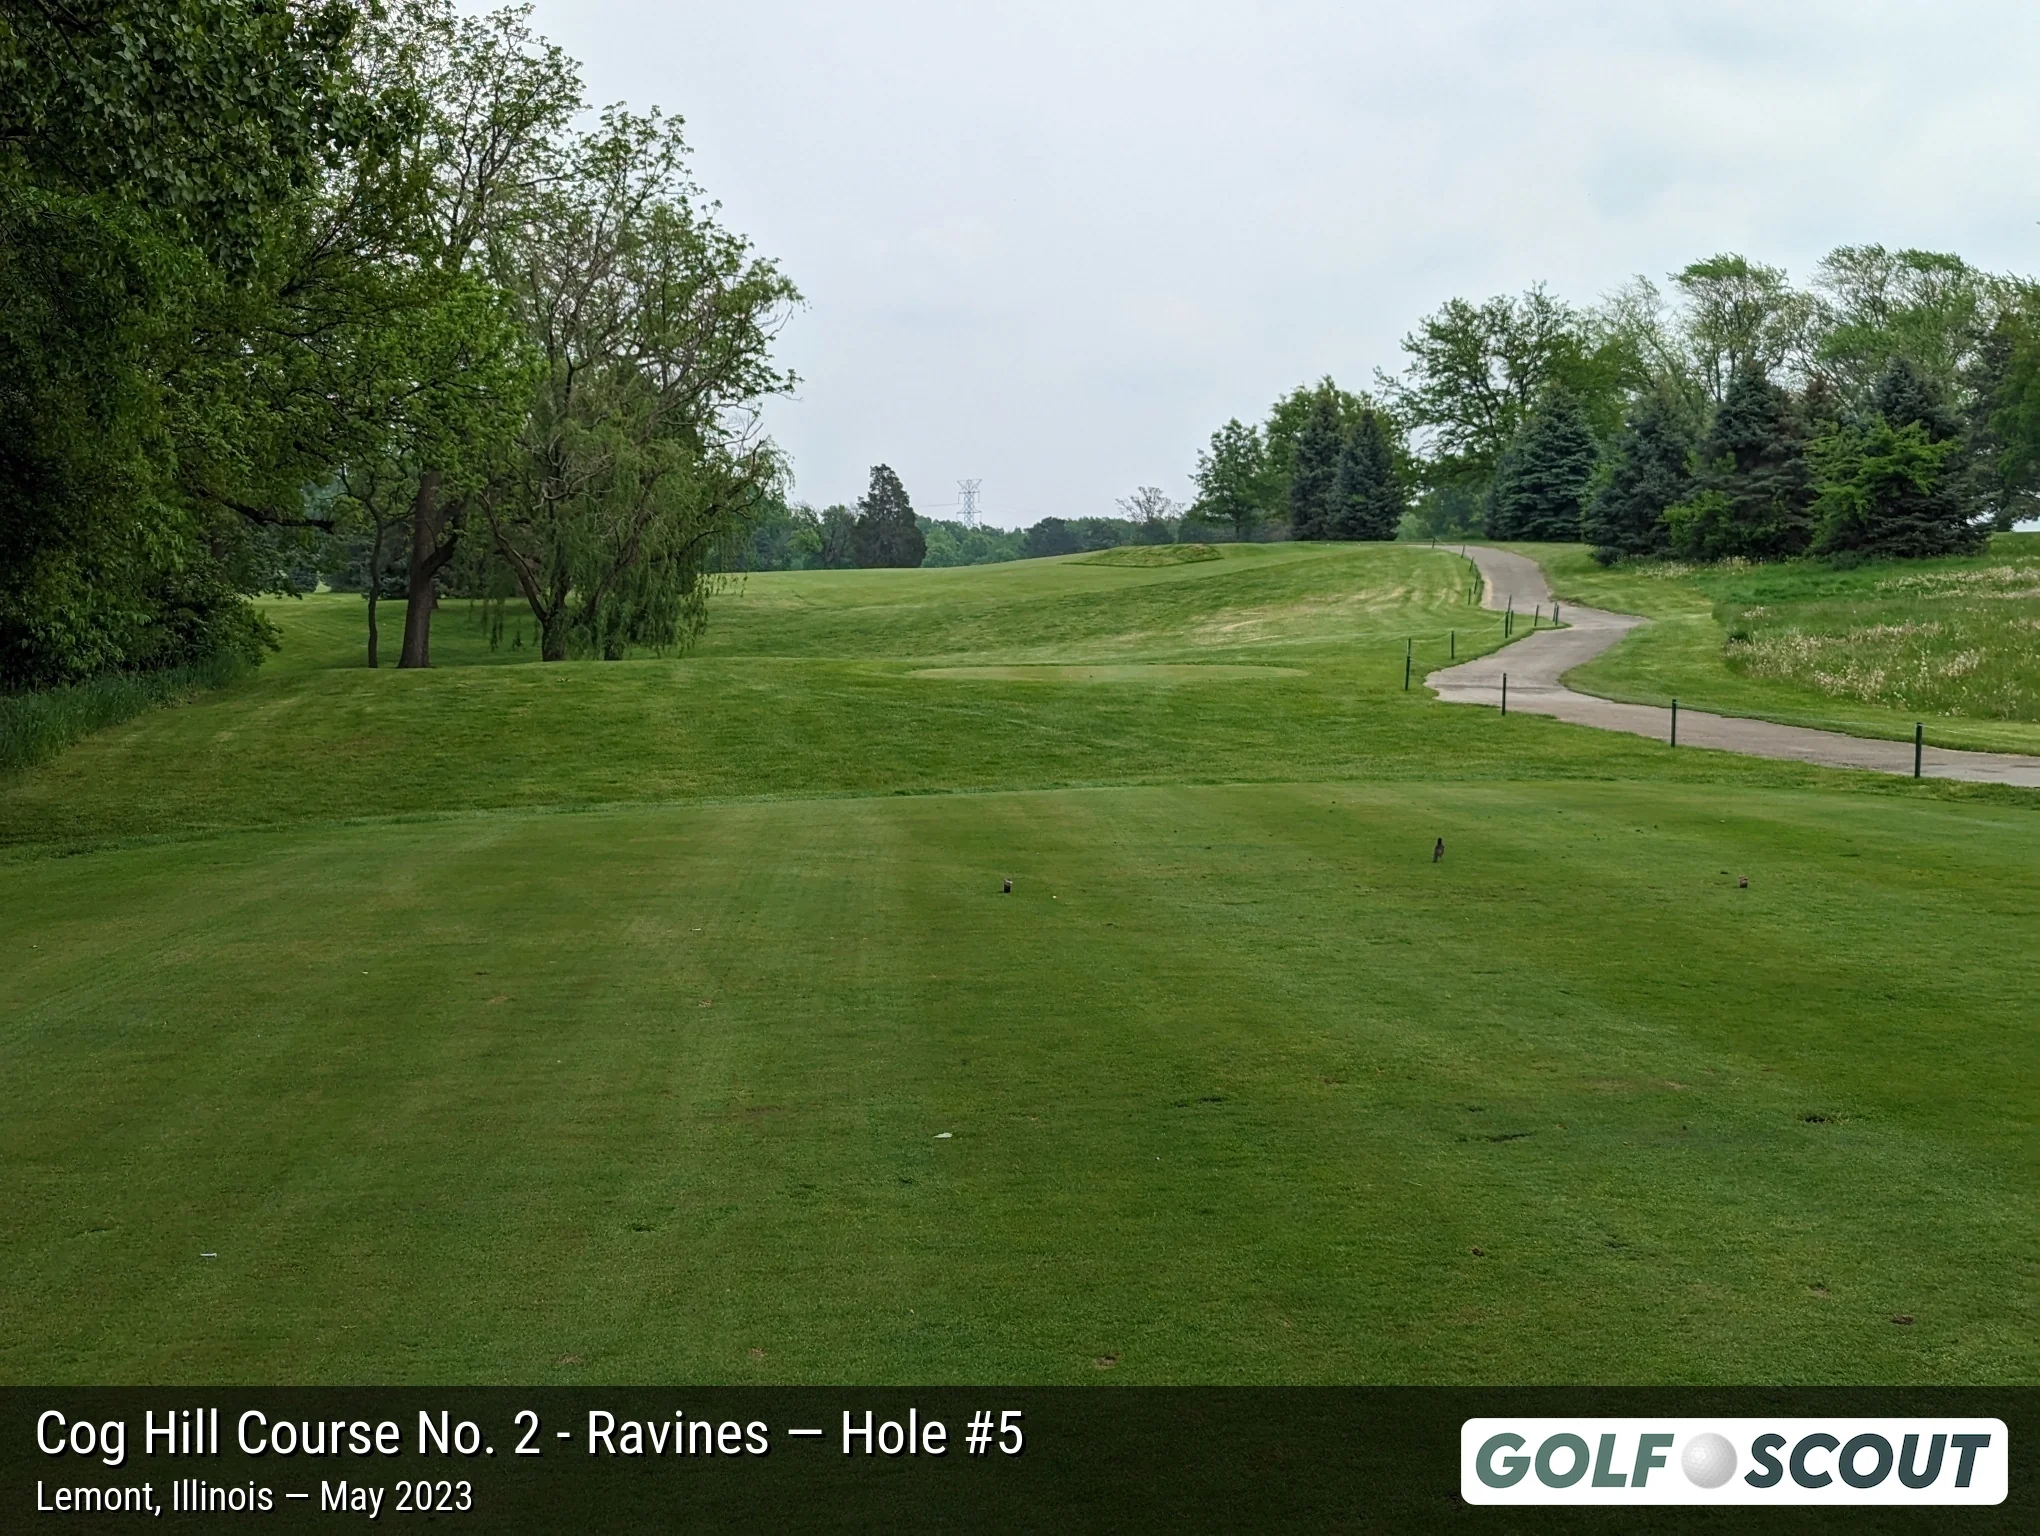
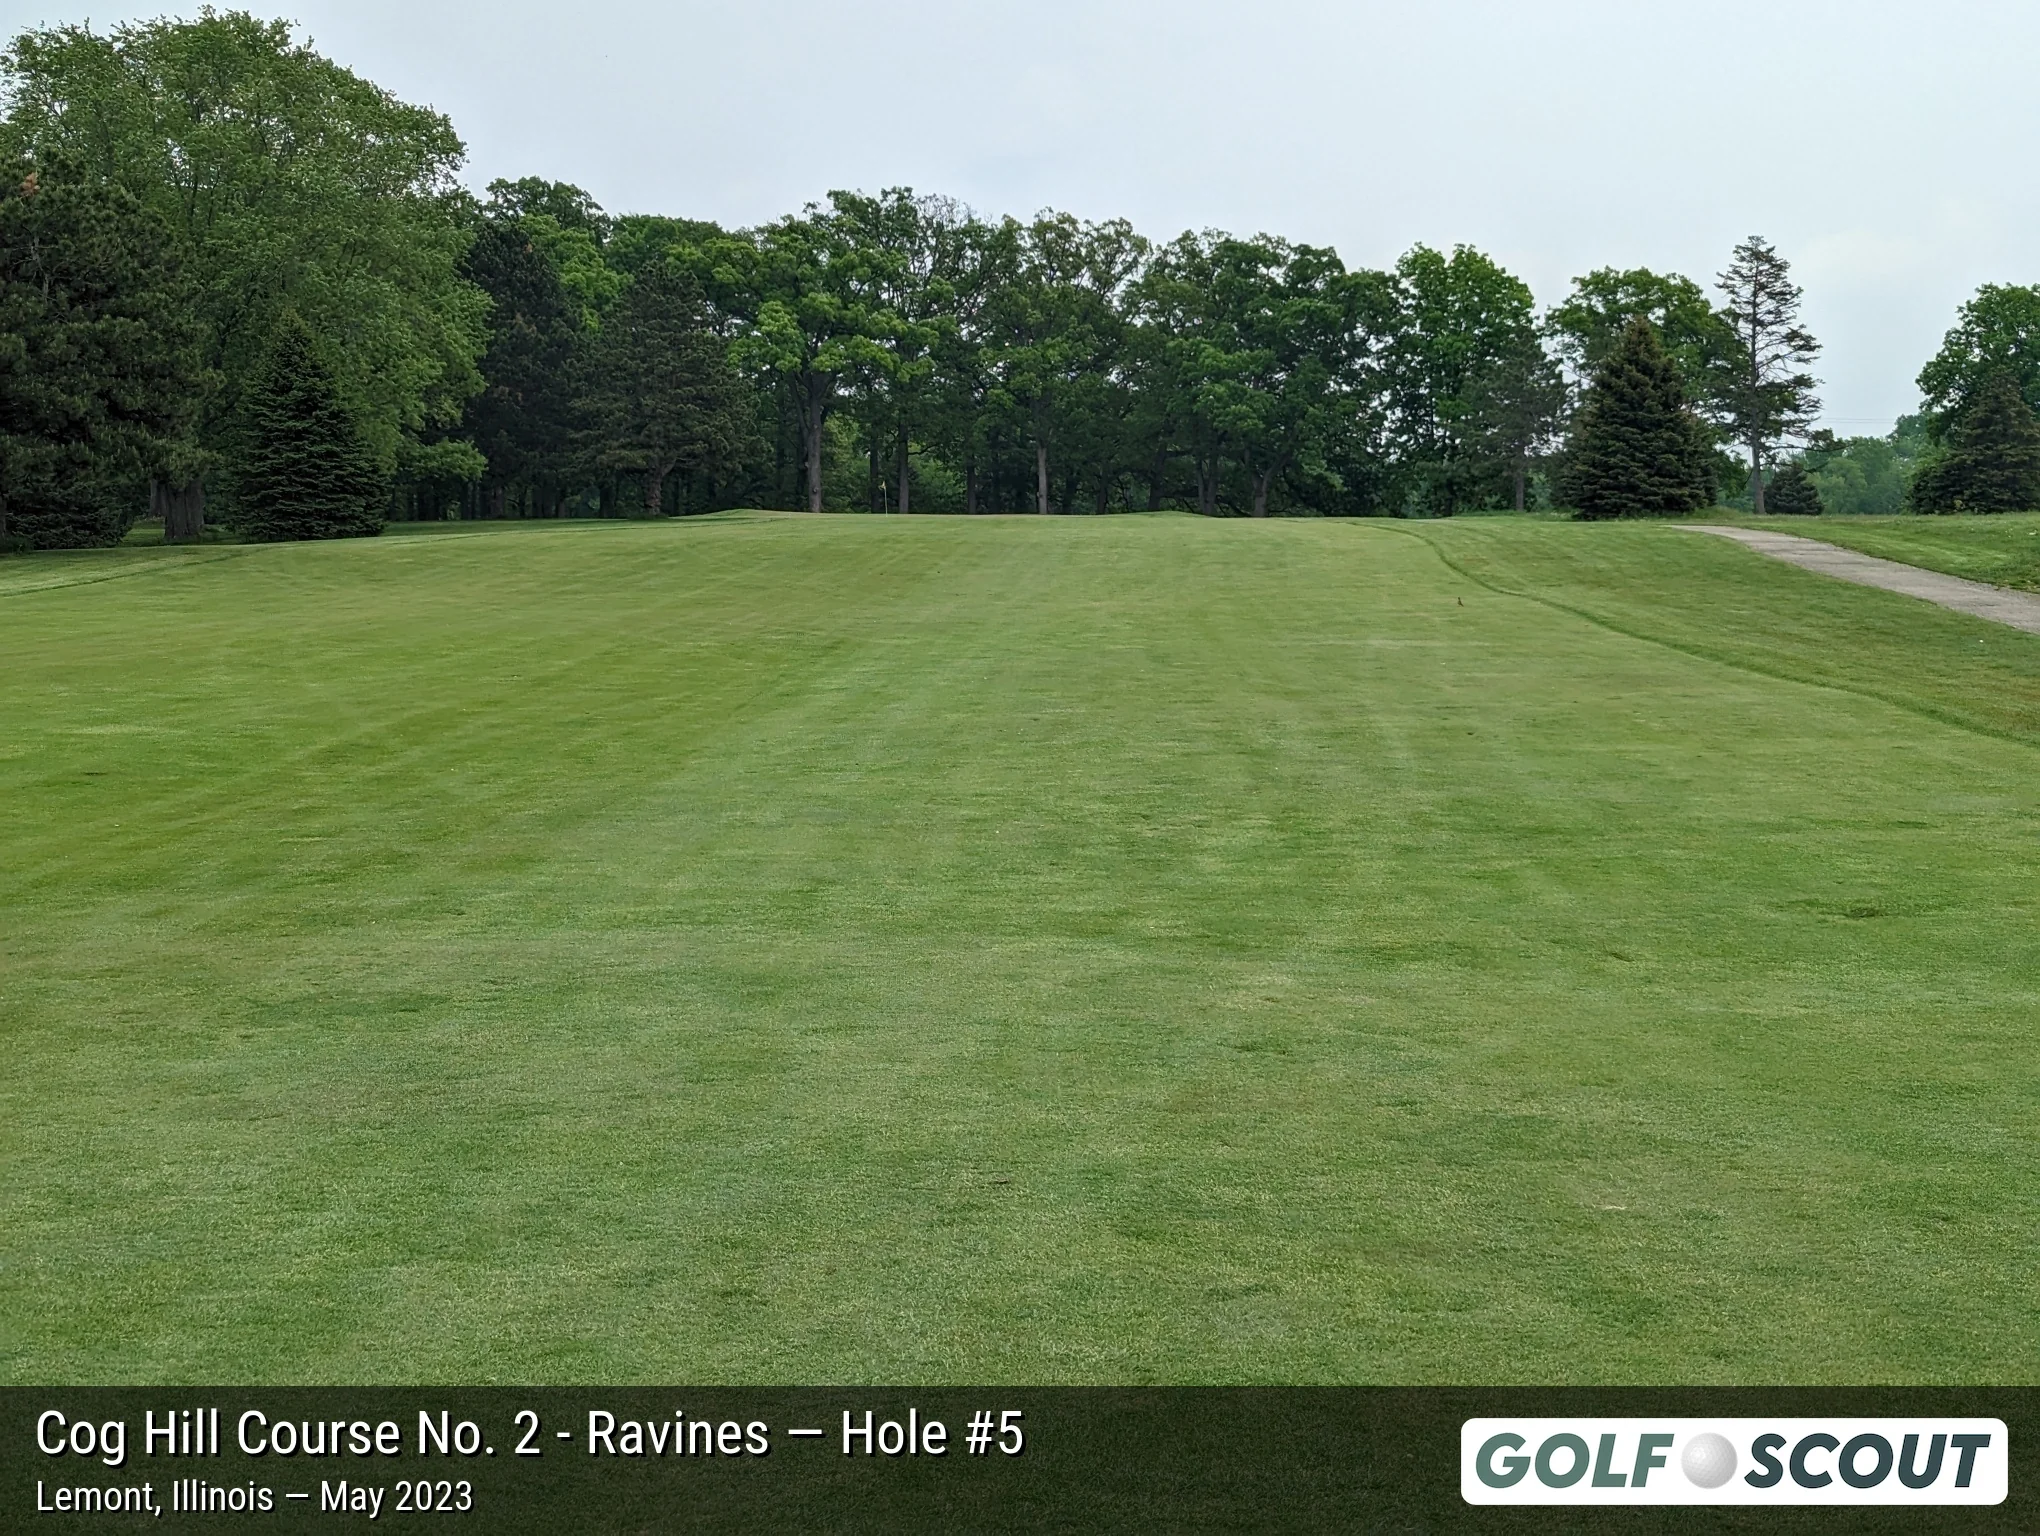
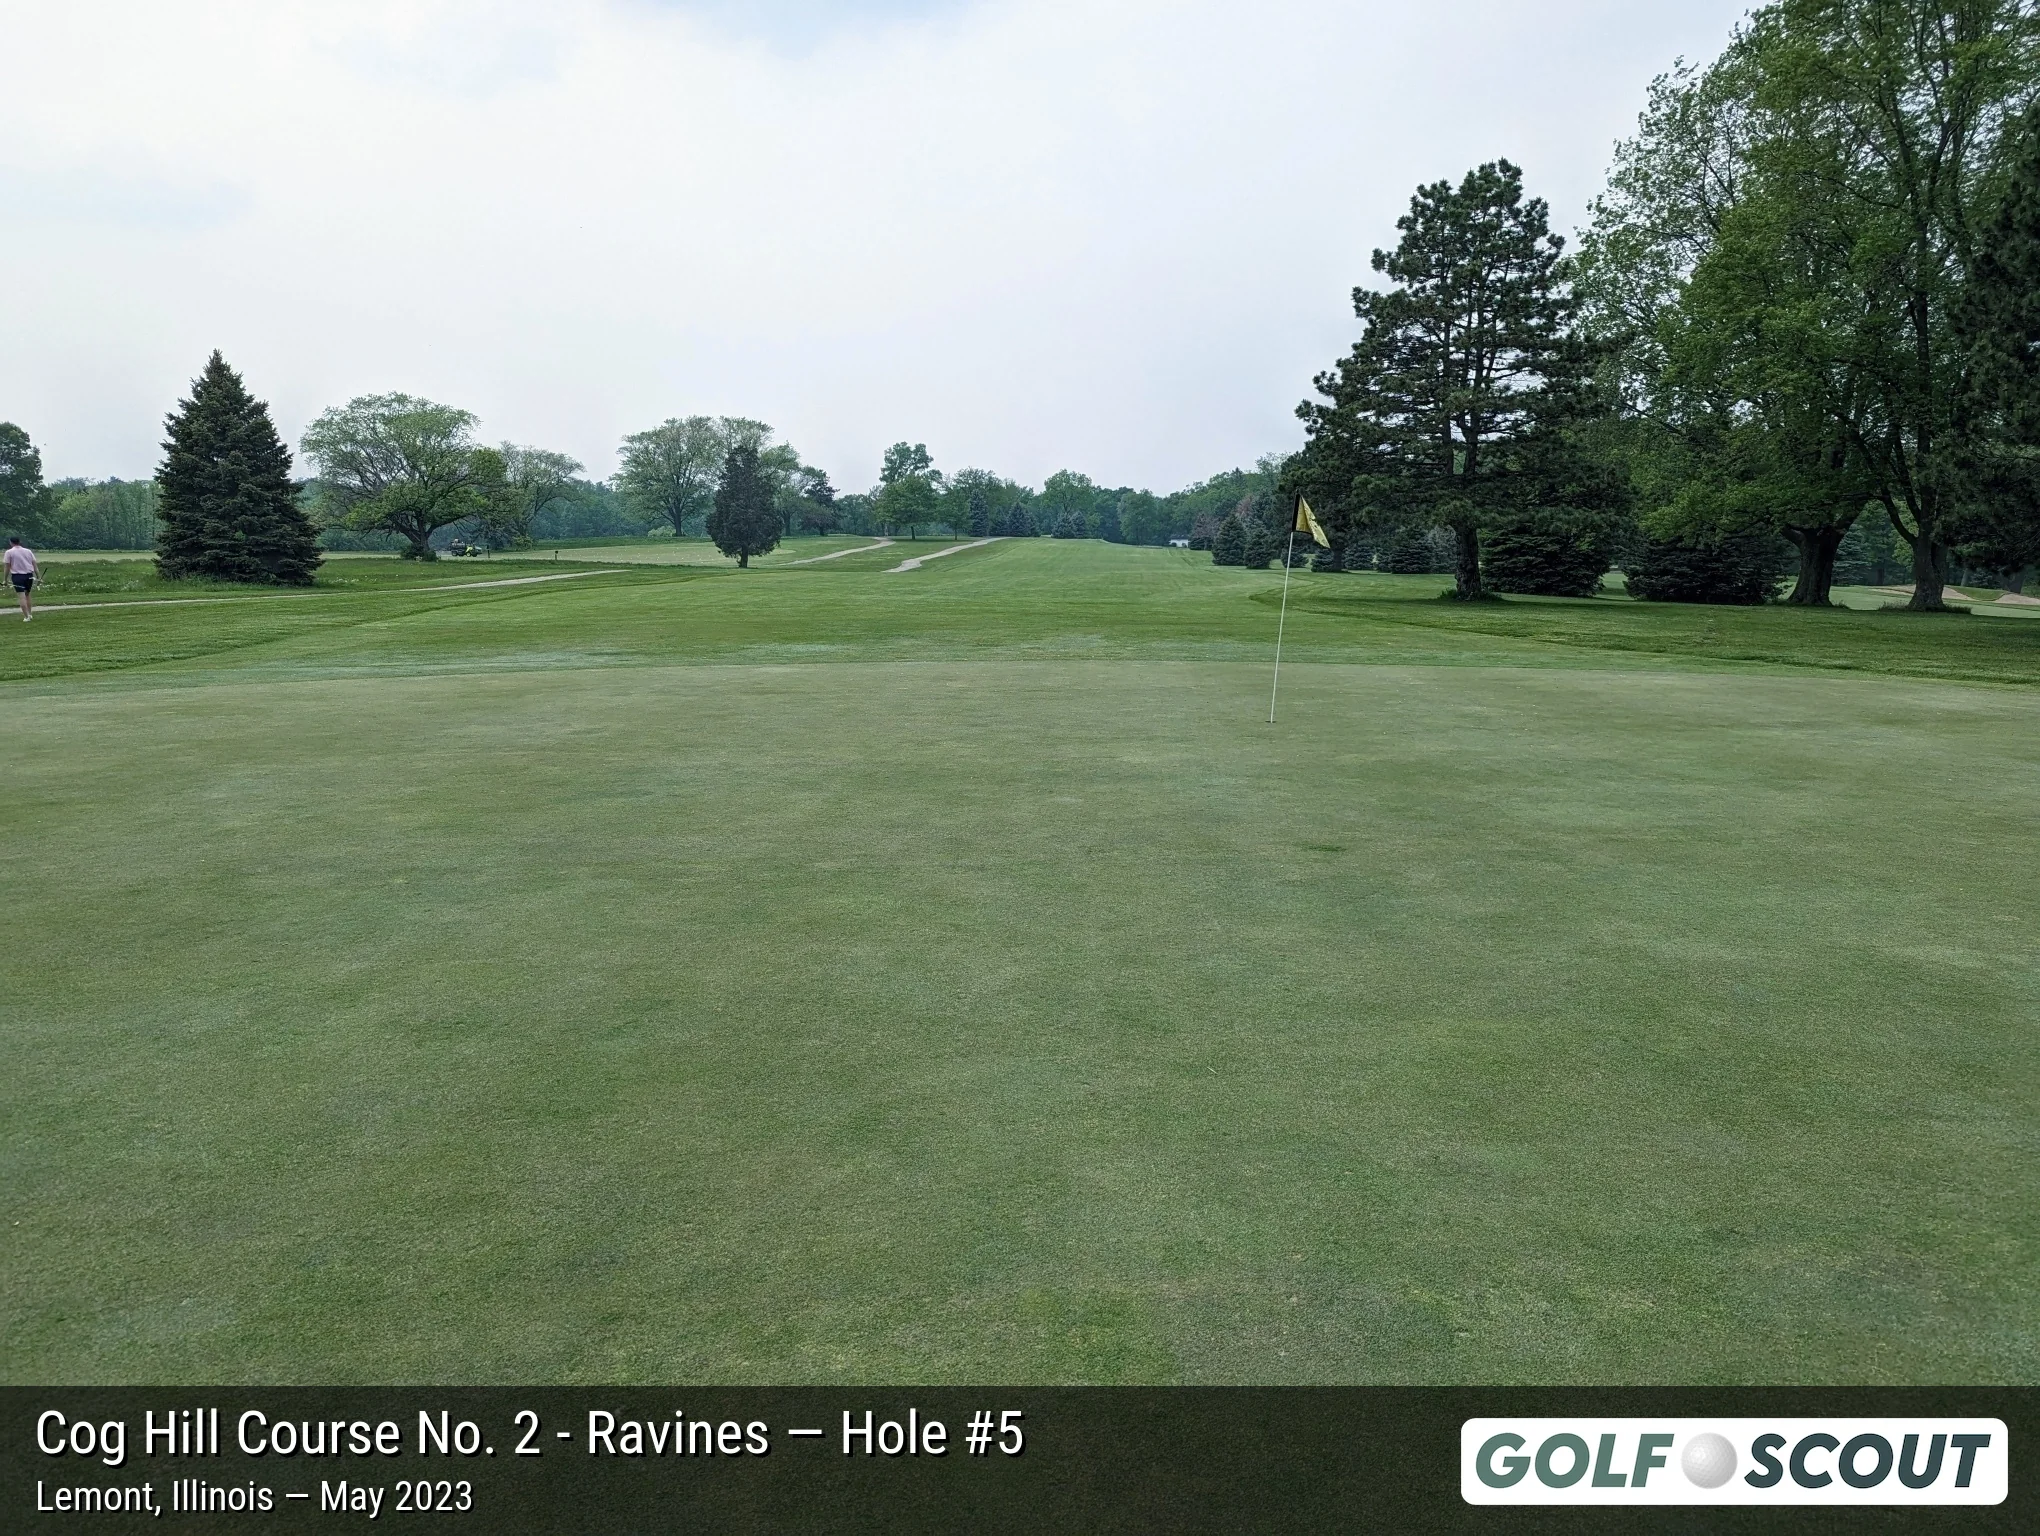
Last photo is typically a reverse angle from behind the green.
Hole 6
4 photos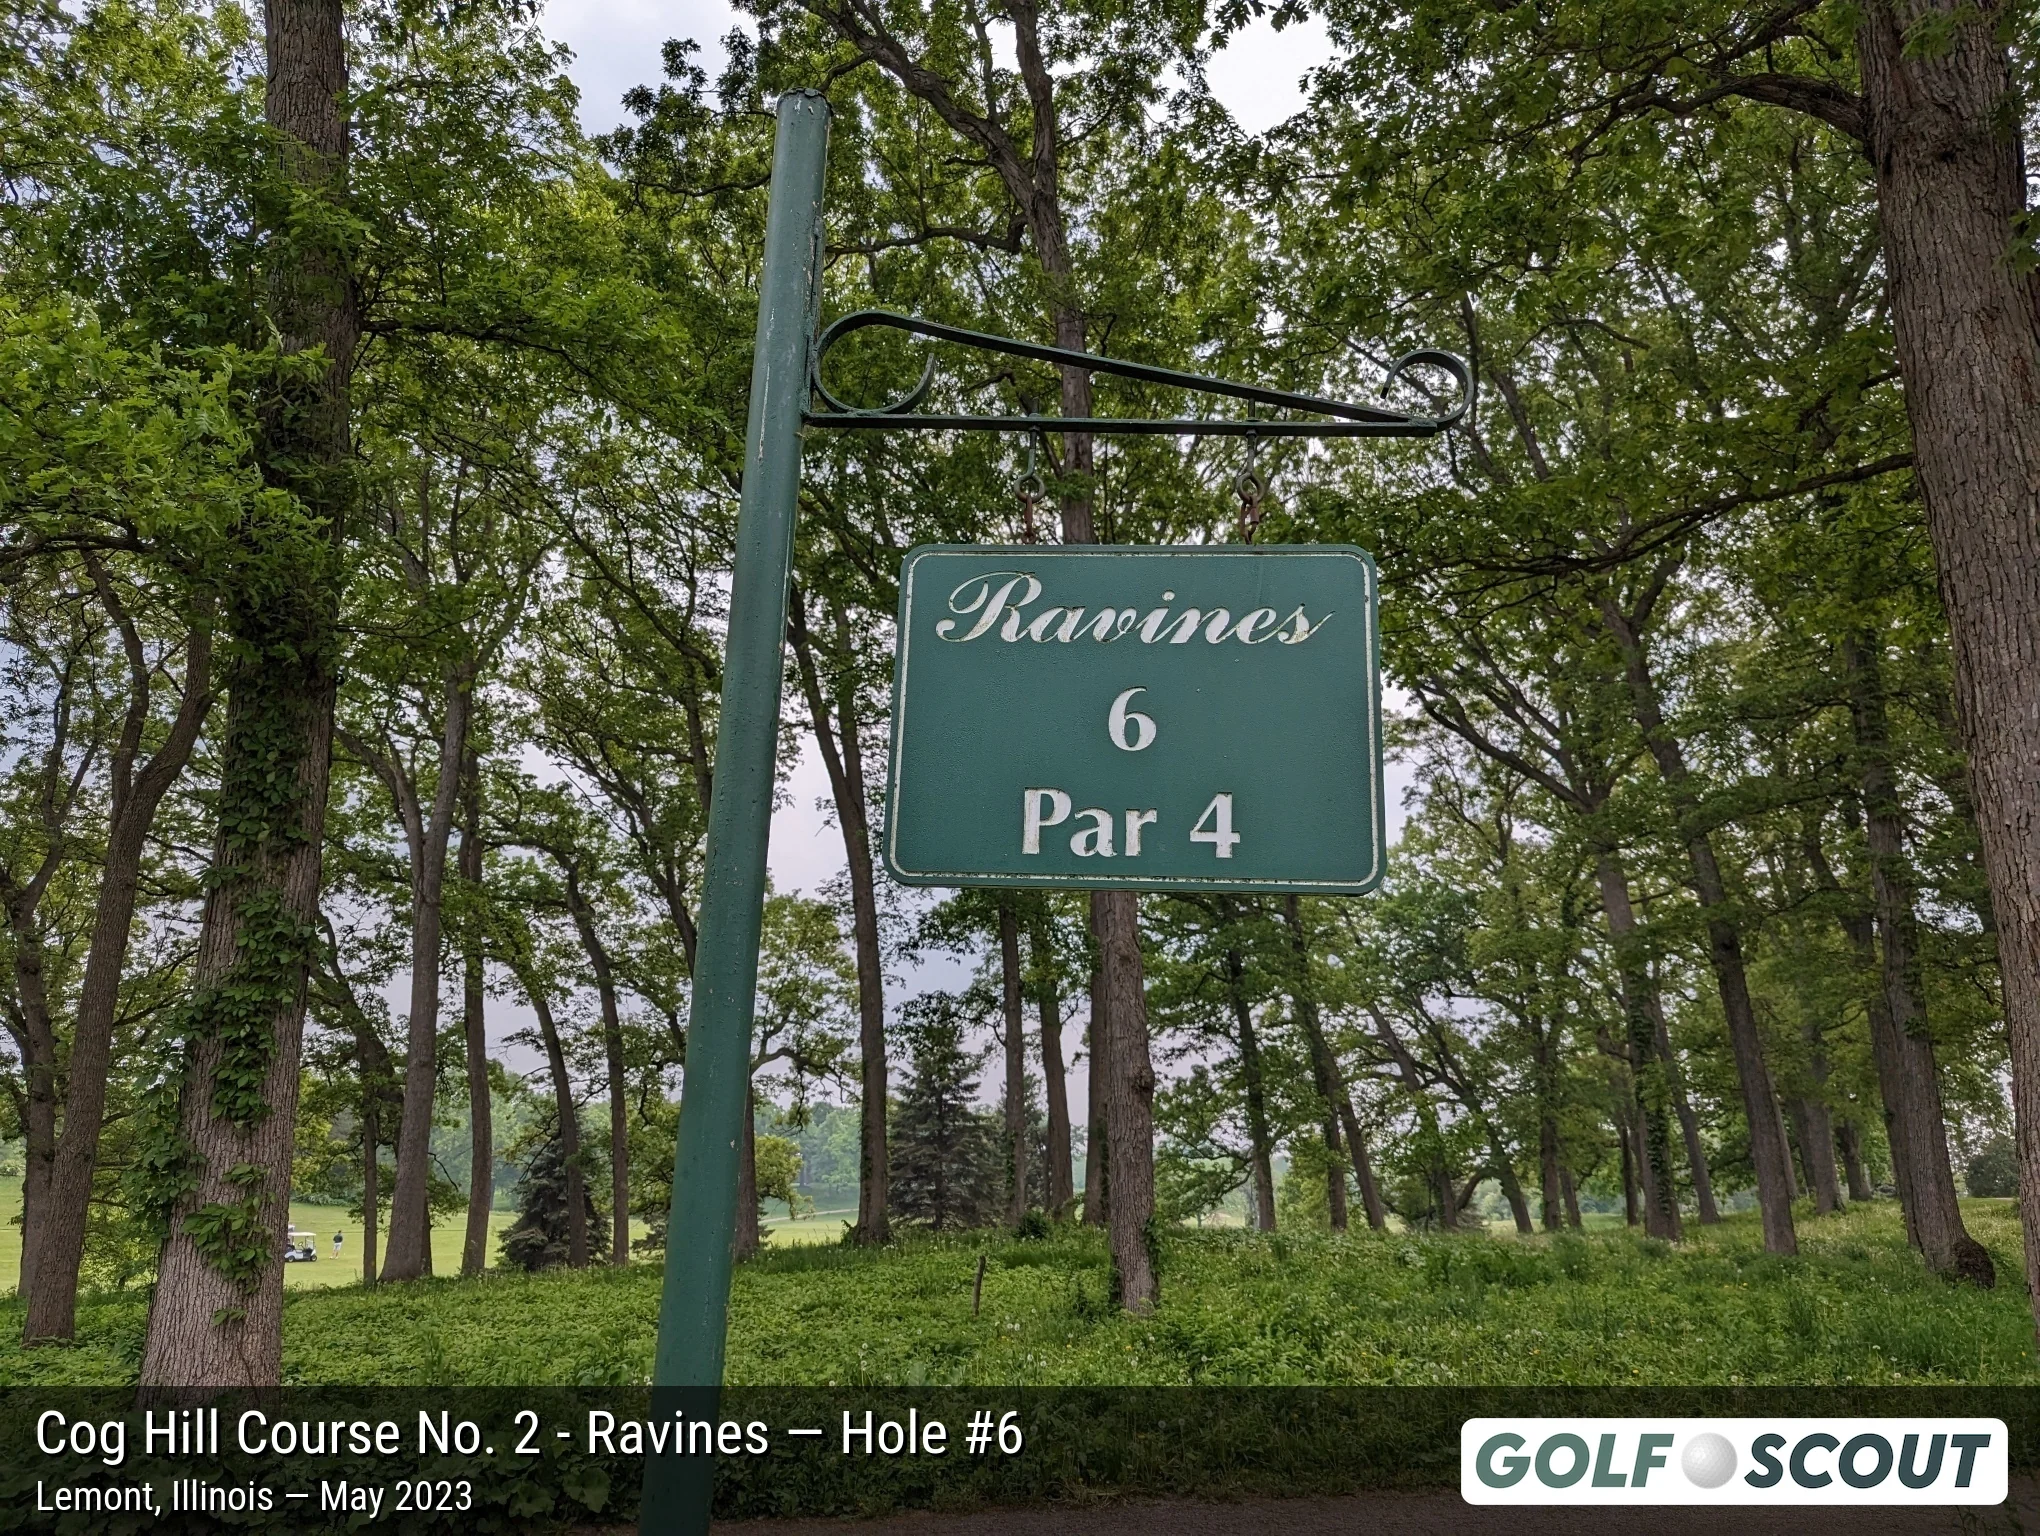
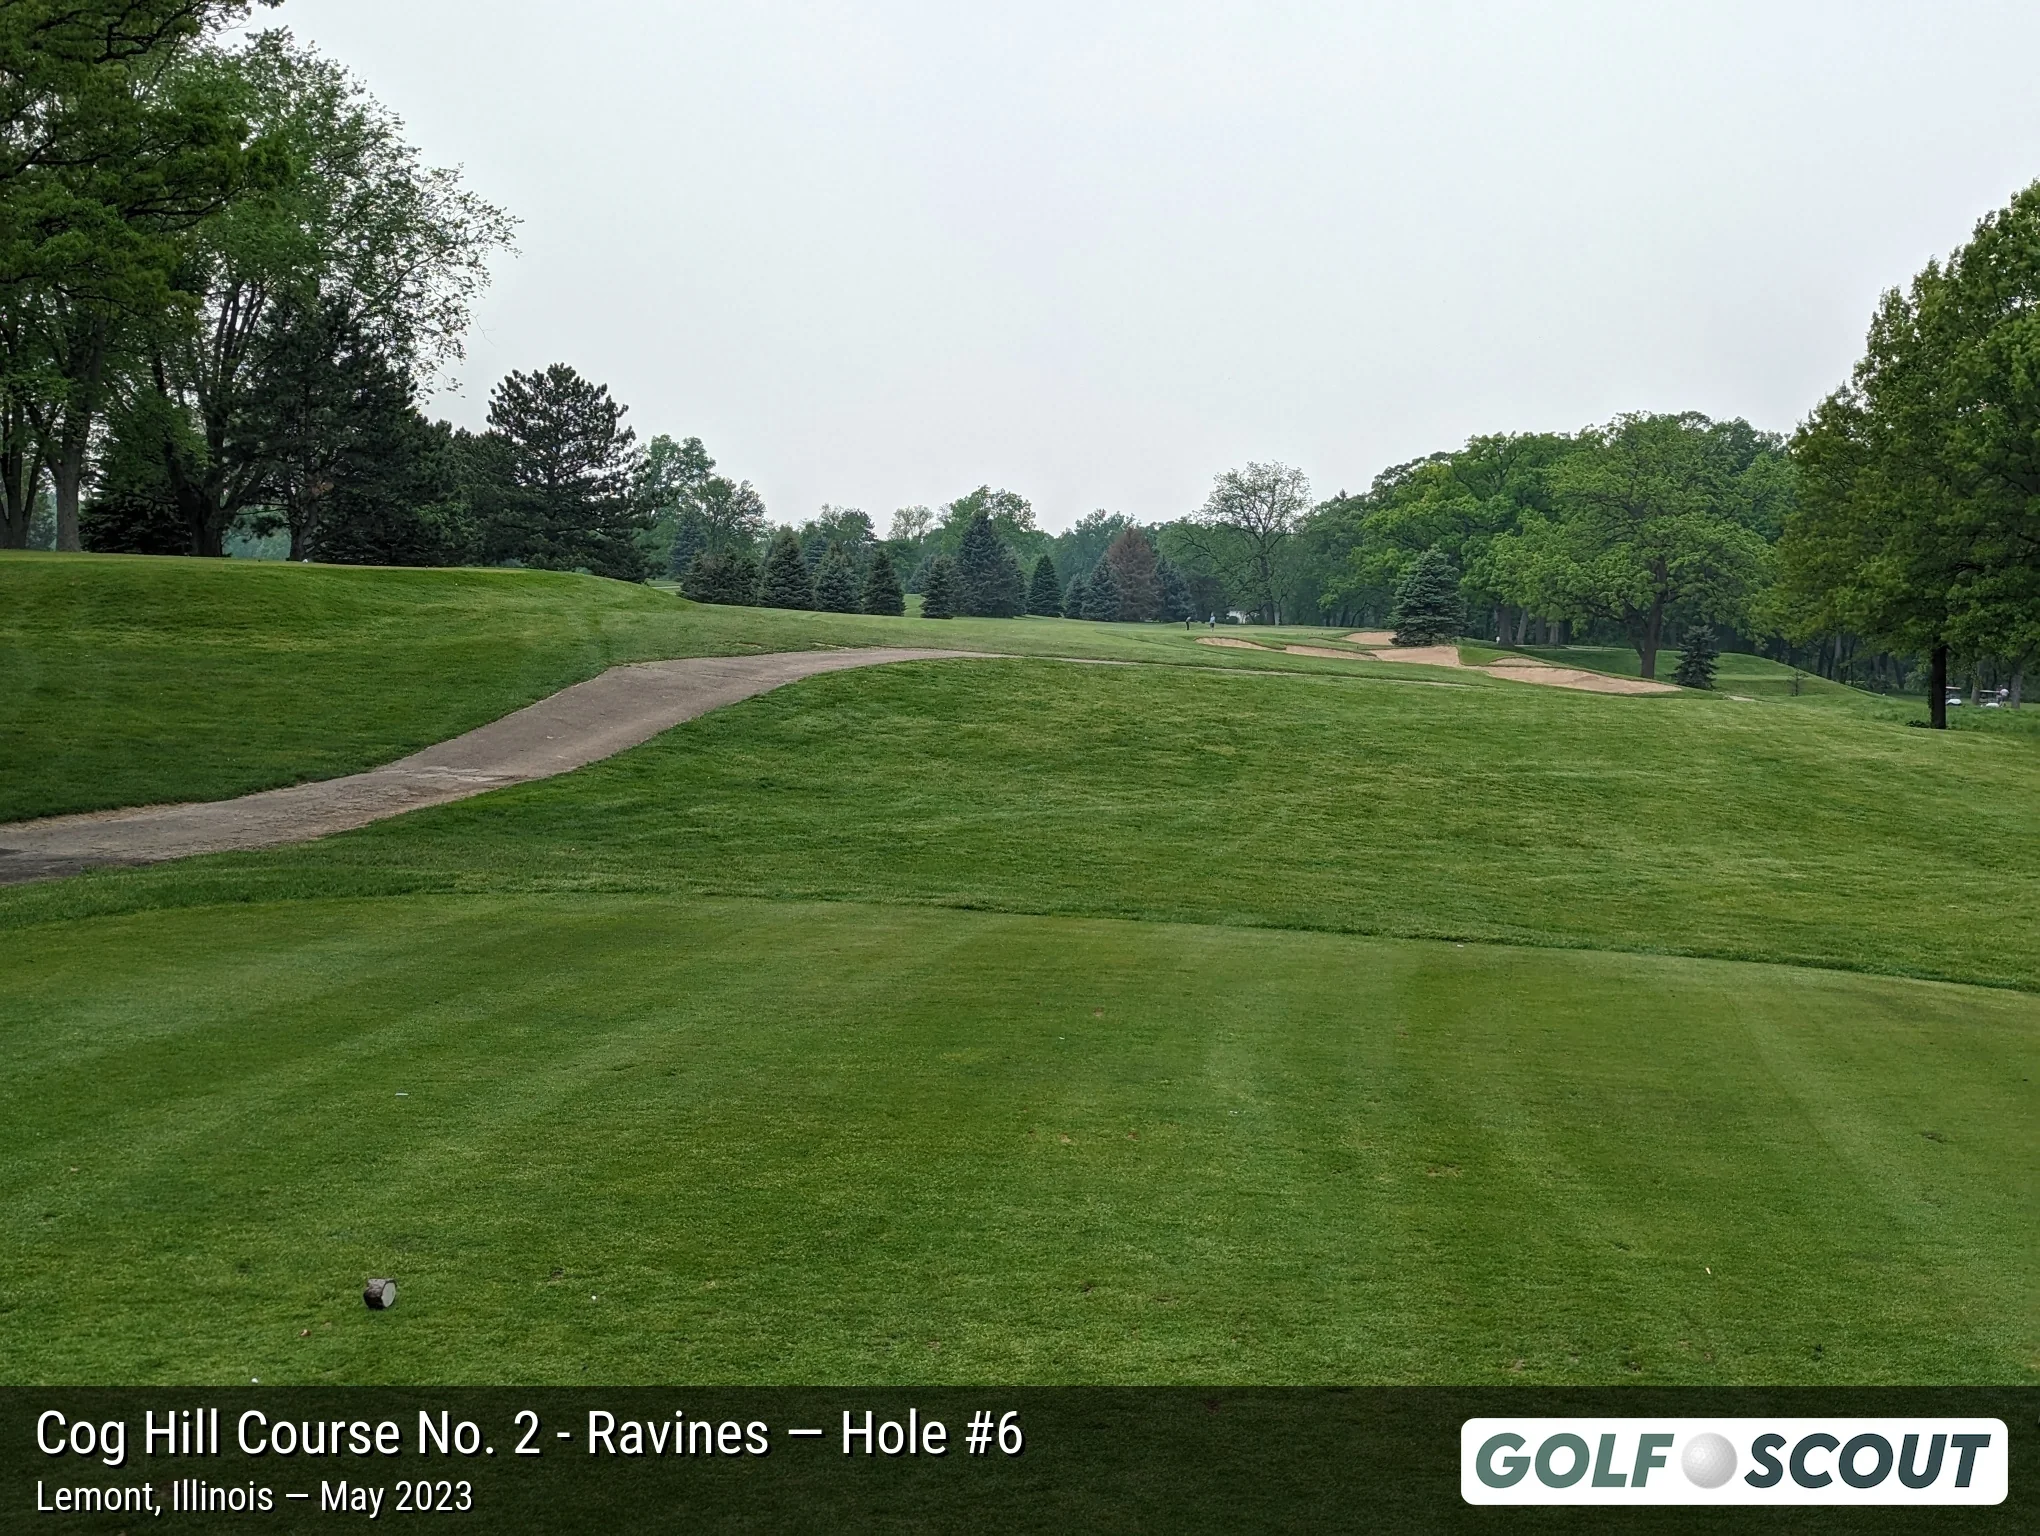
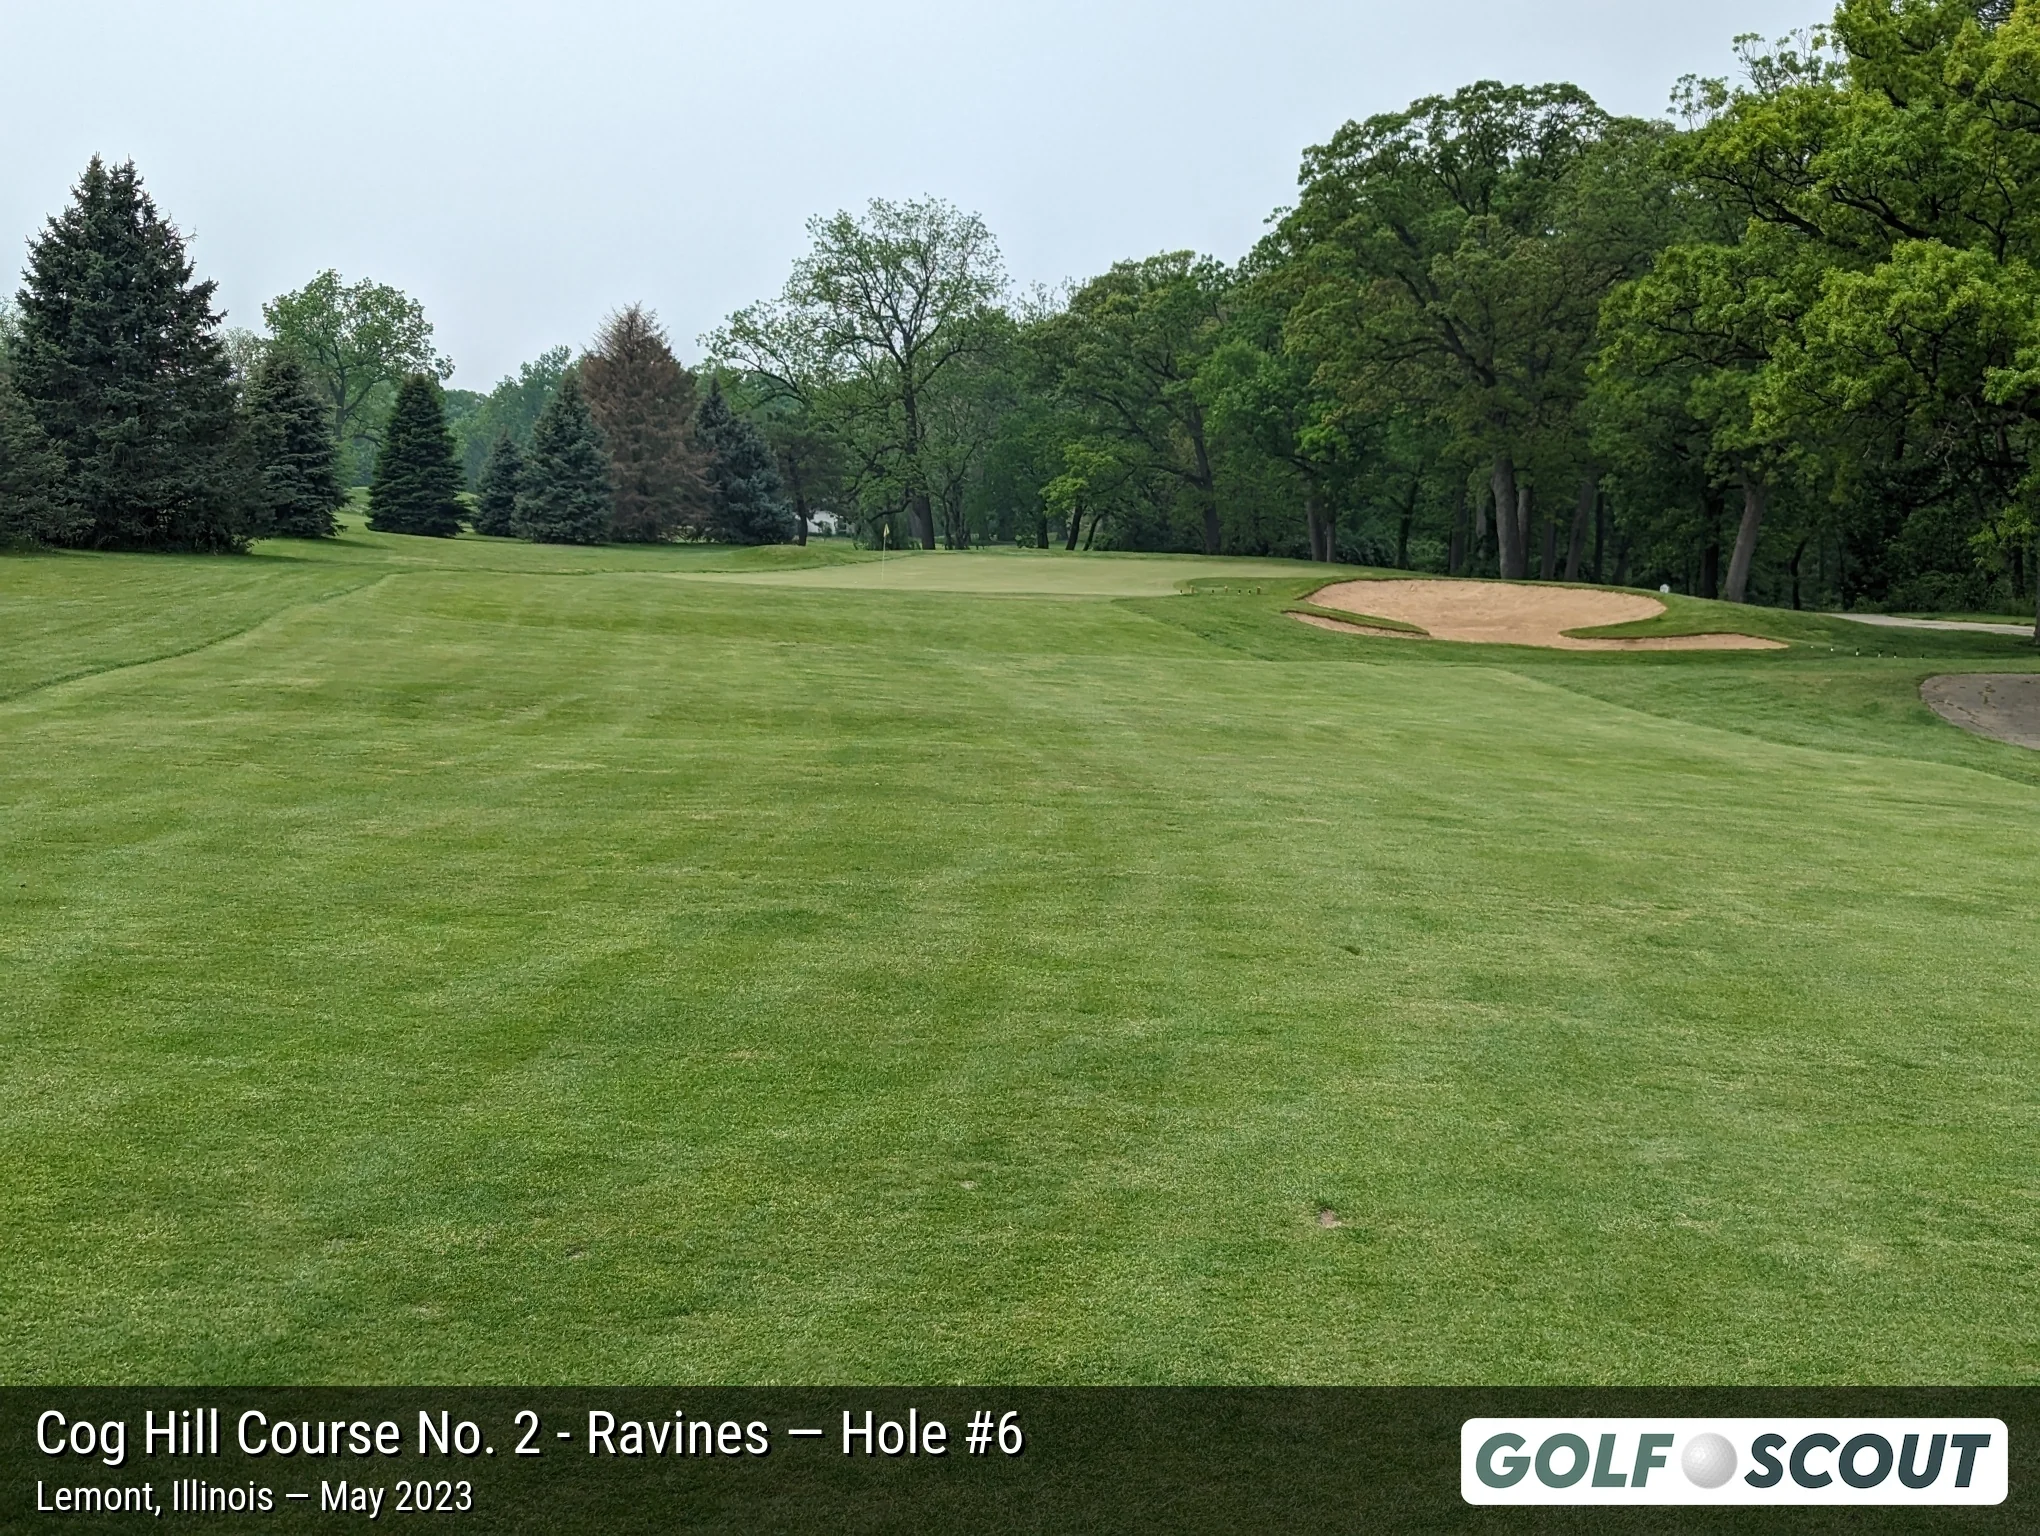
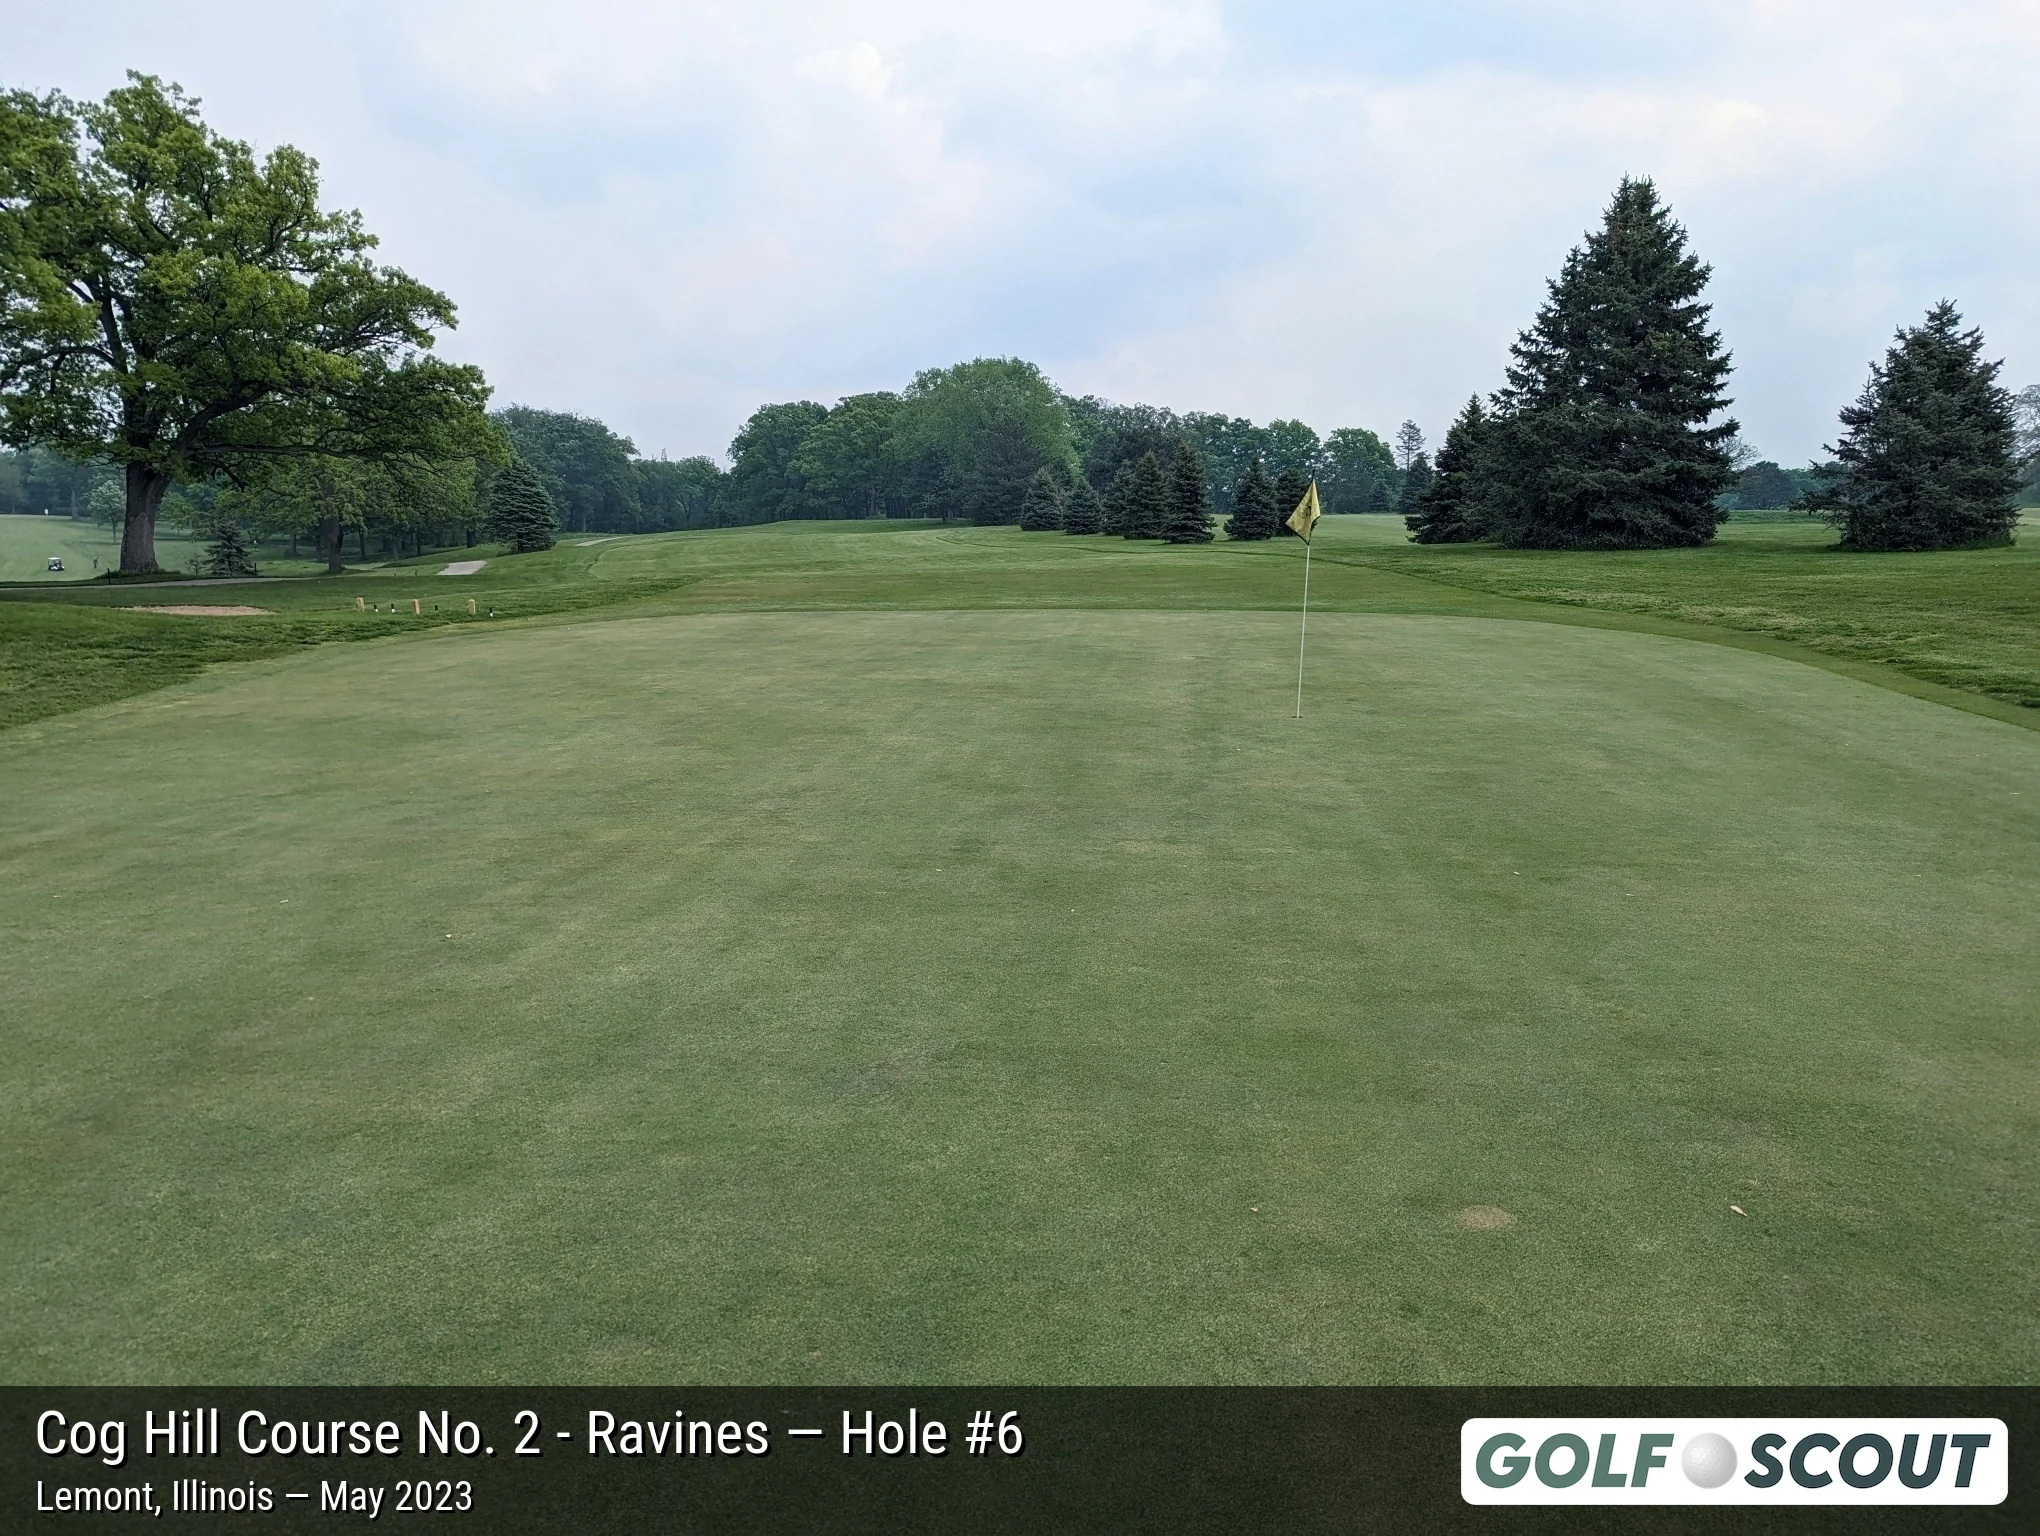
Last photo is typically a reverse angle from behind the green.
Hole 7
5 photos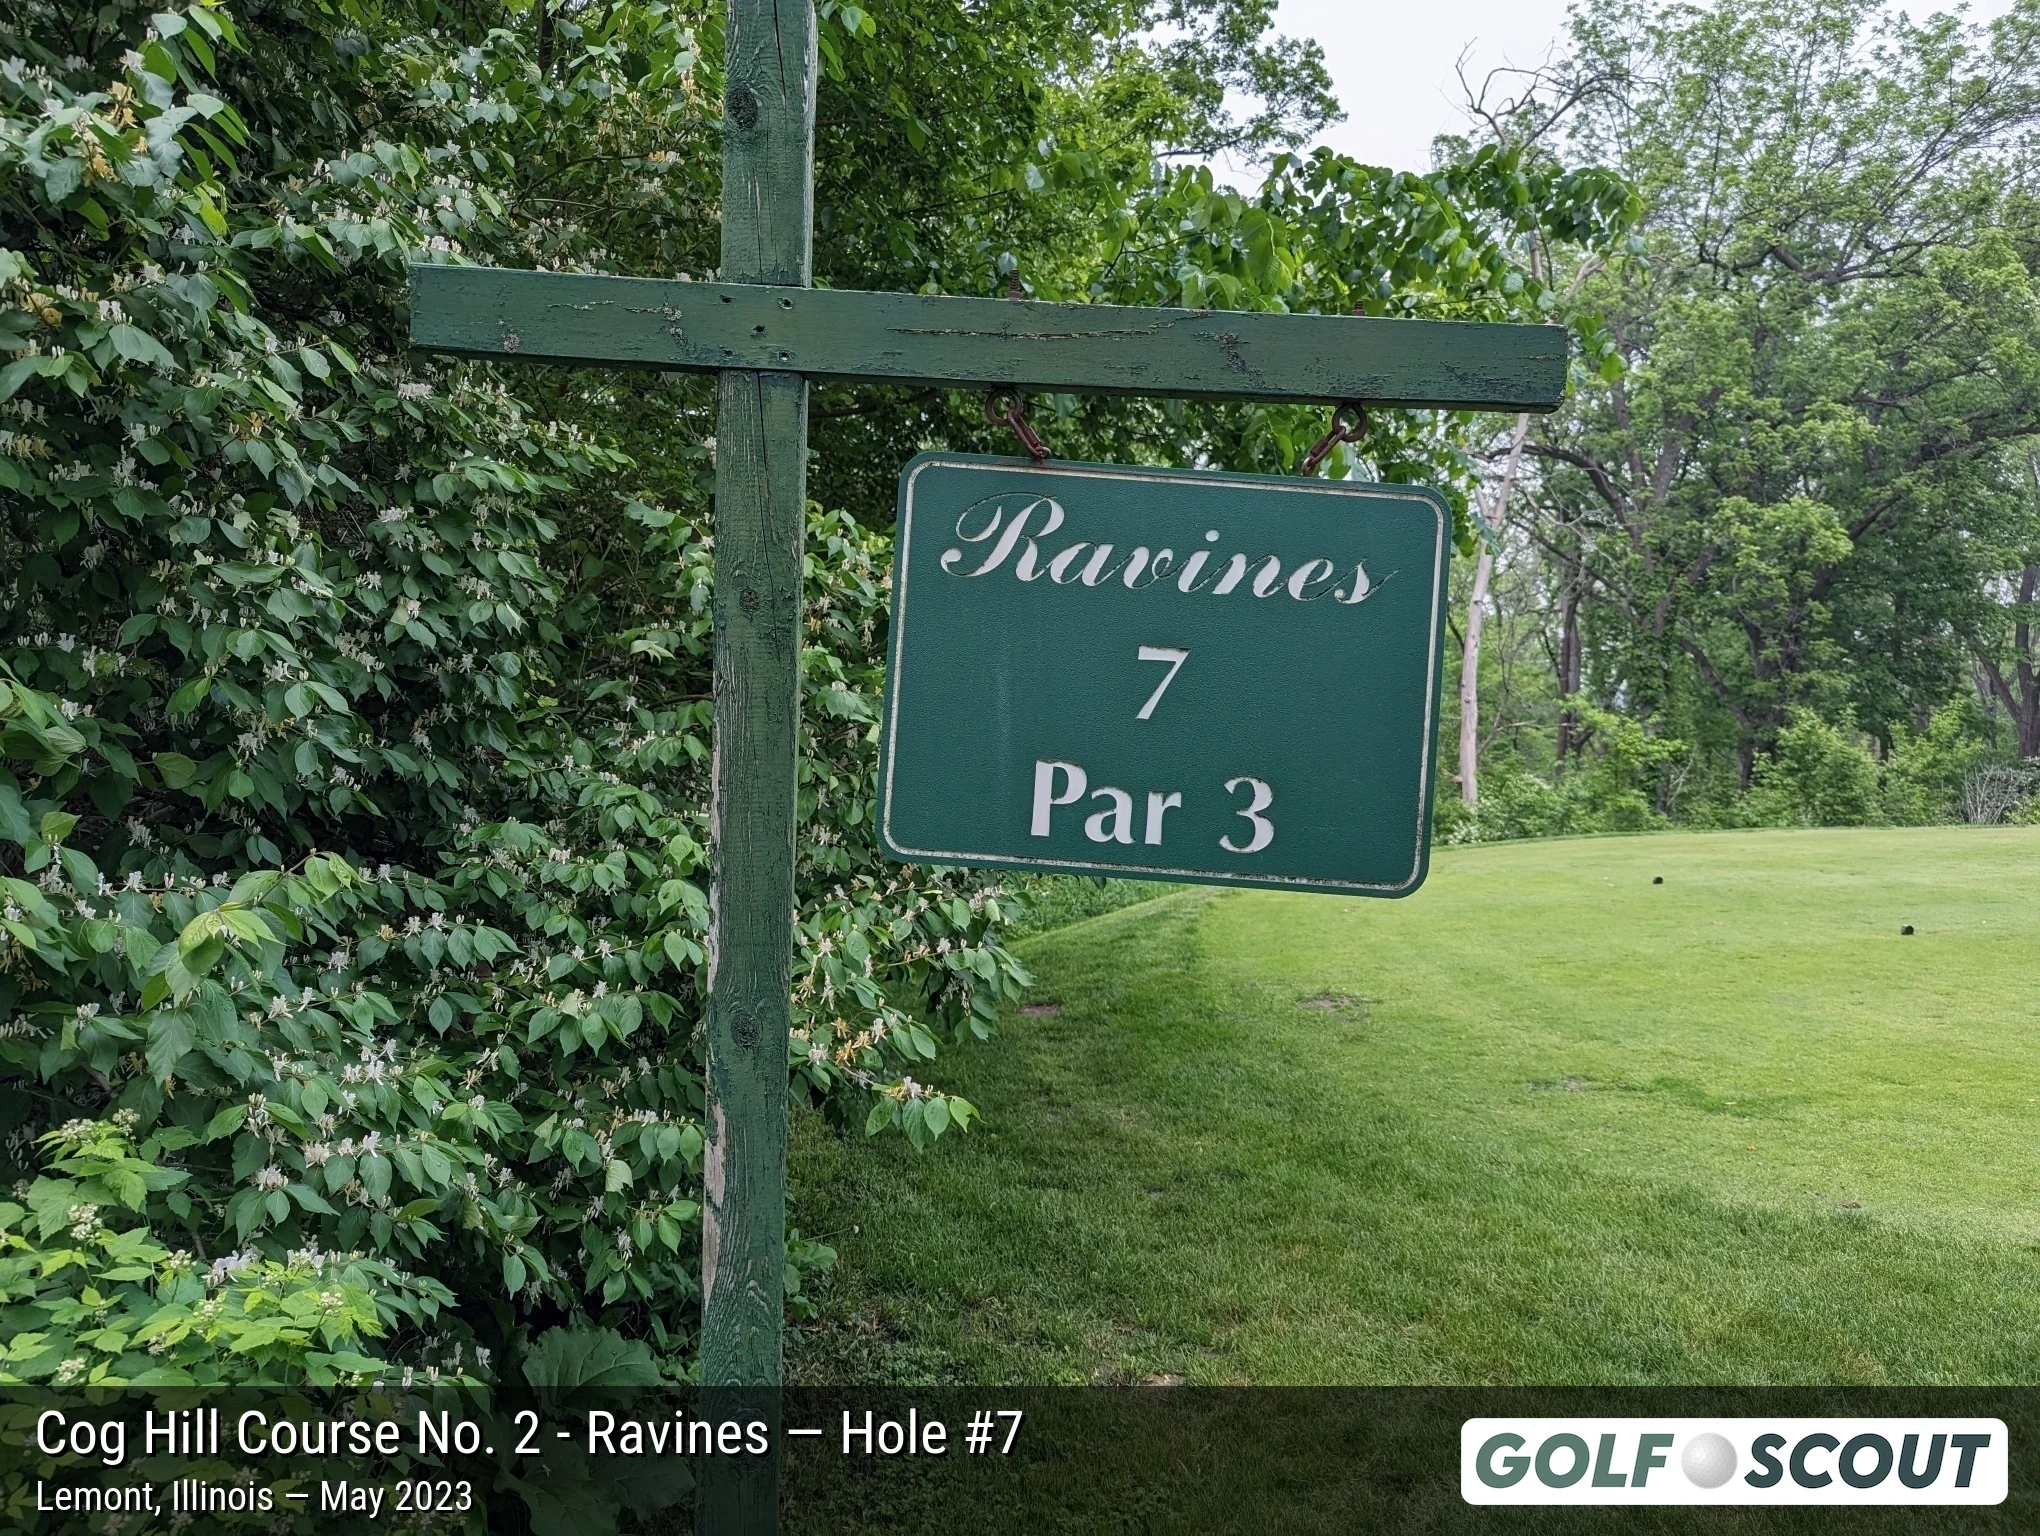
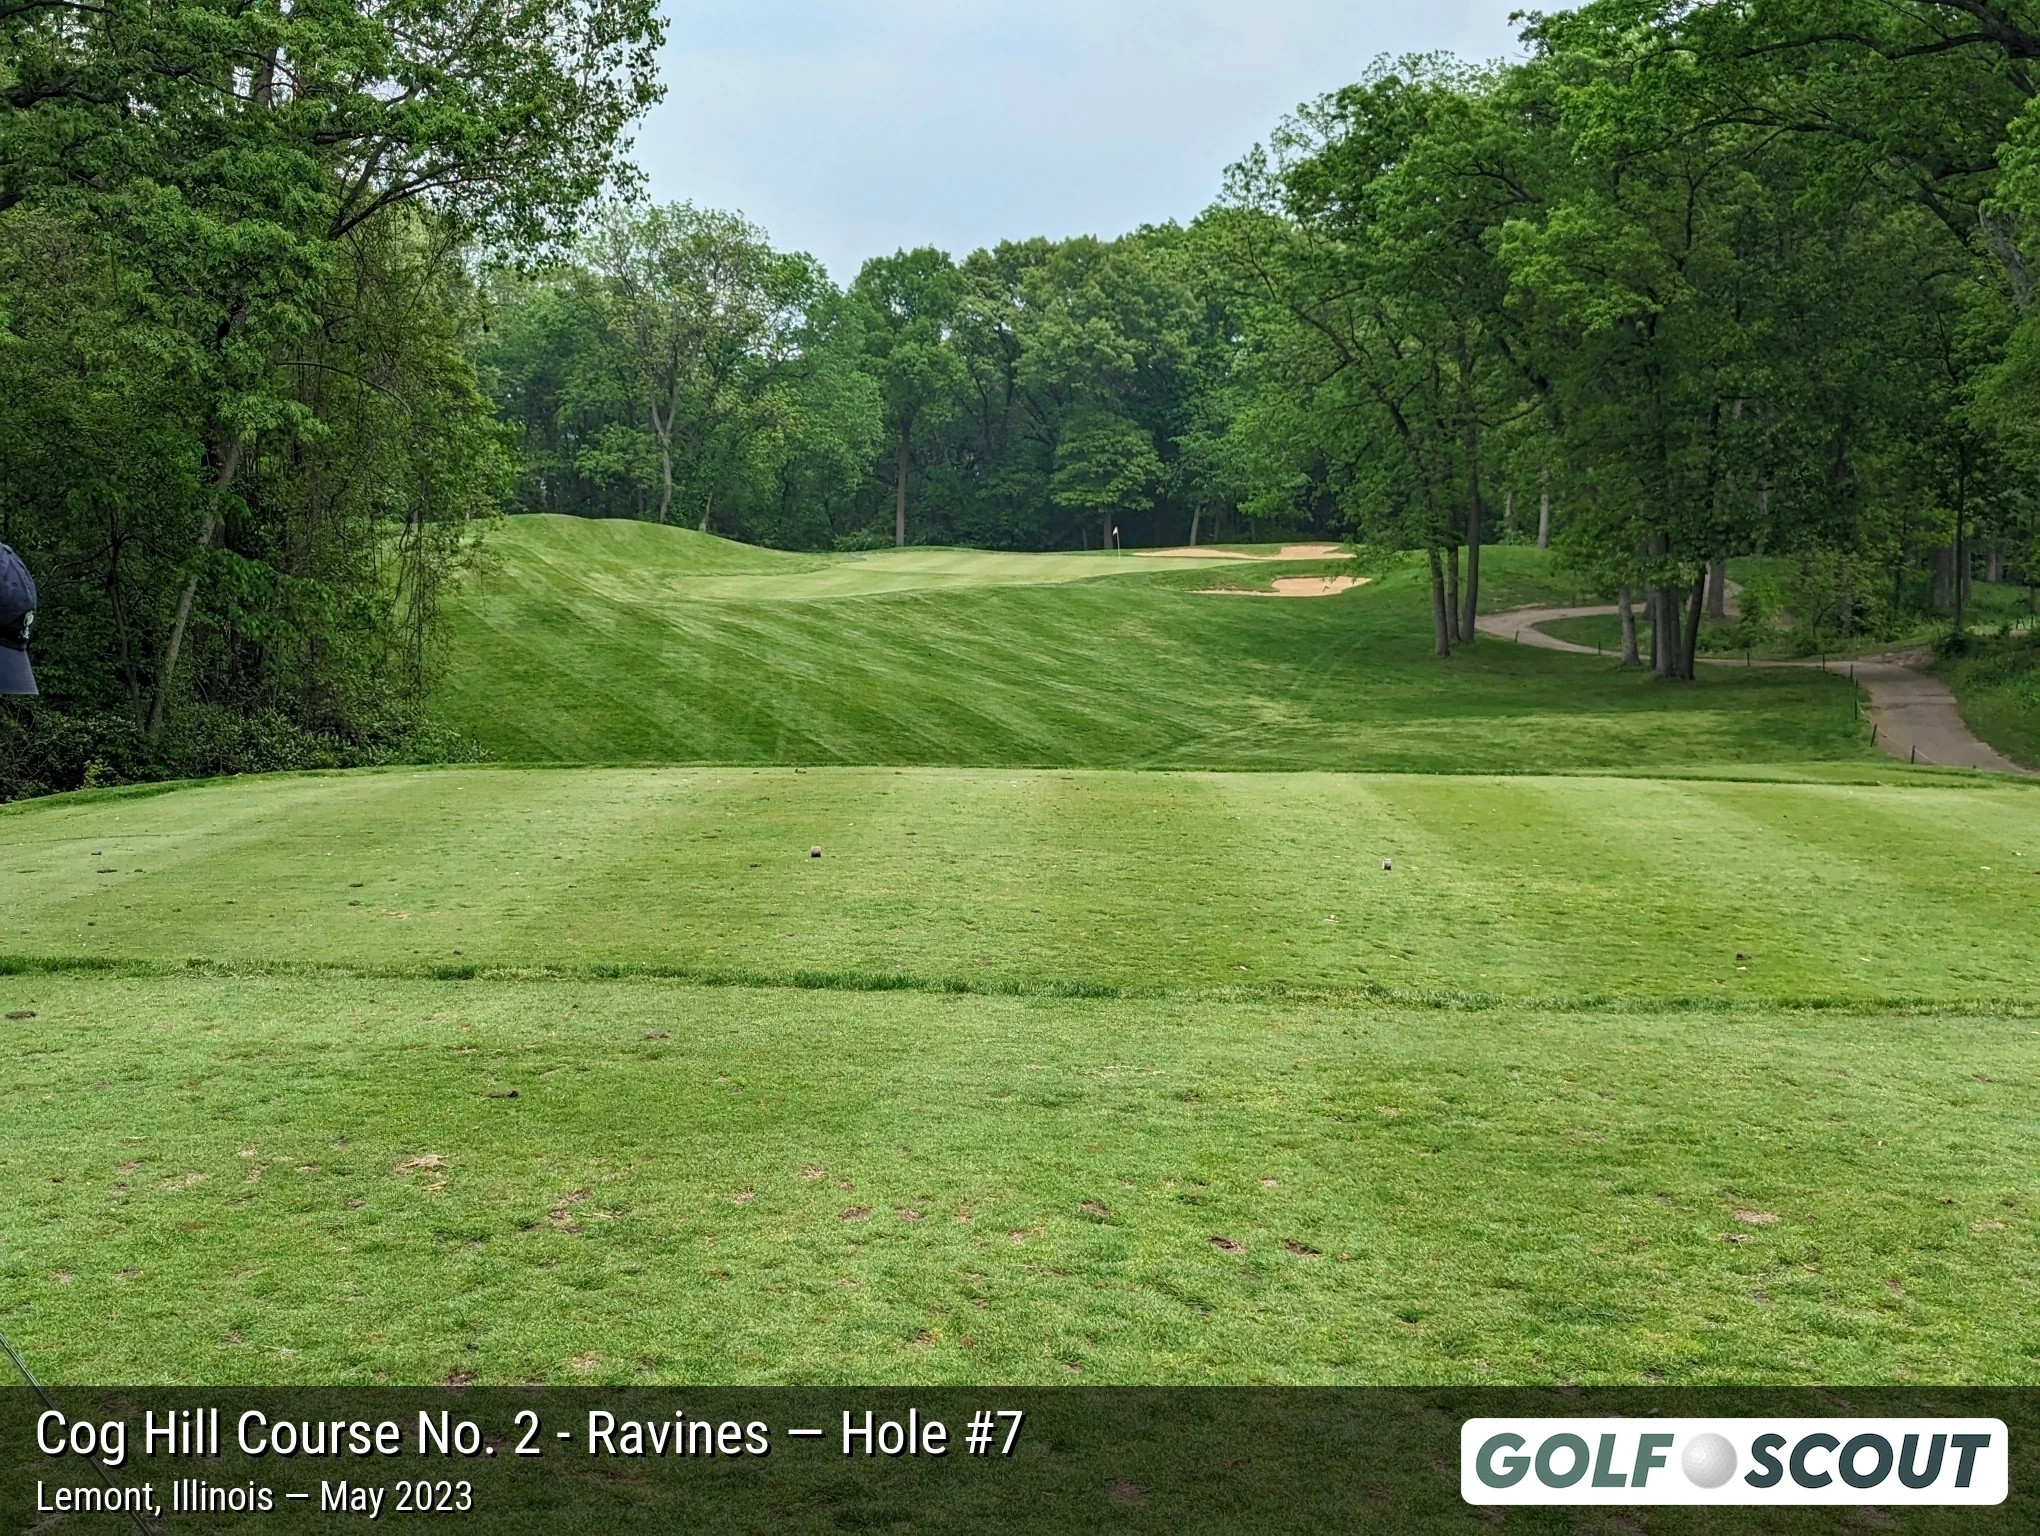
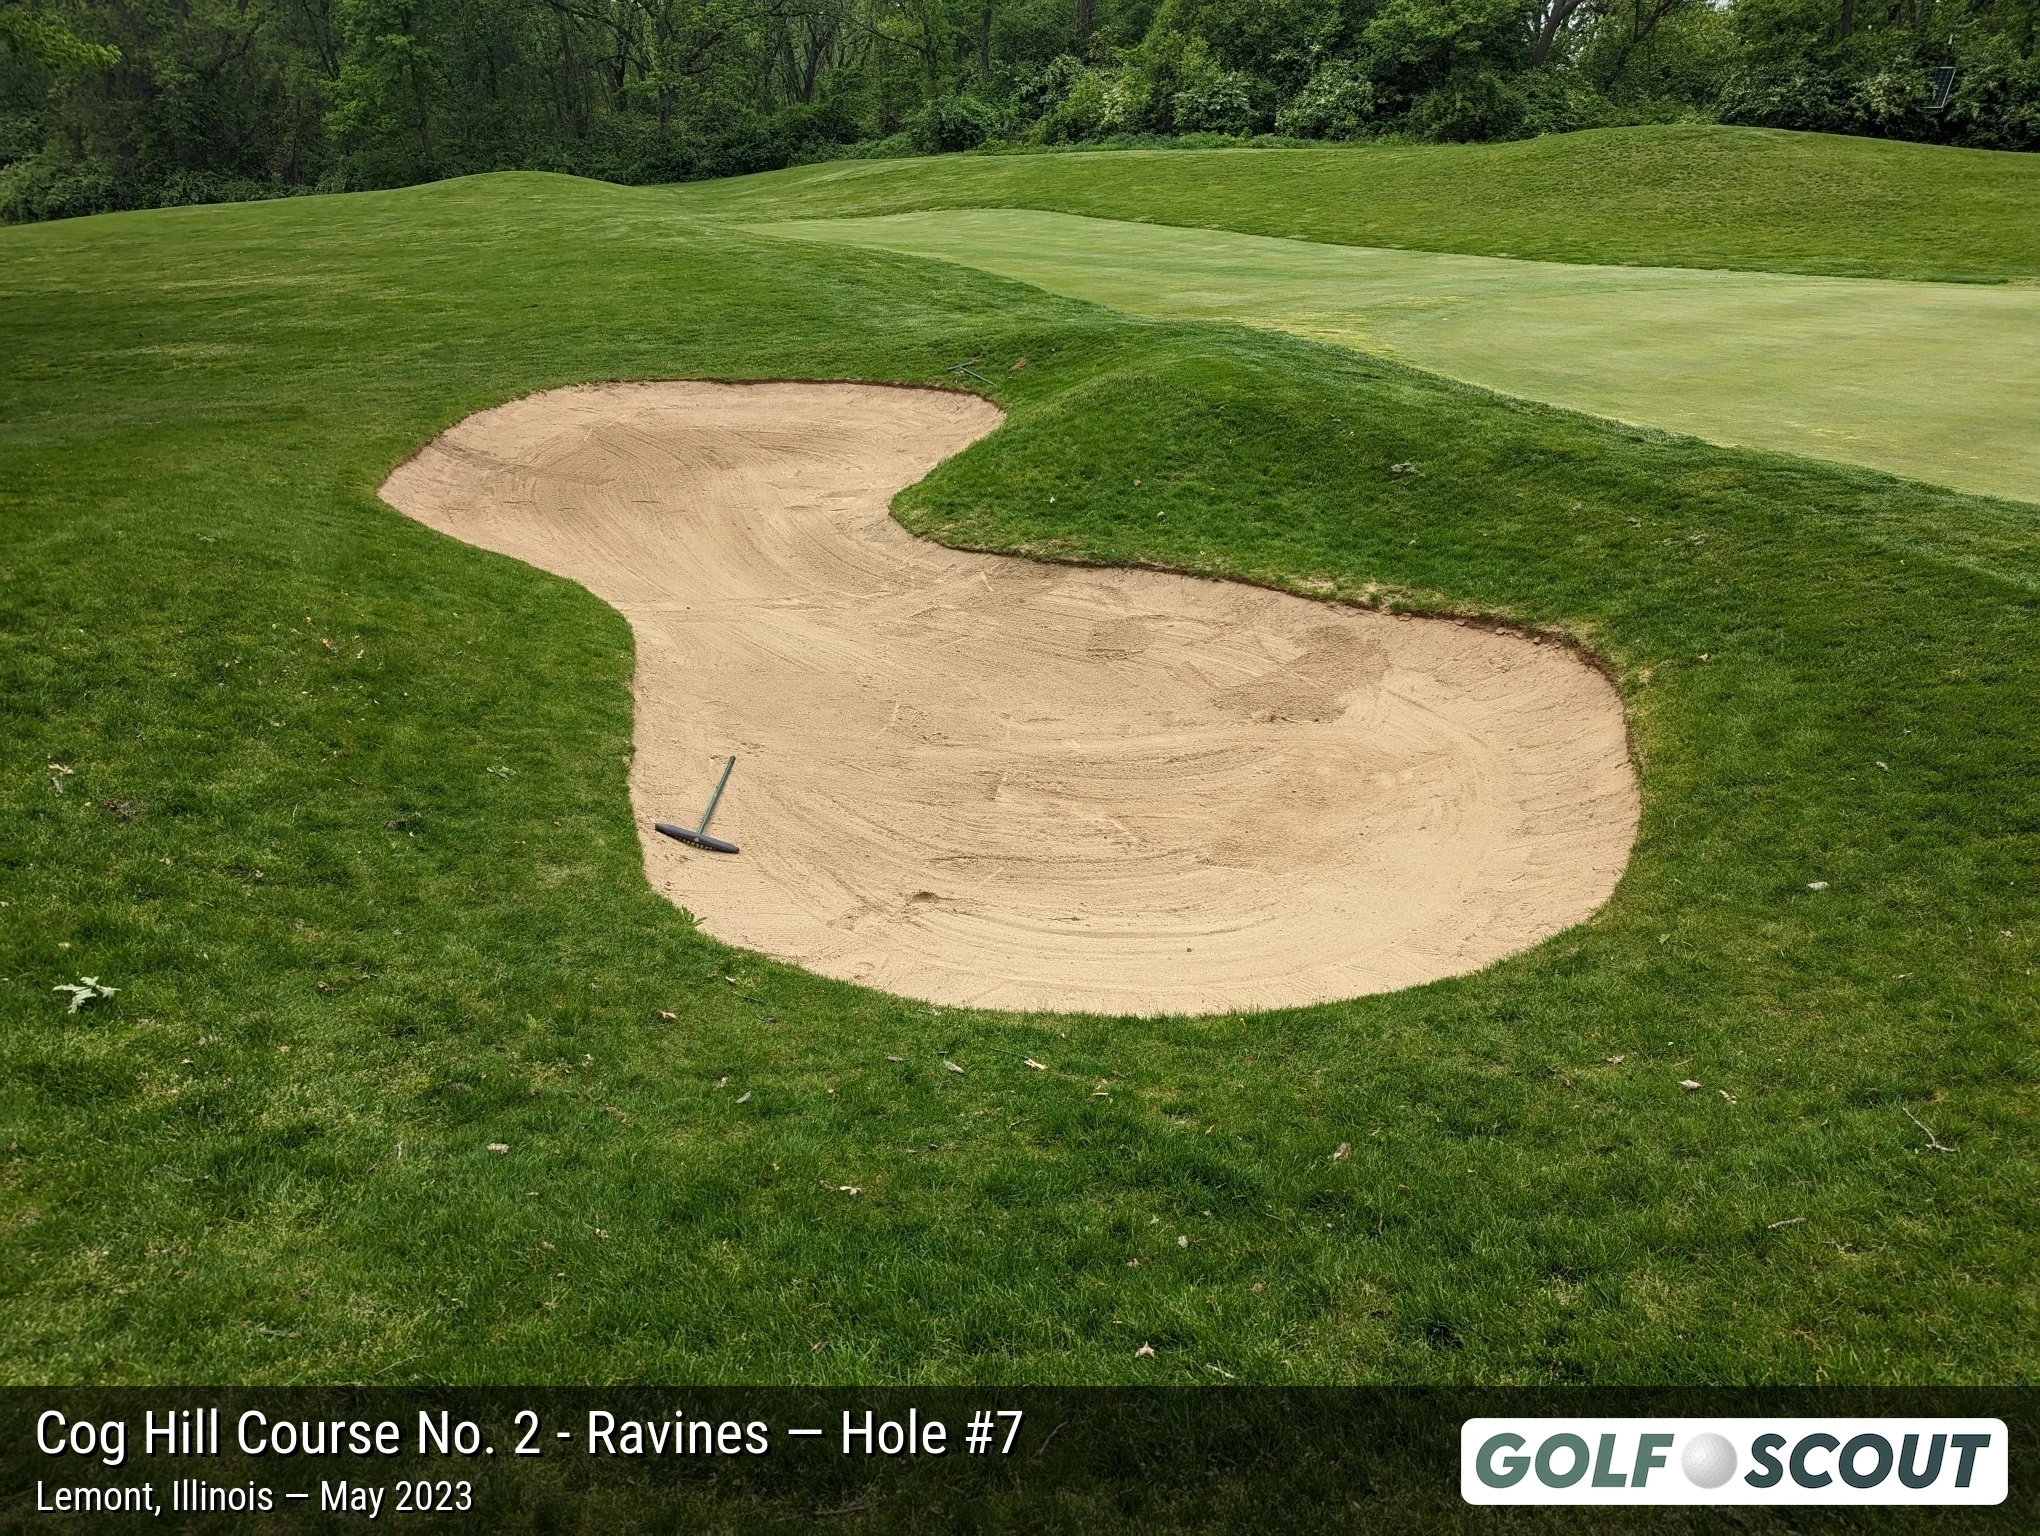
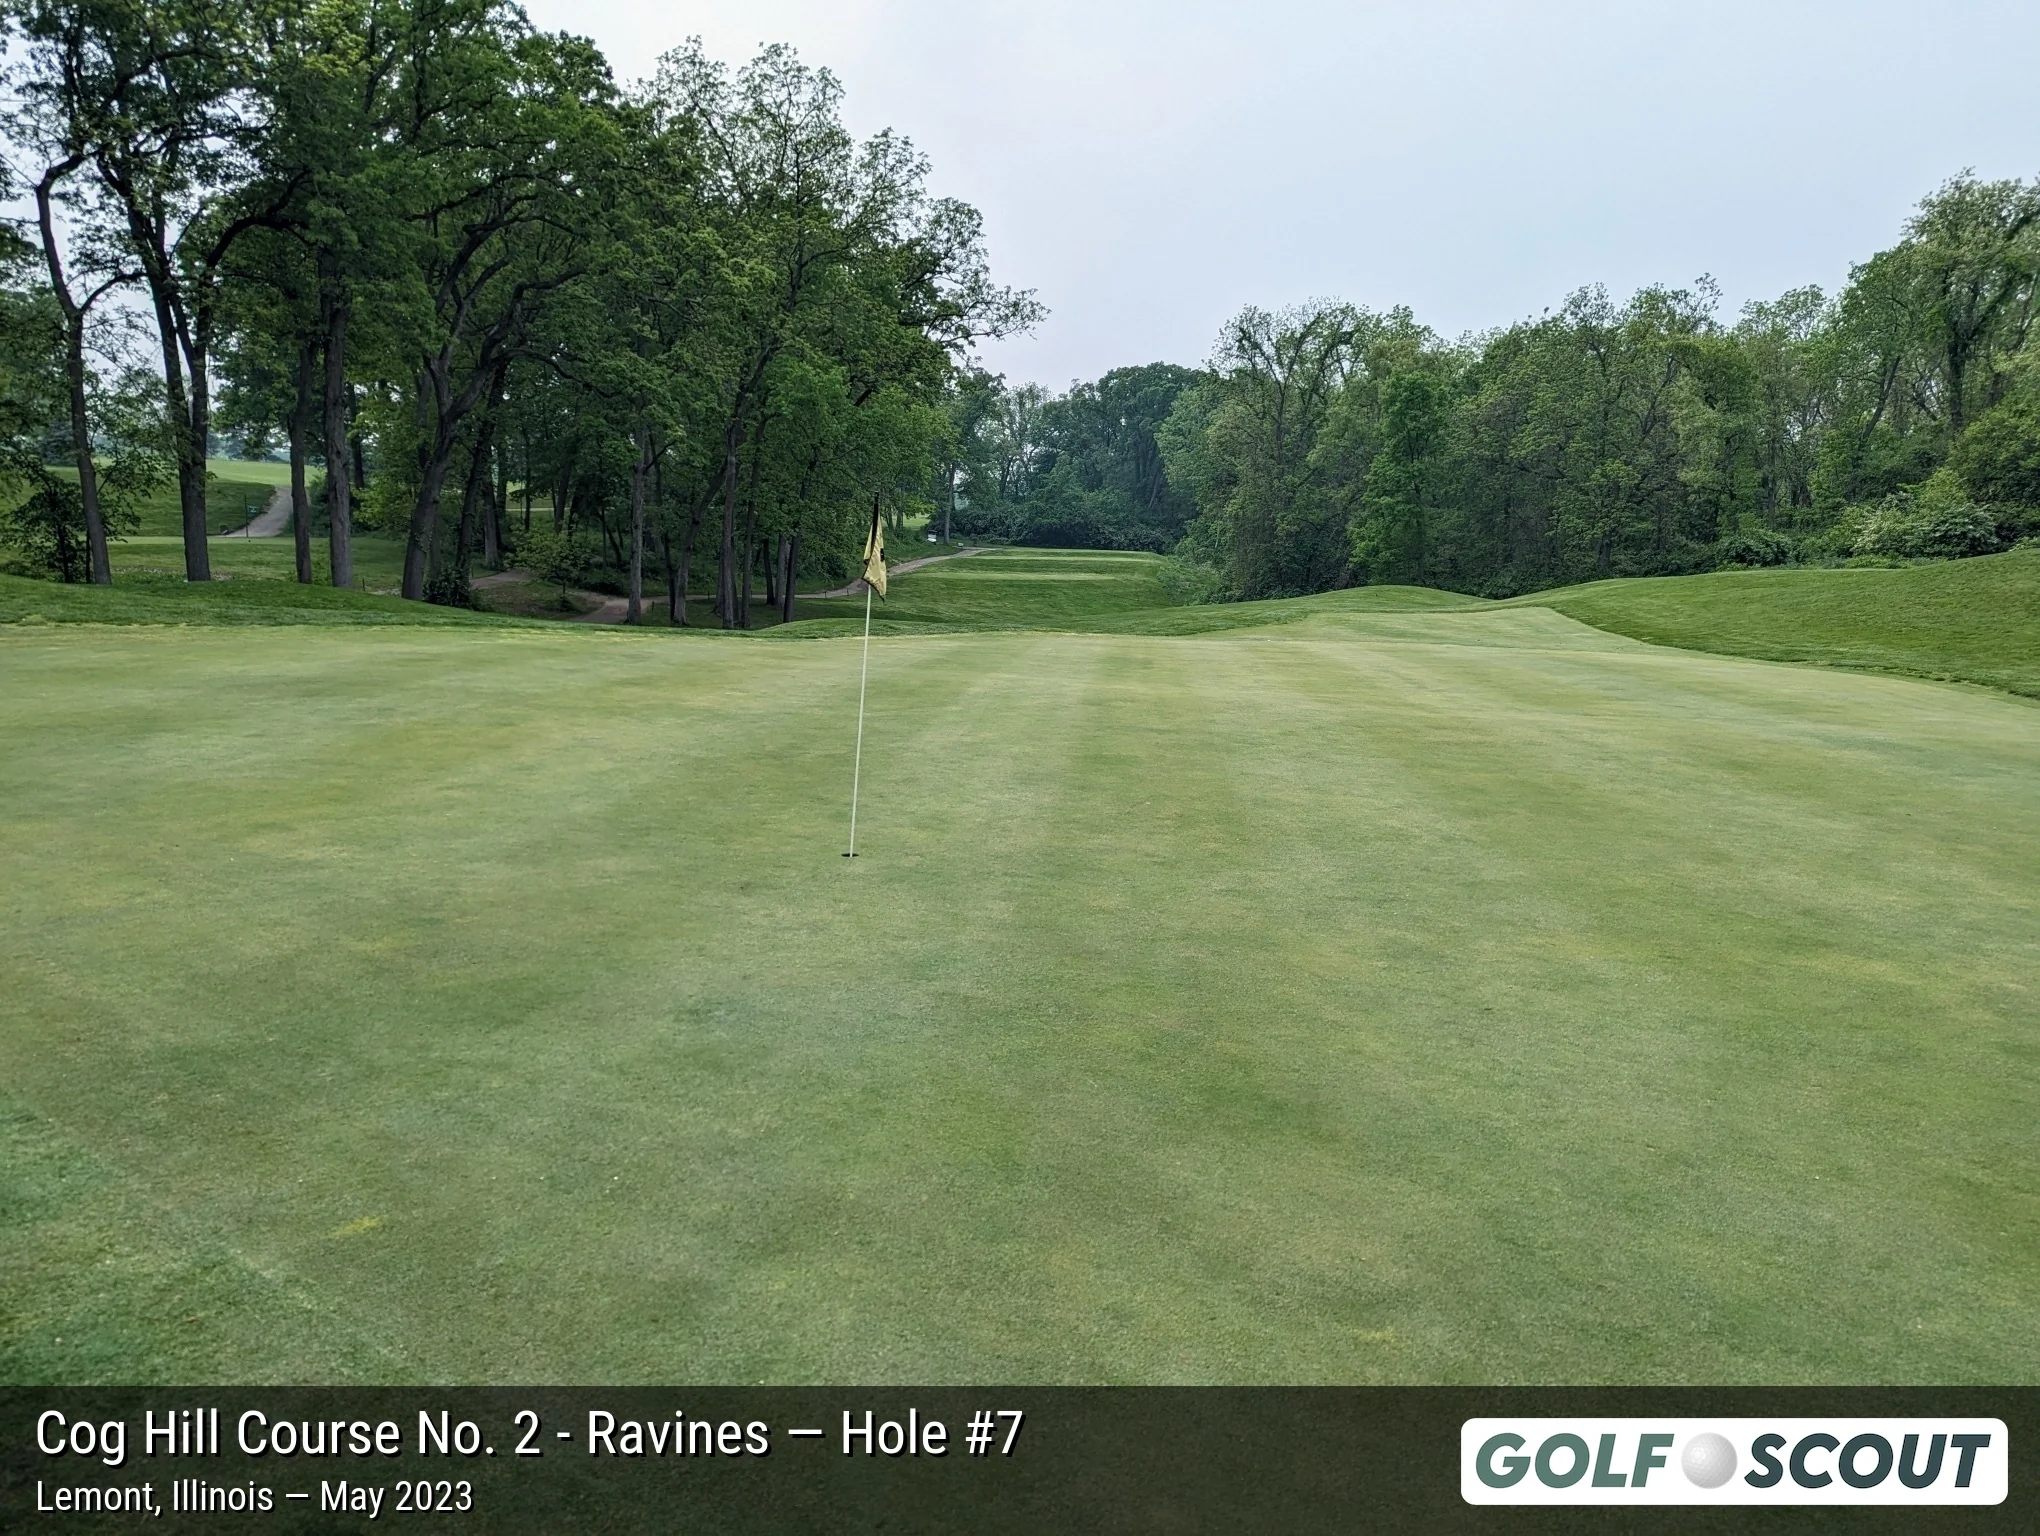
Last photo is typically a reverse angle from behind the green.
Hole 8
5 photos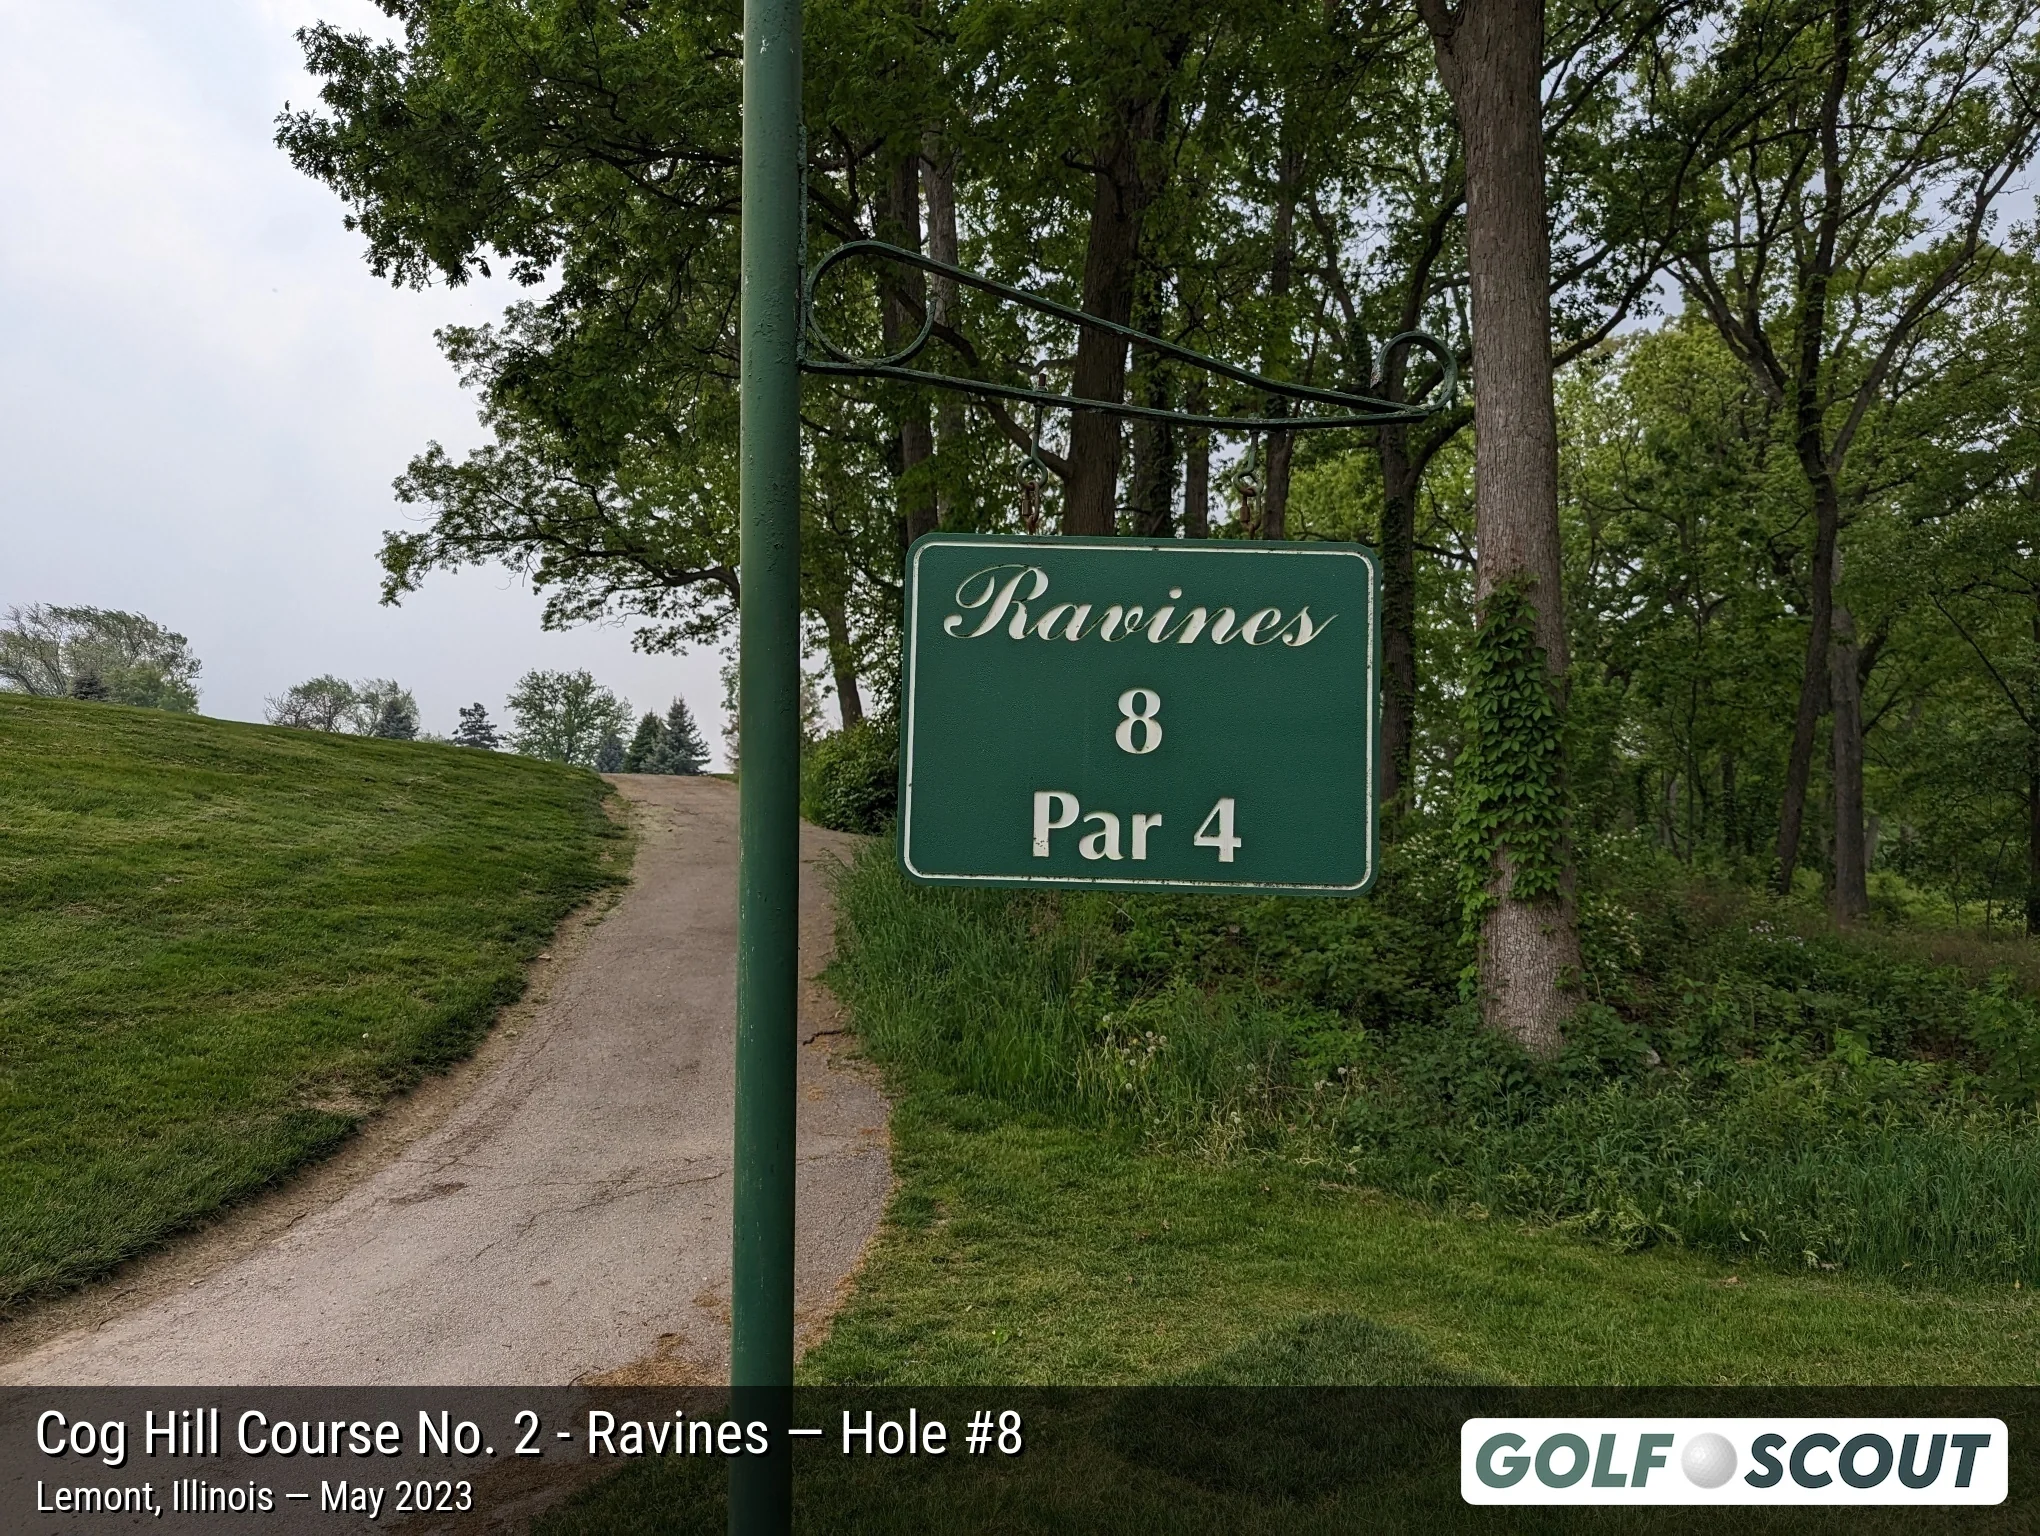
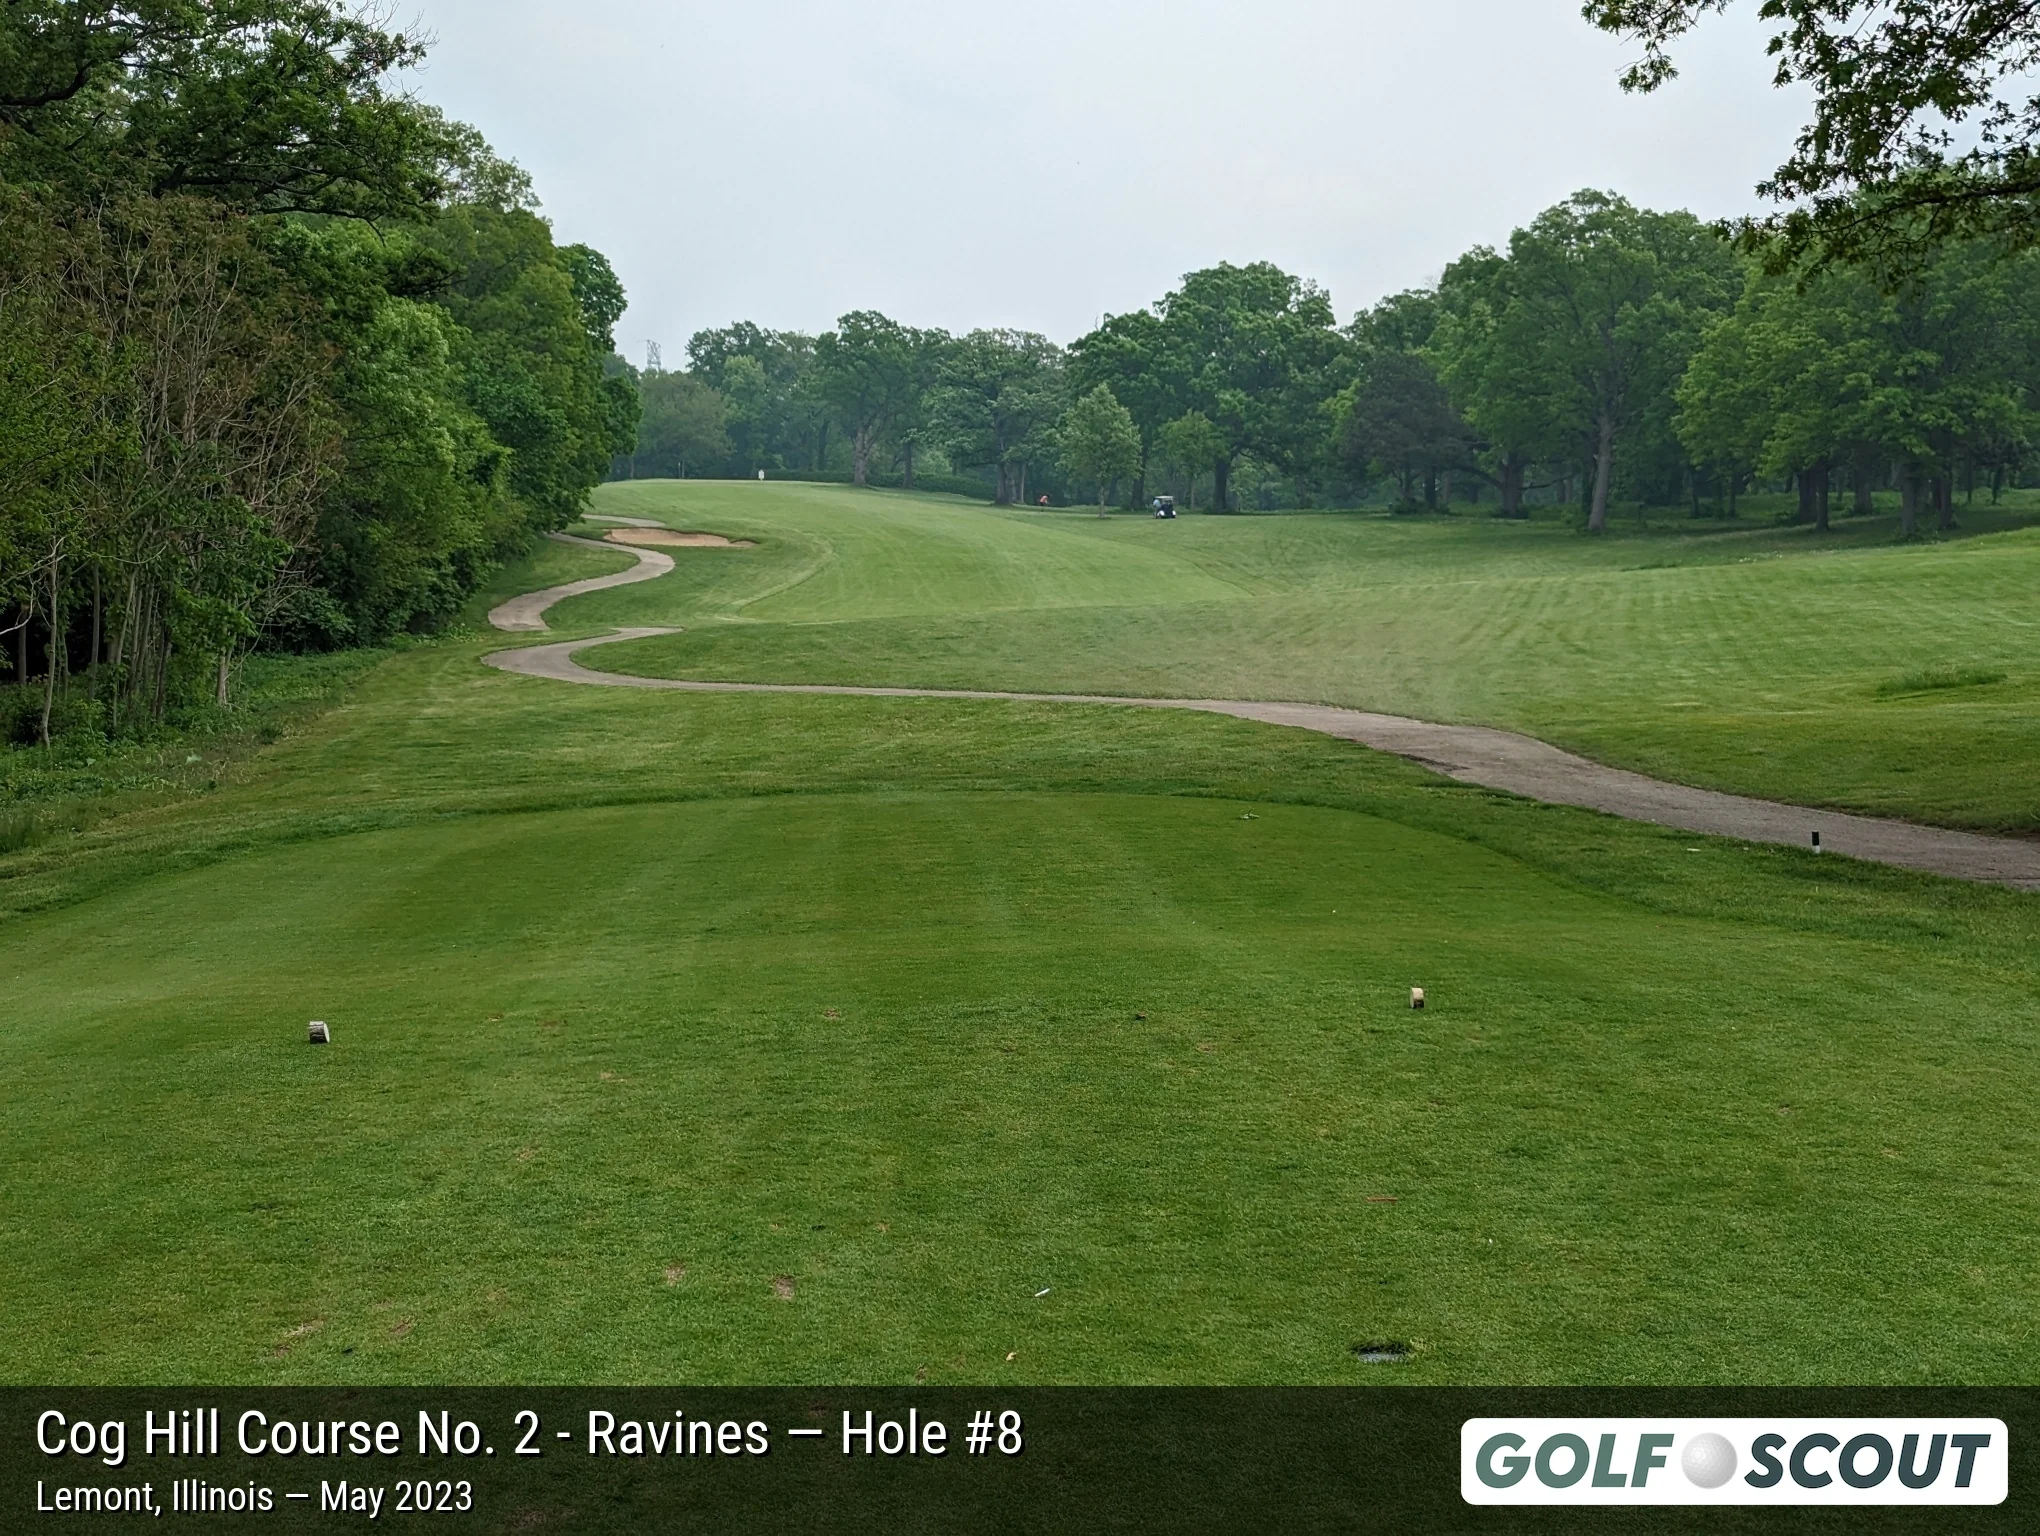
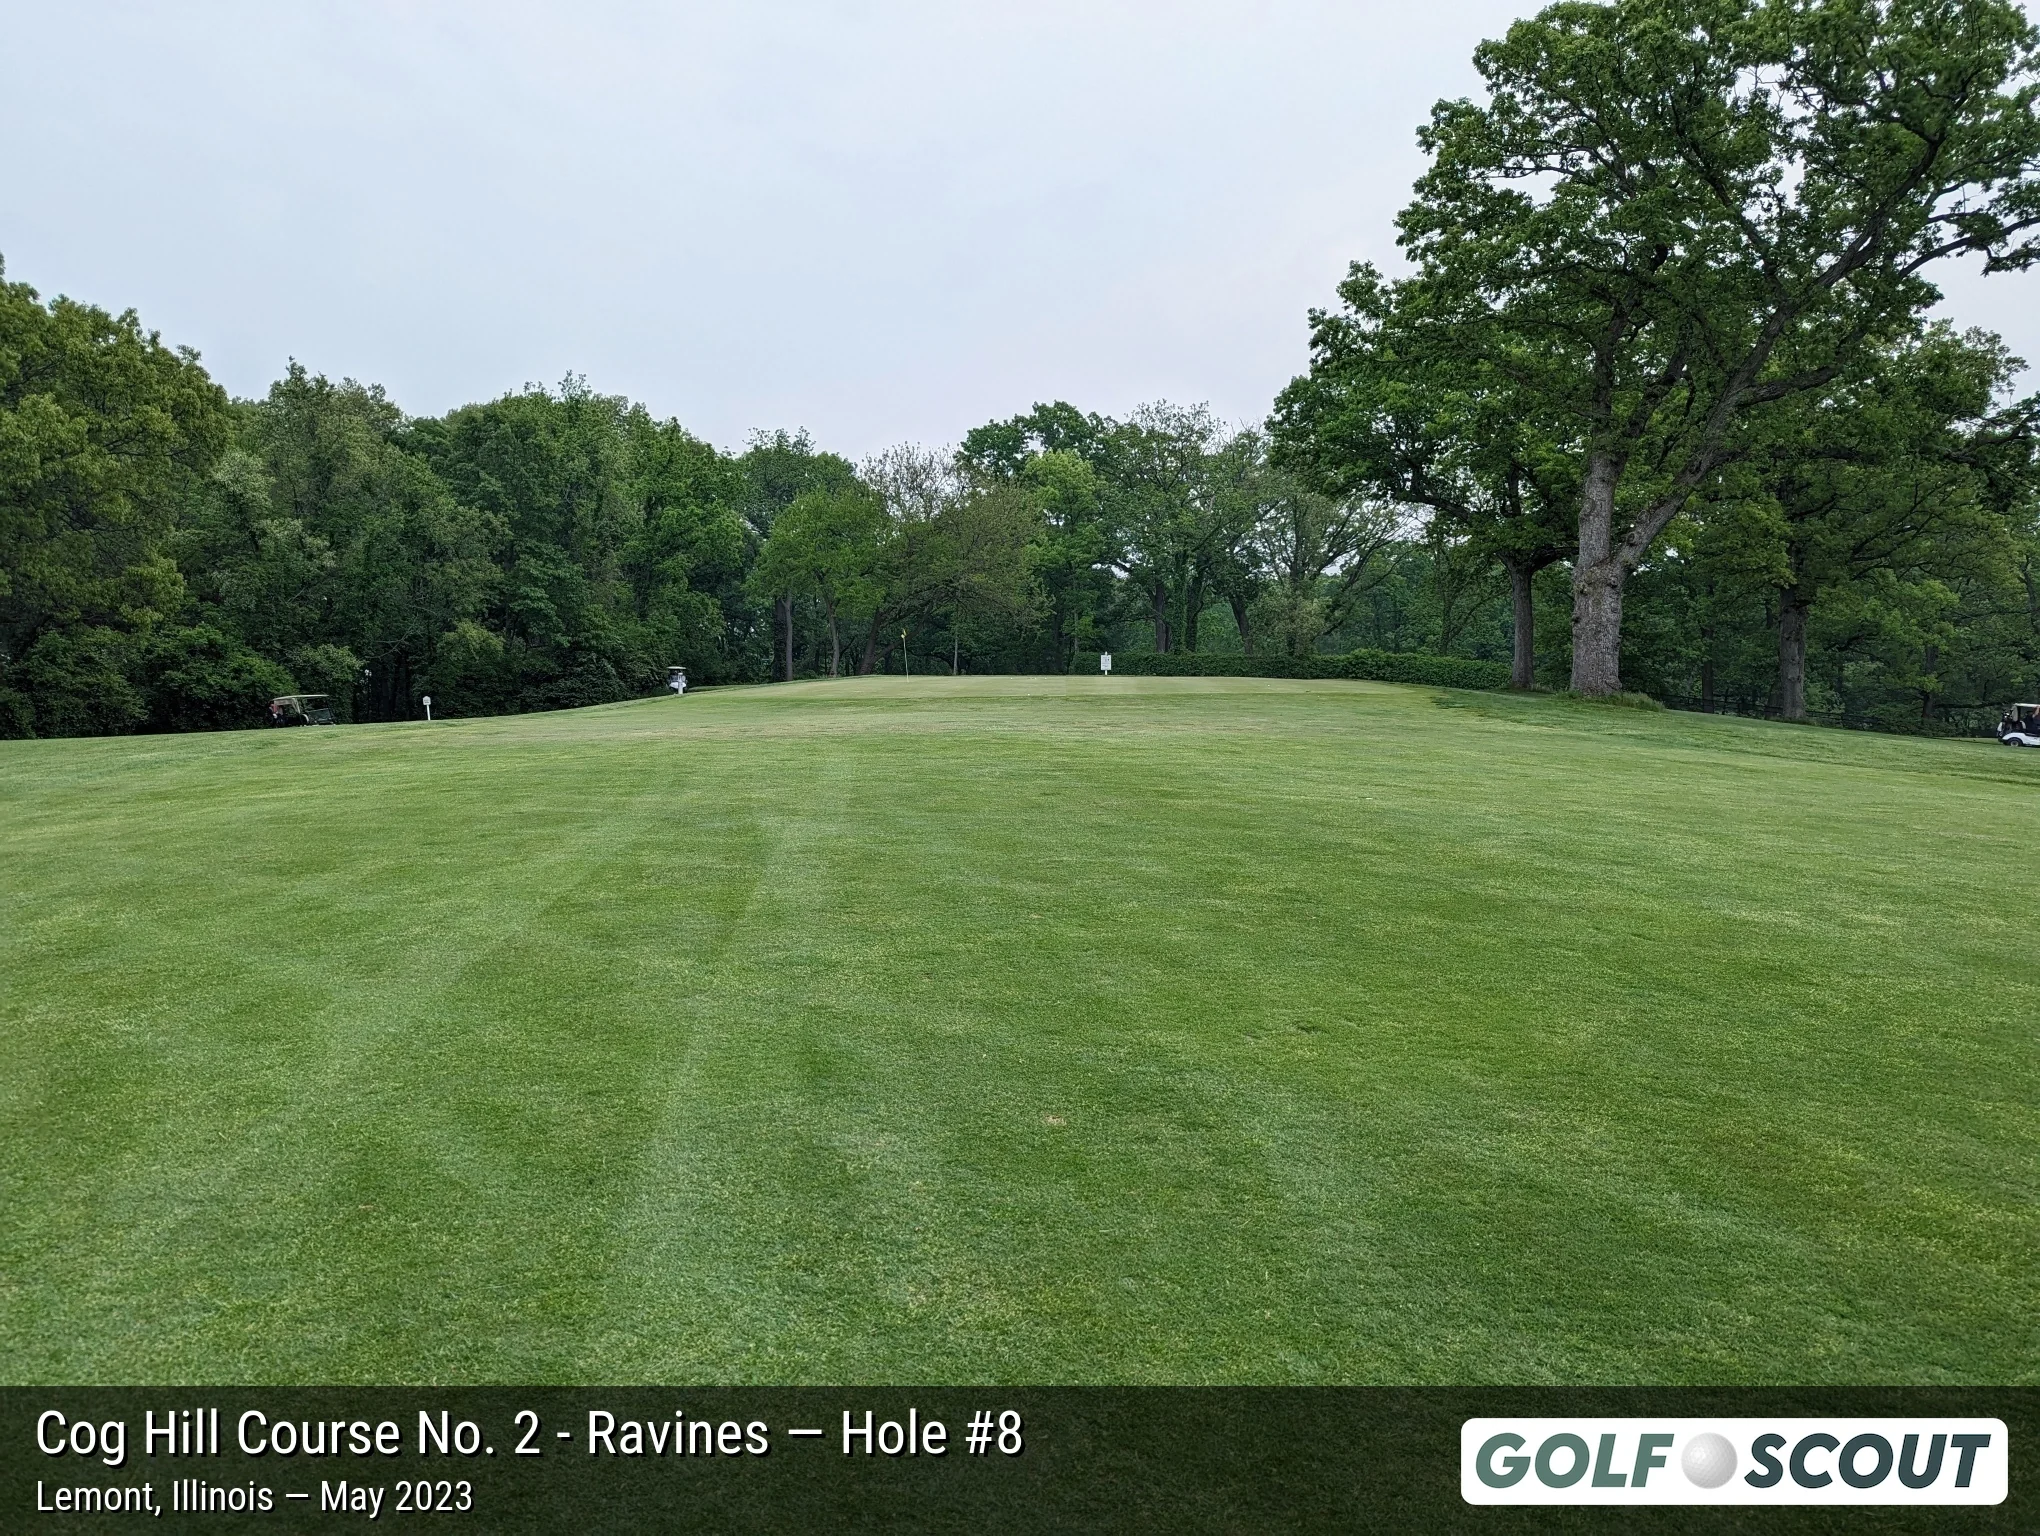
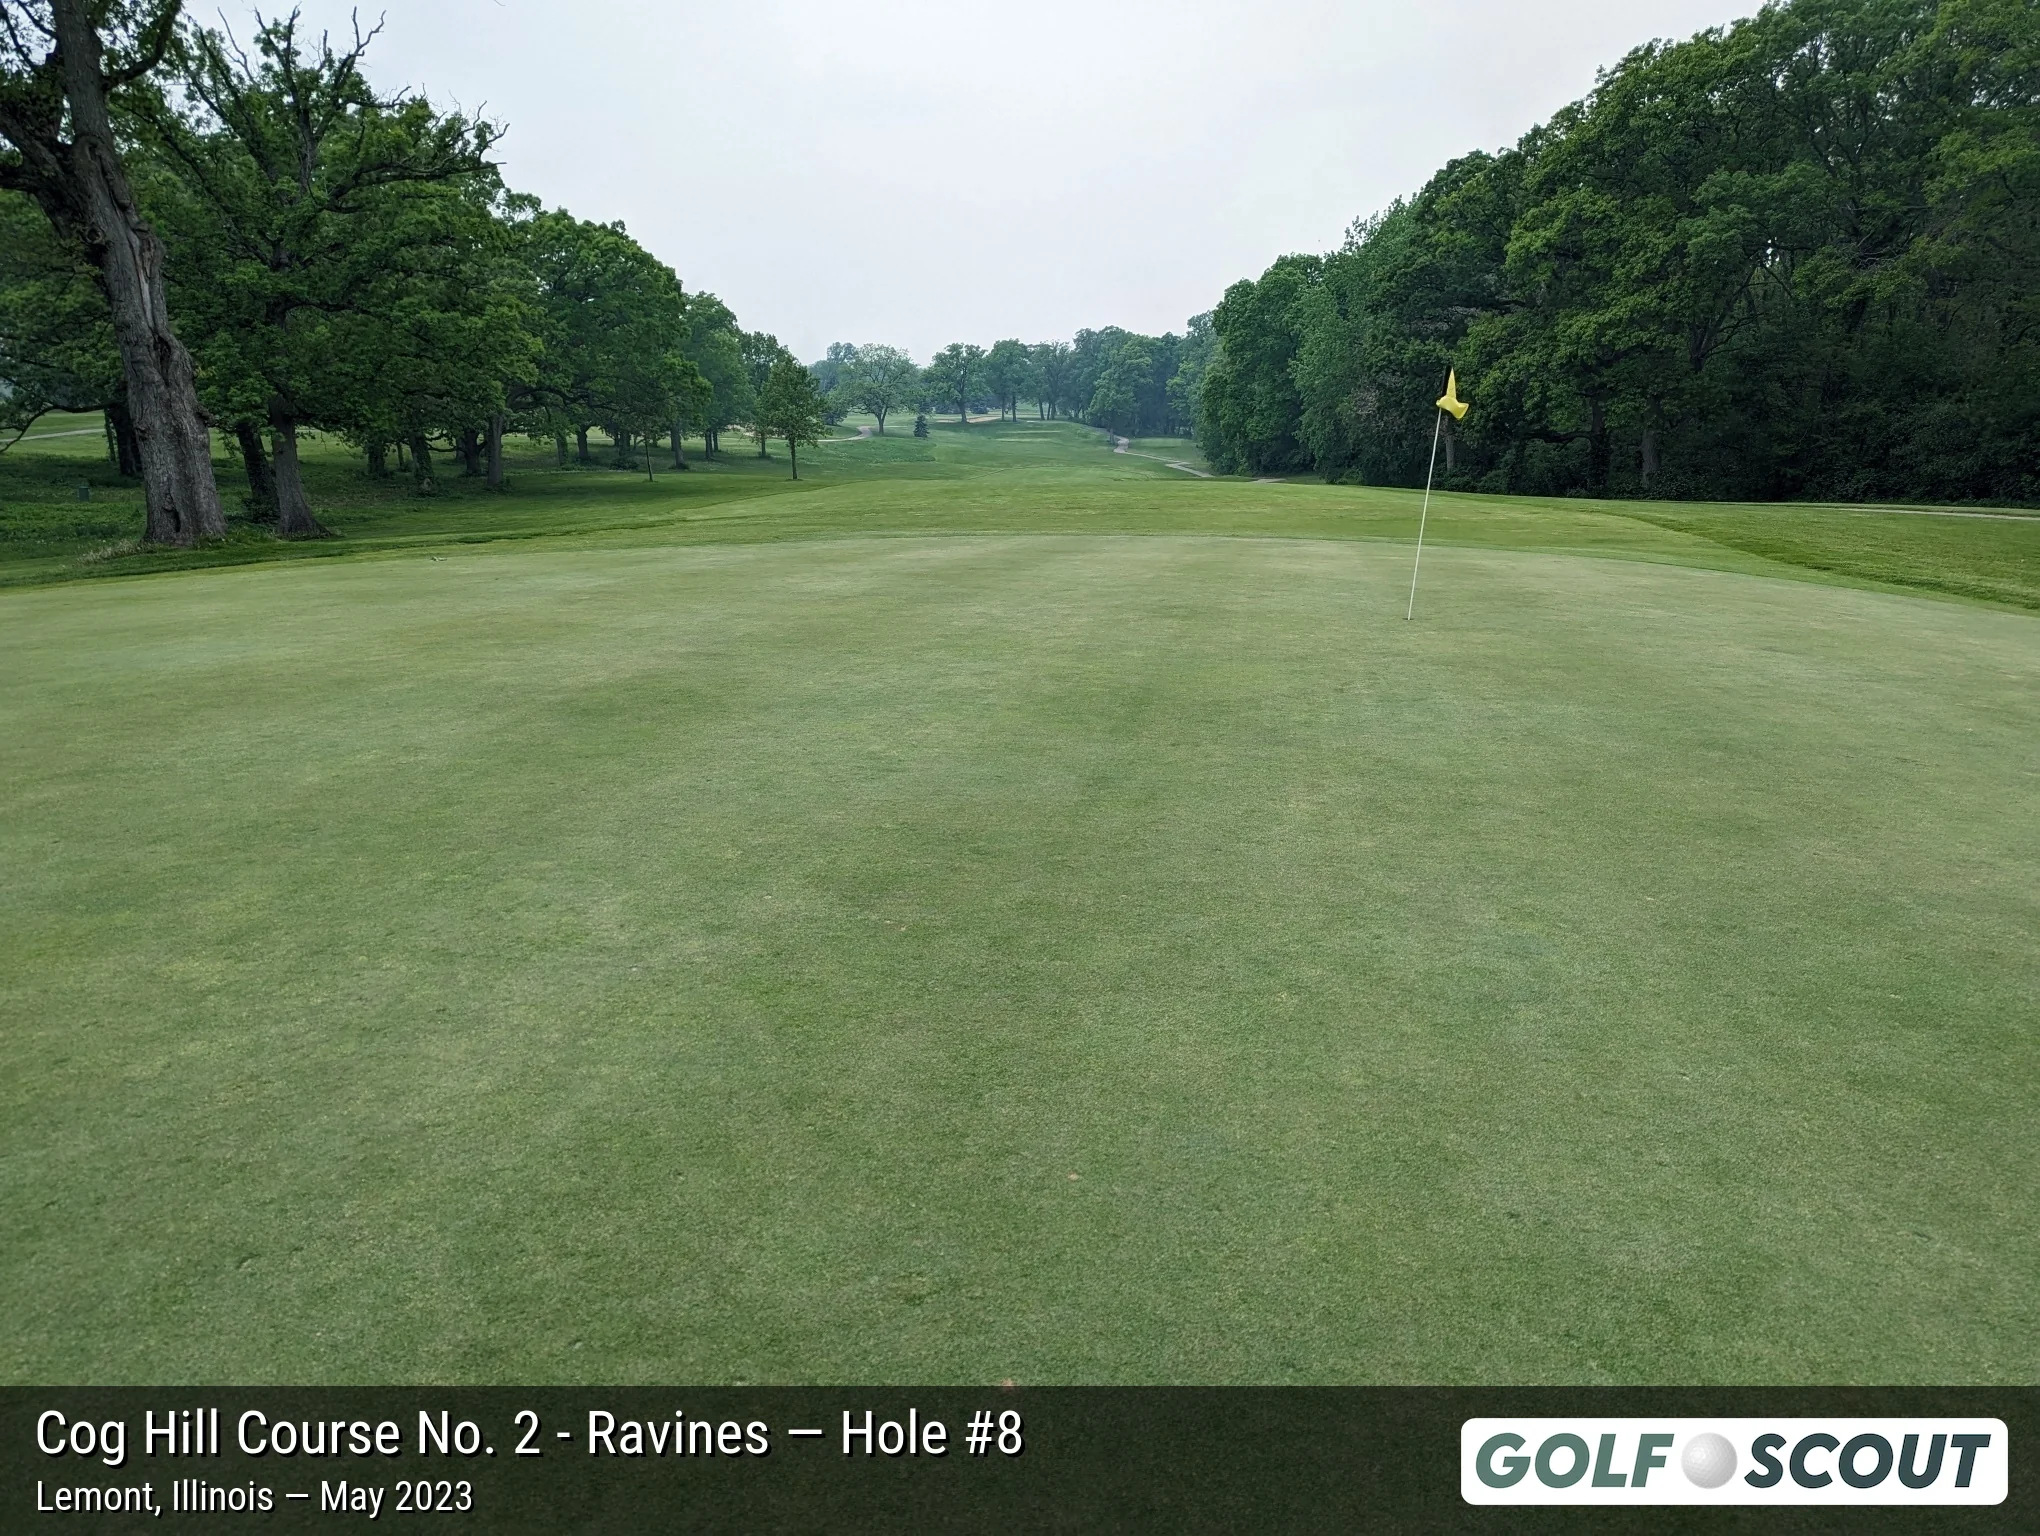
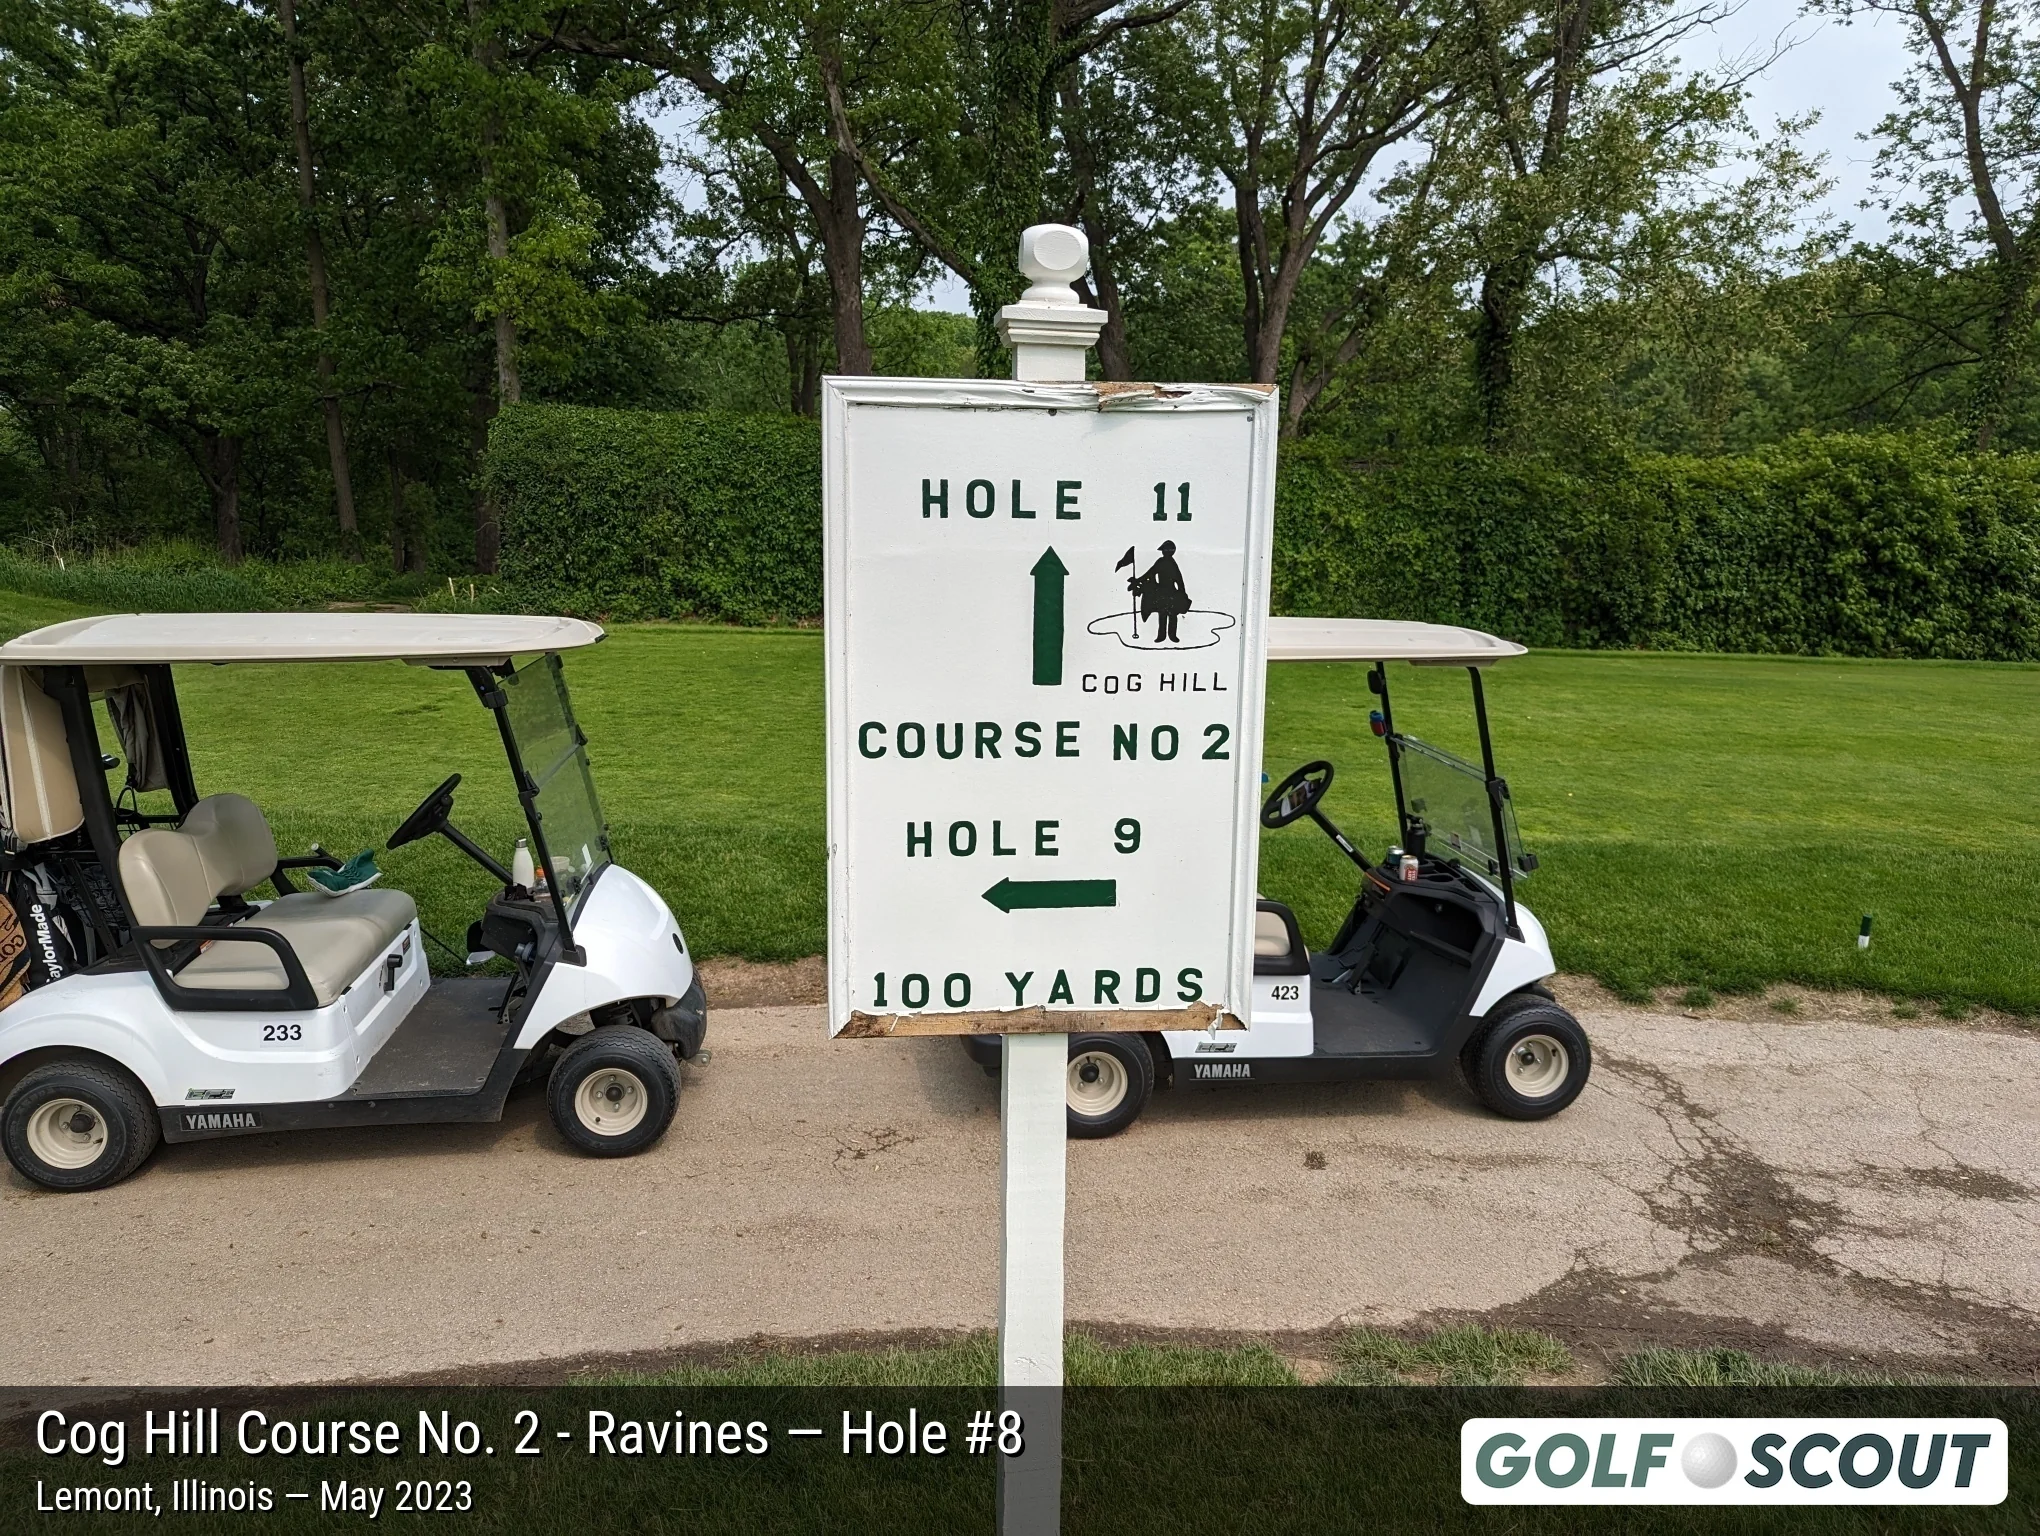
Last photo is typically a reverse angle from behind the green.
Hole 9
6 photos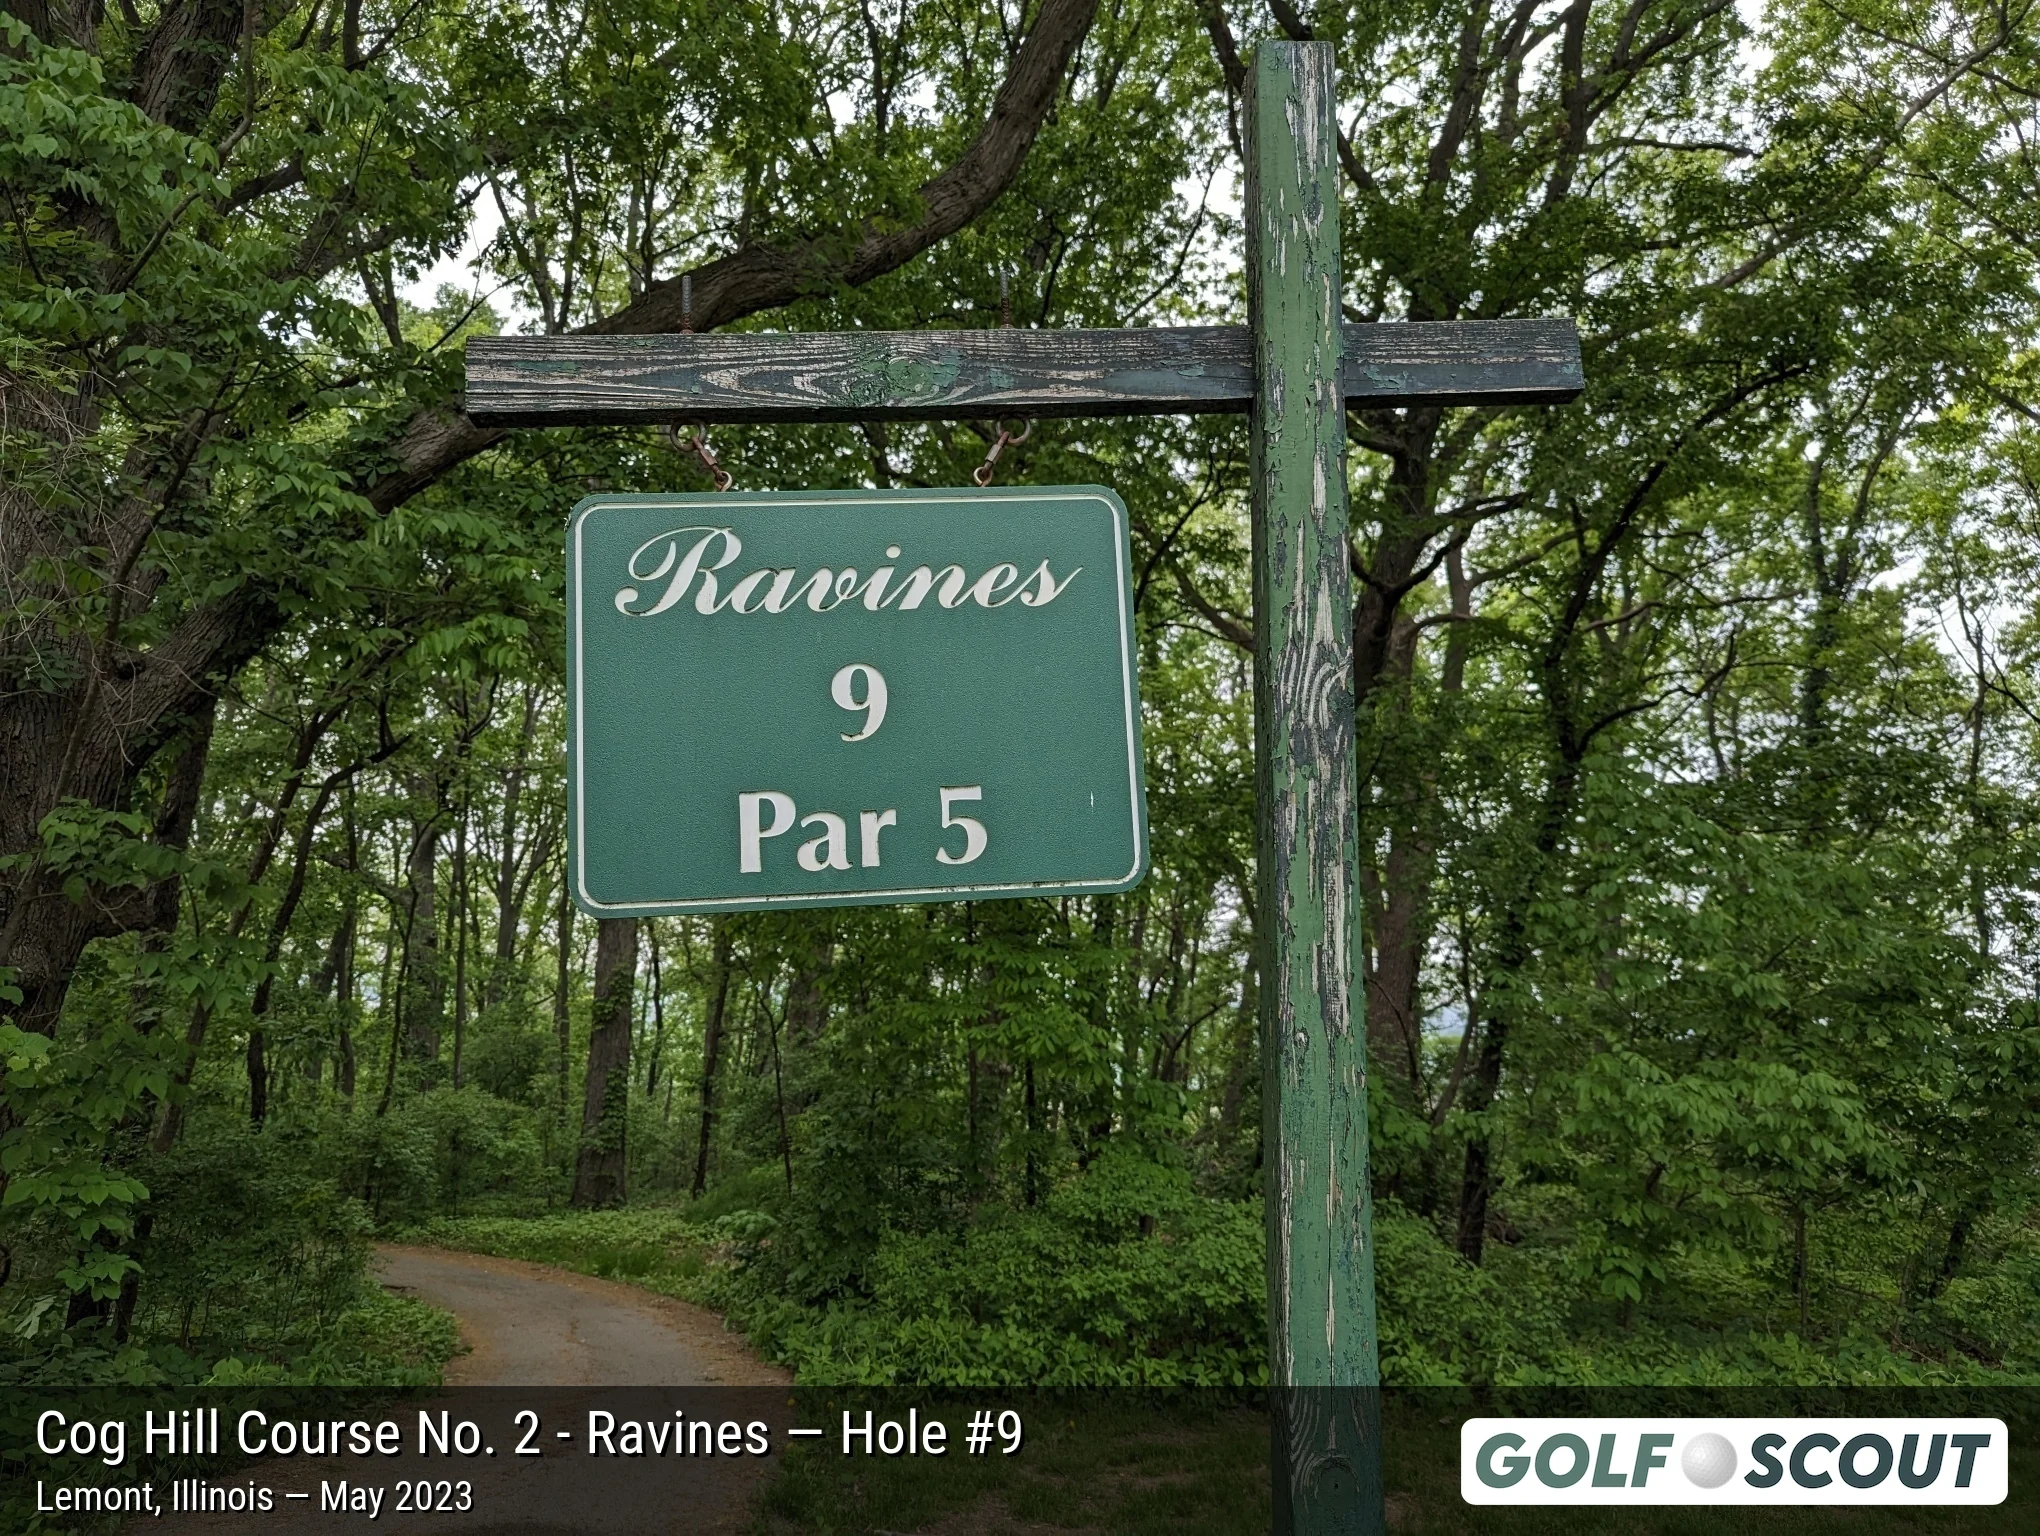
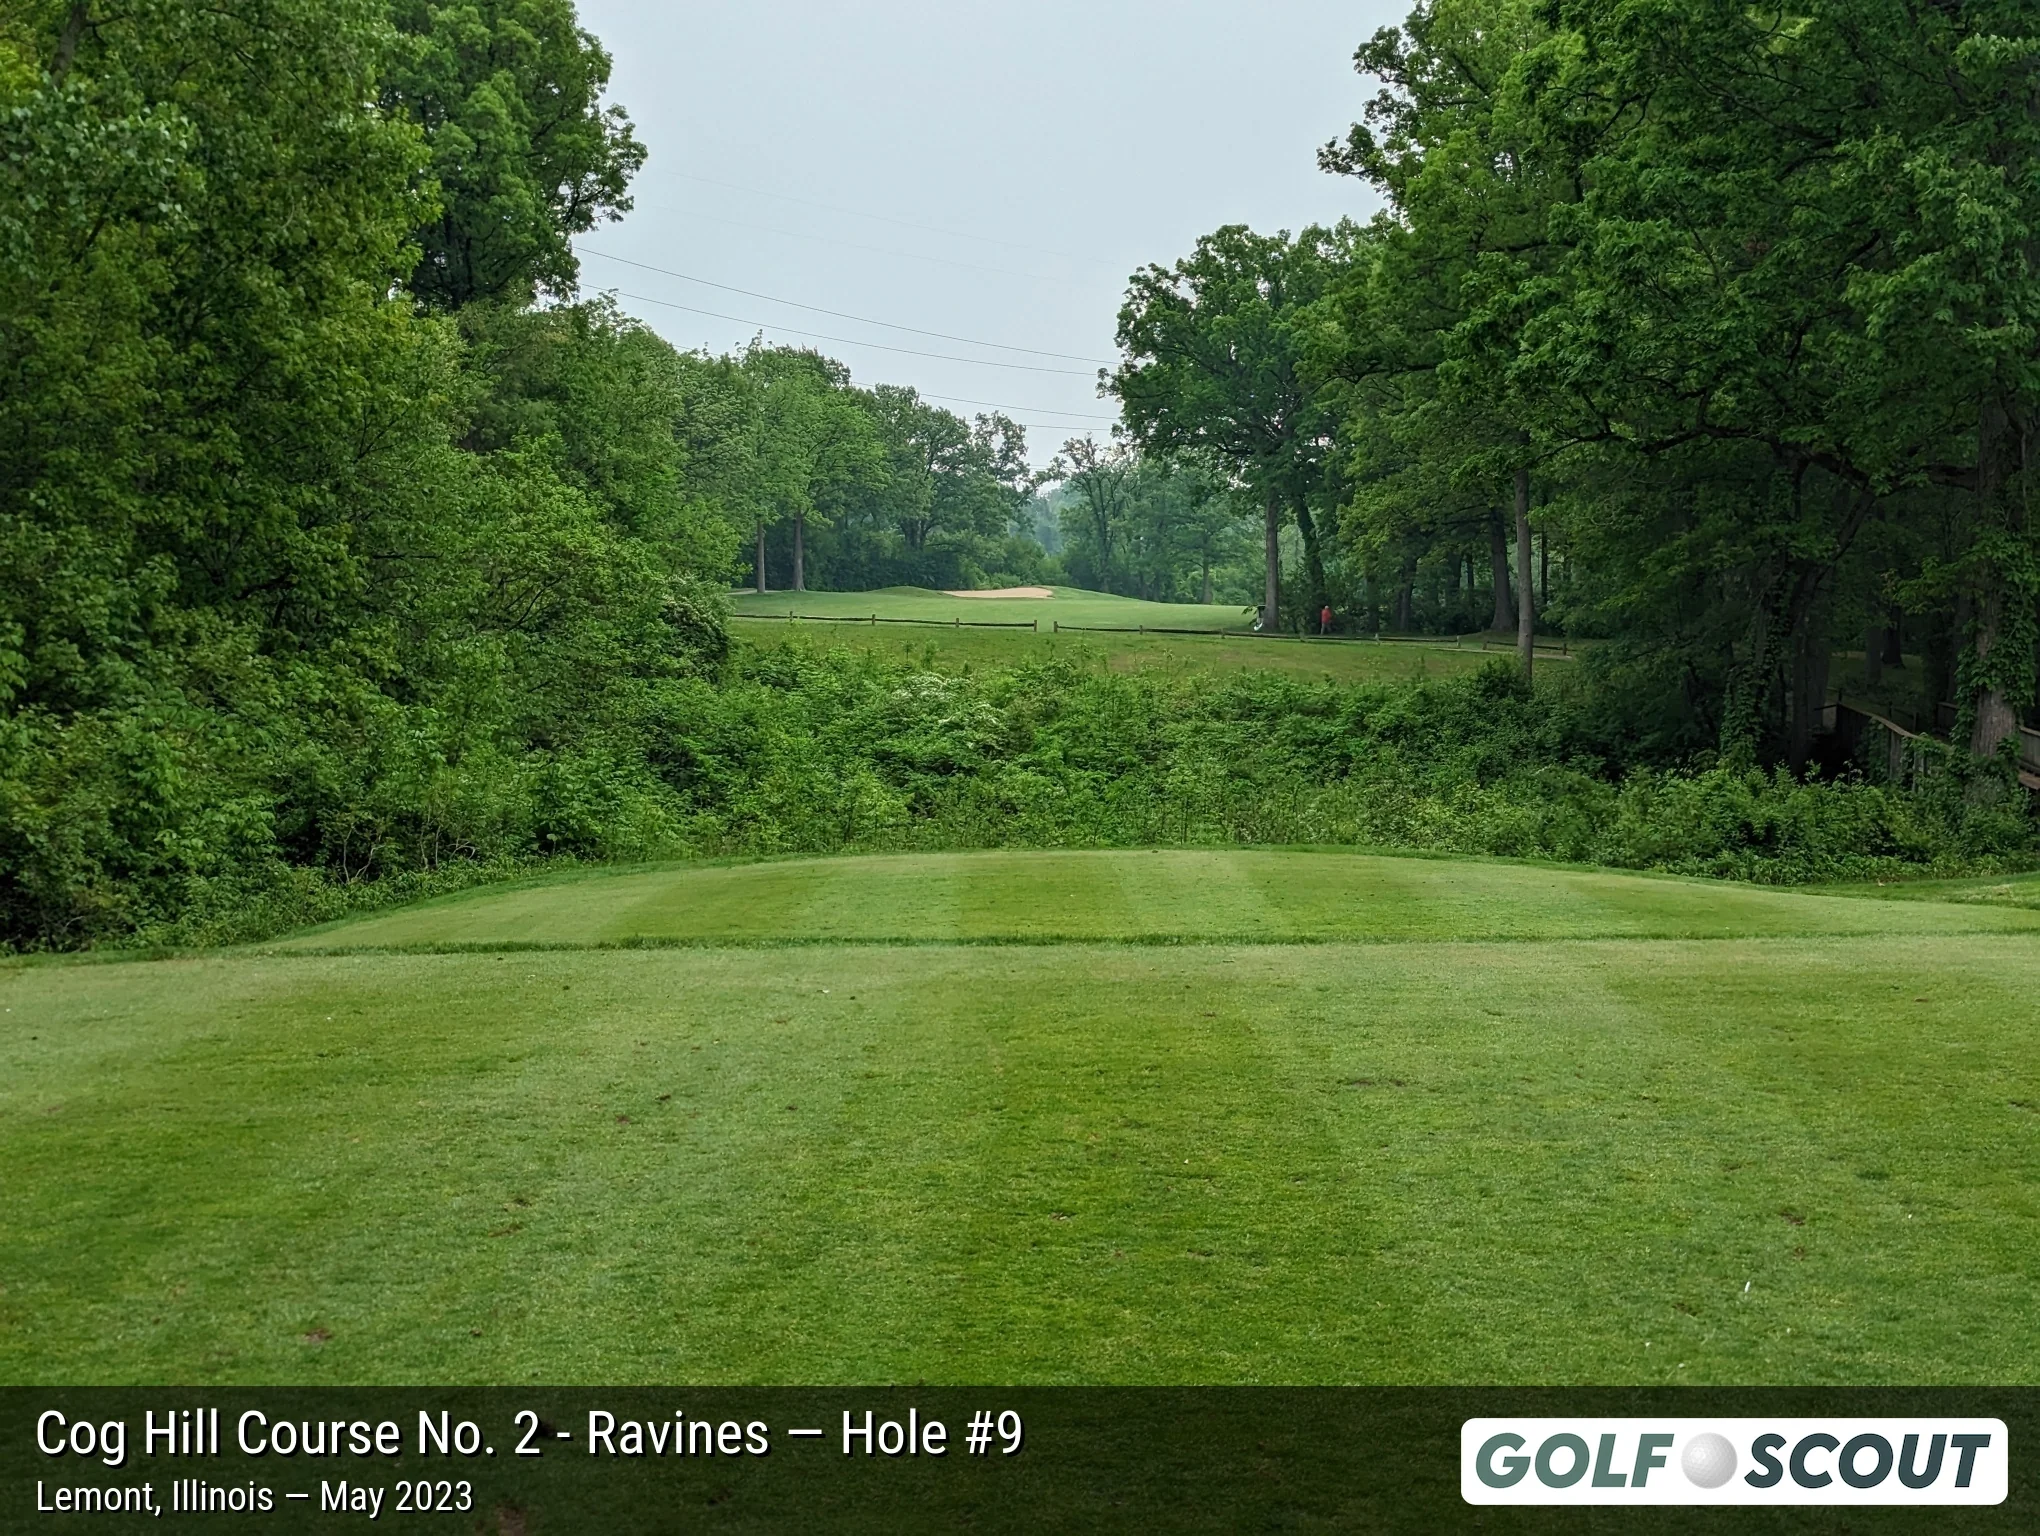
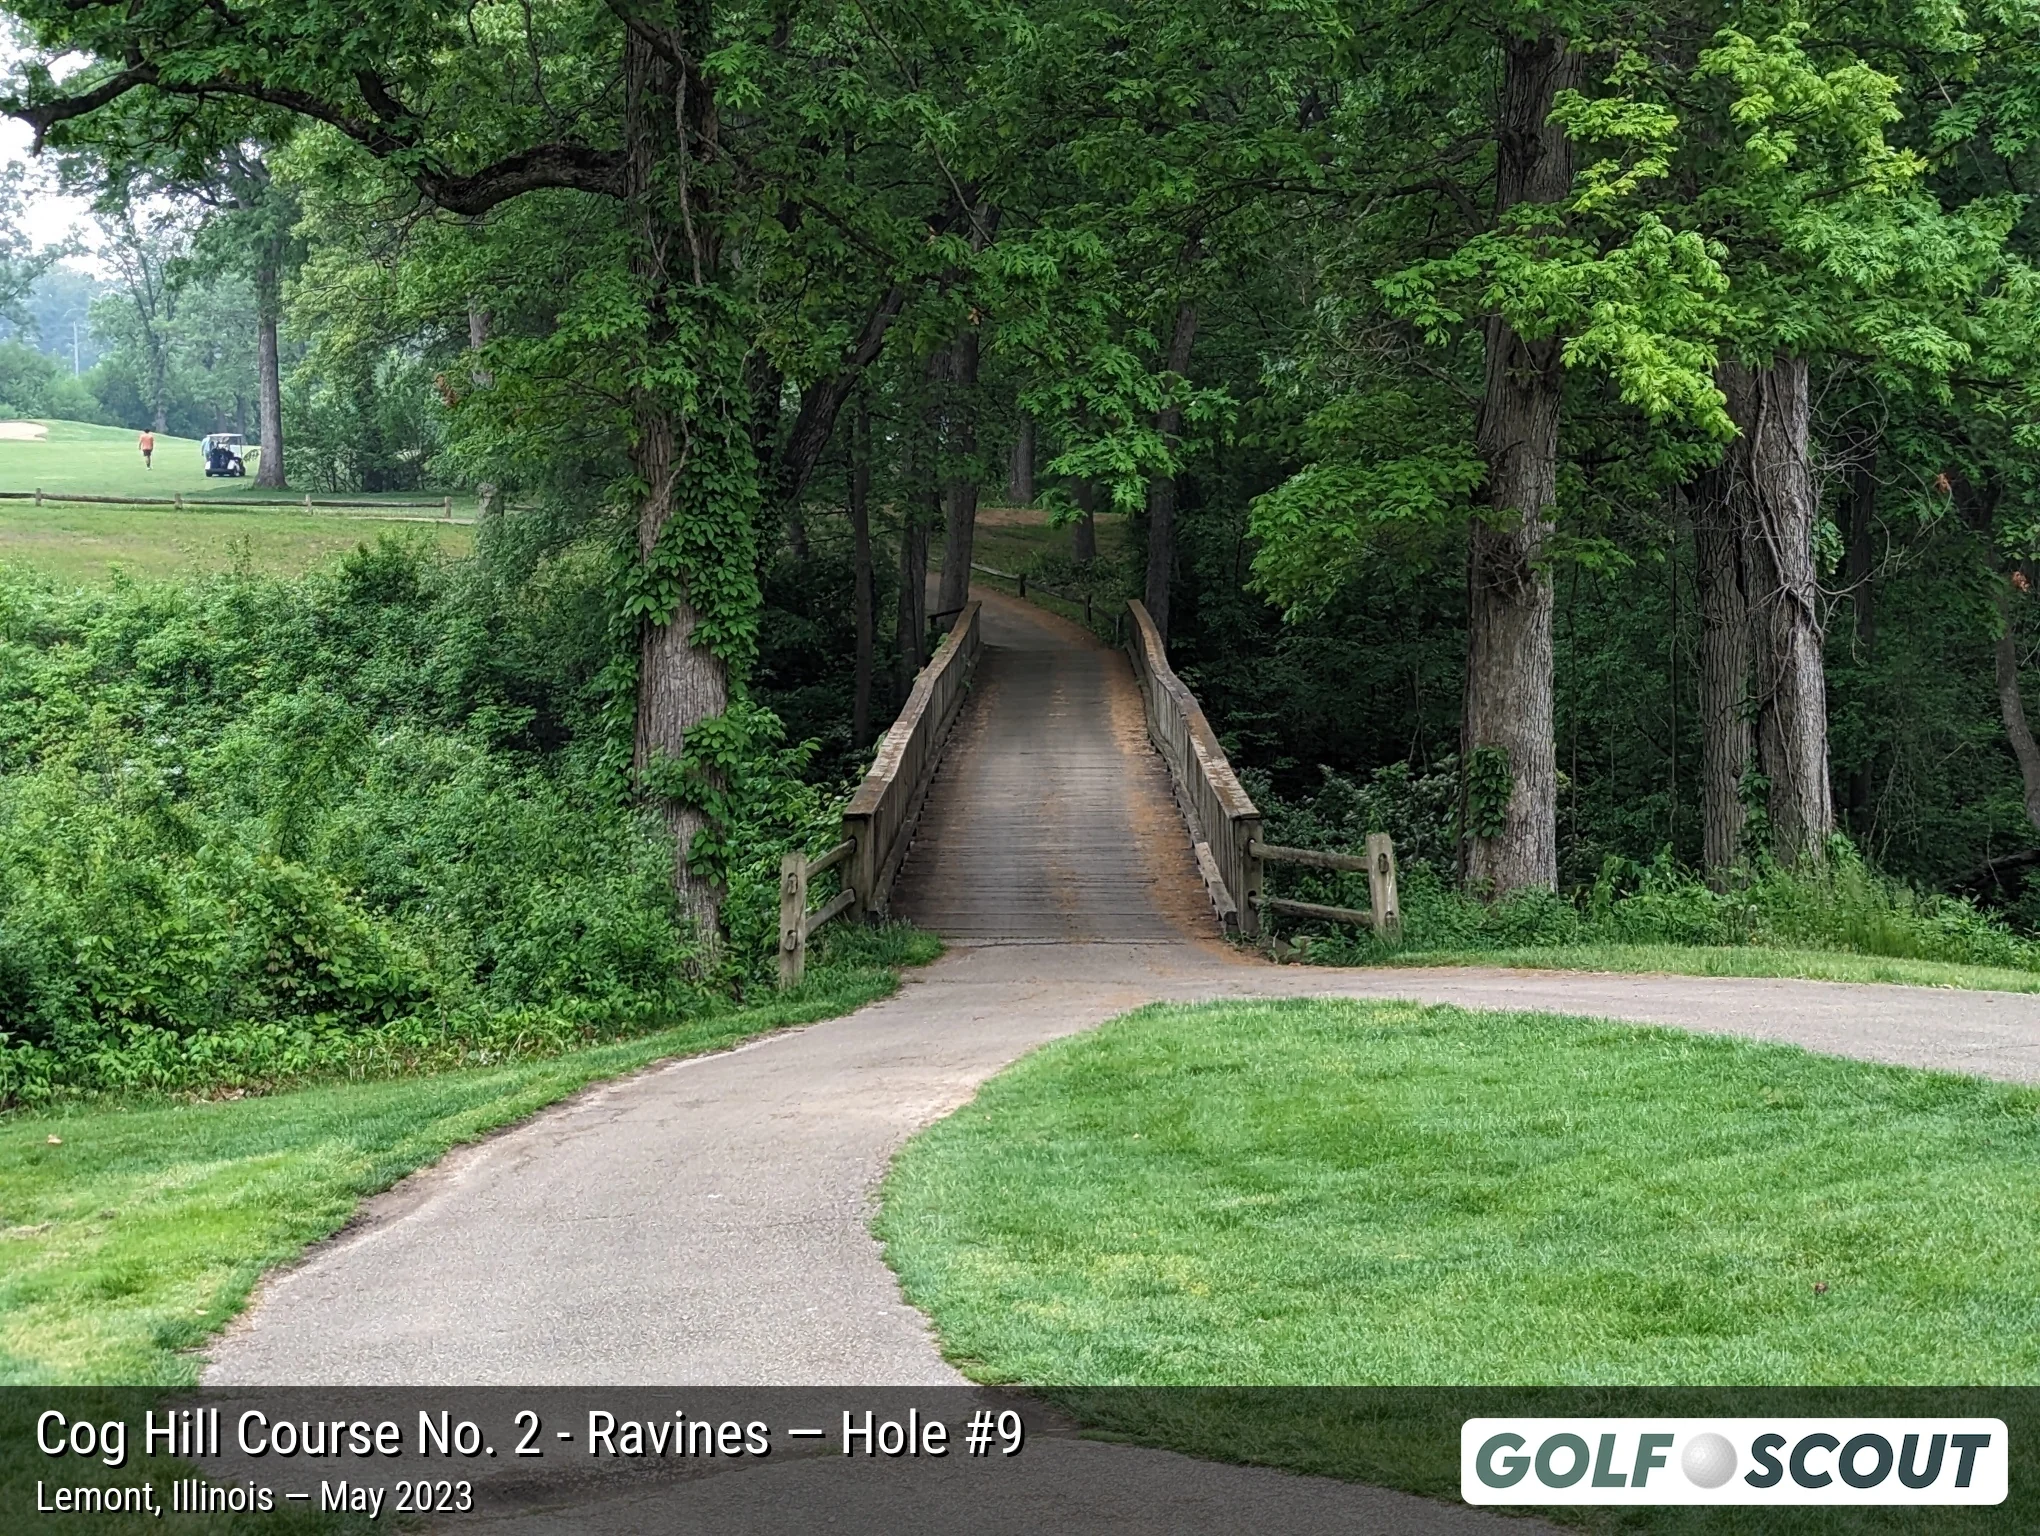
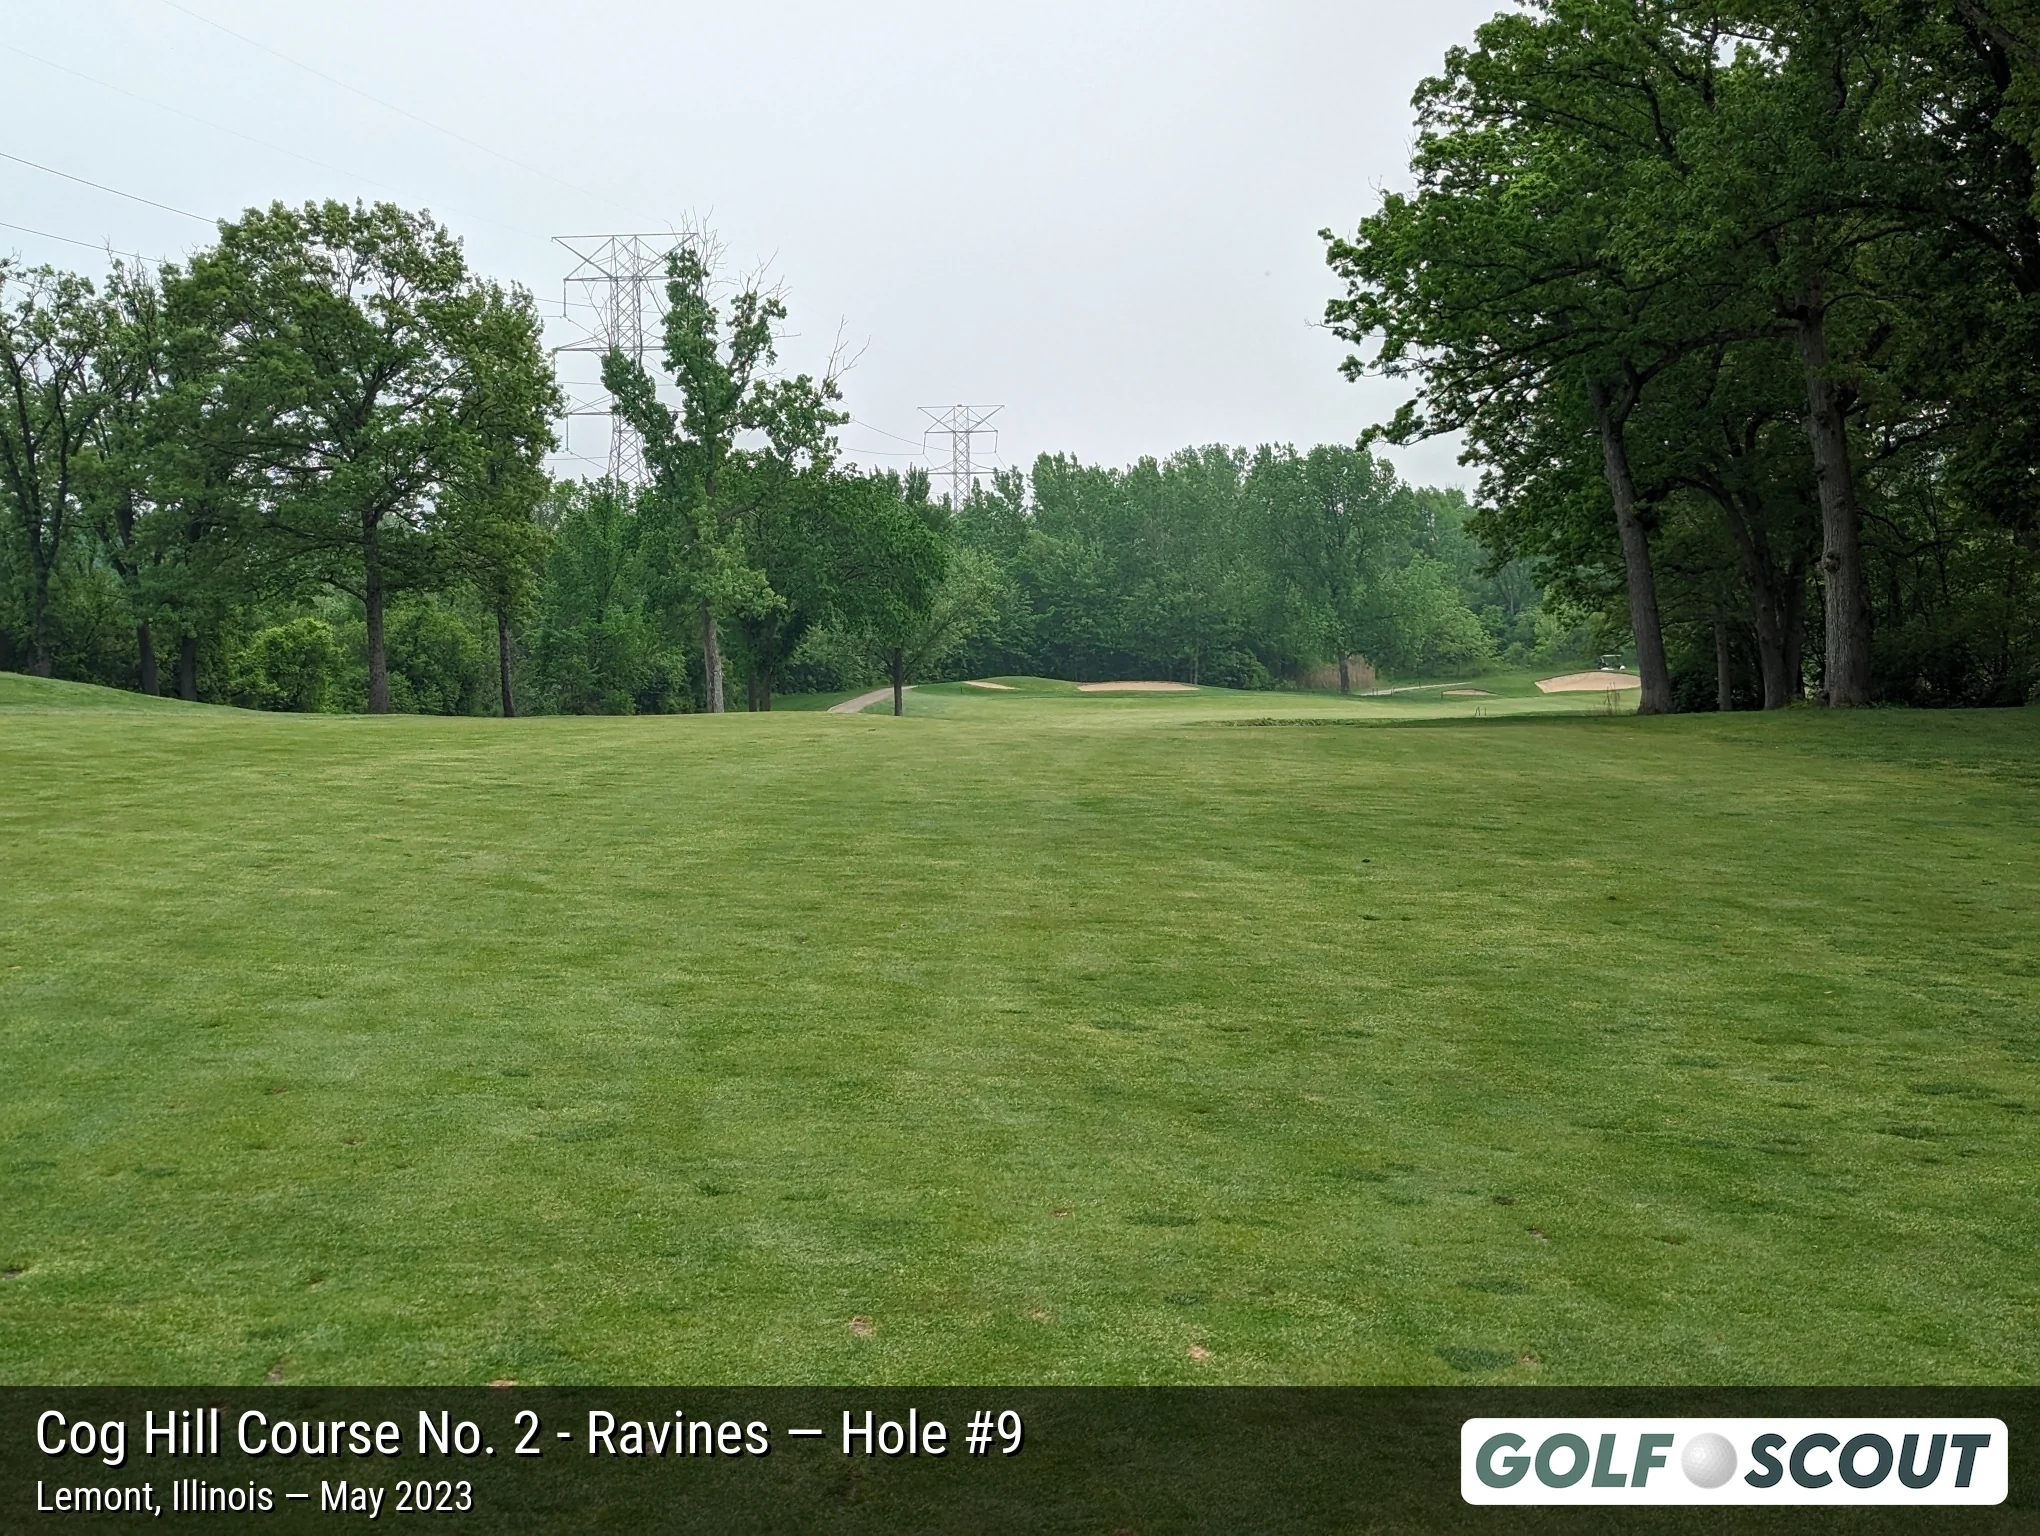
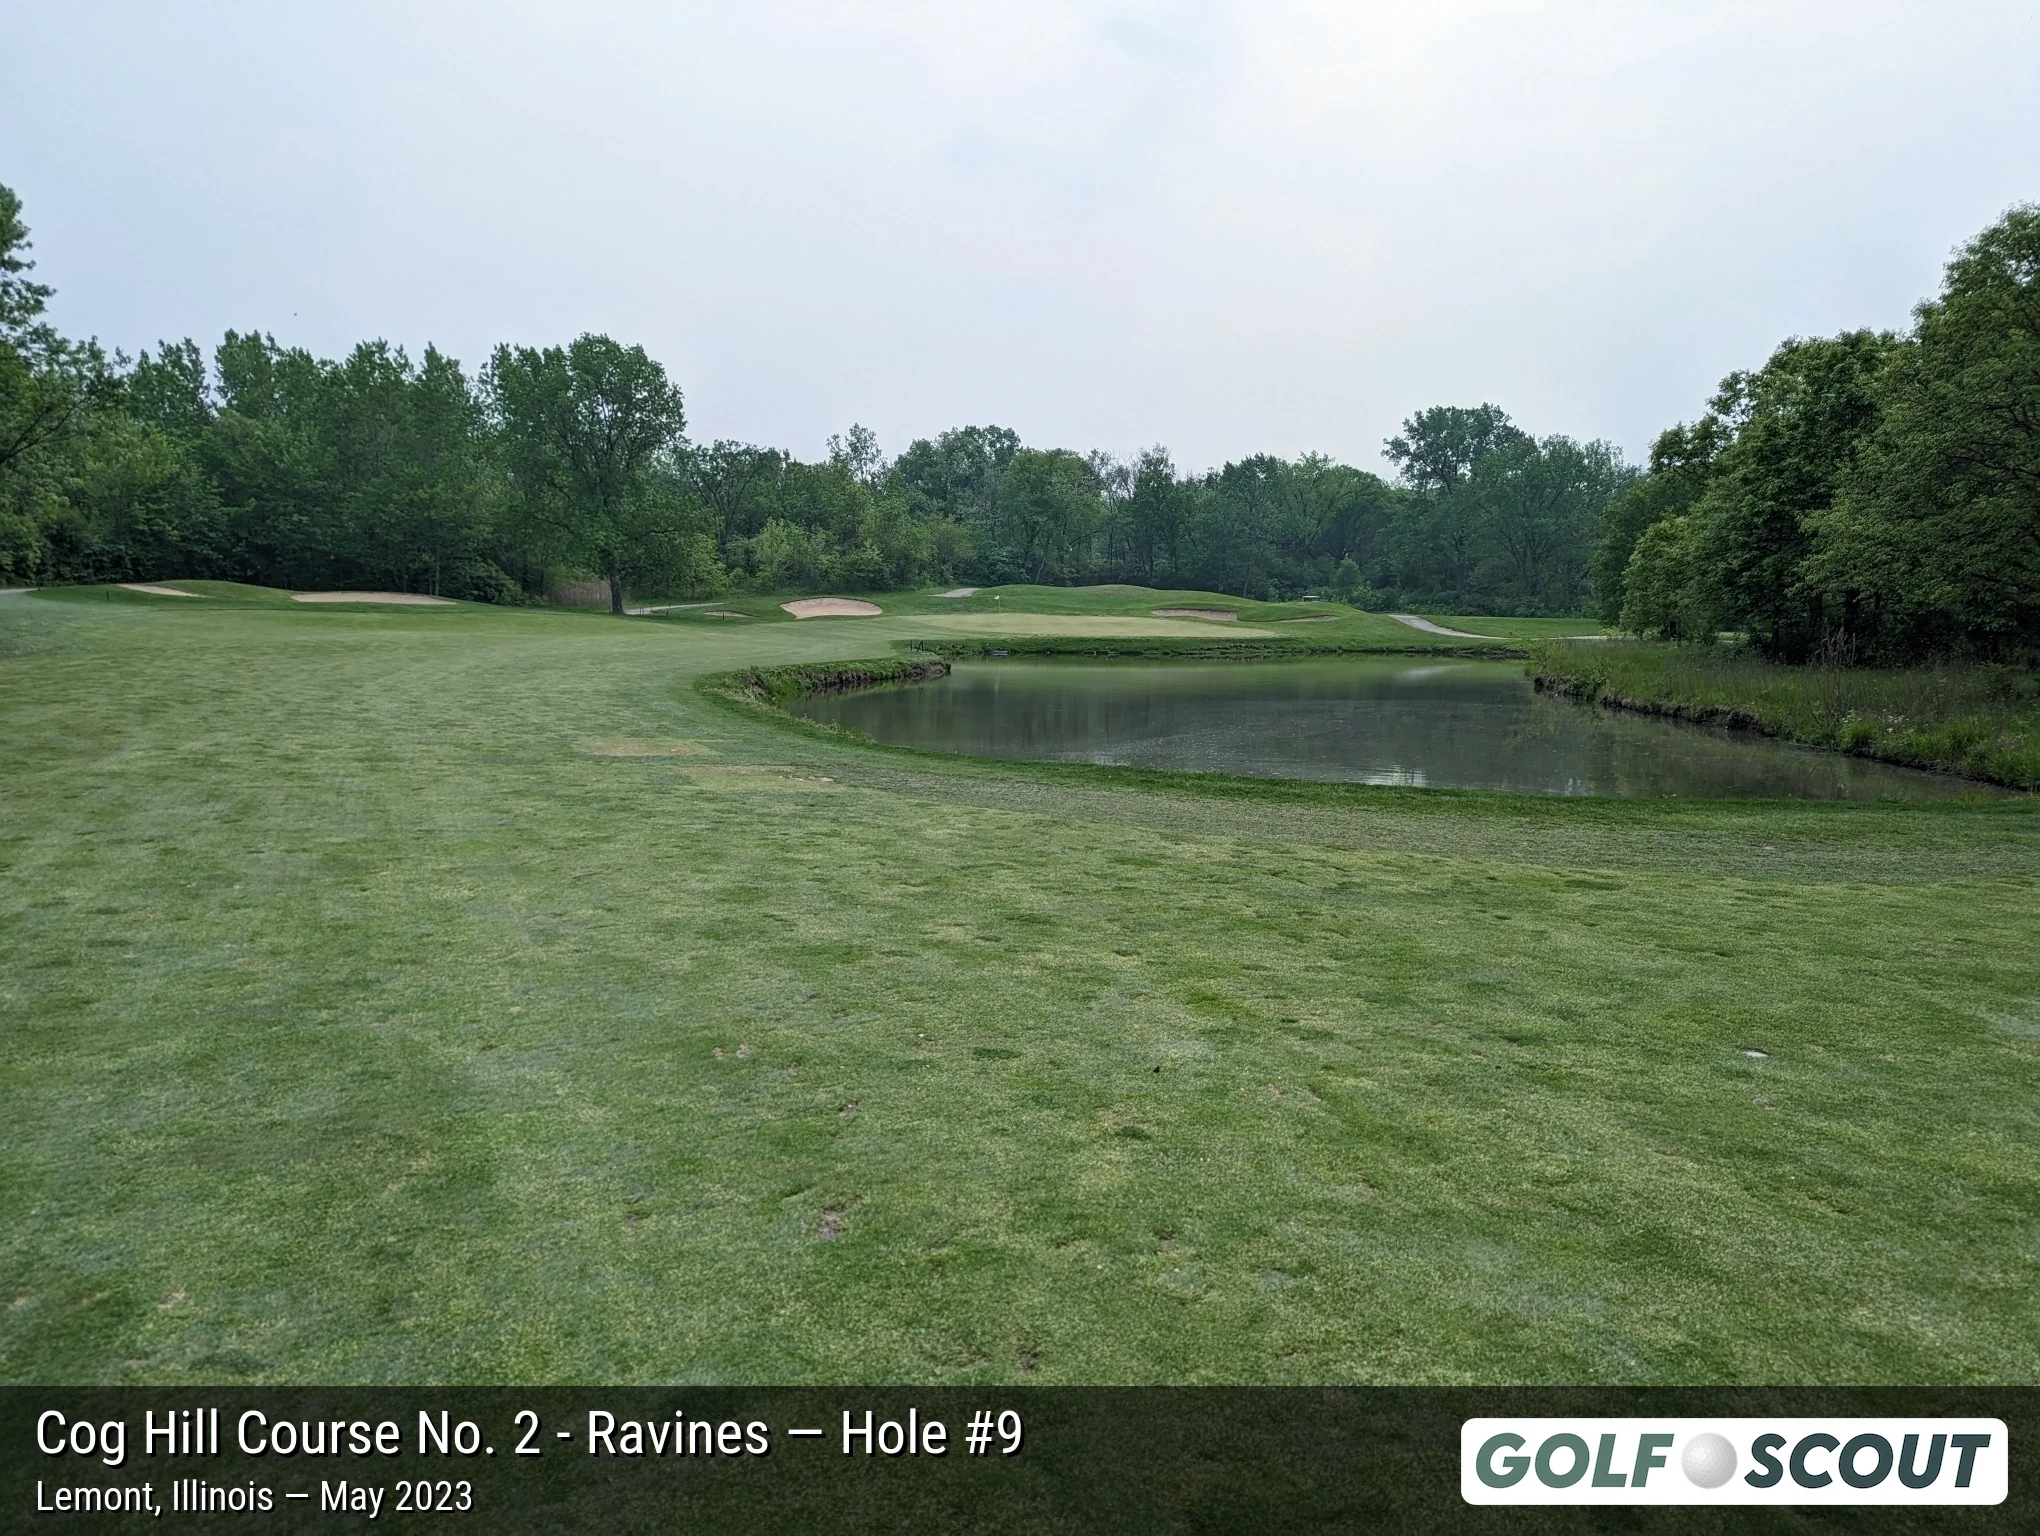
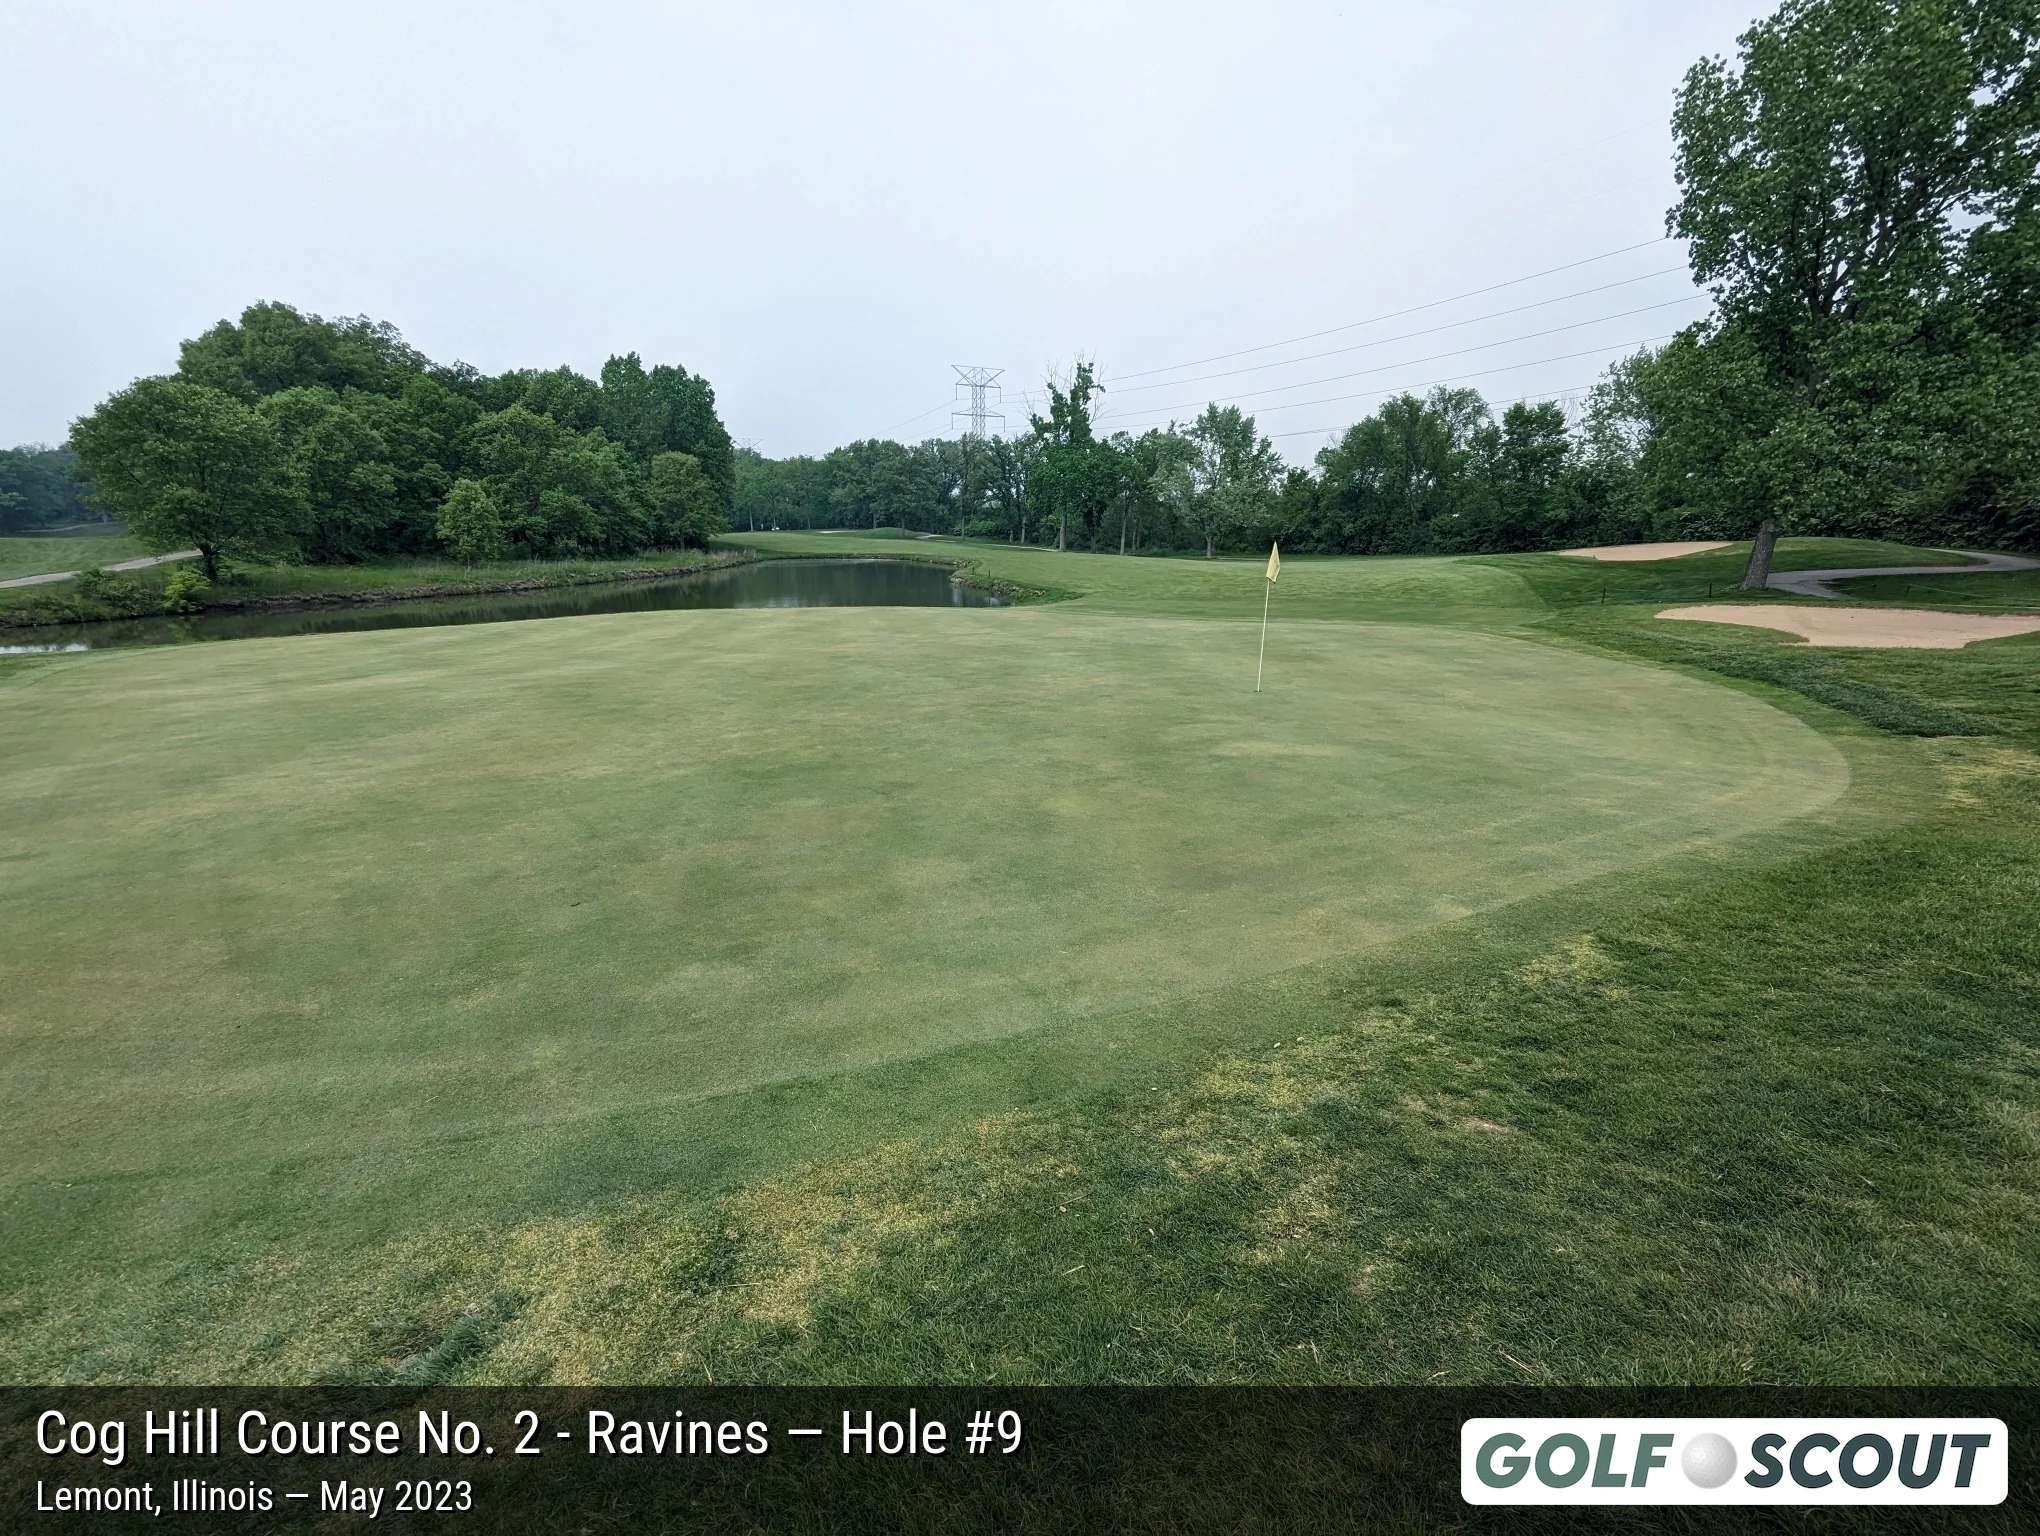
Last photo is typically a reverse angle from behind the green.
Hole 10
13 photos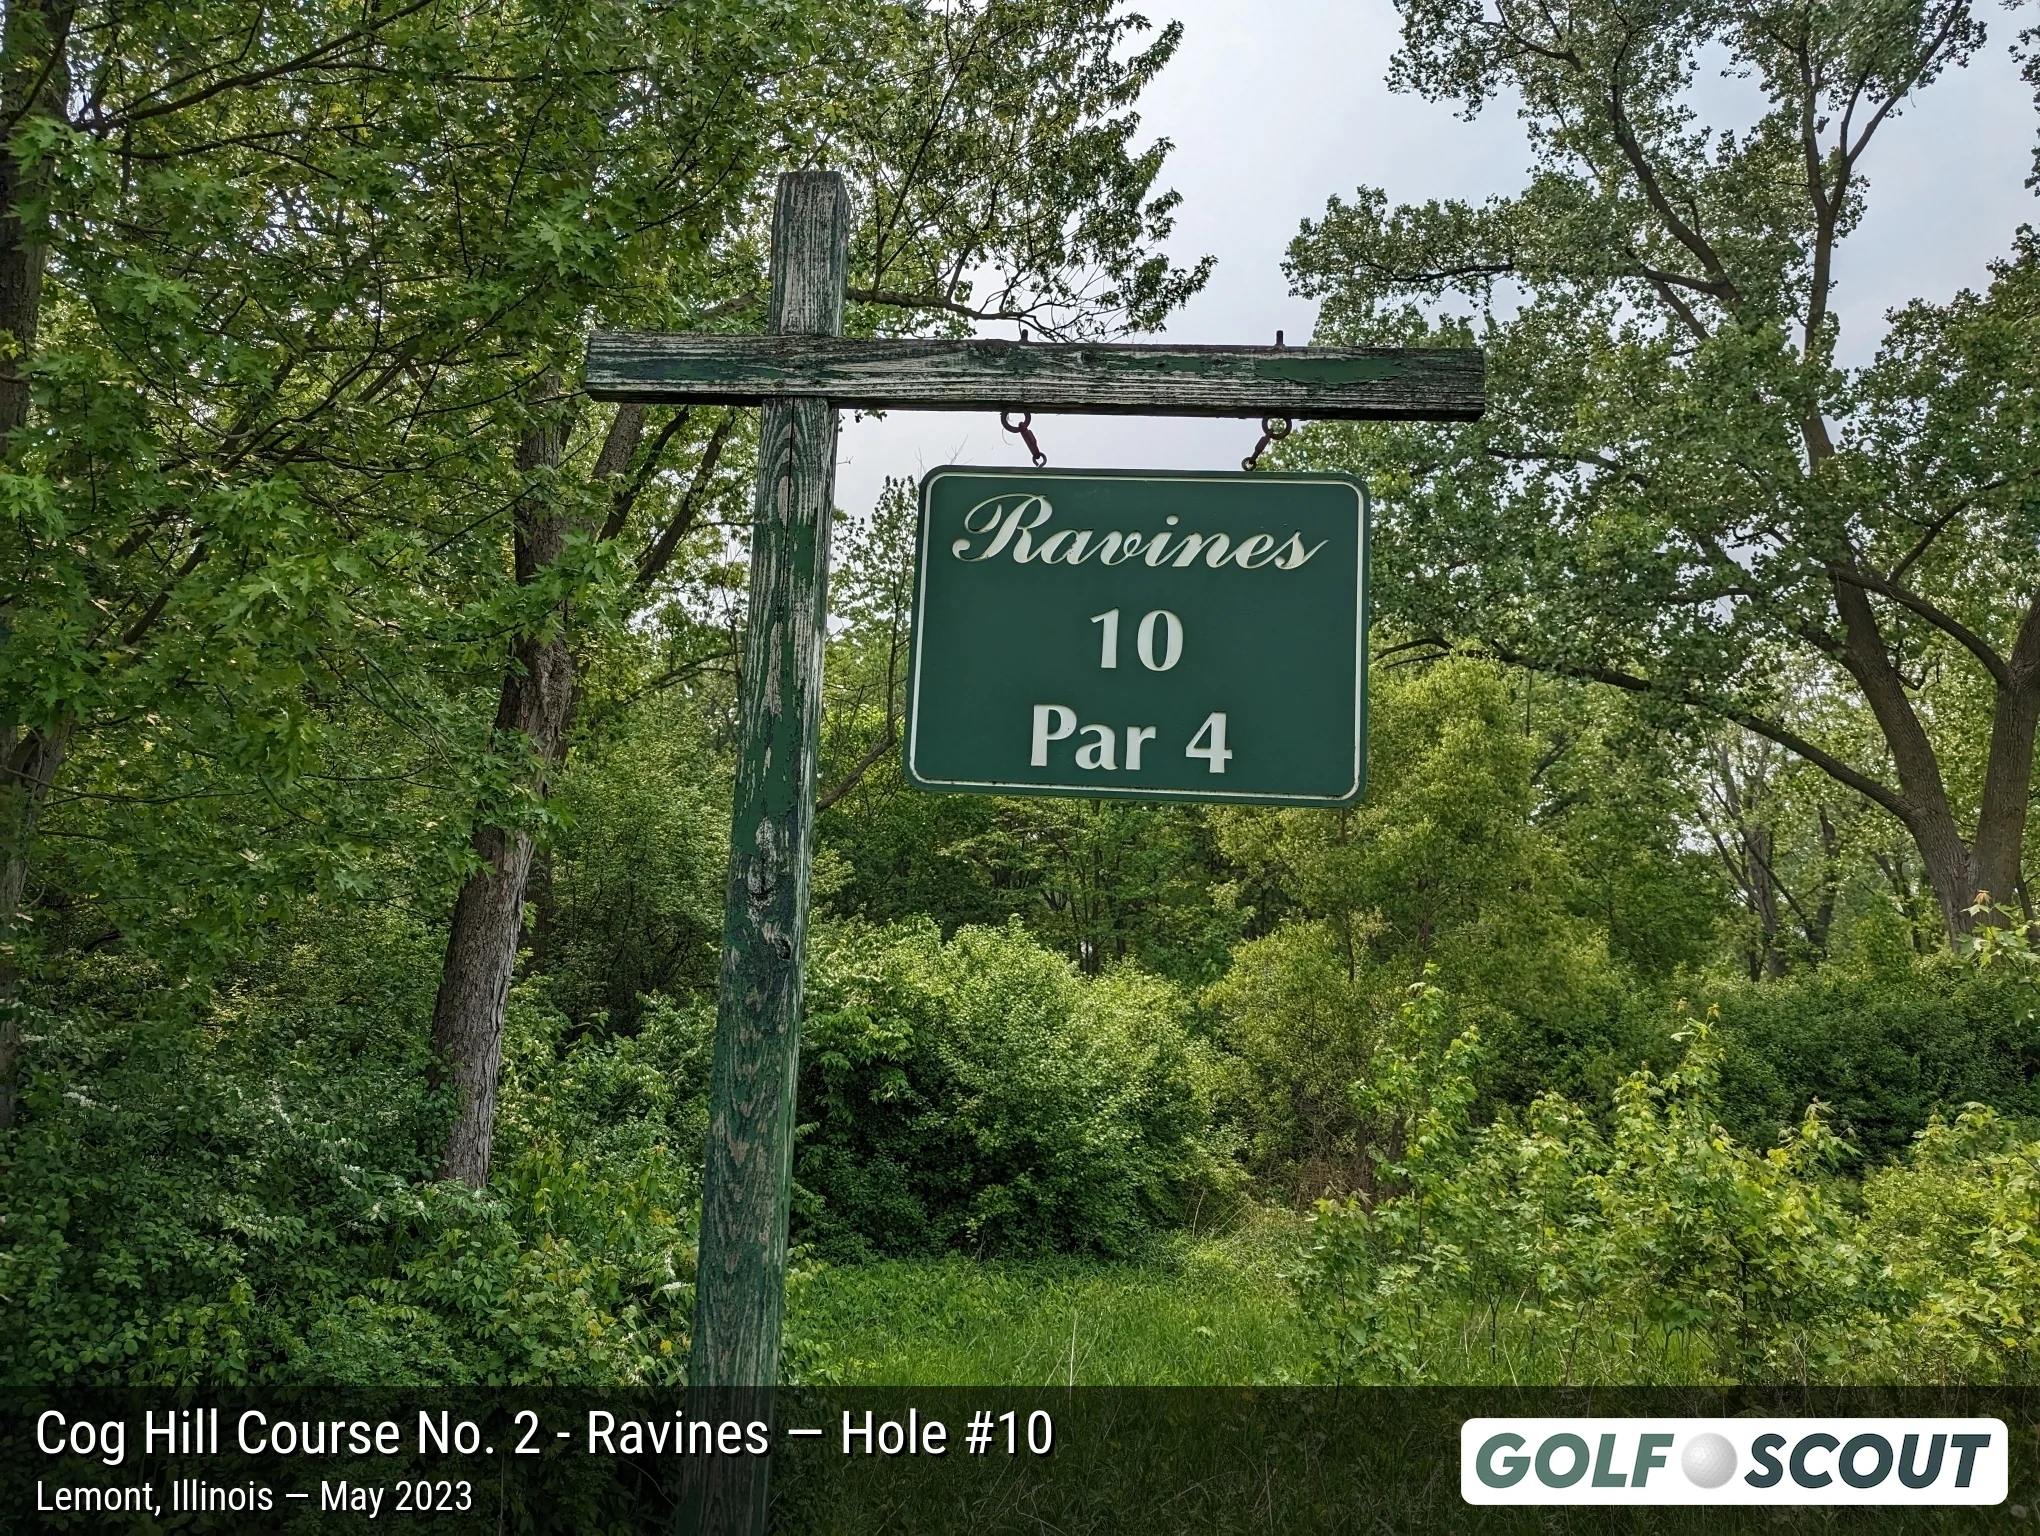
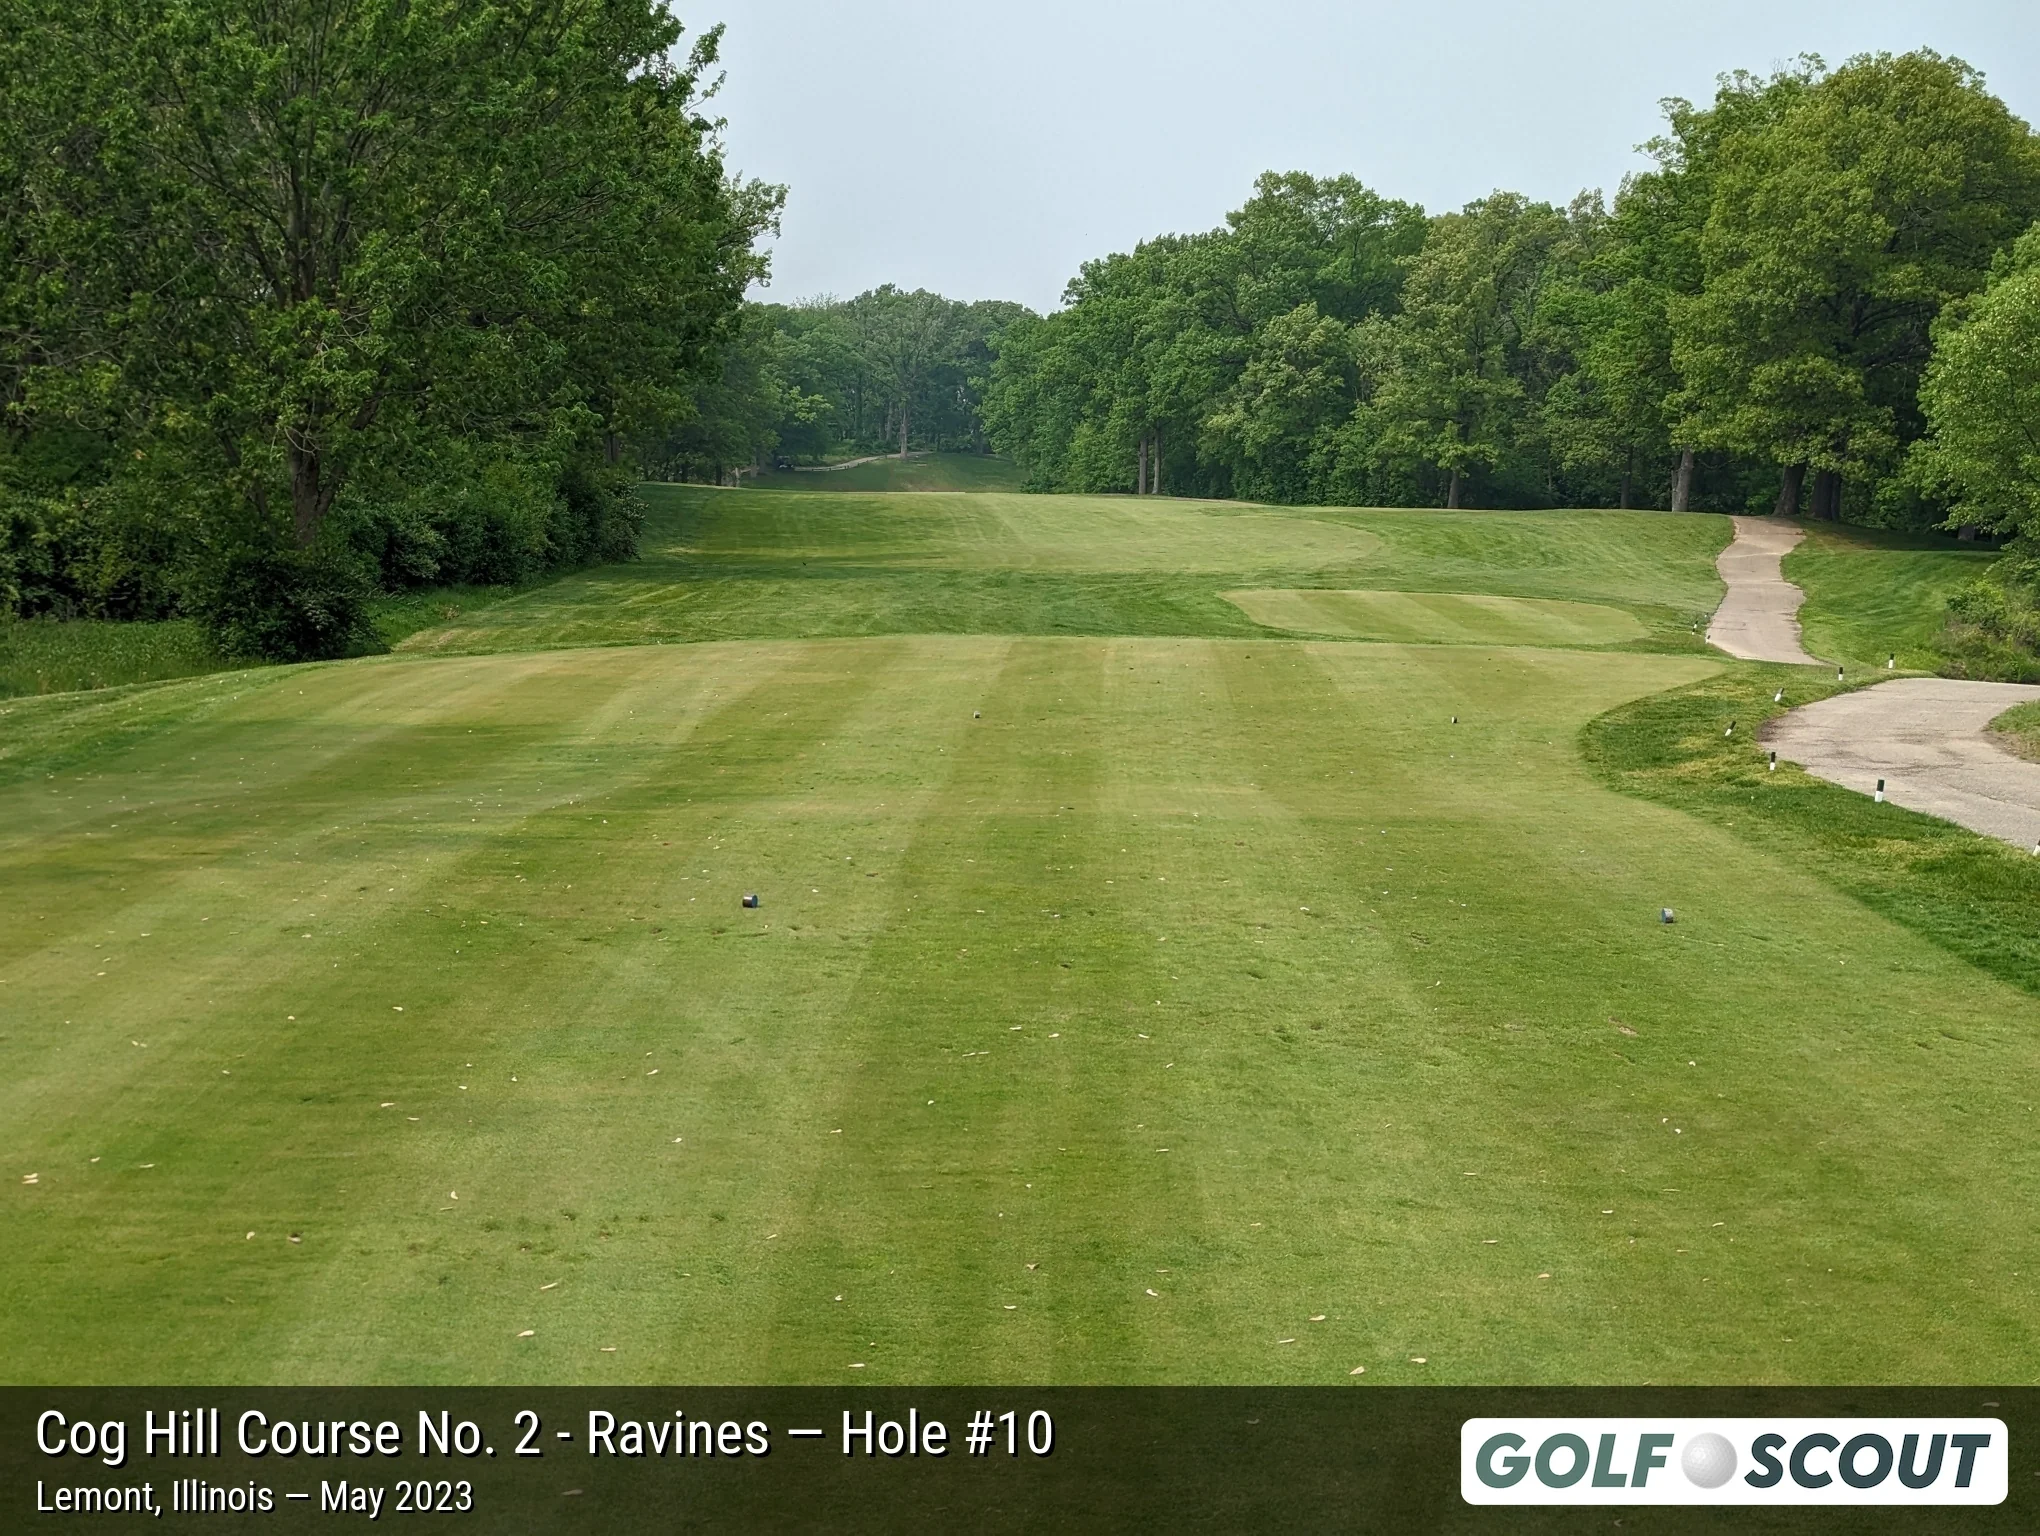
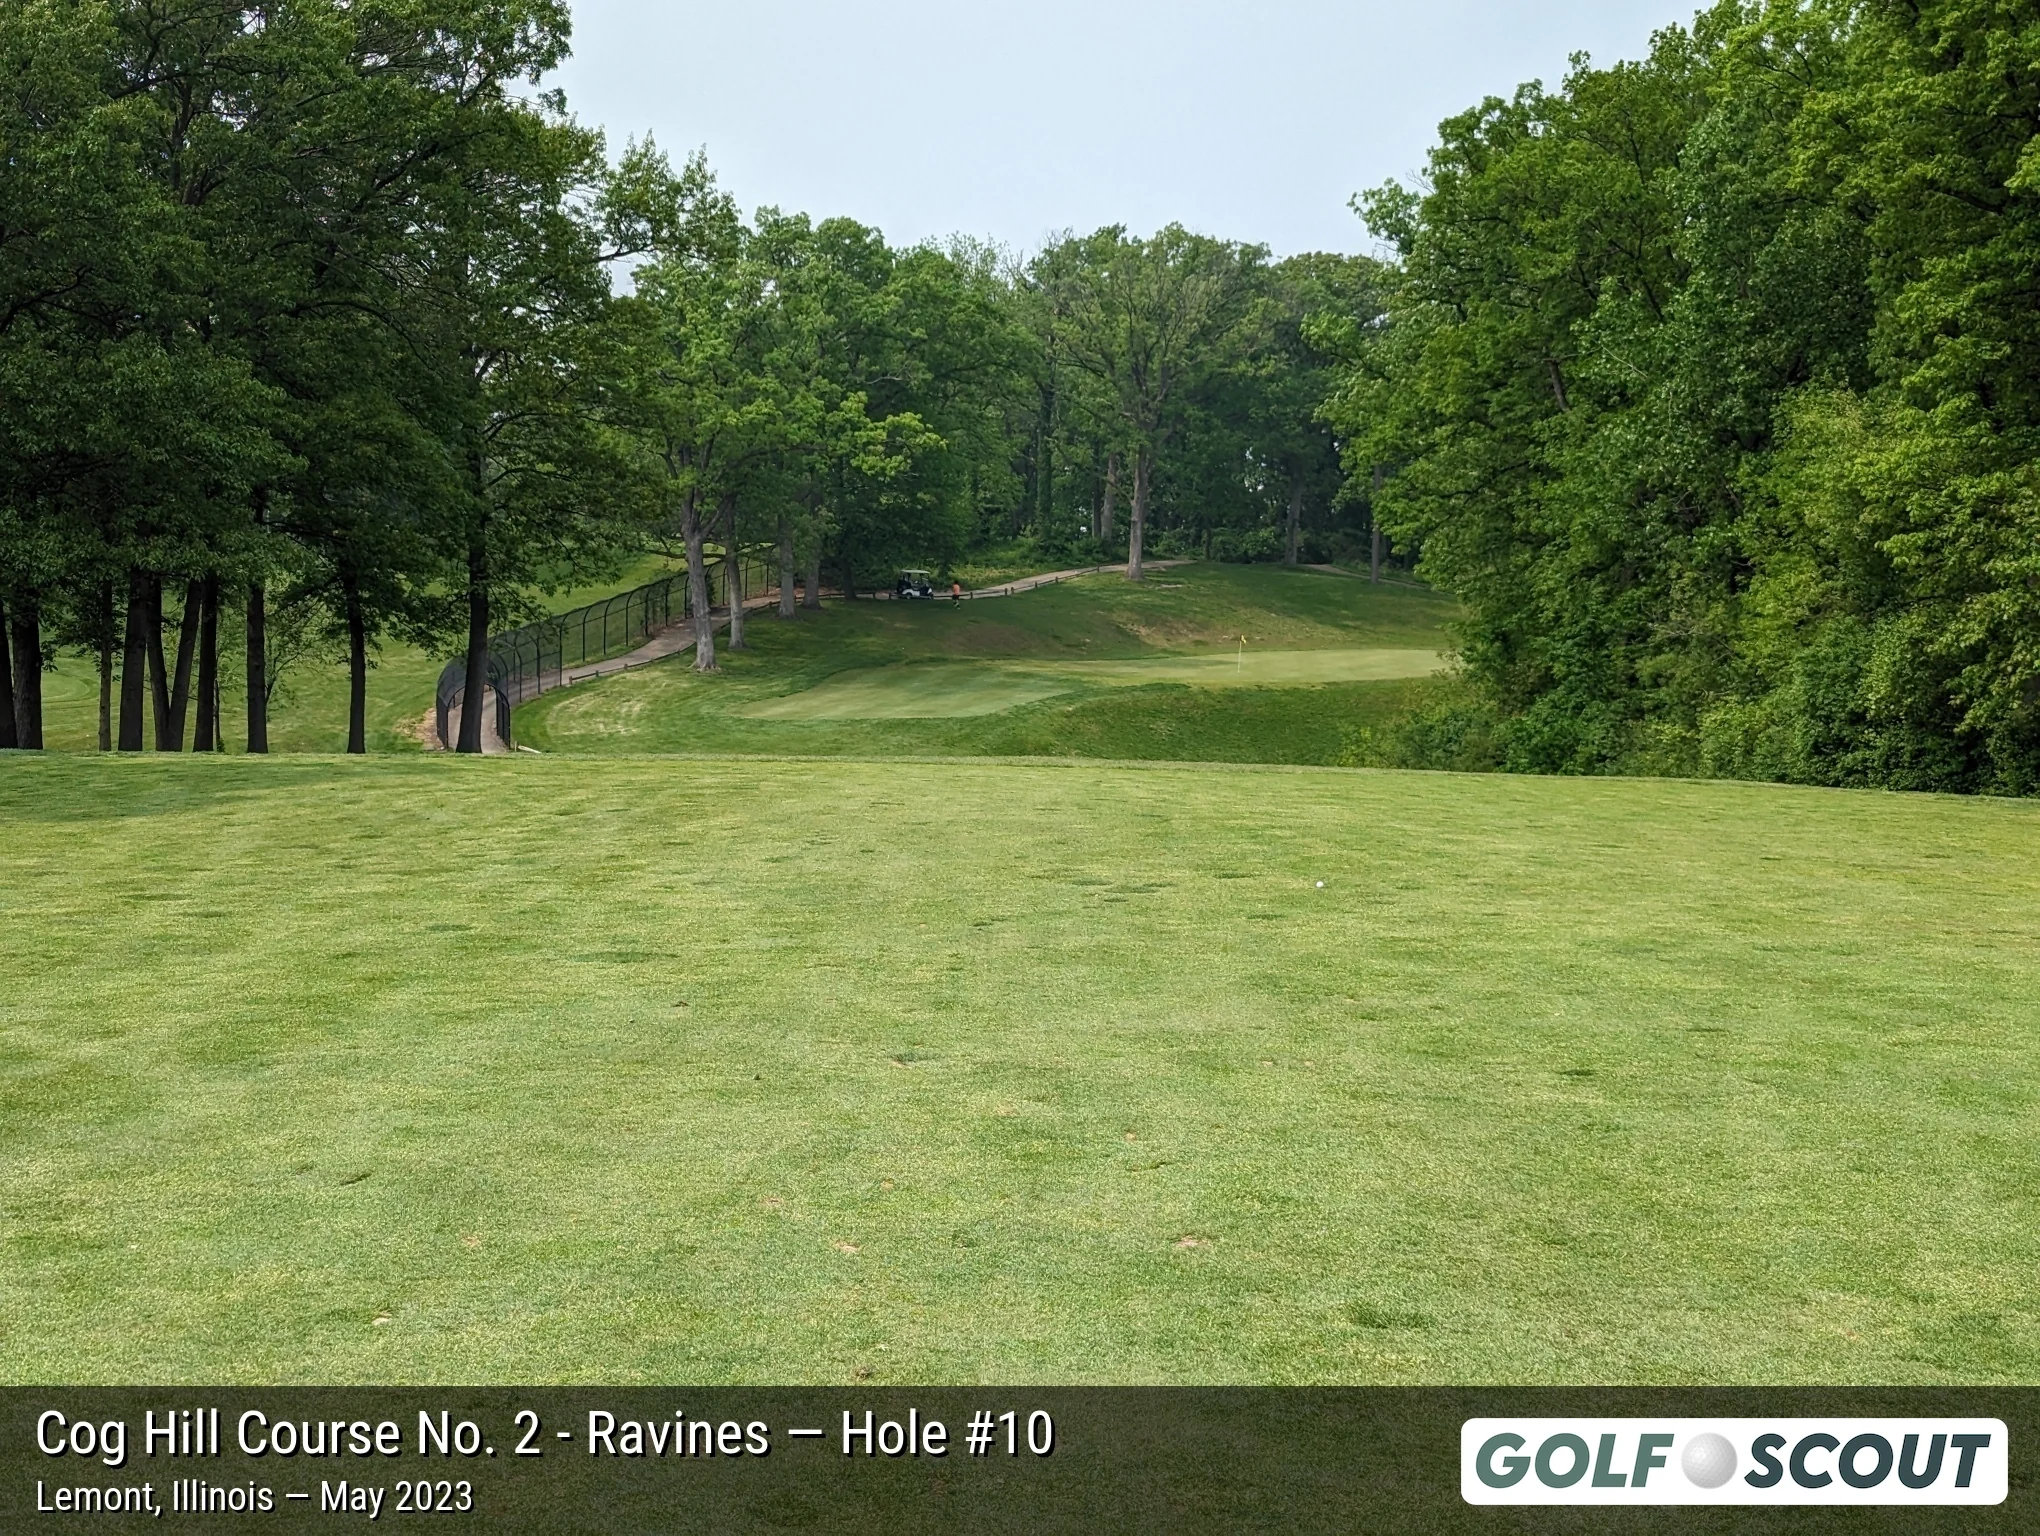
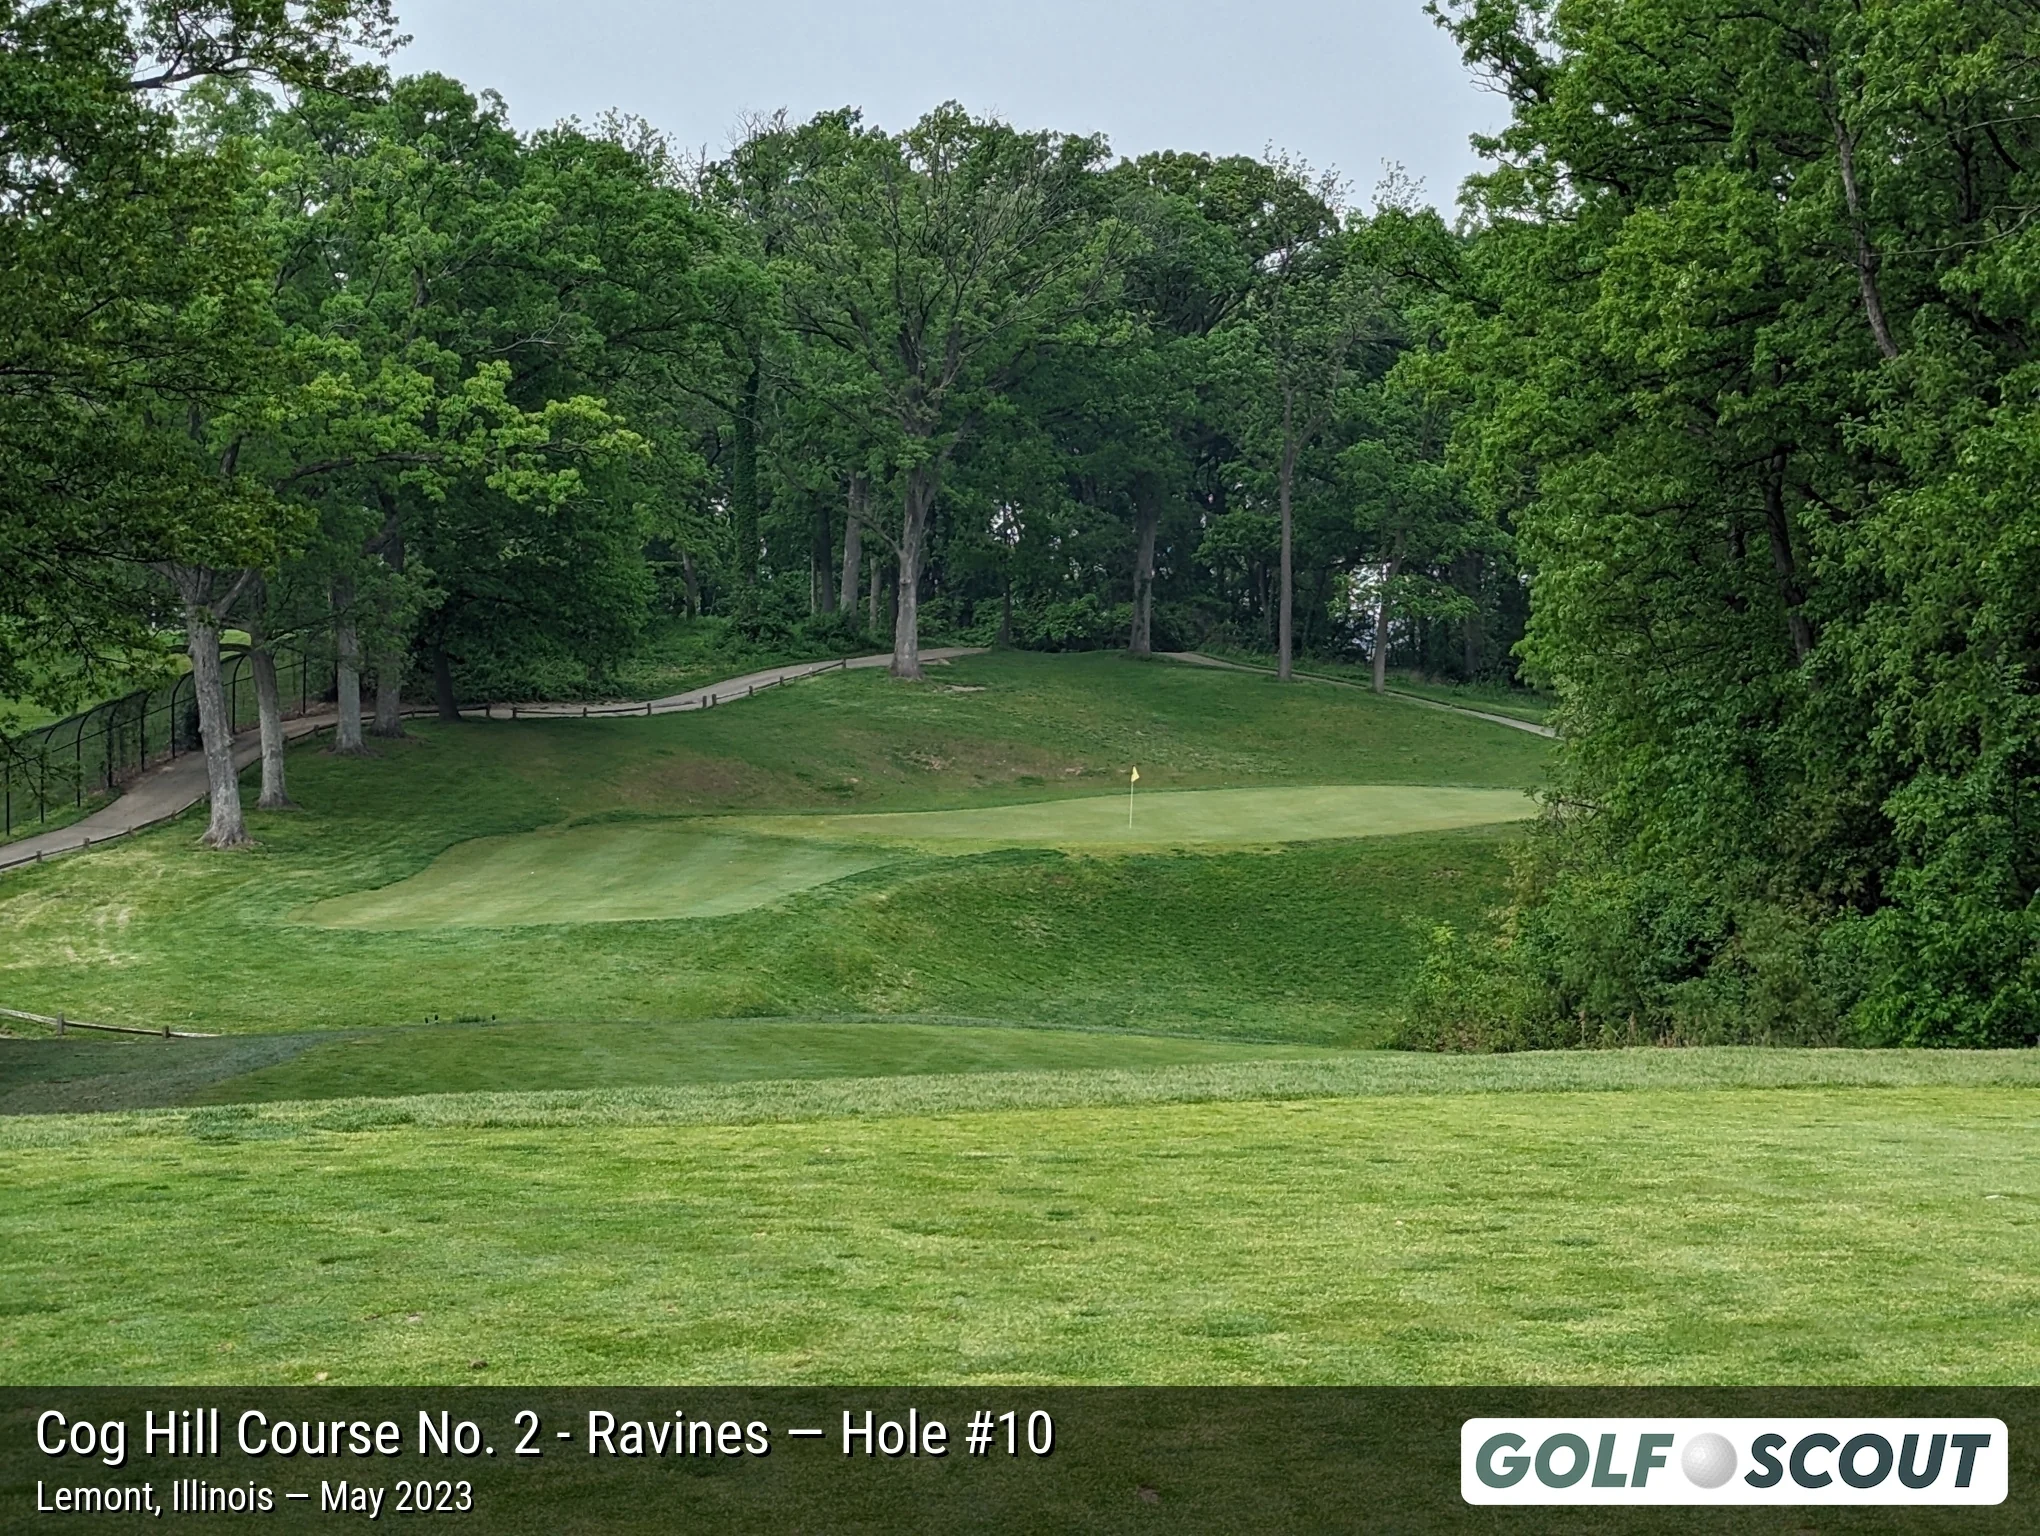
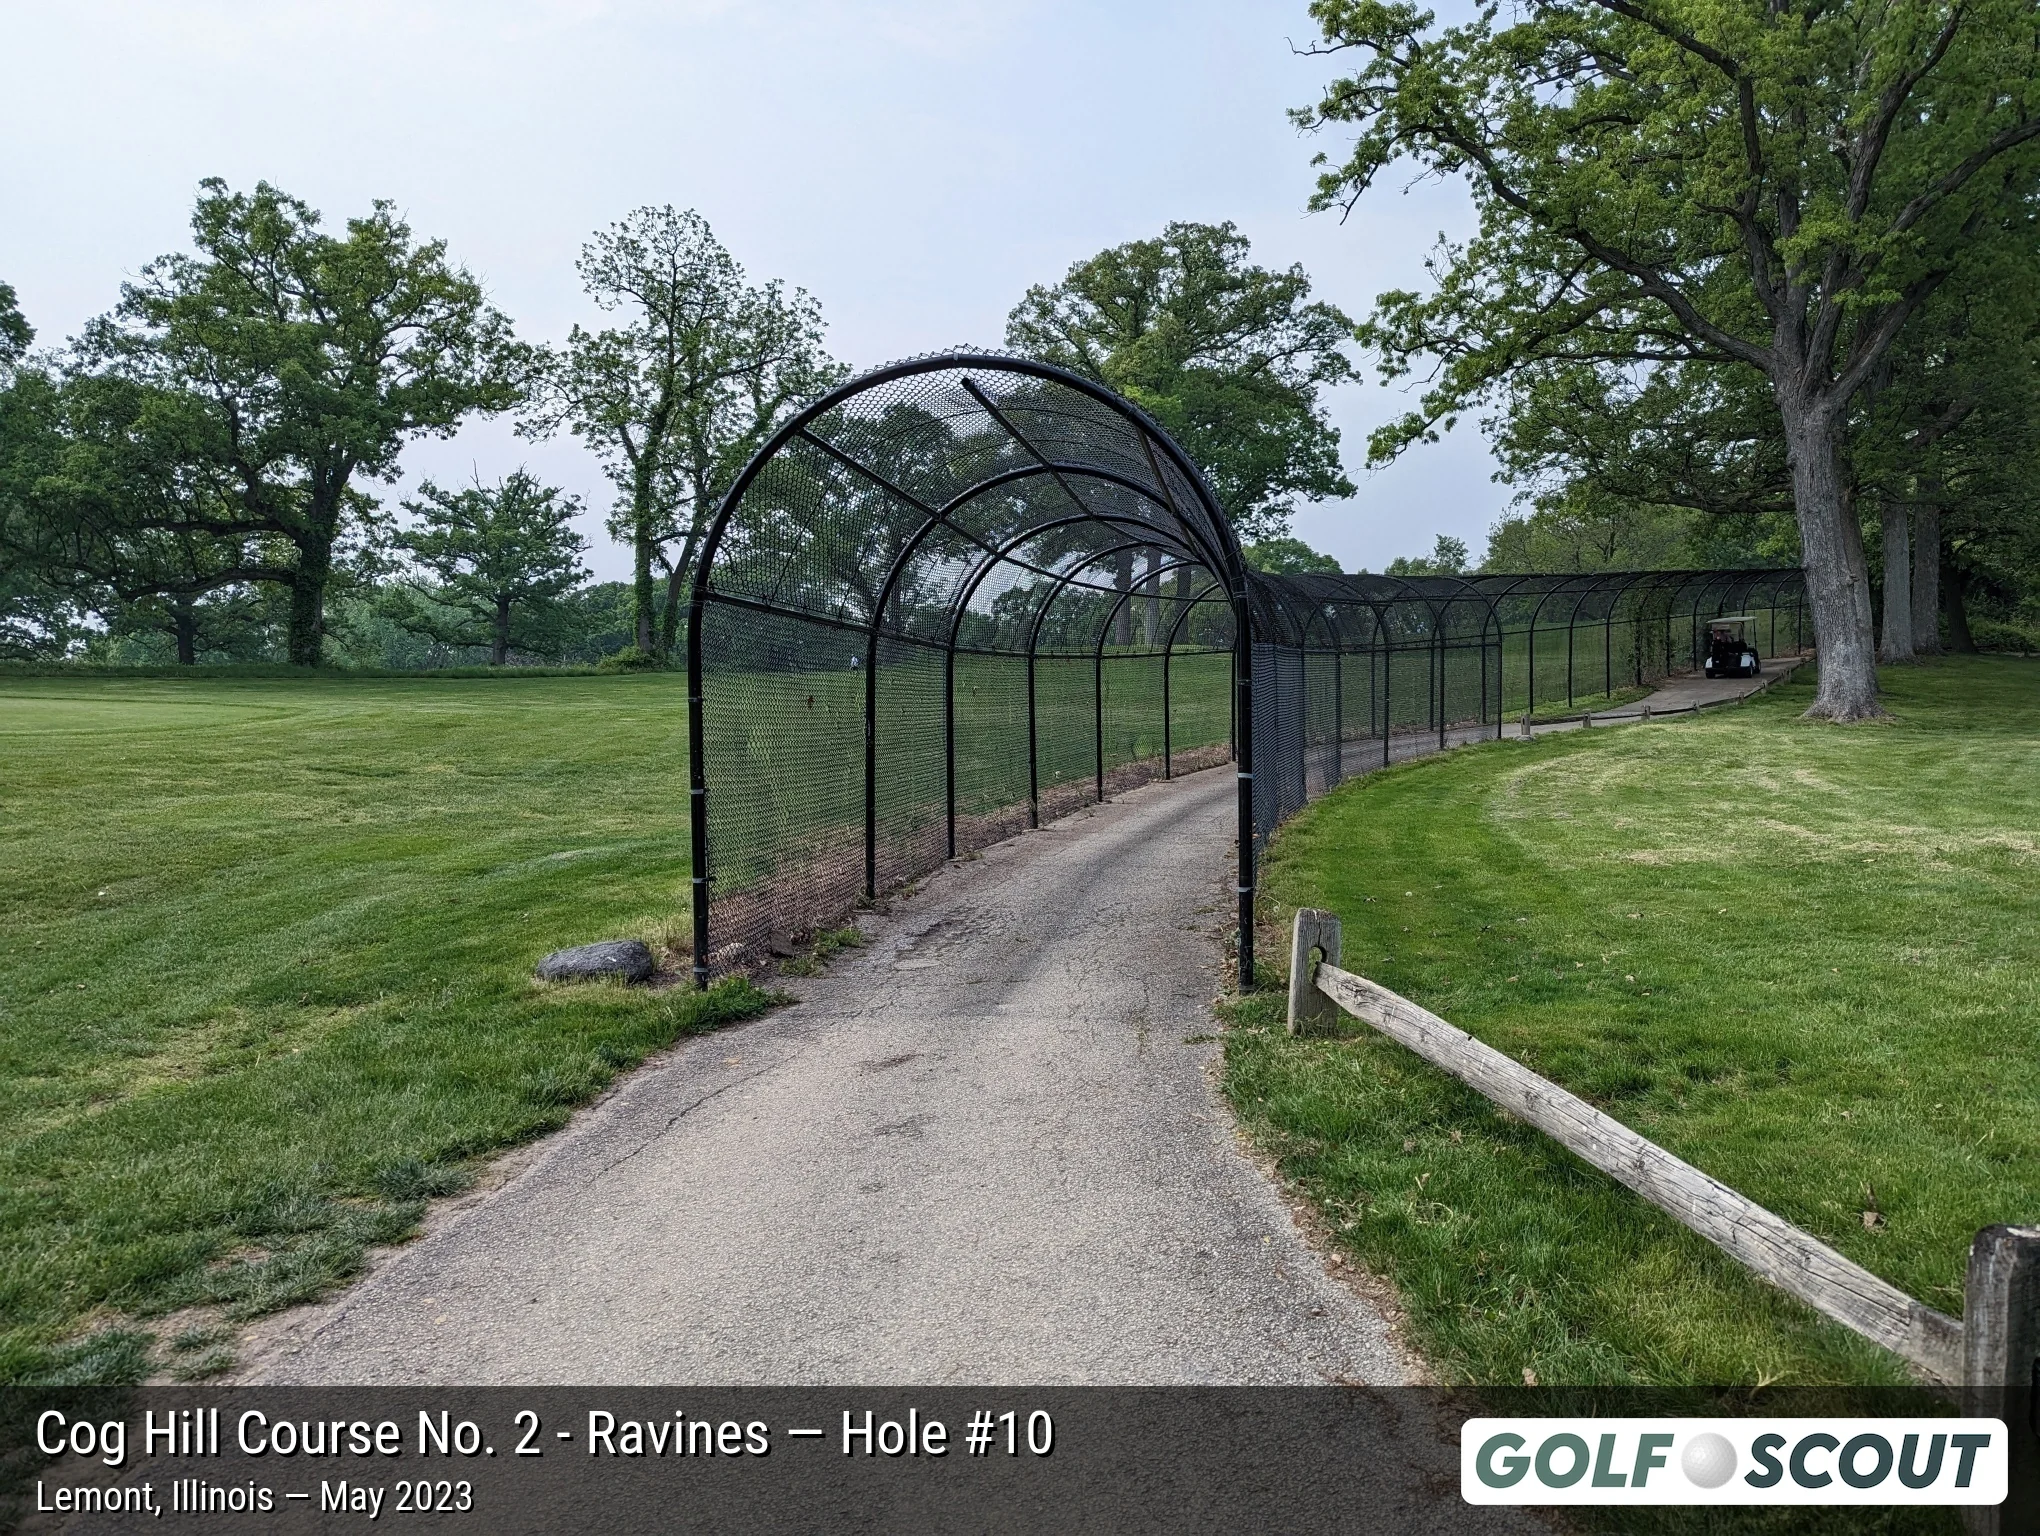
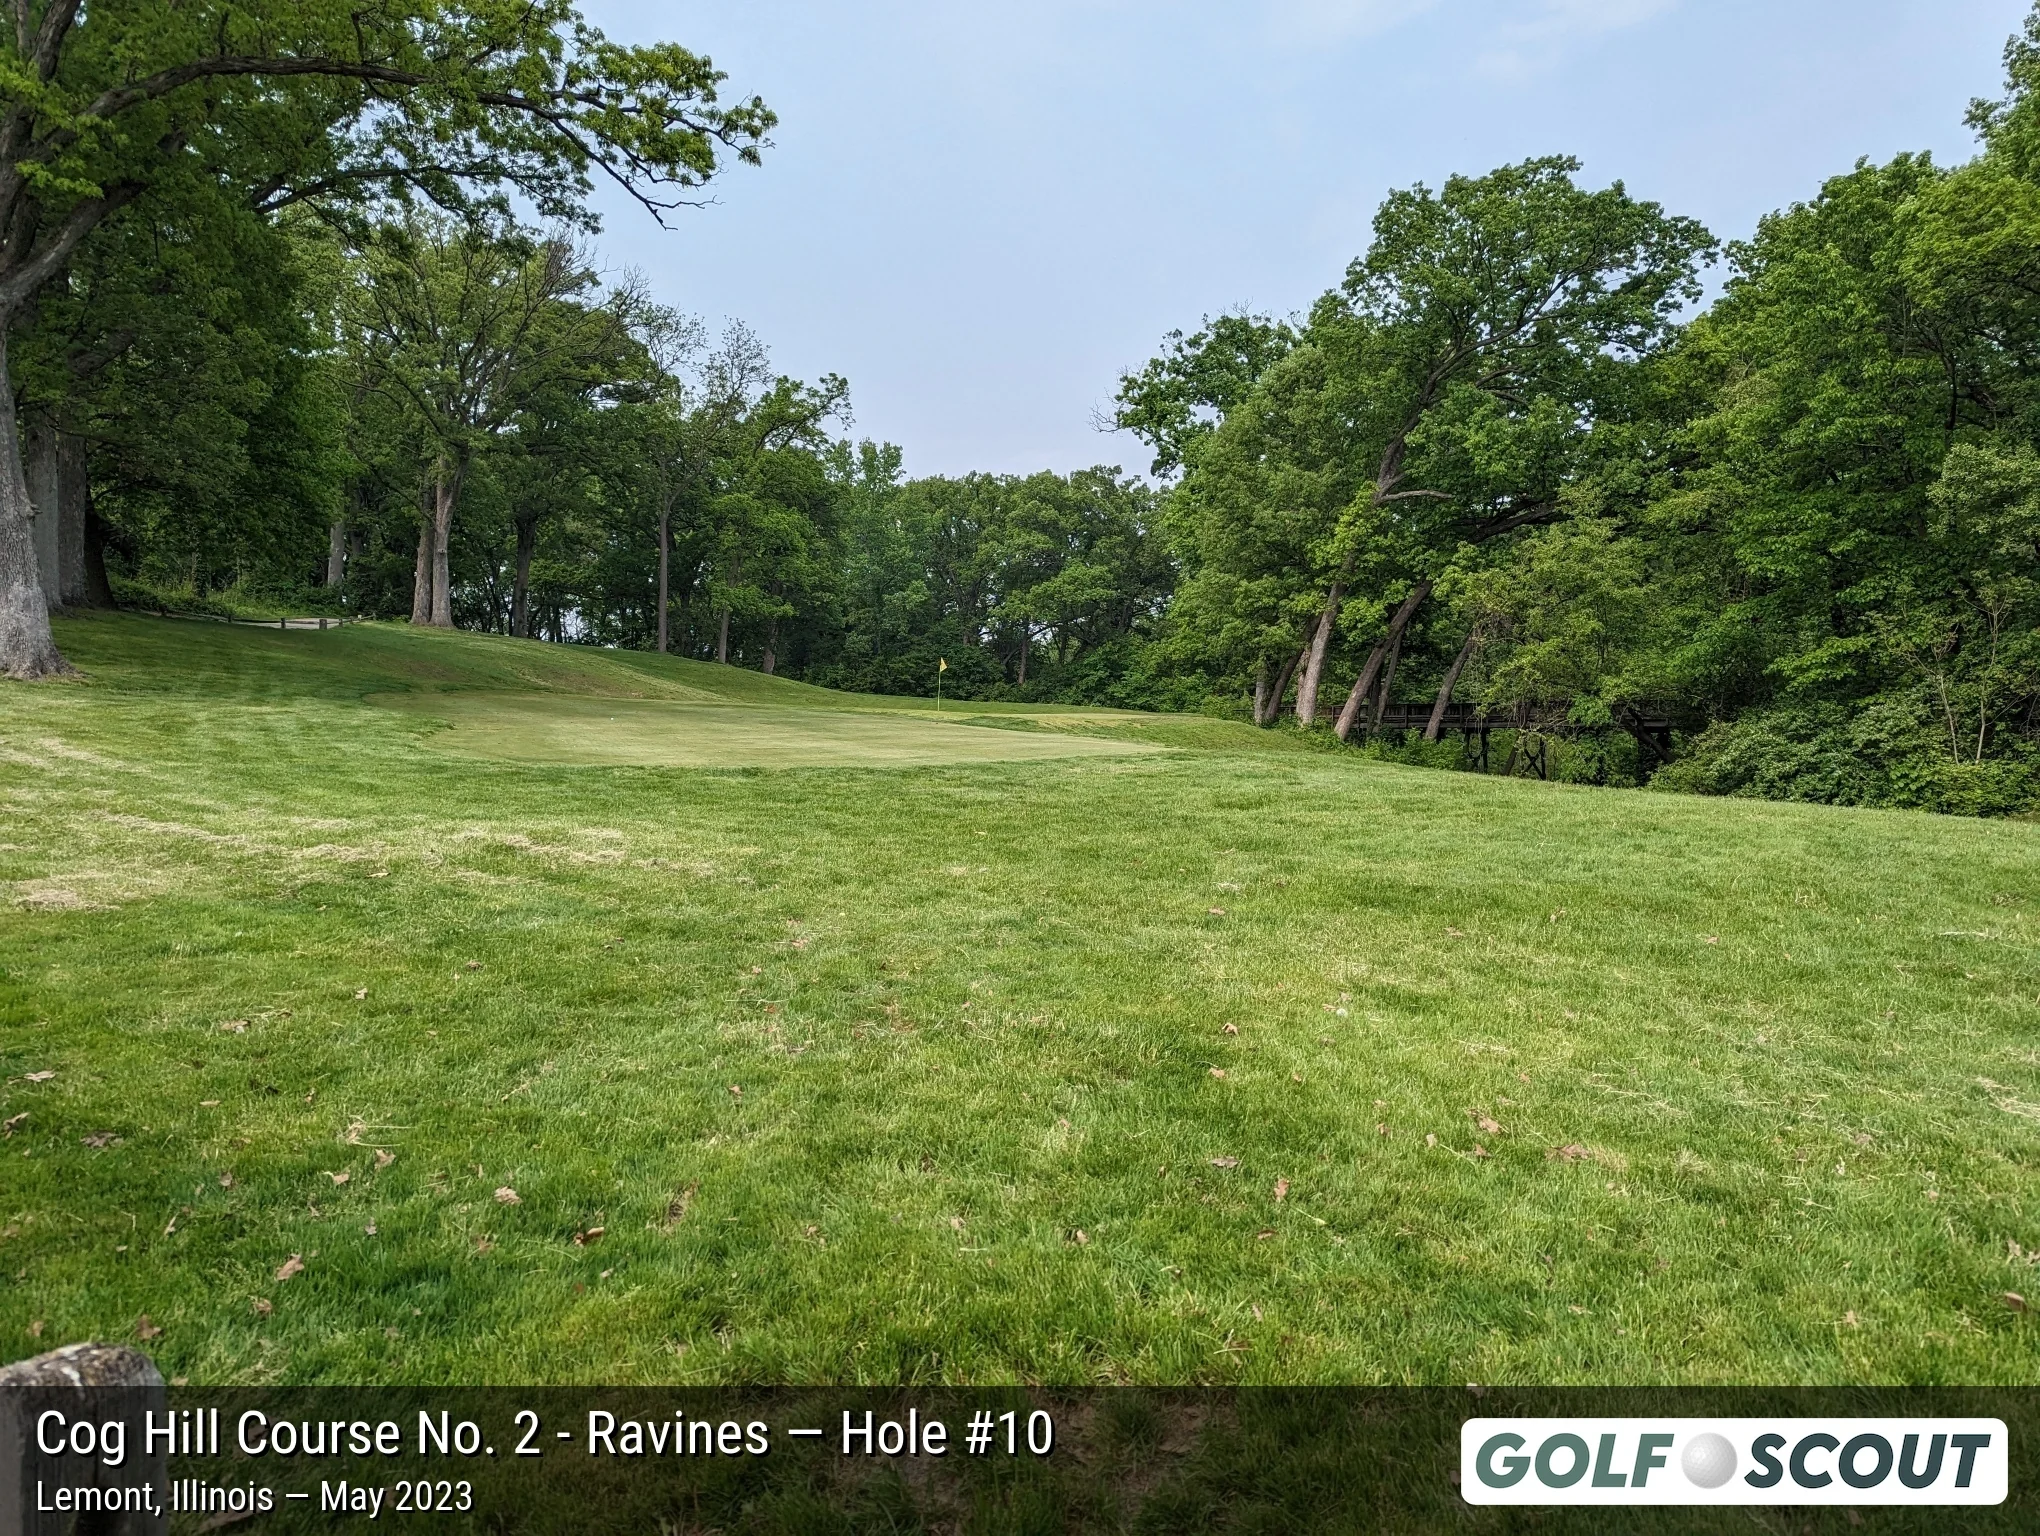
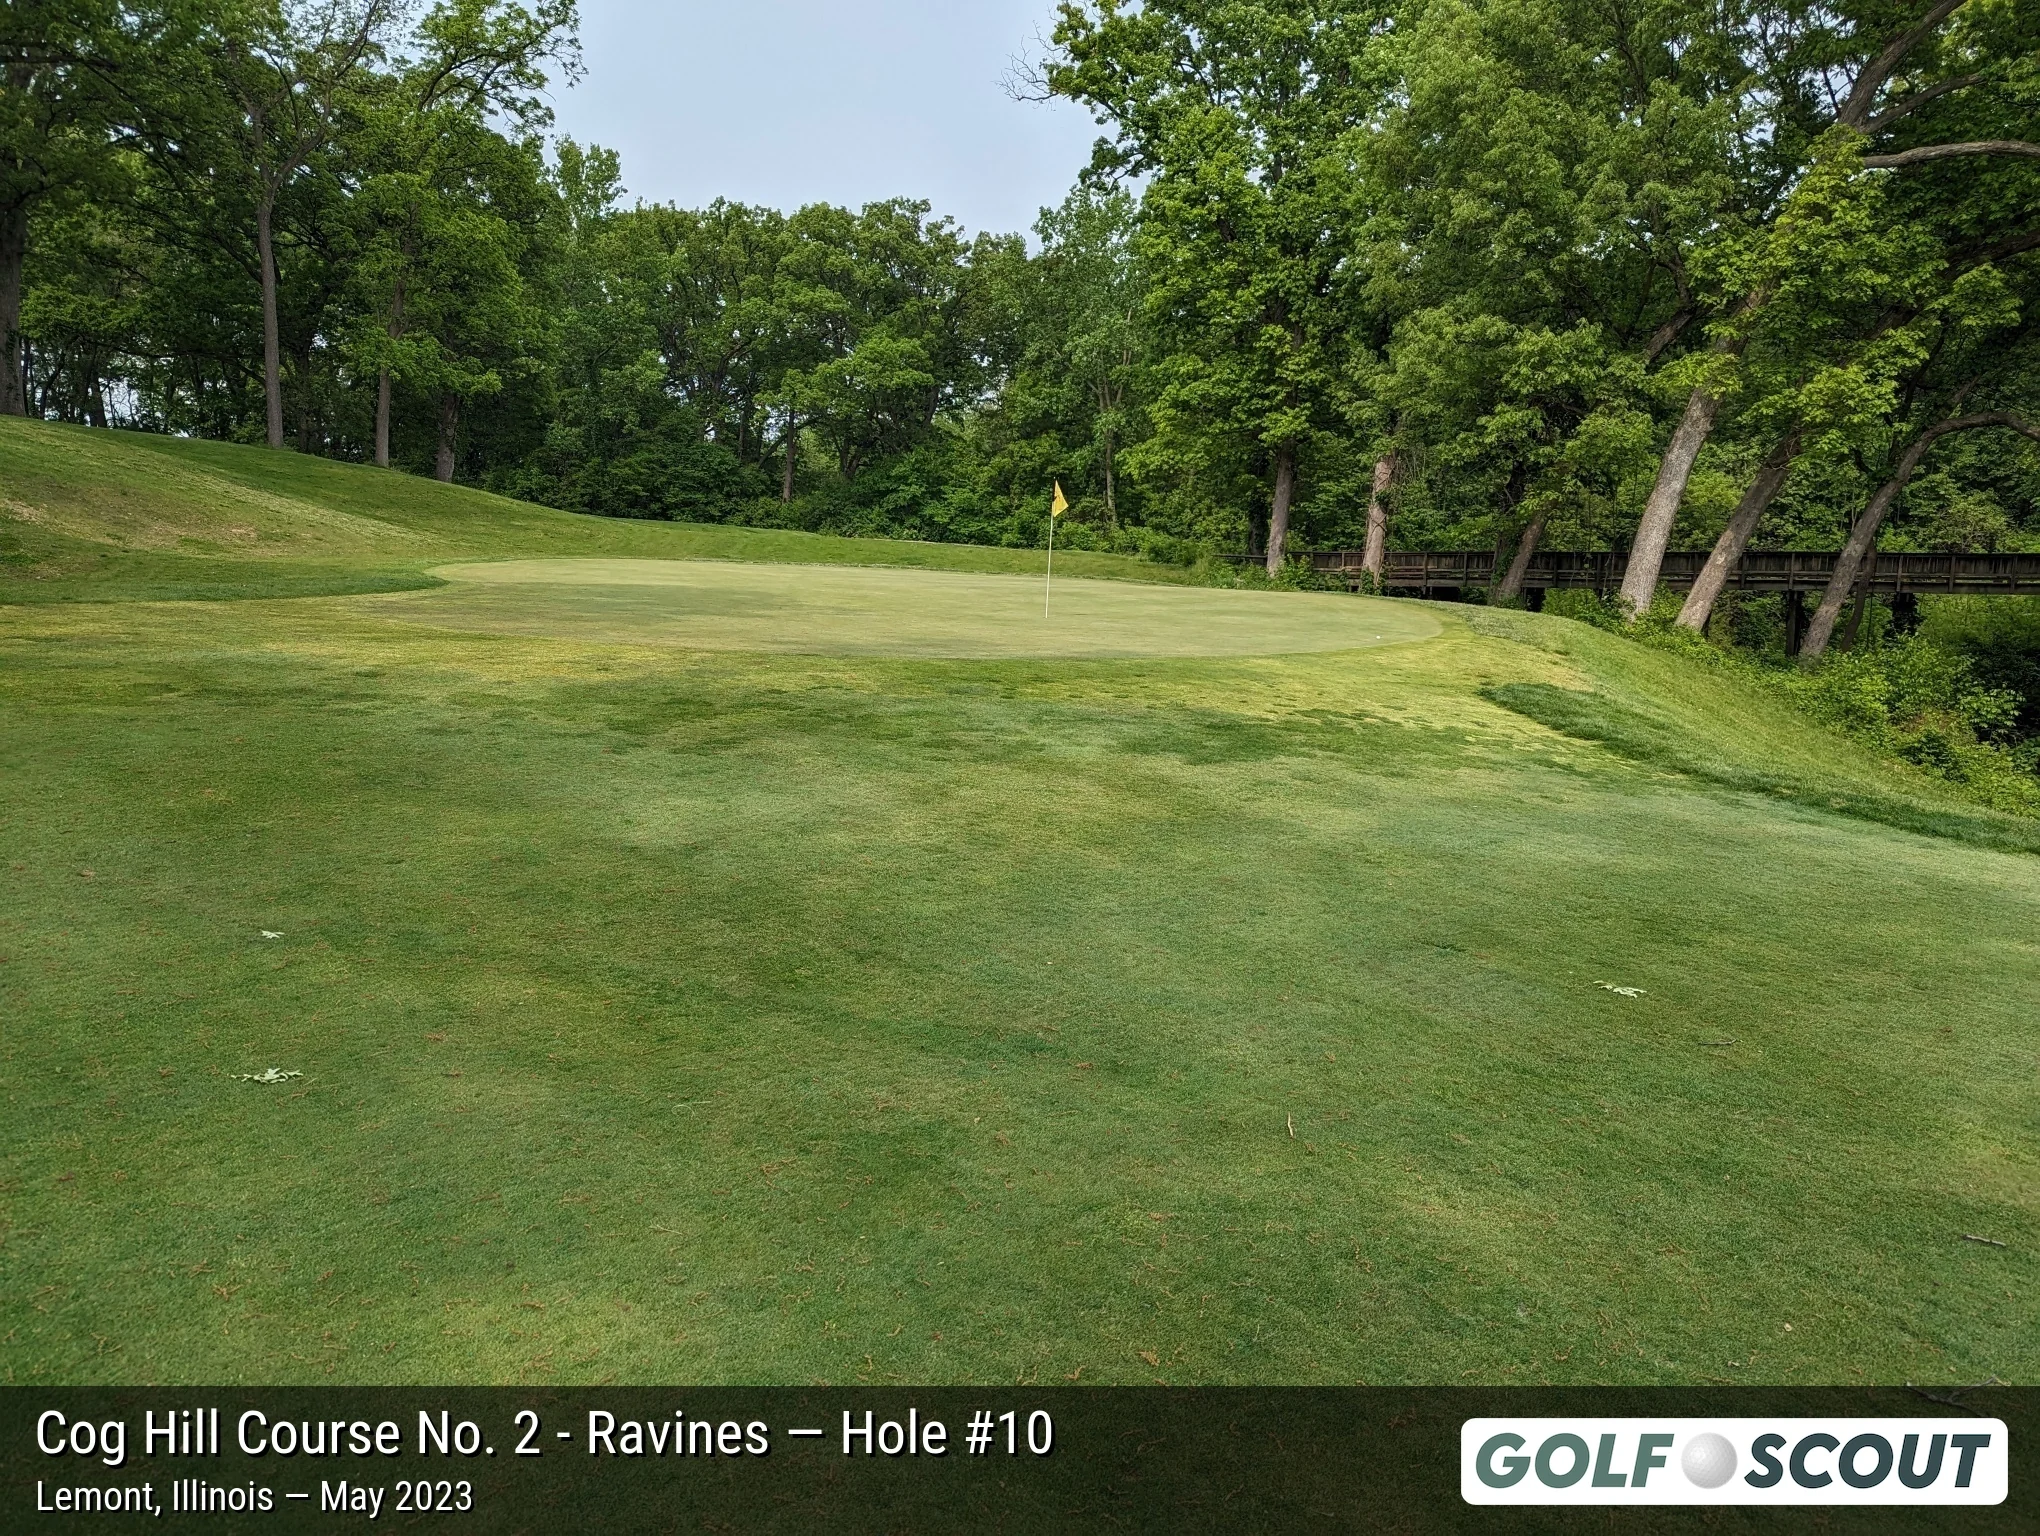
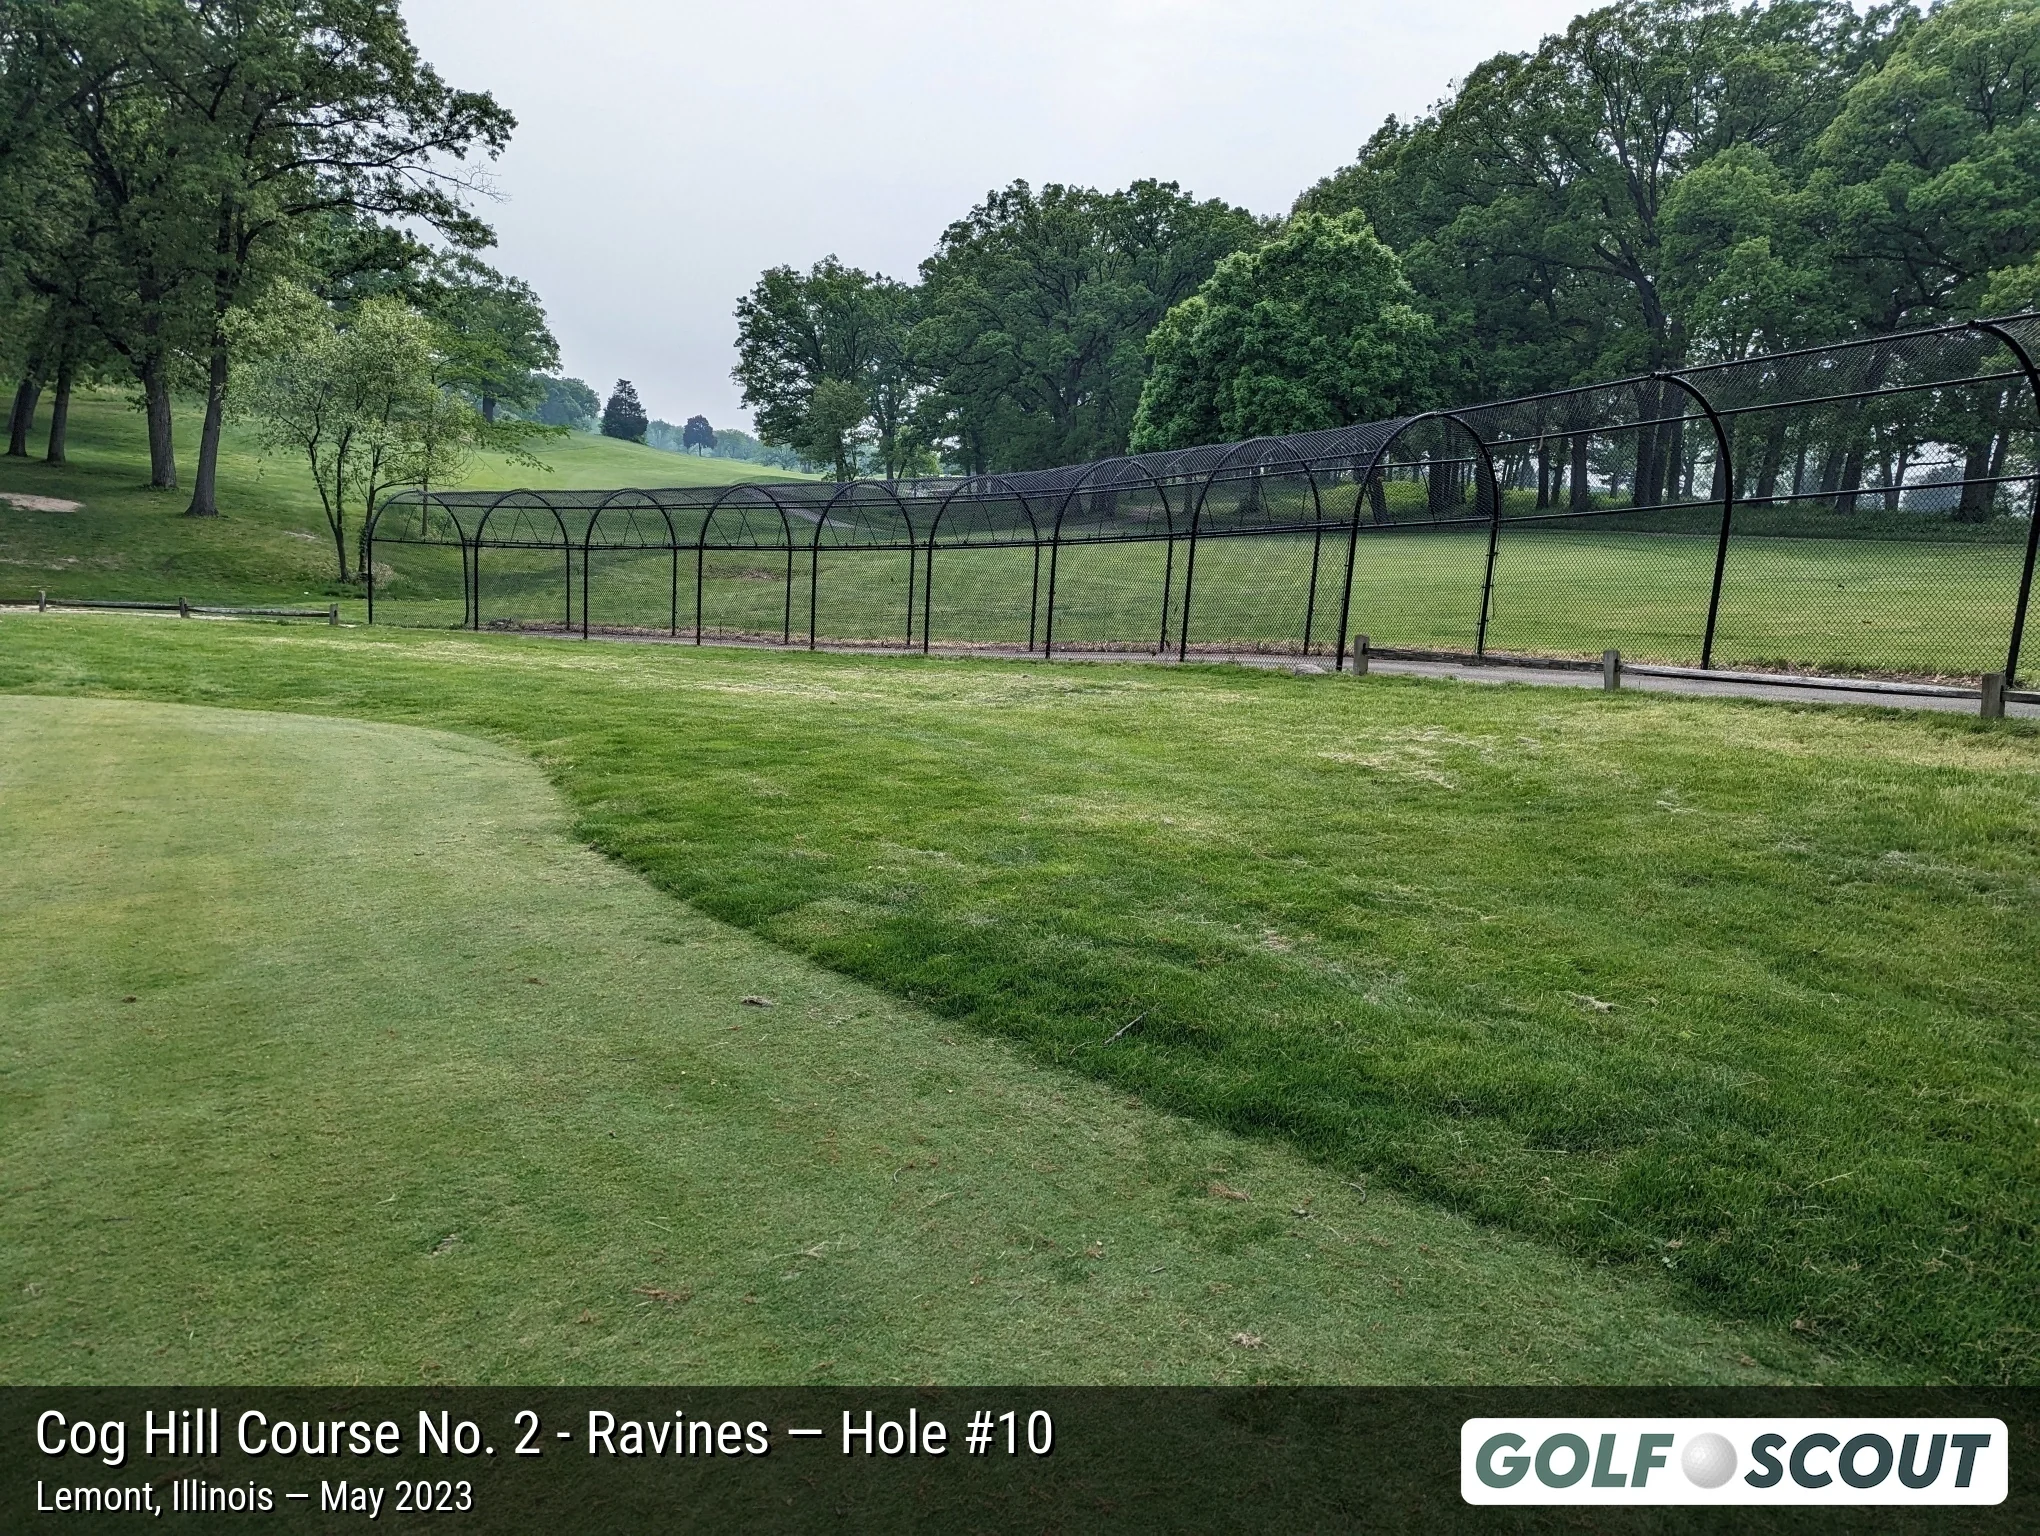
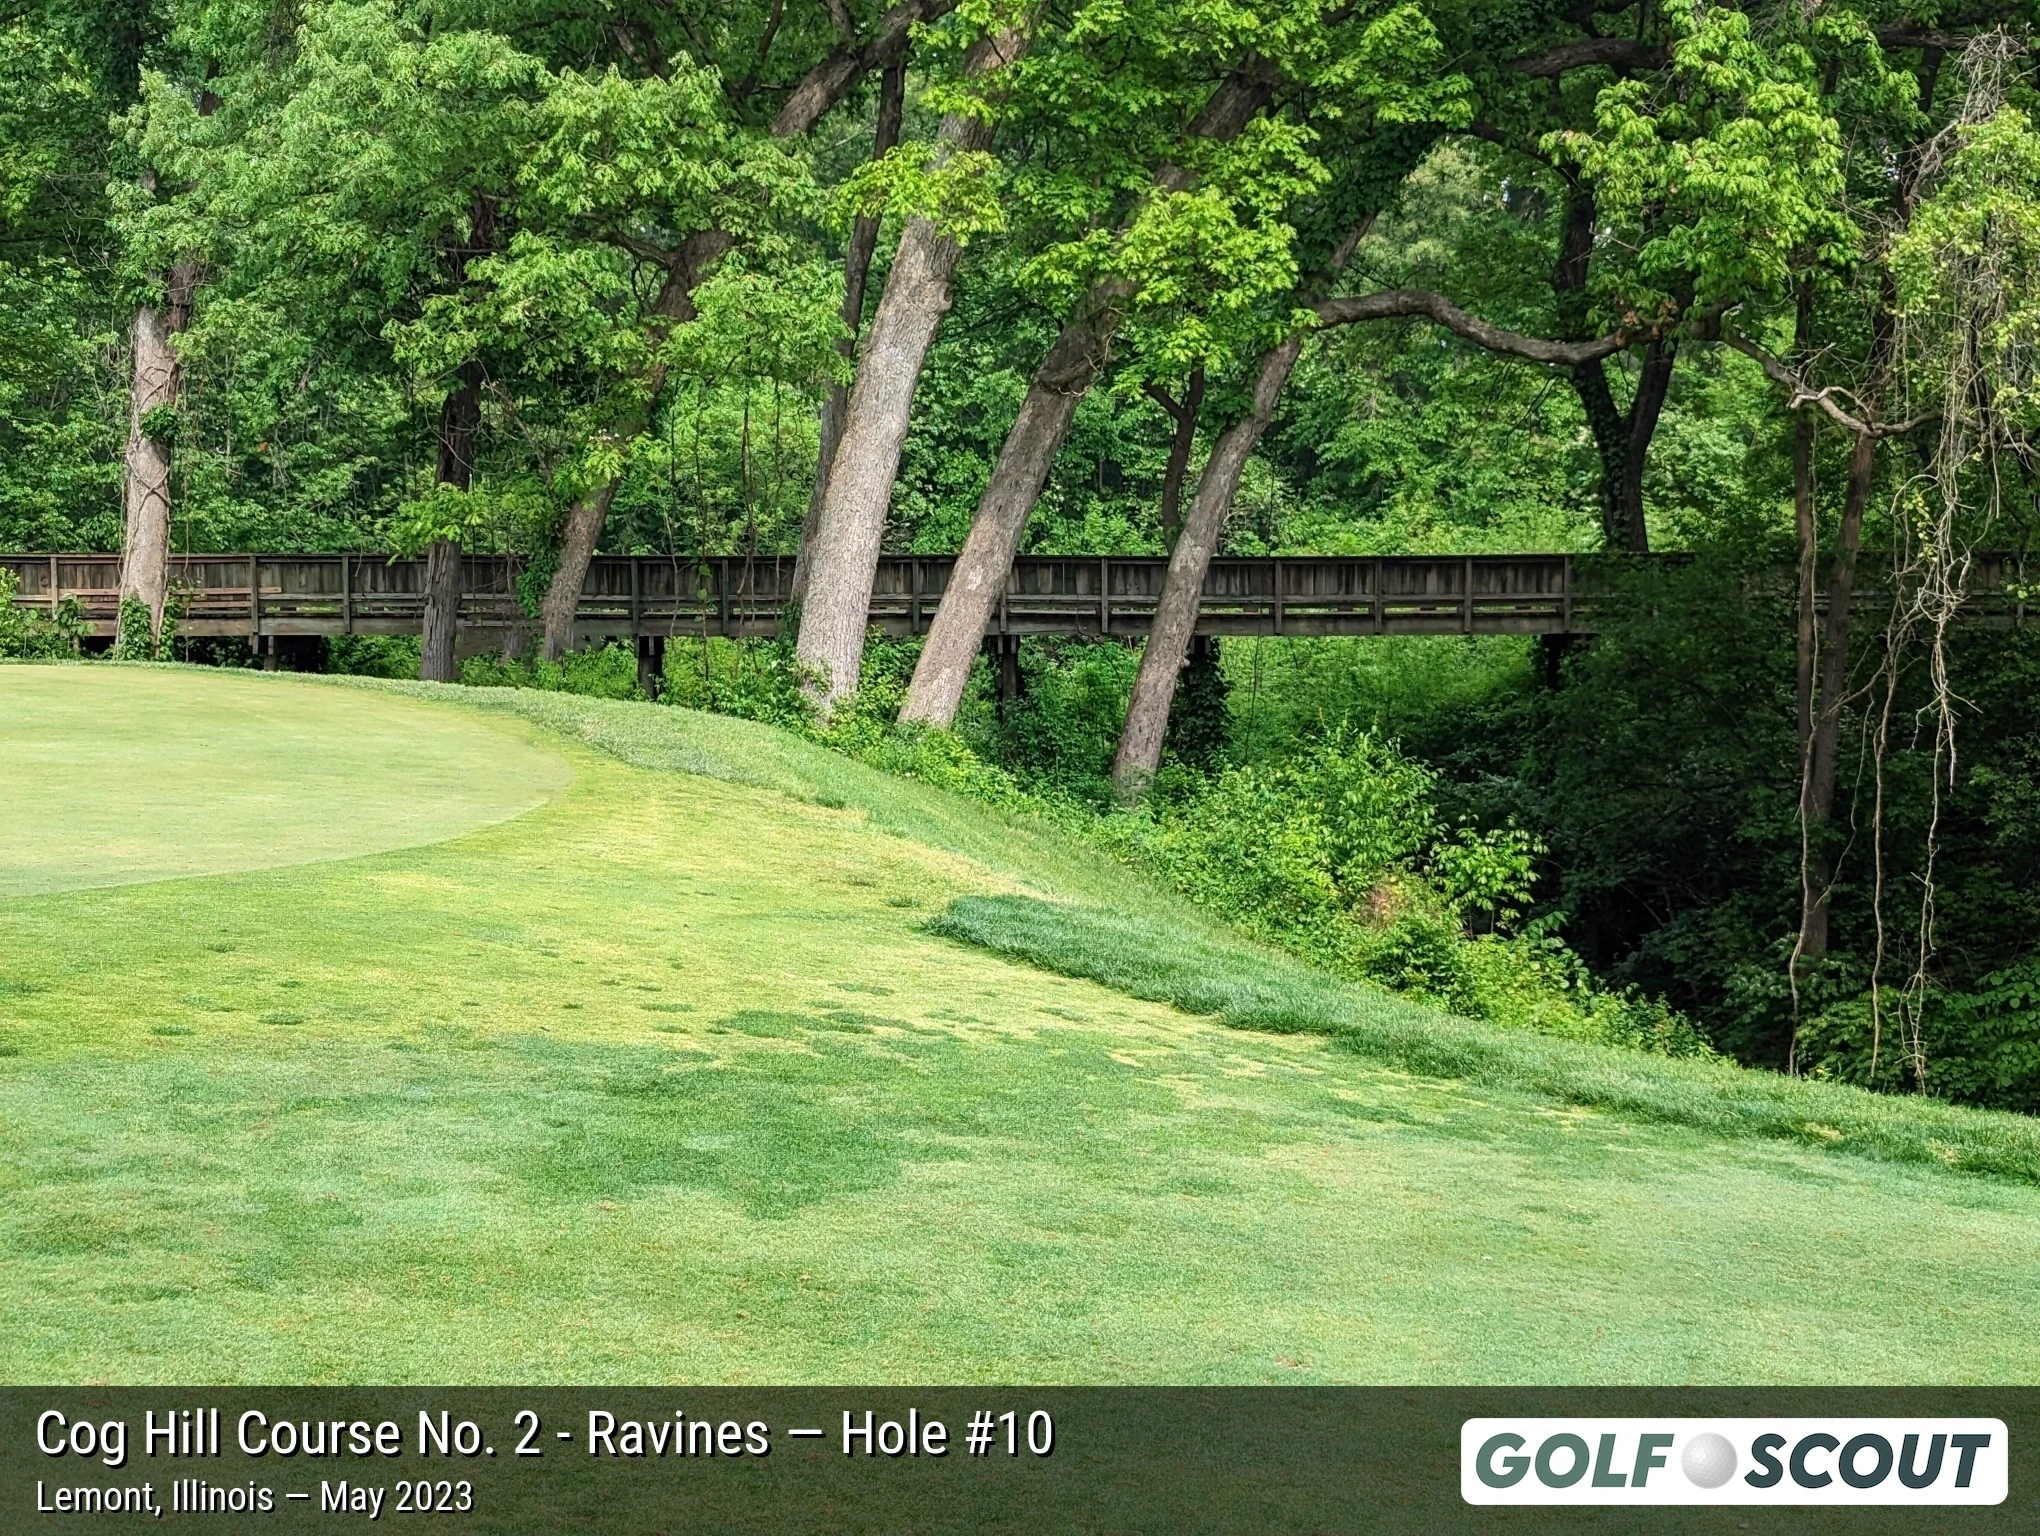
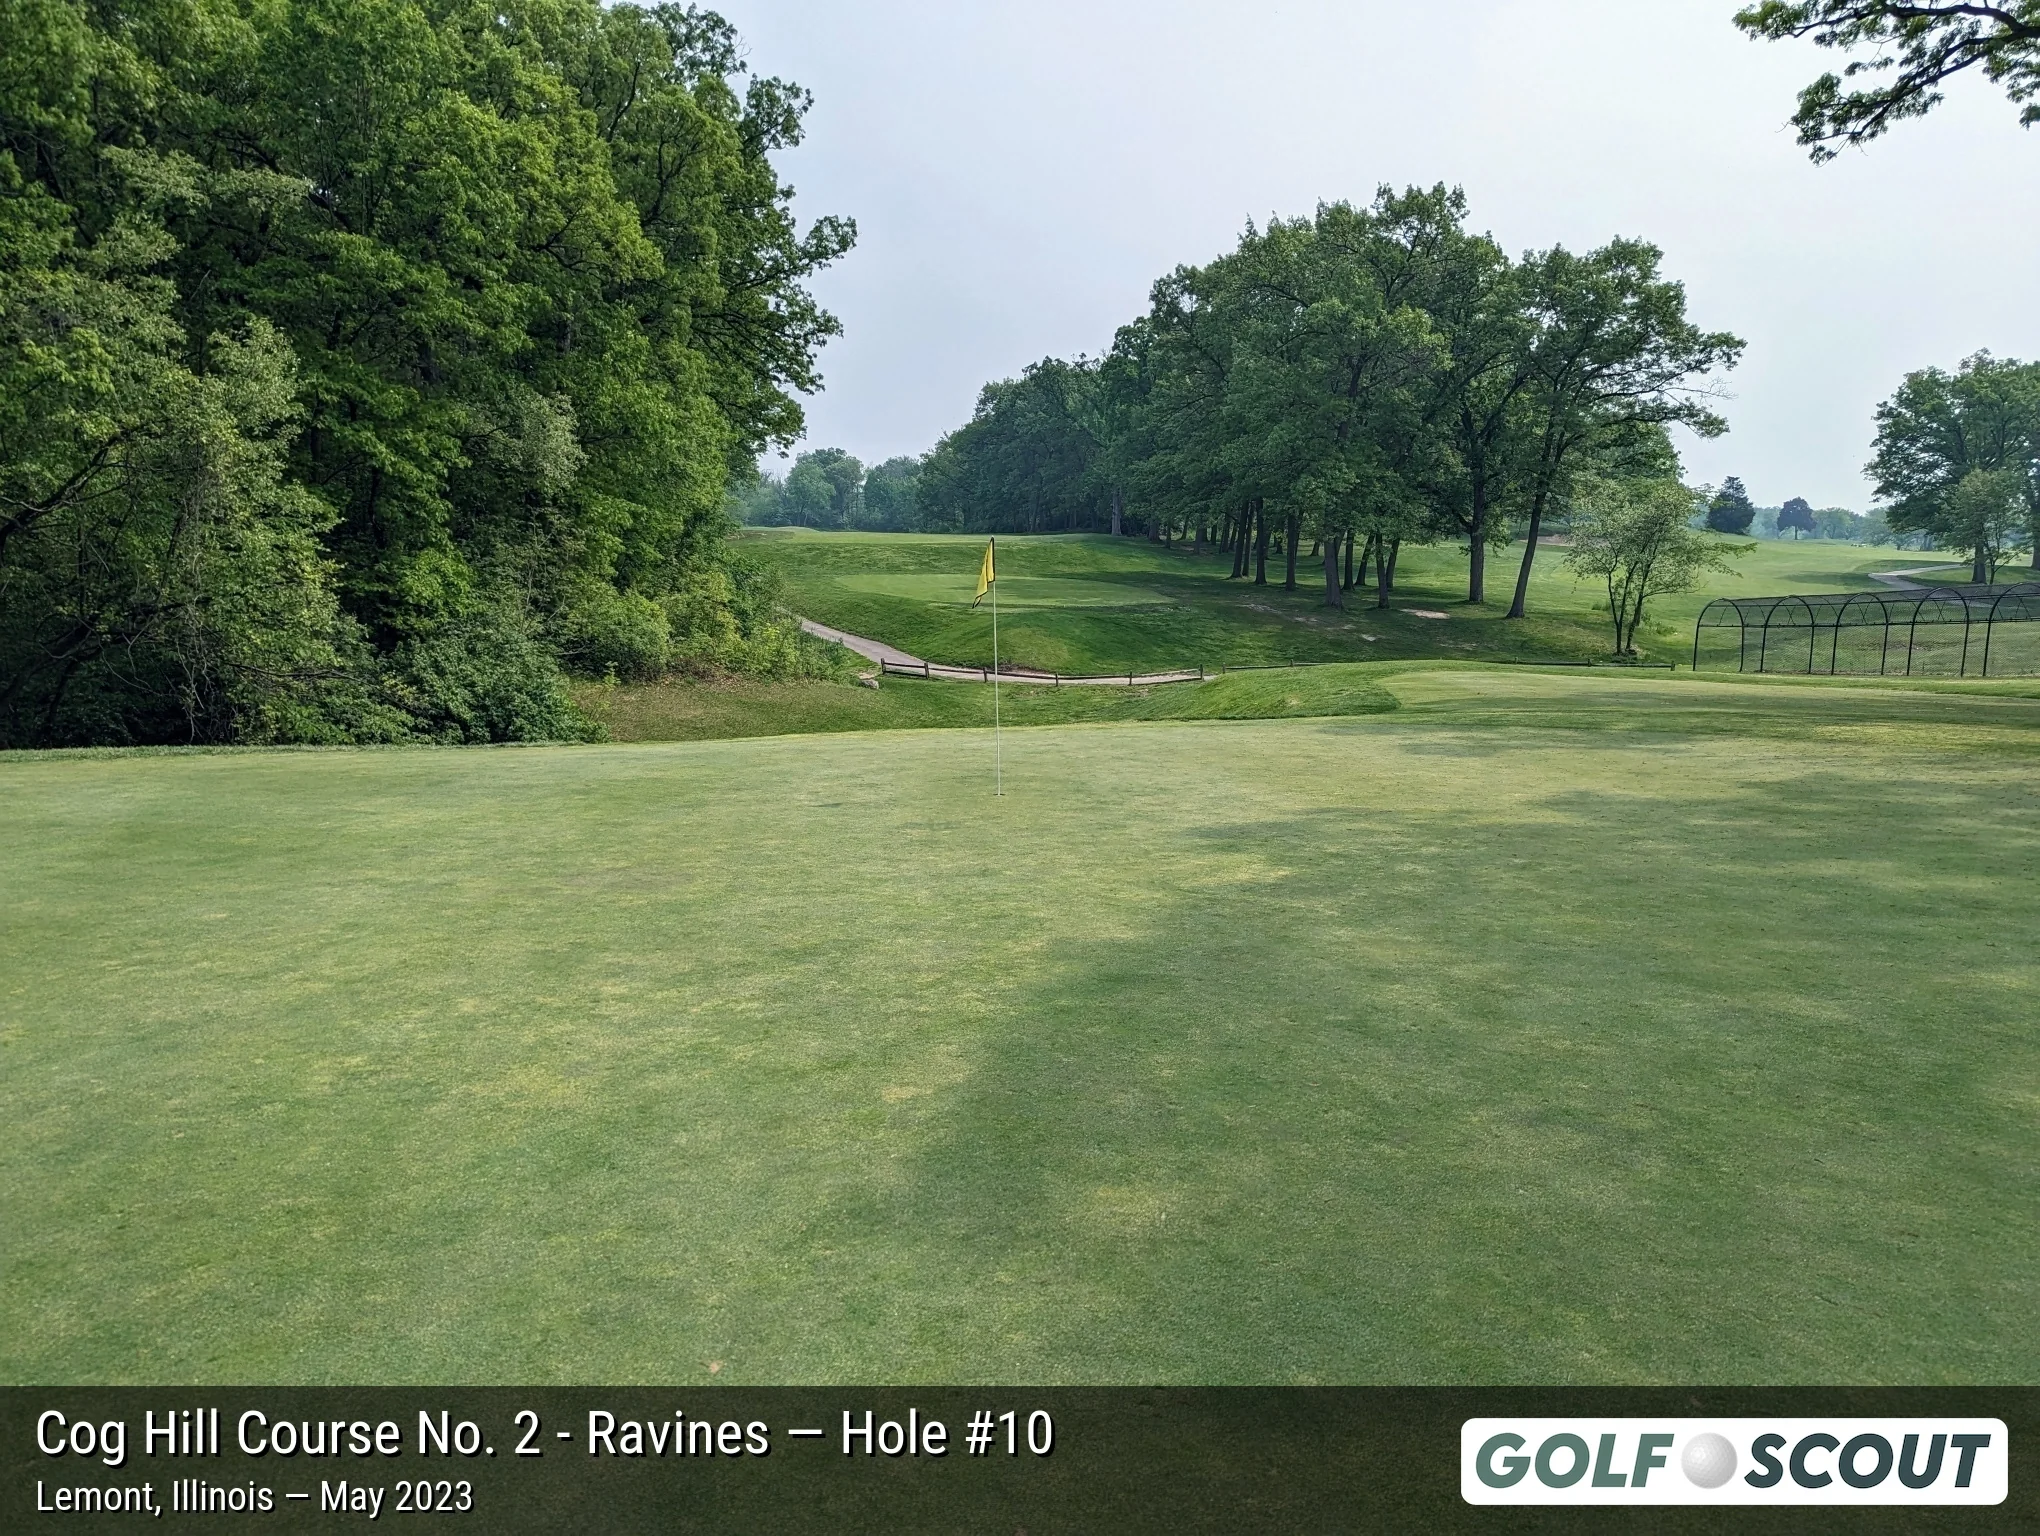
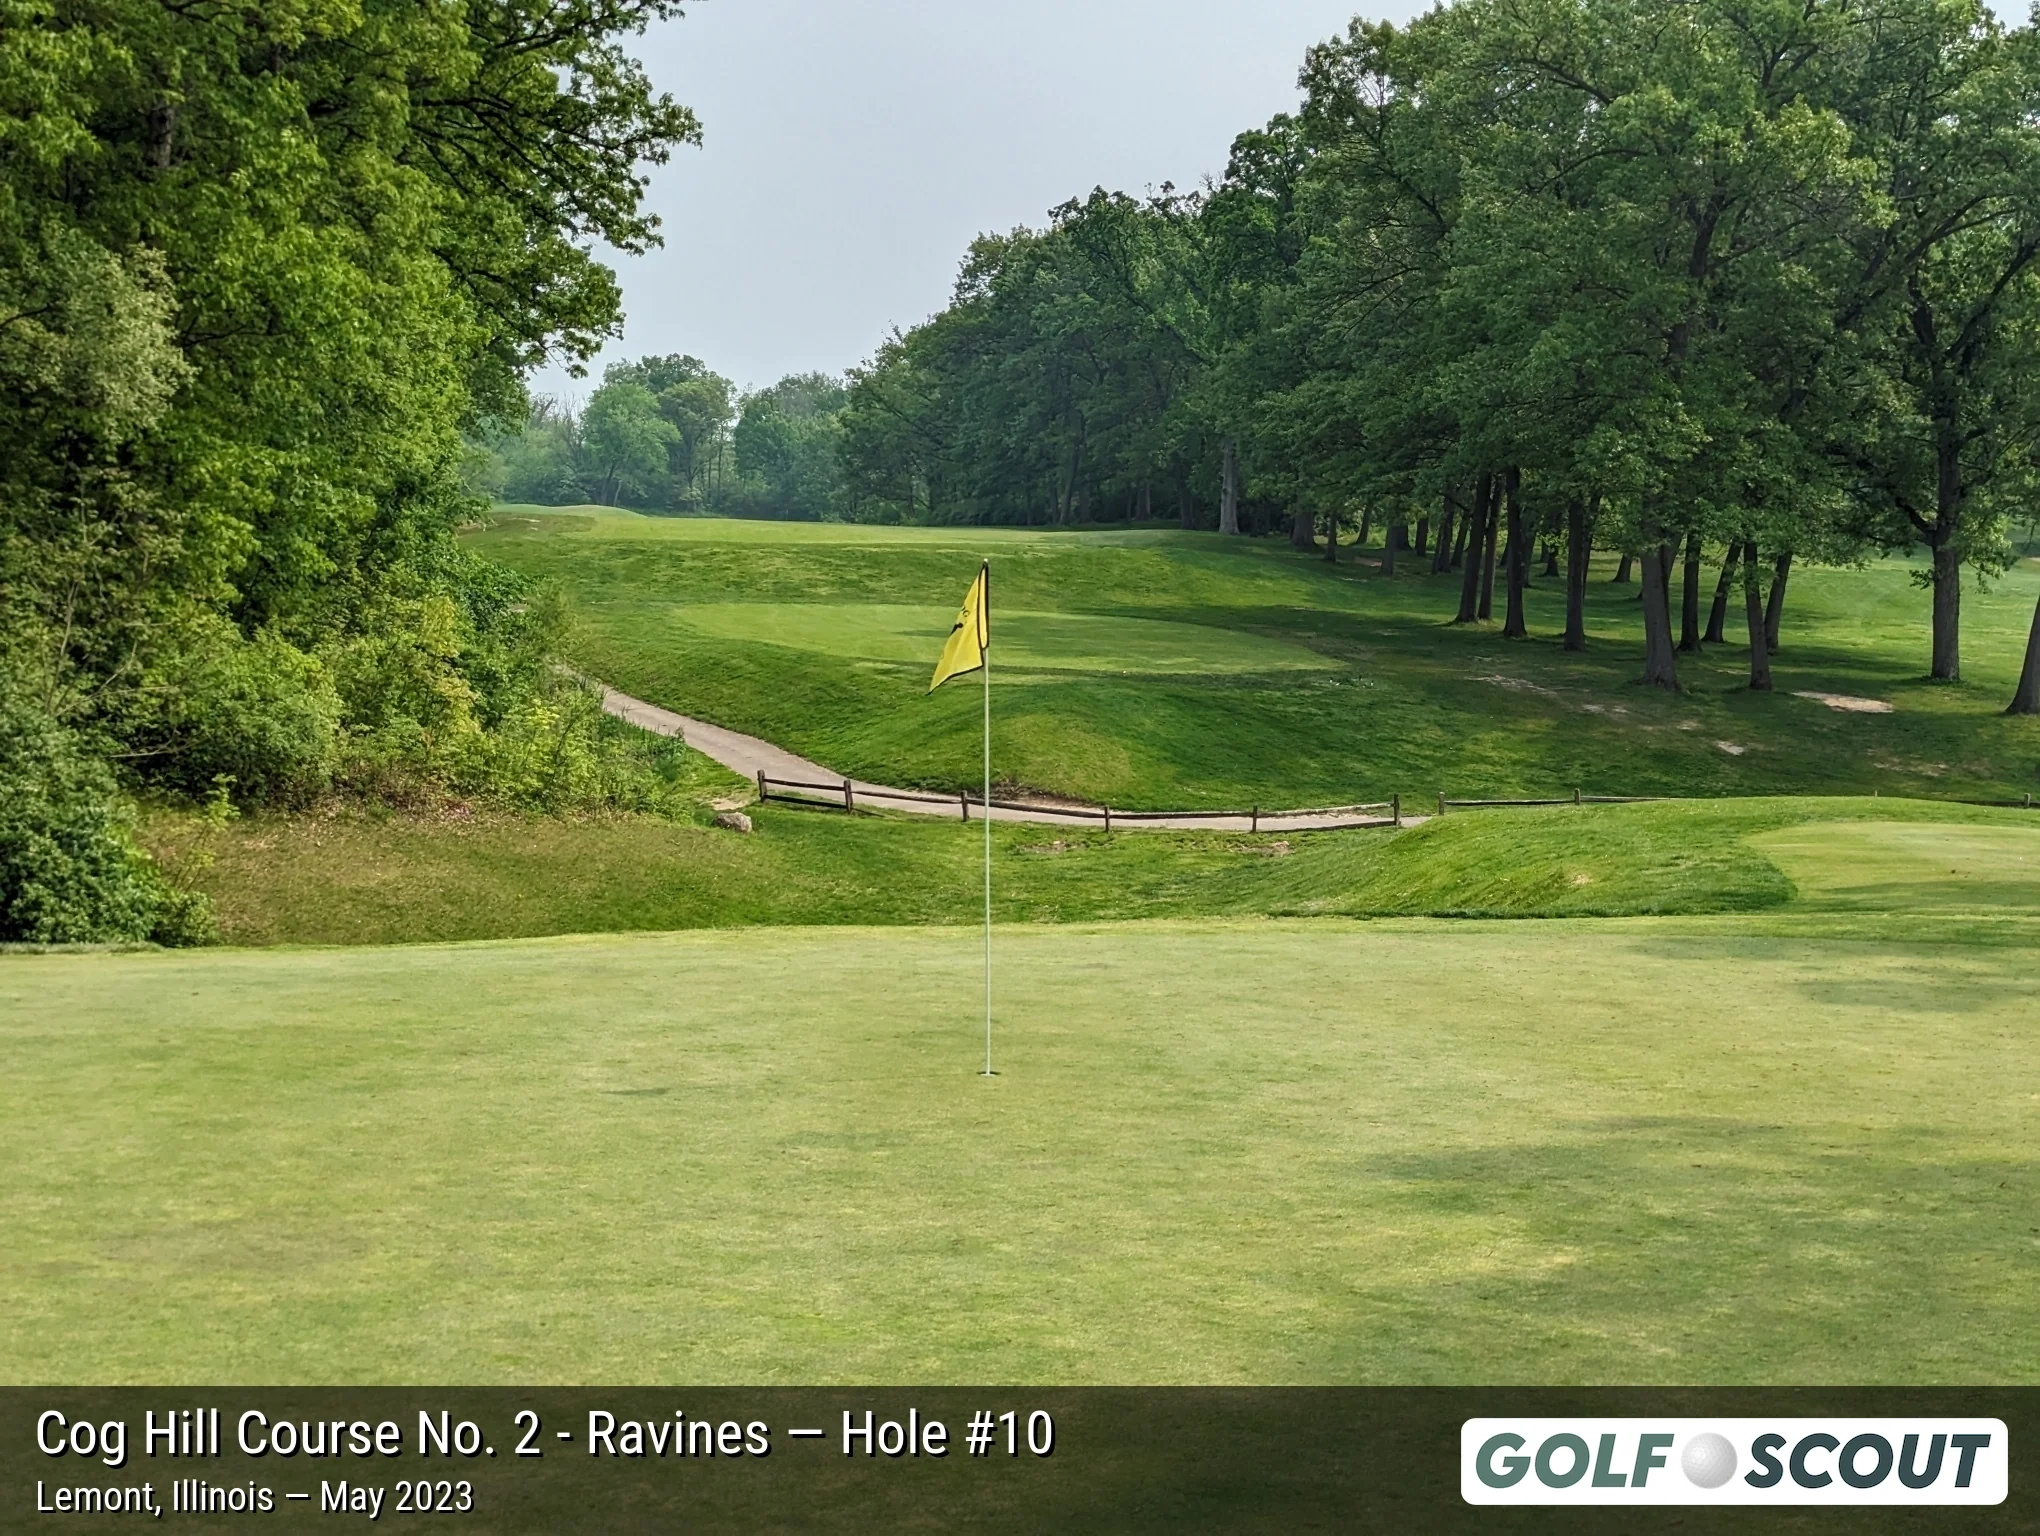
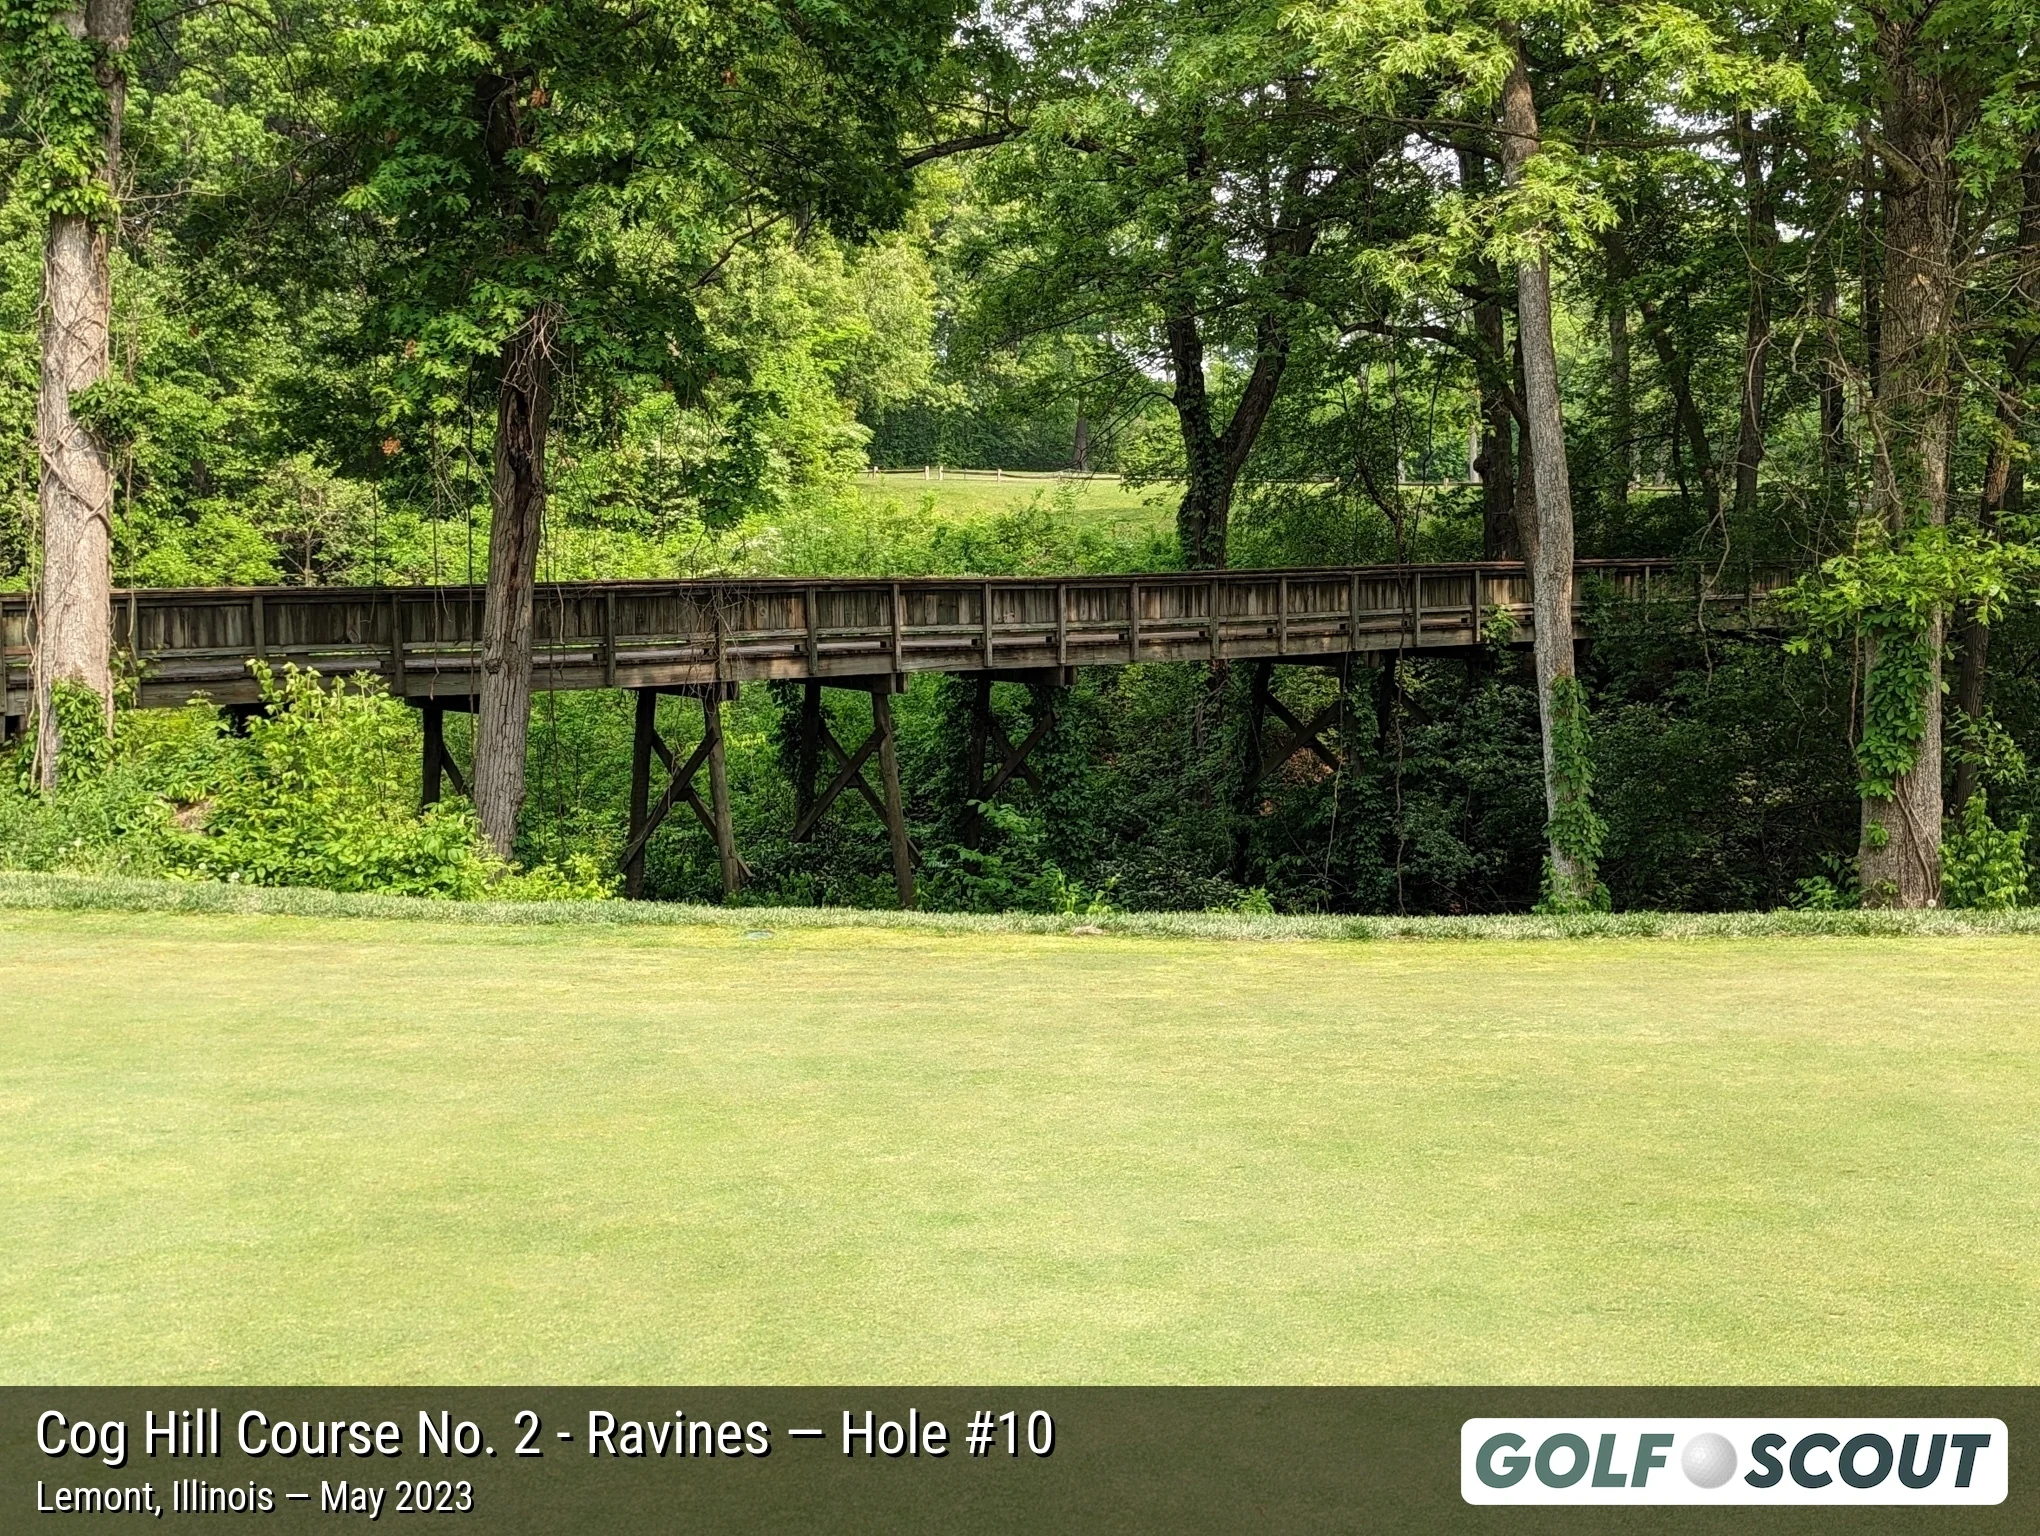
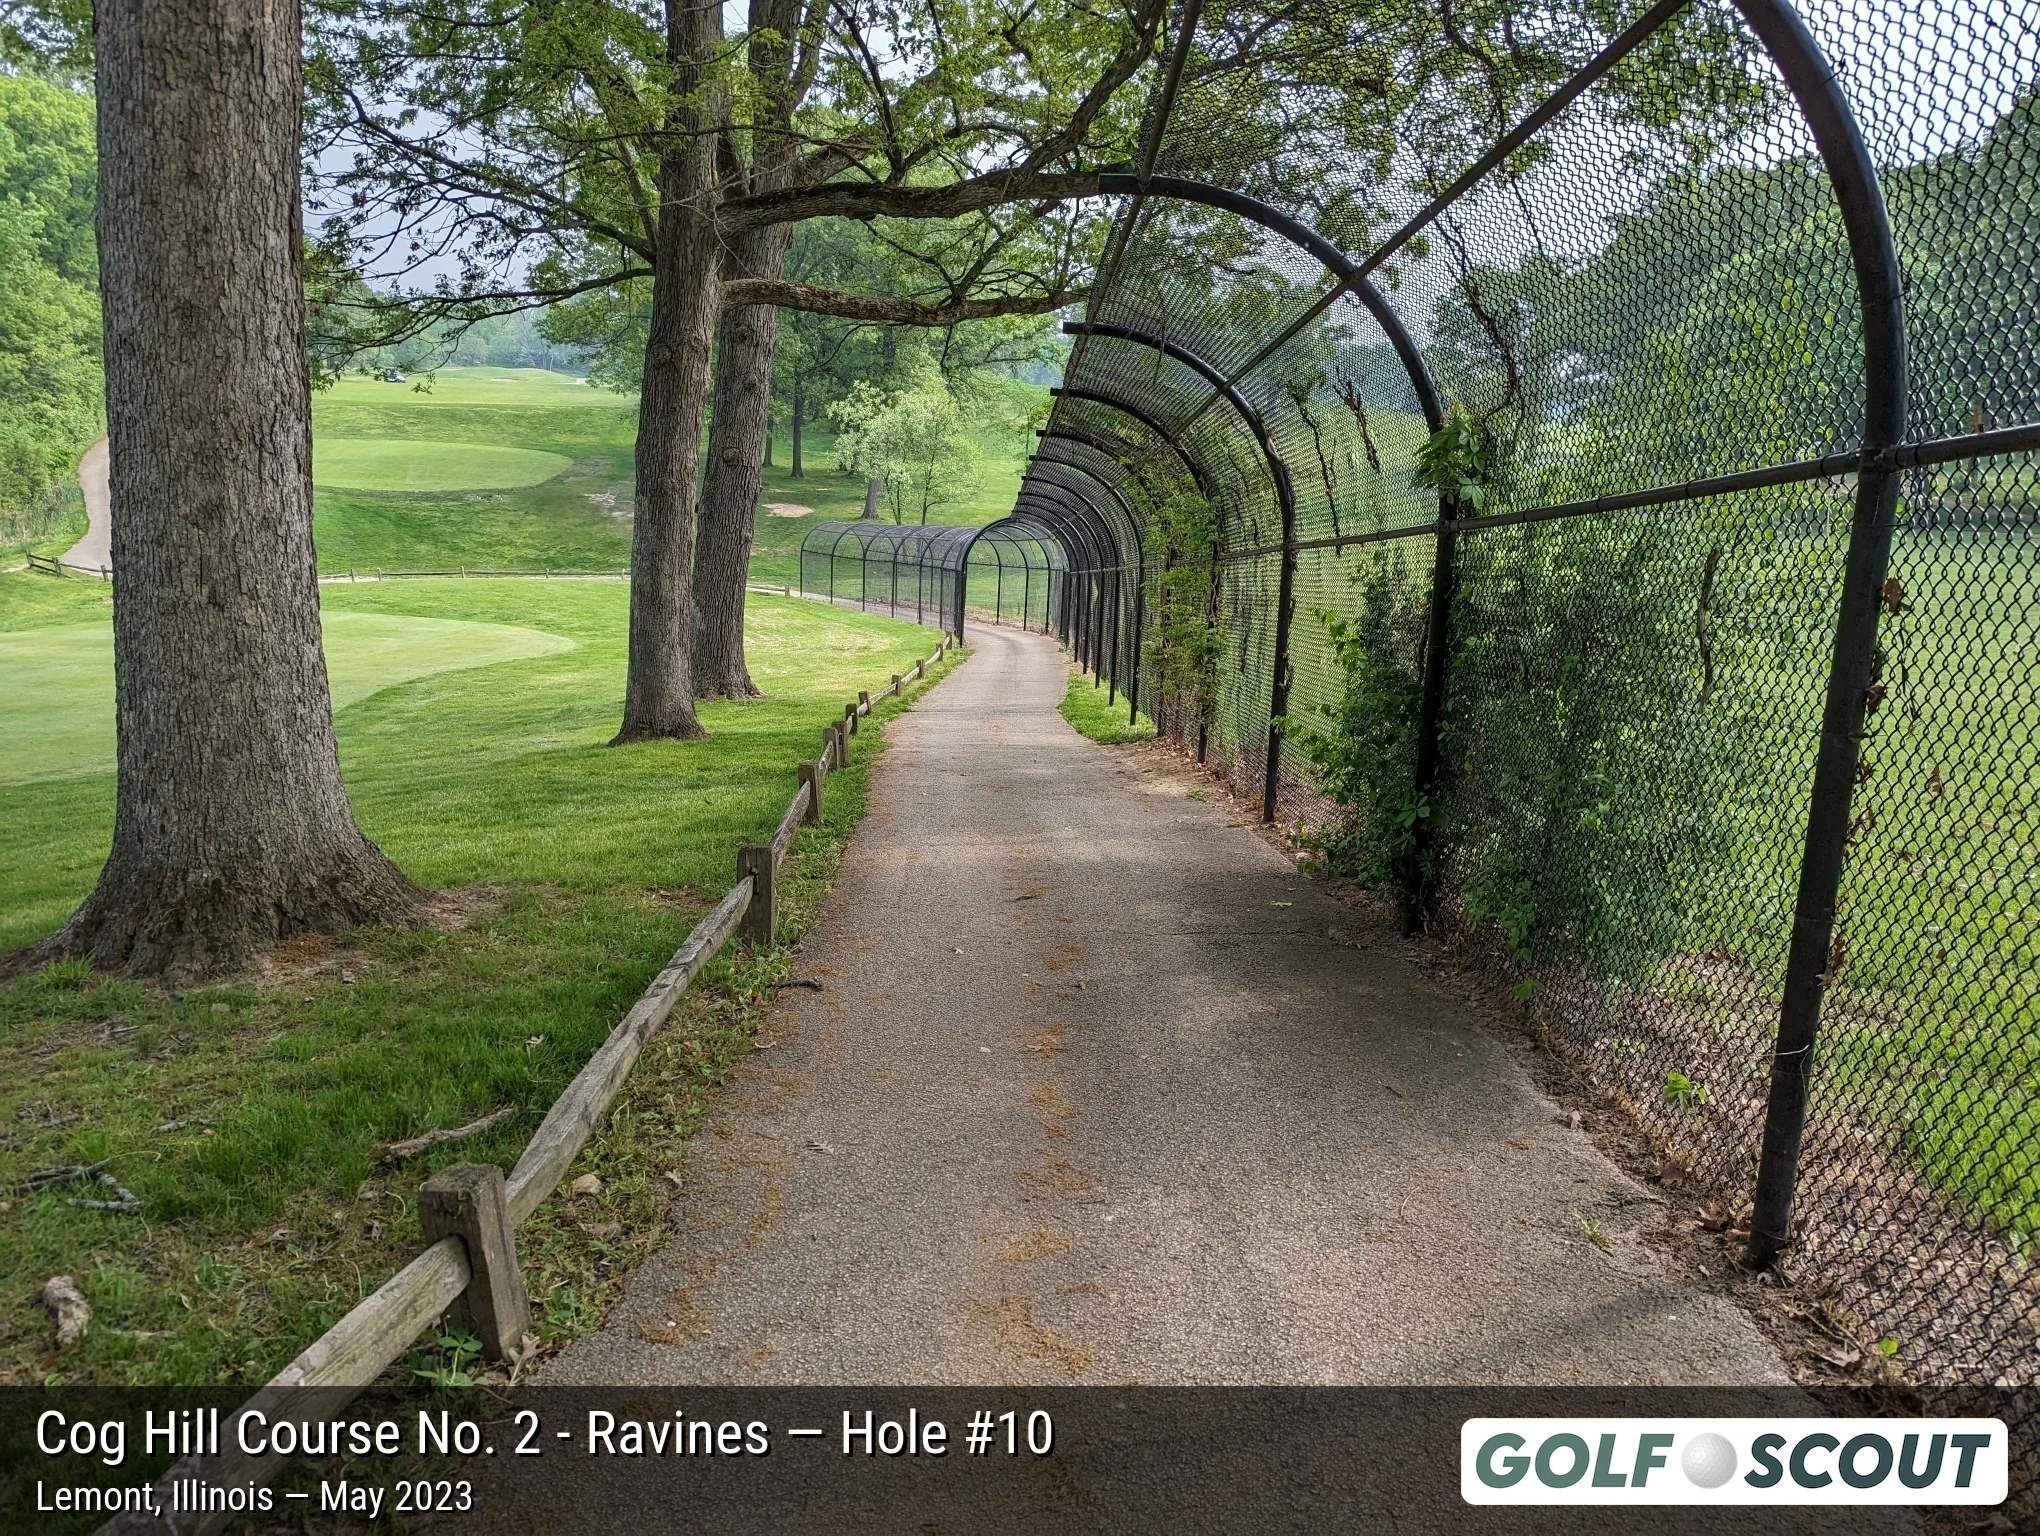
Last photo is typically a reverse angle from behind the green.
Hole 11
9 photos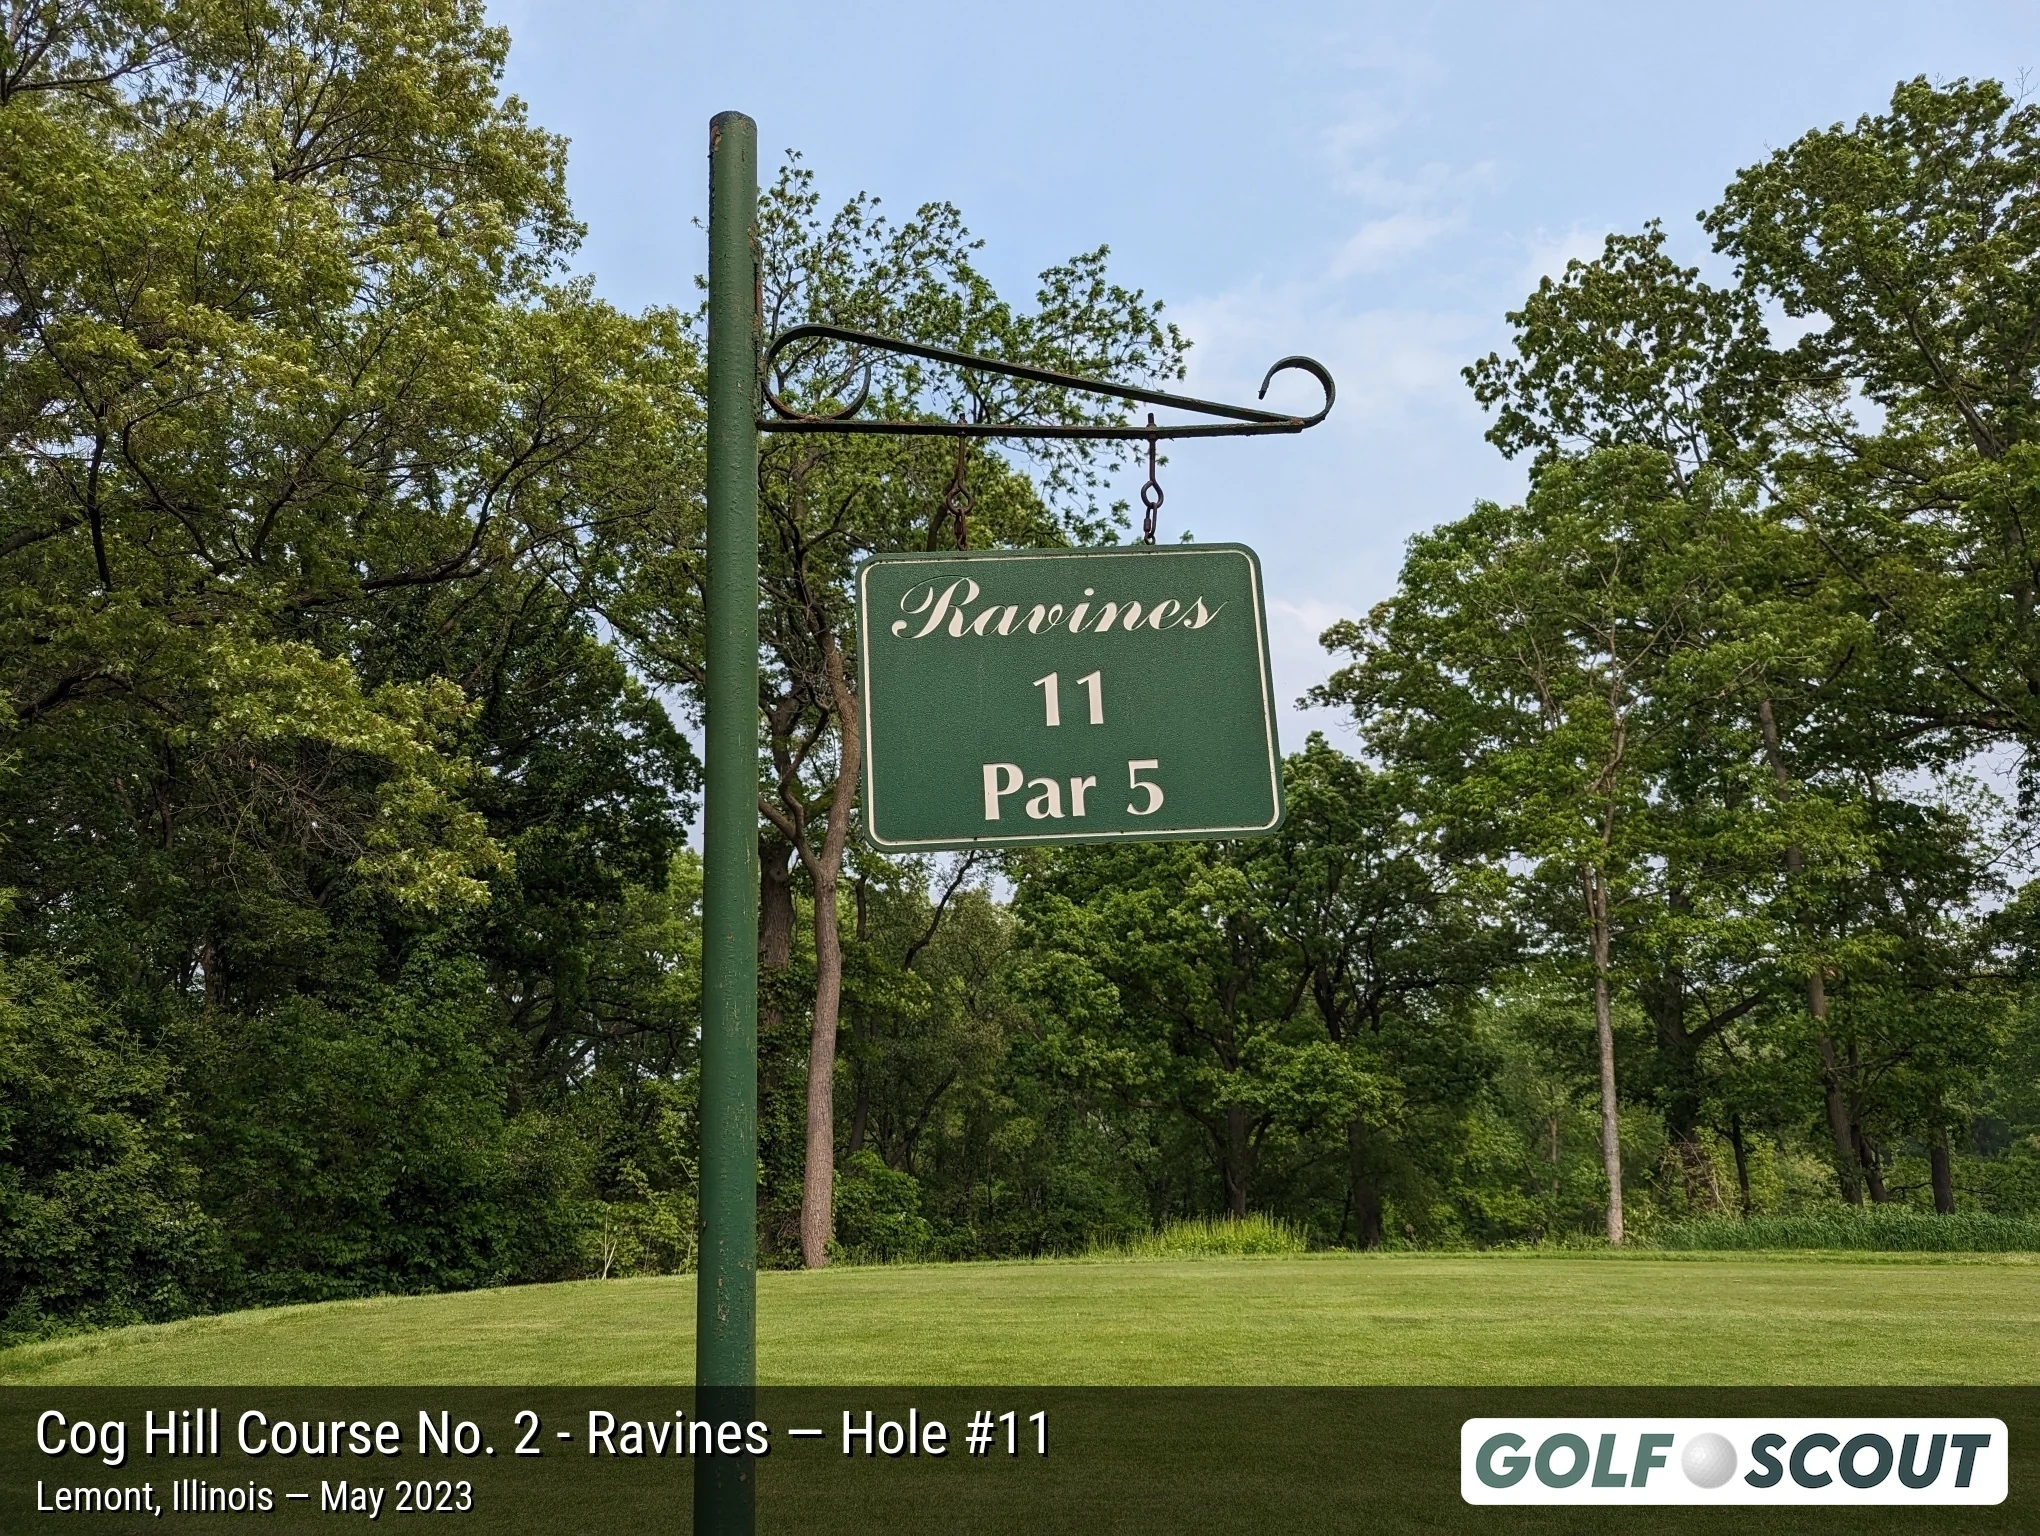
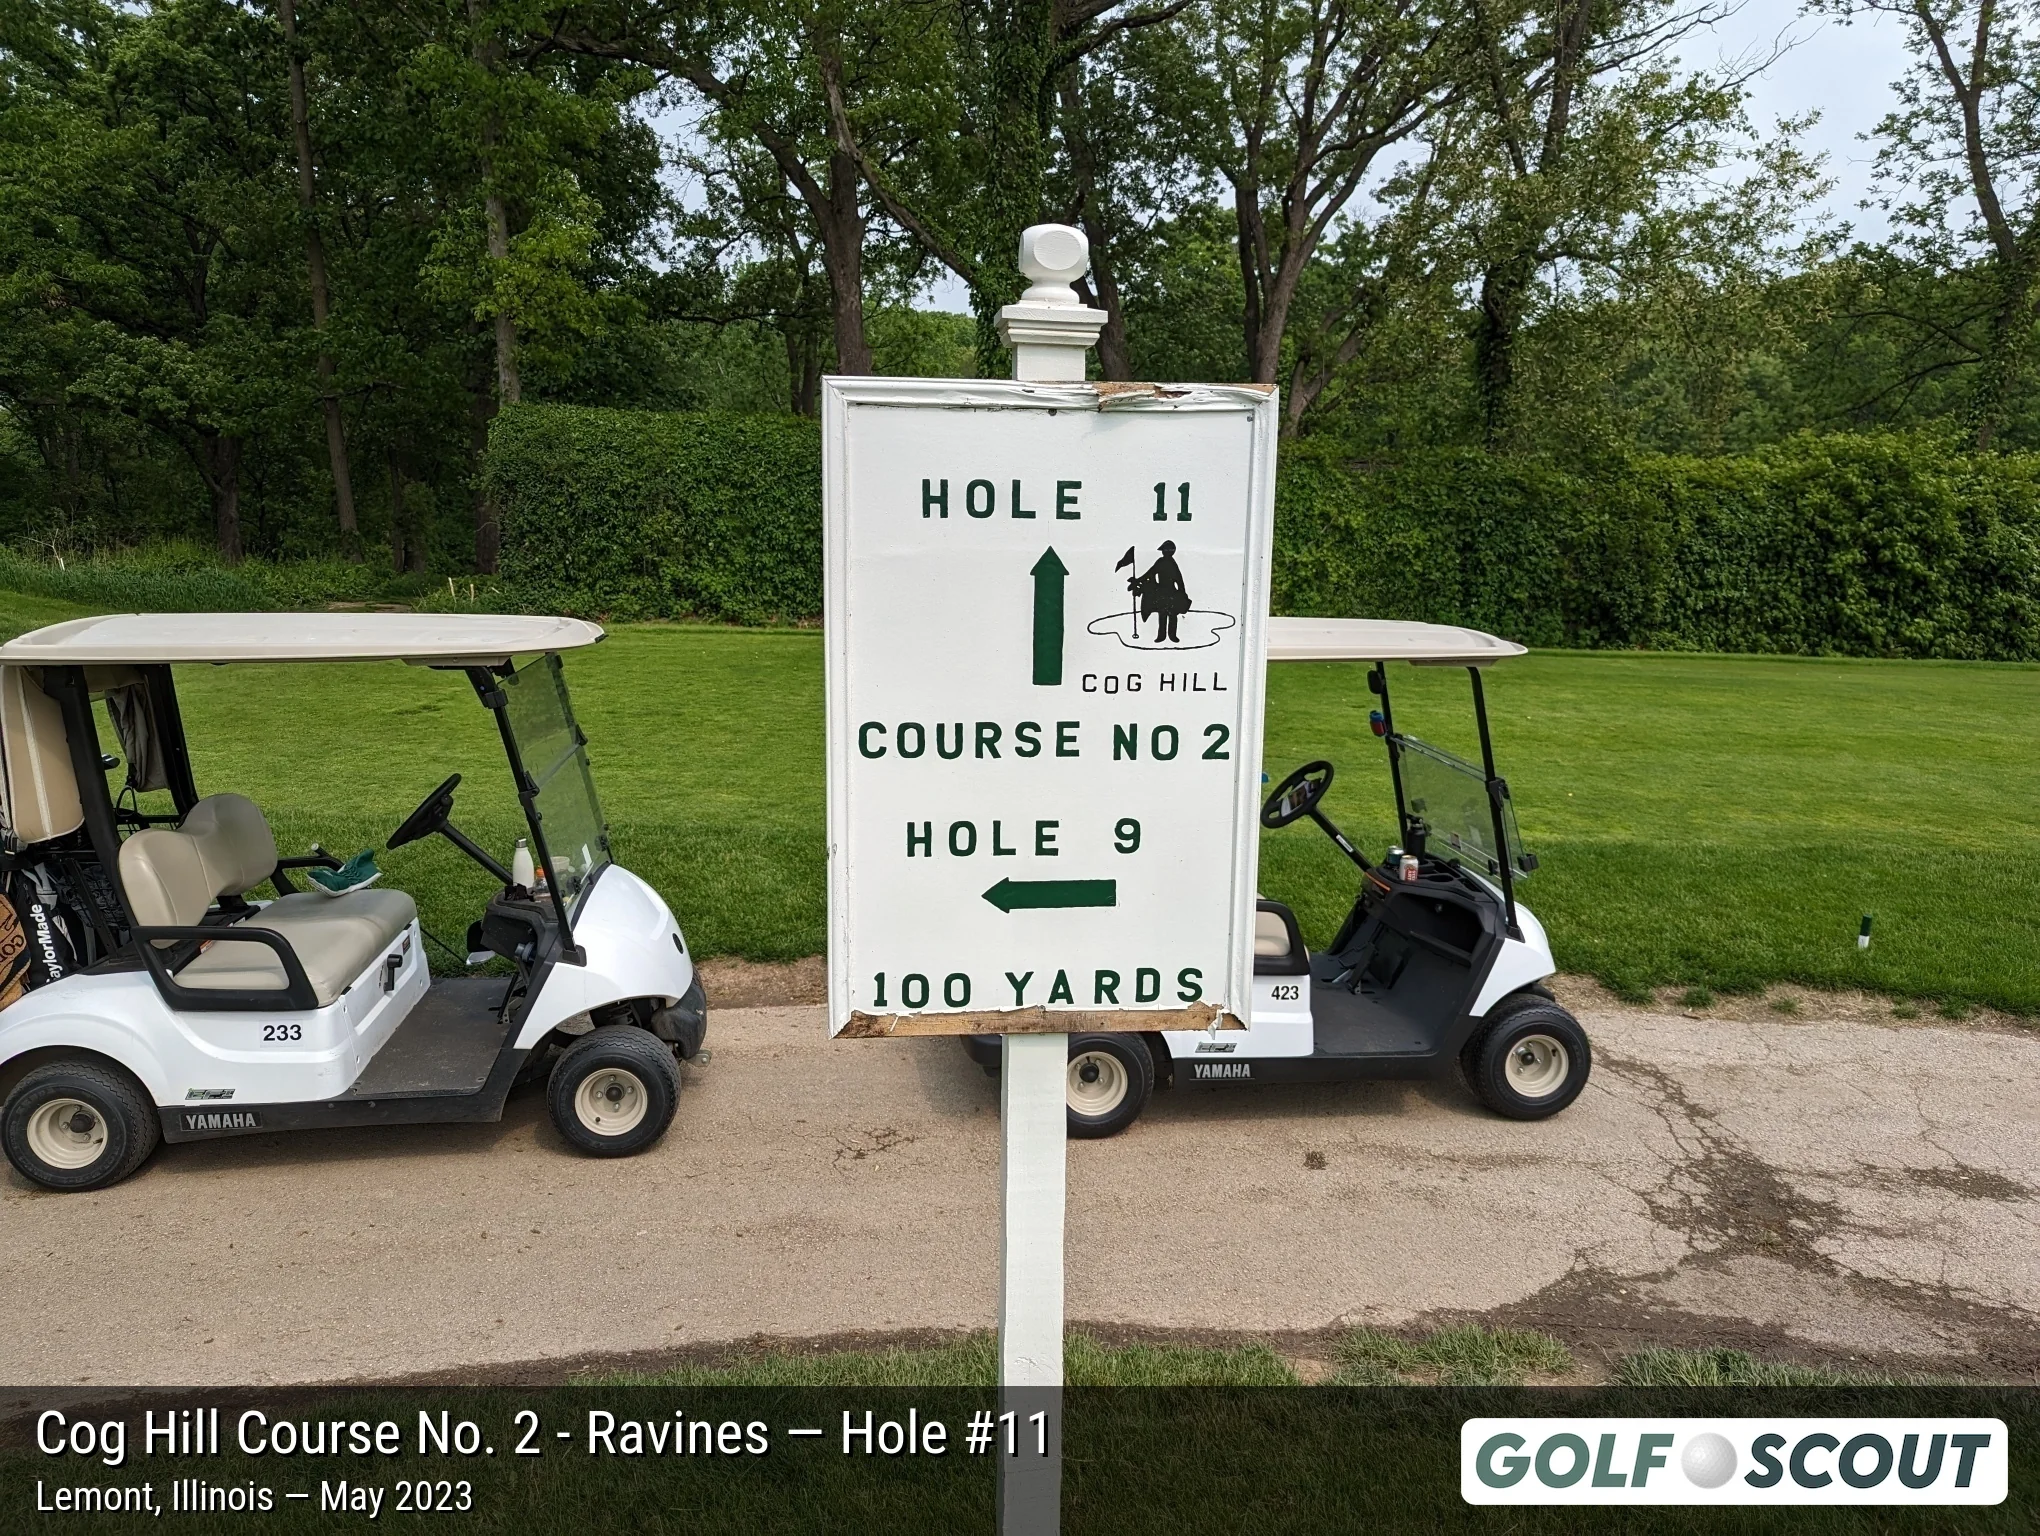
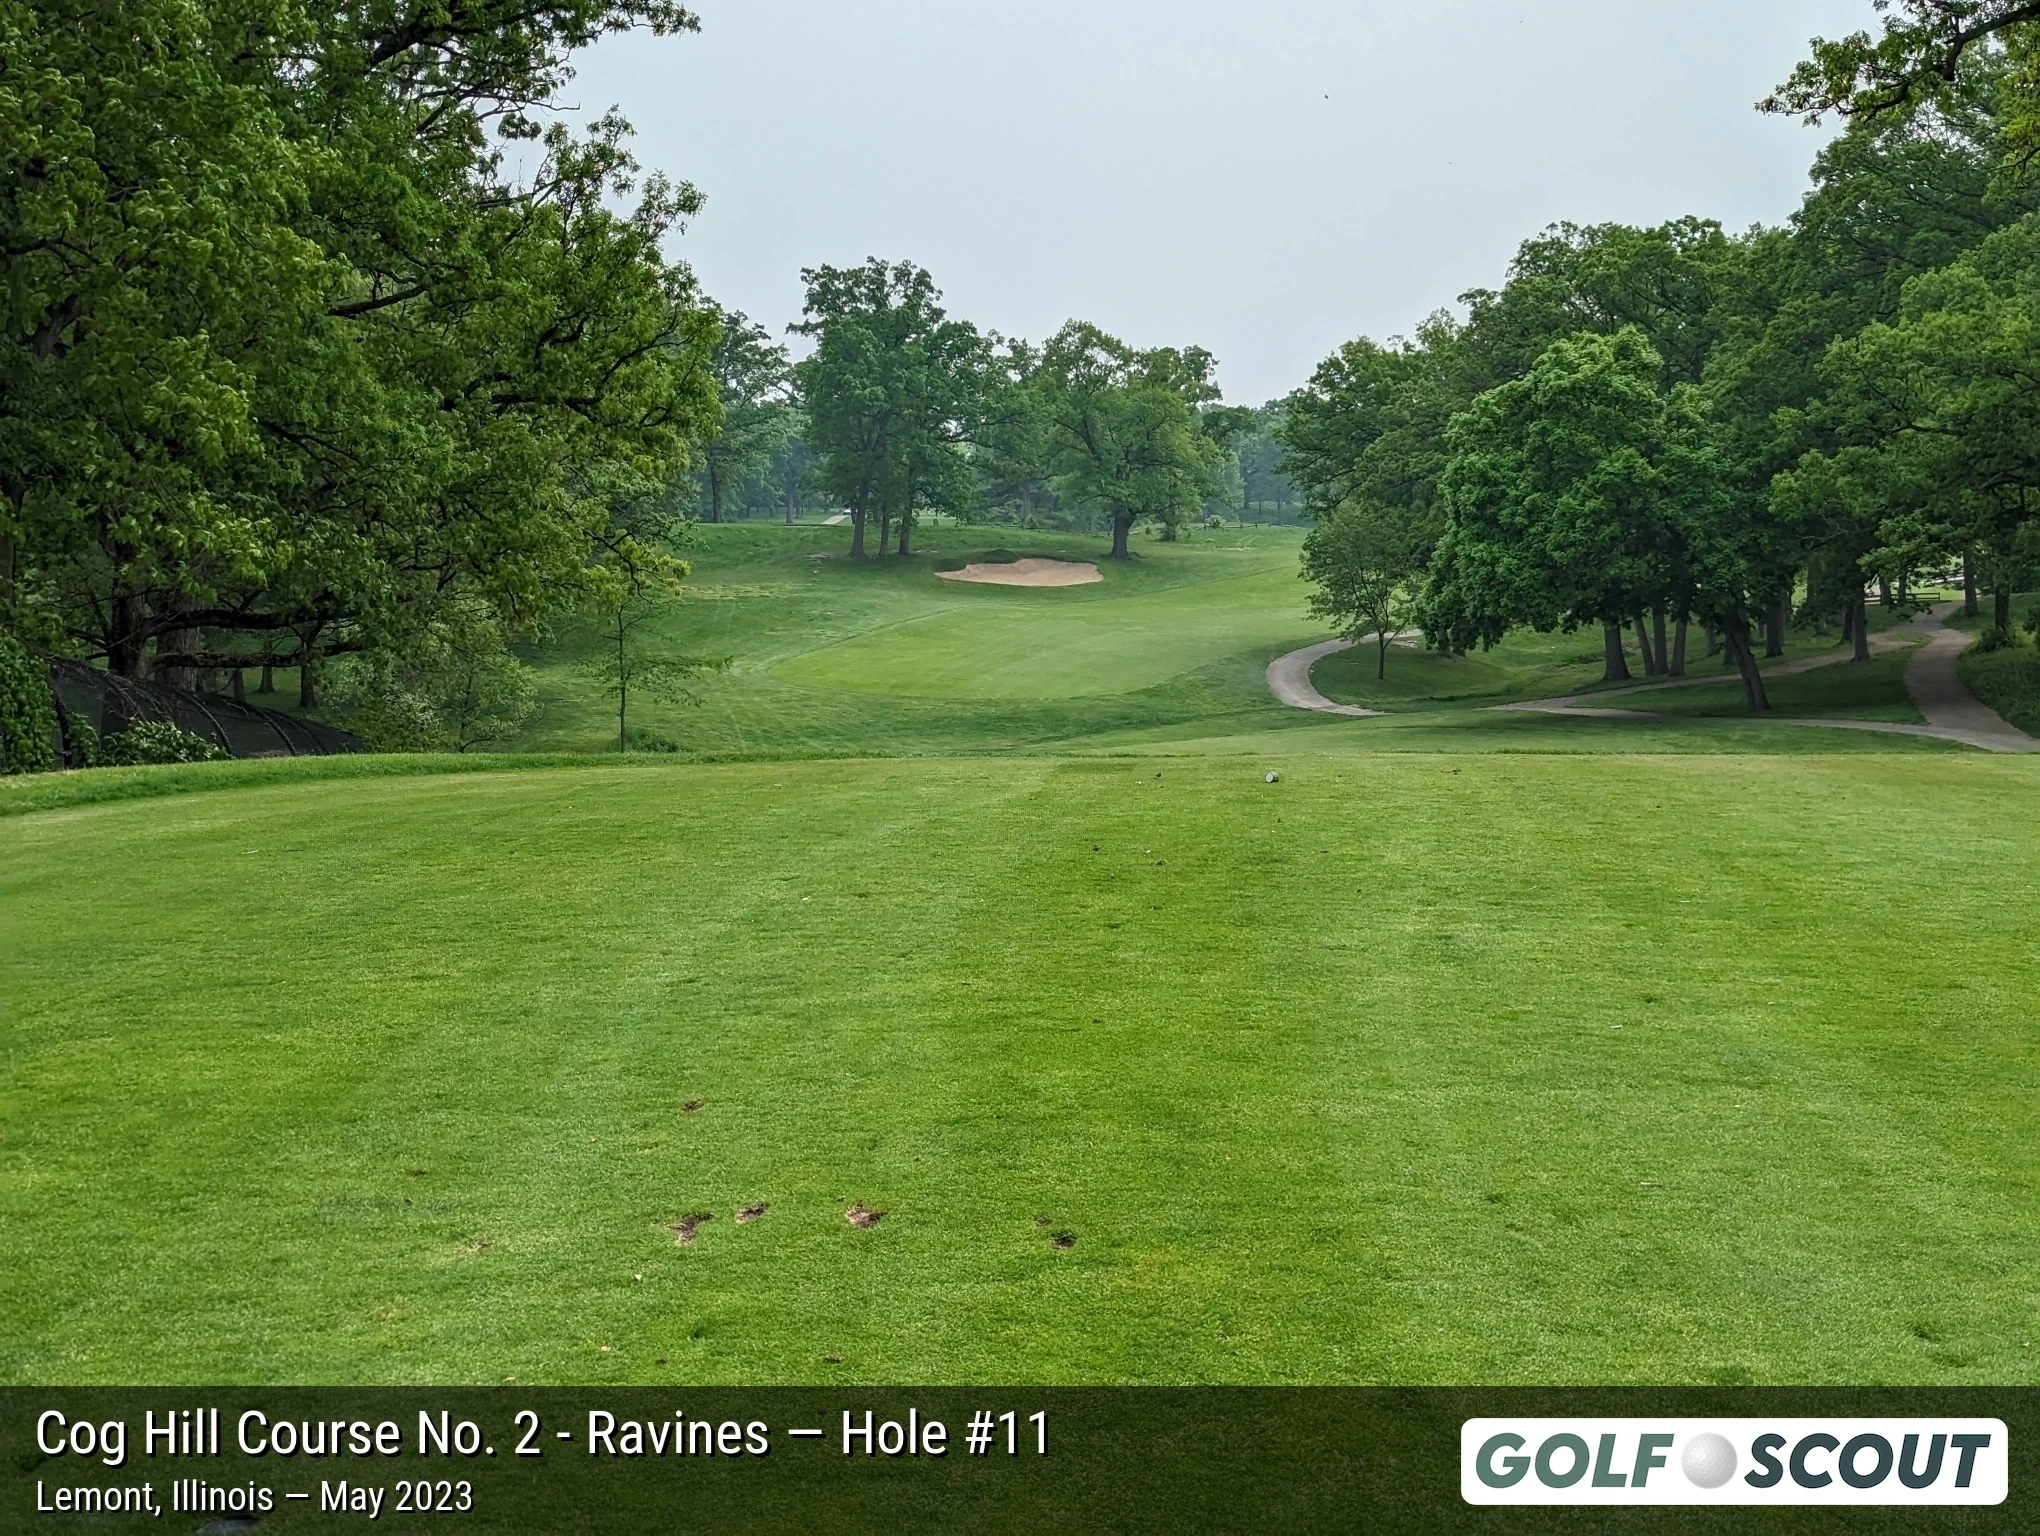
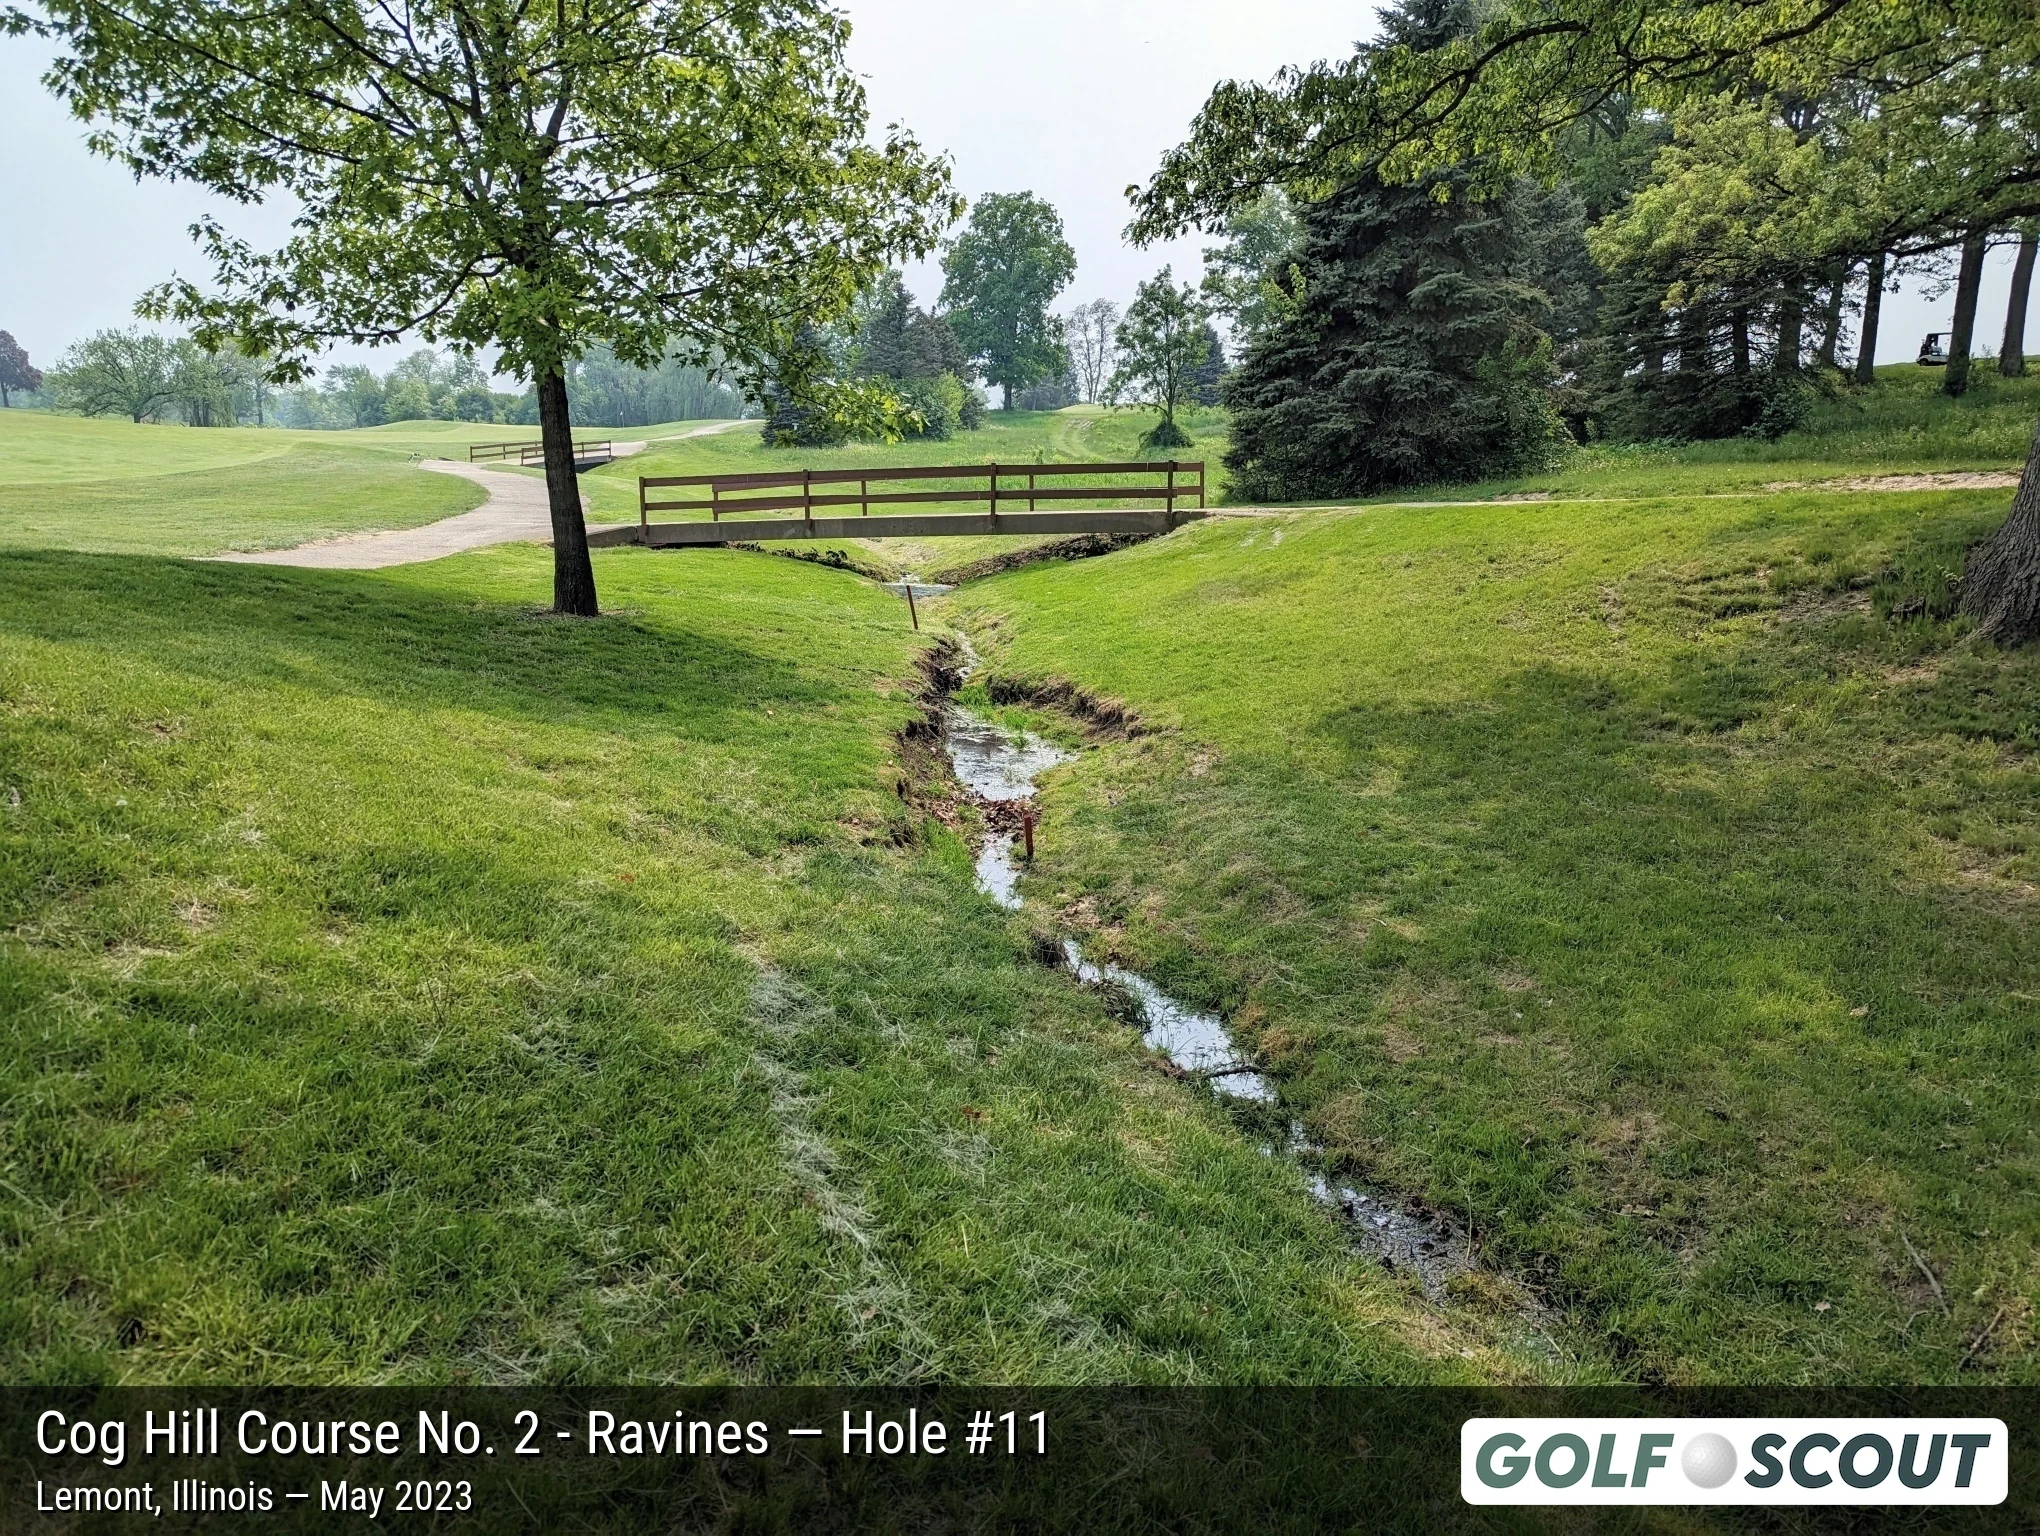
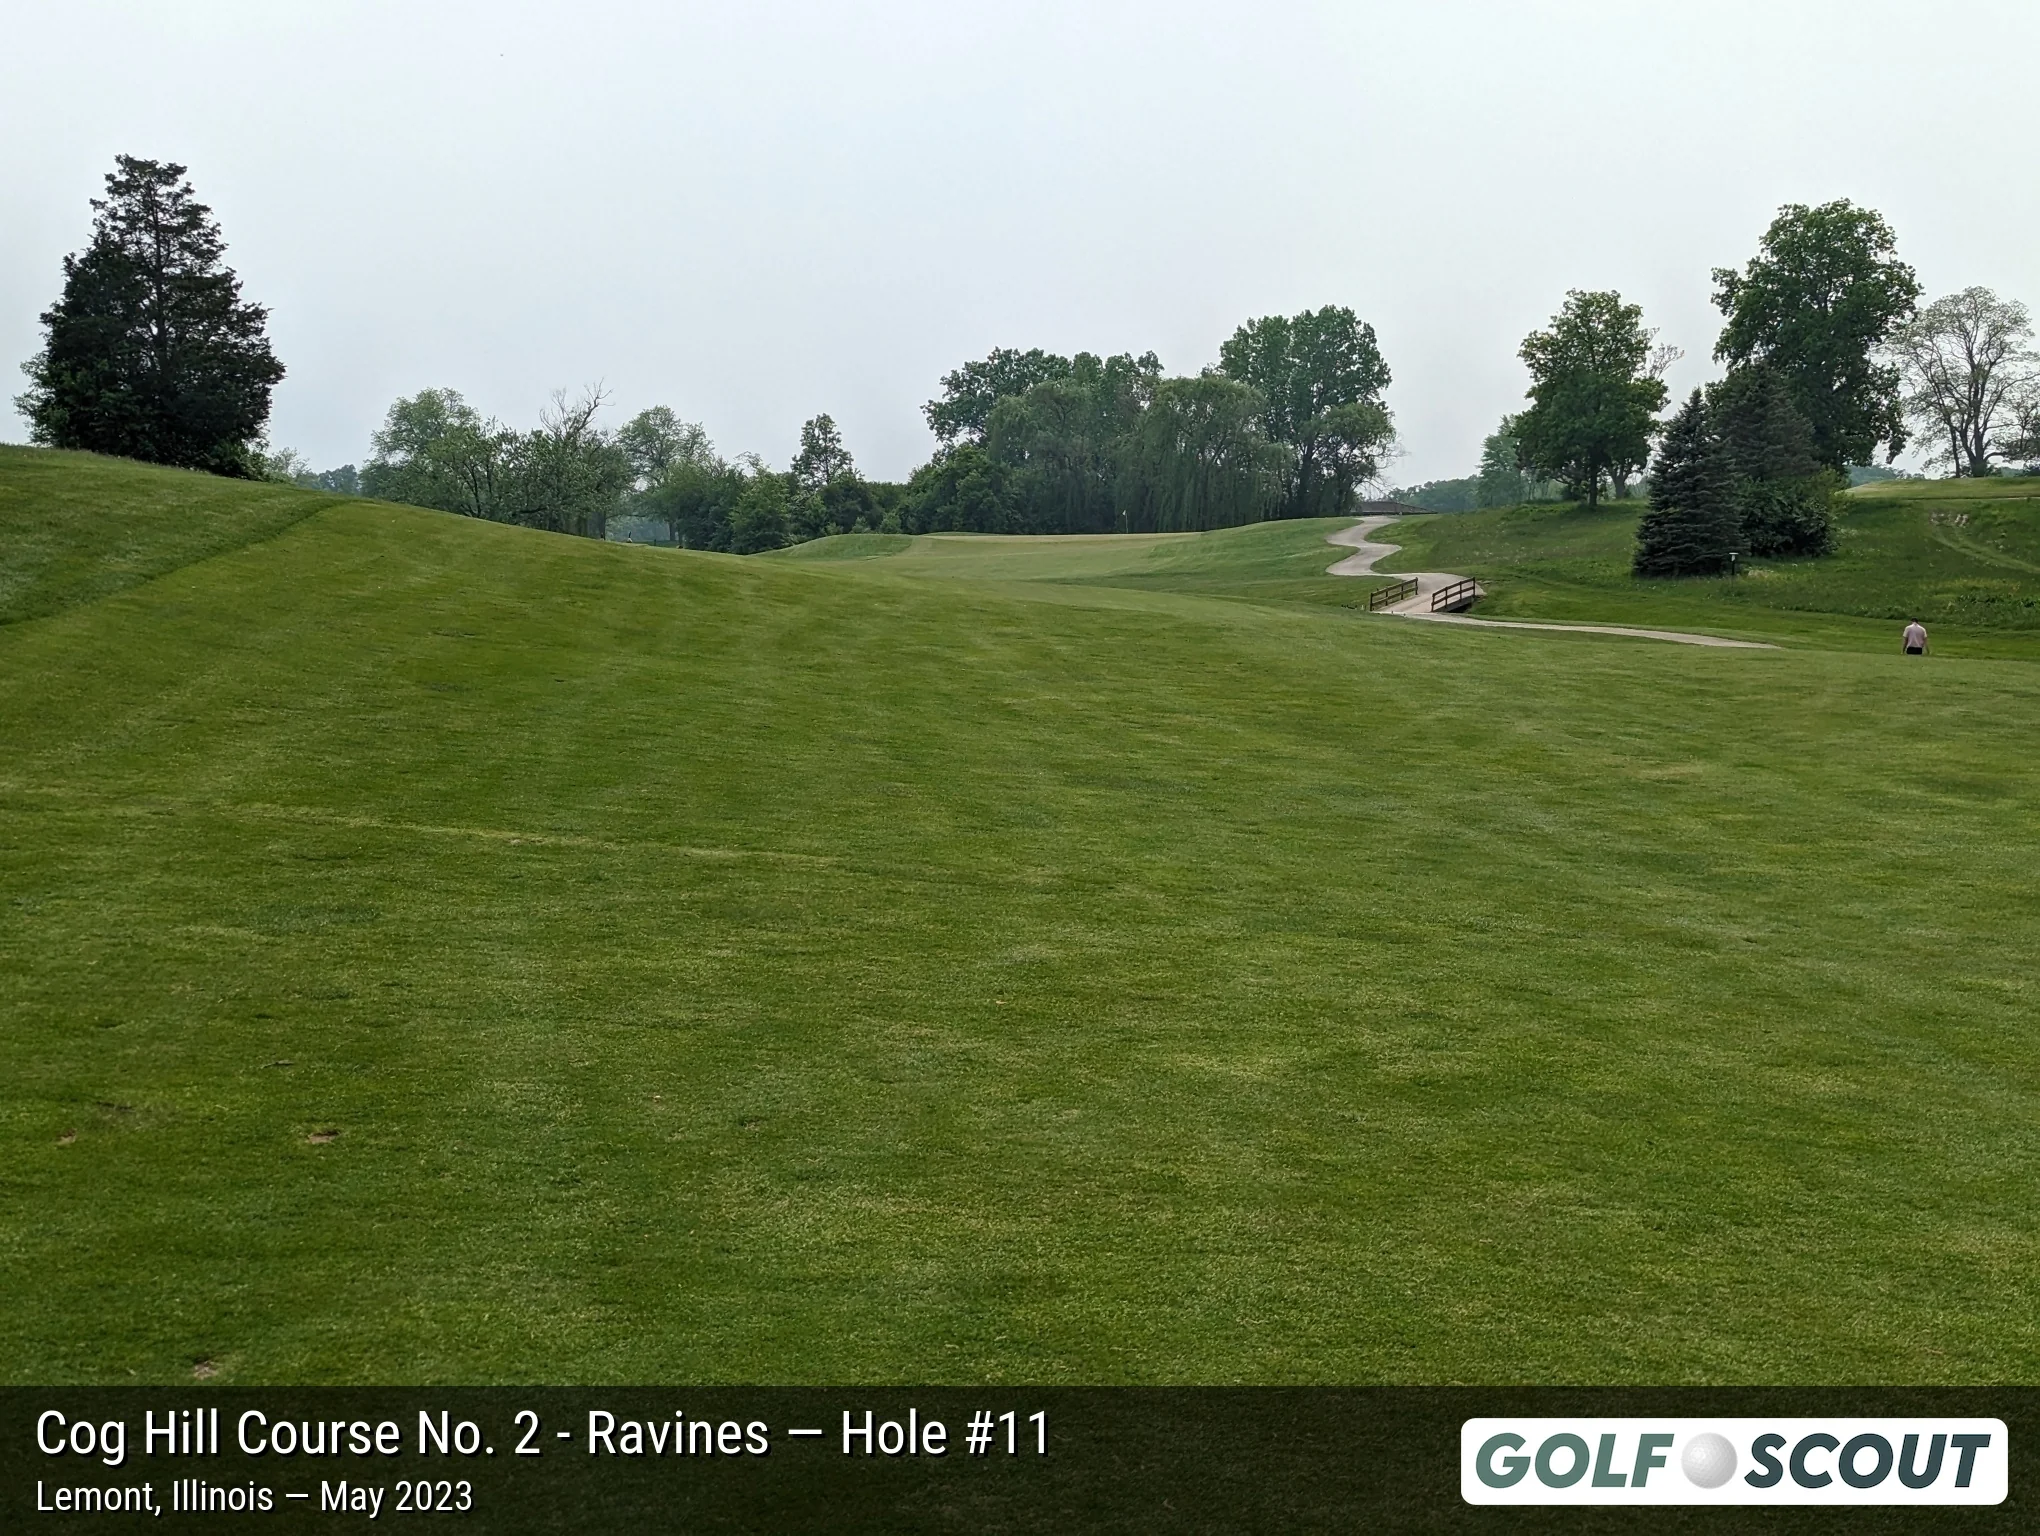
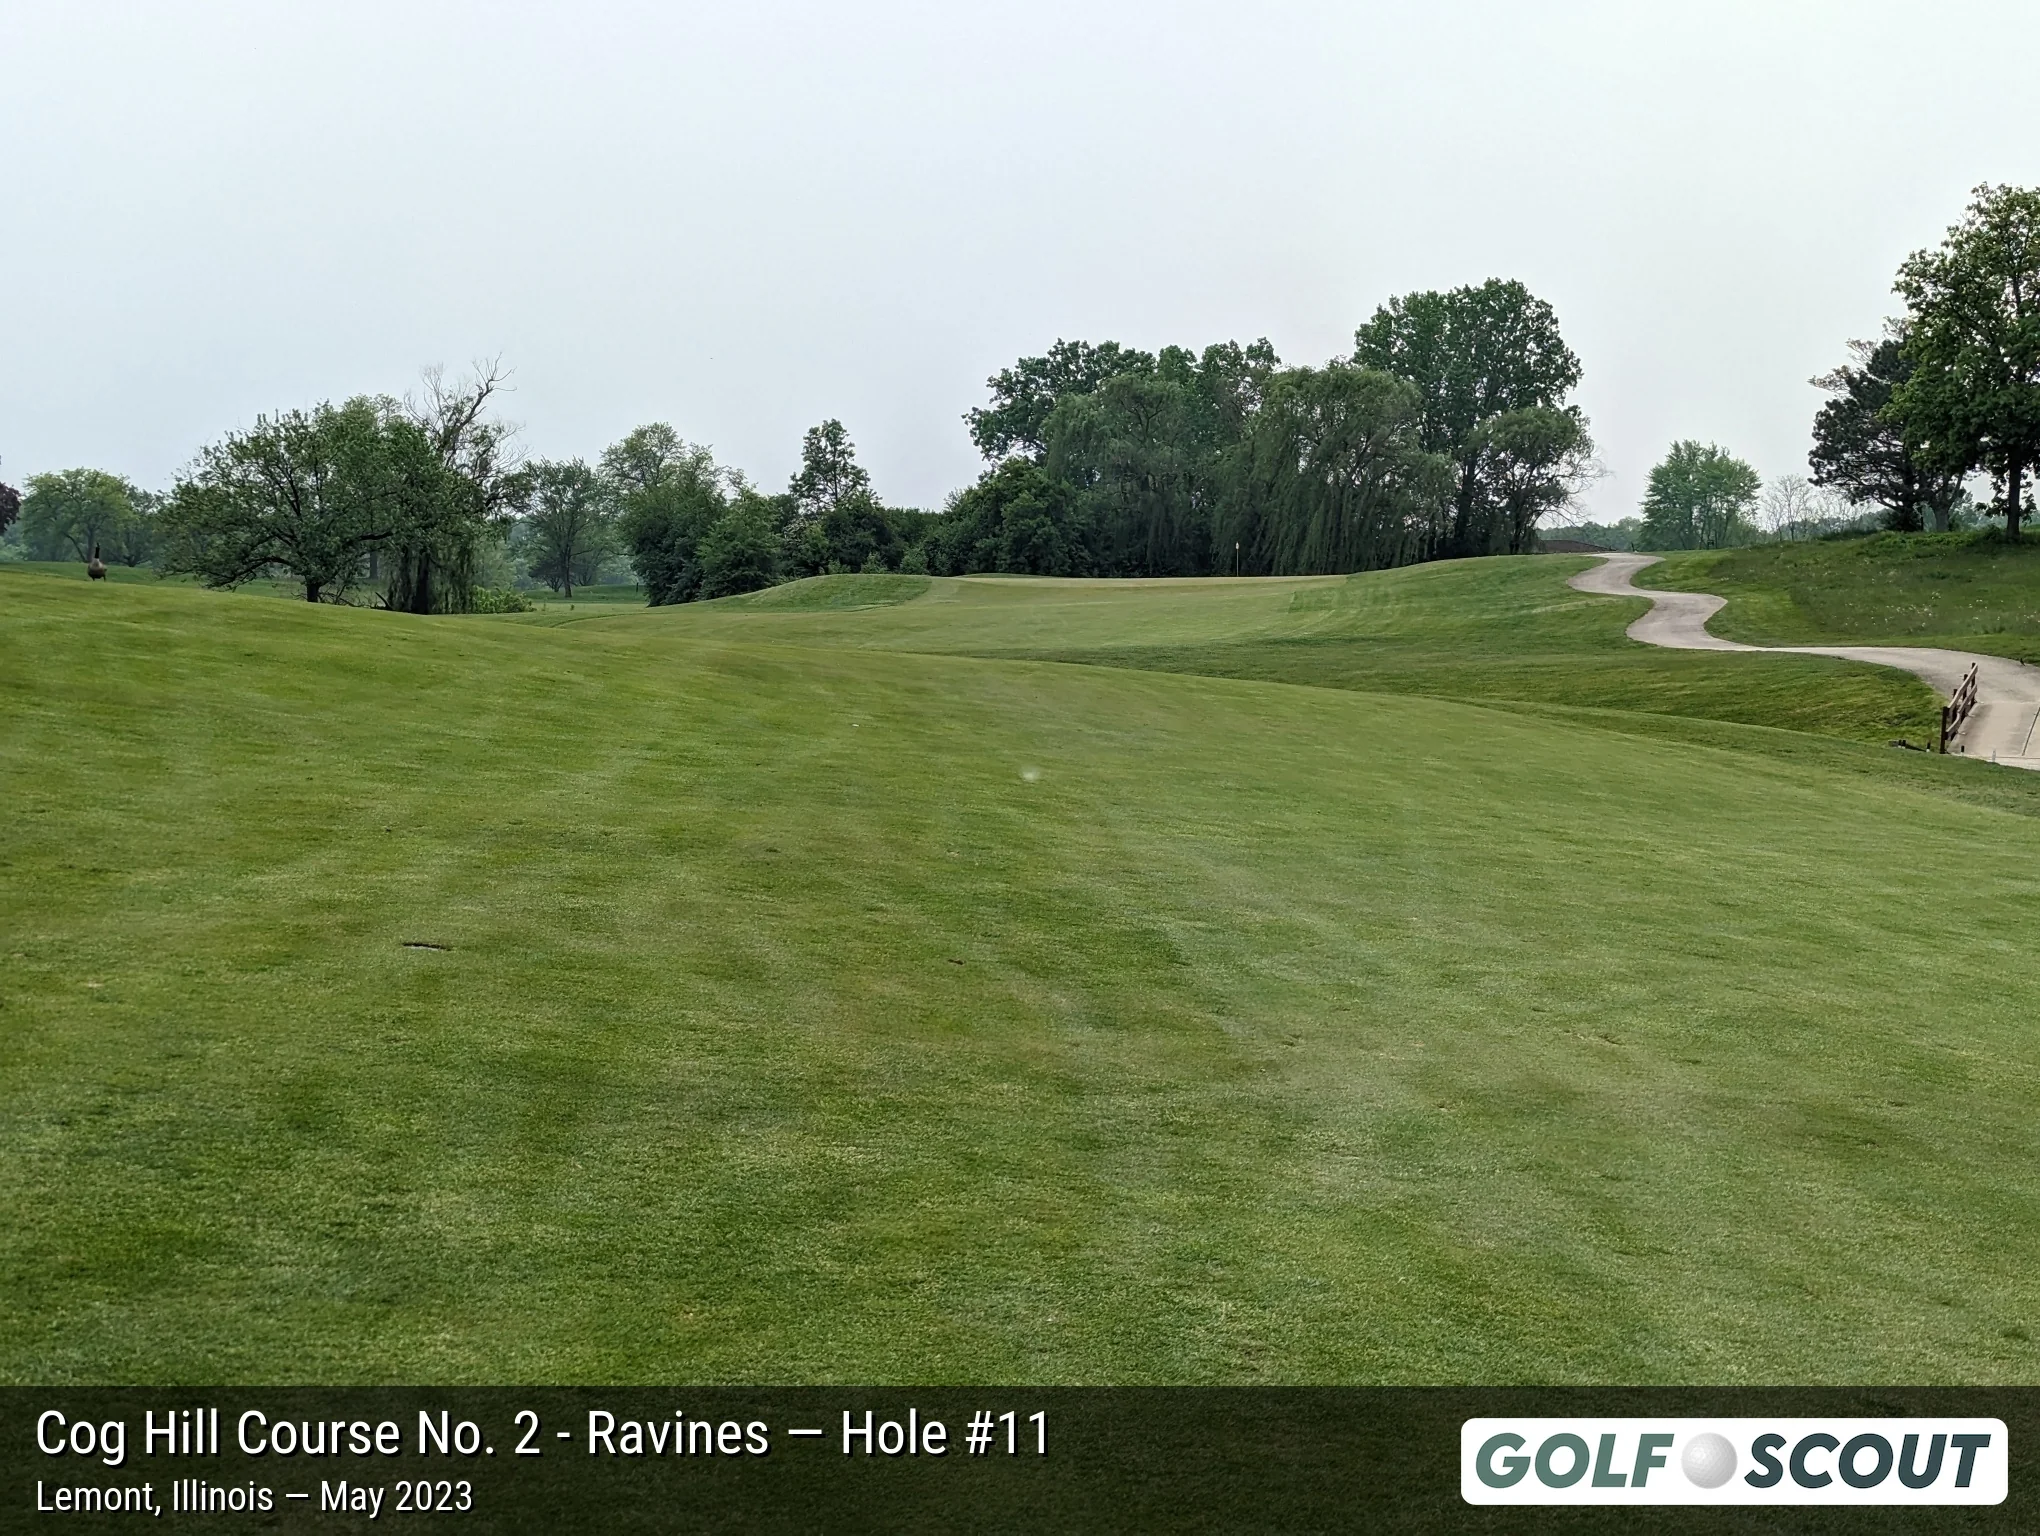
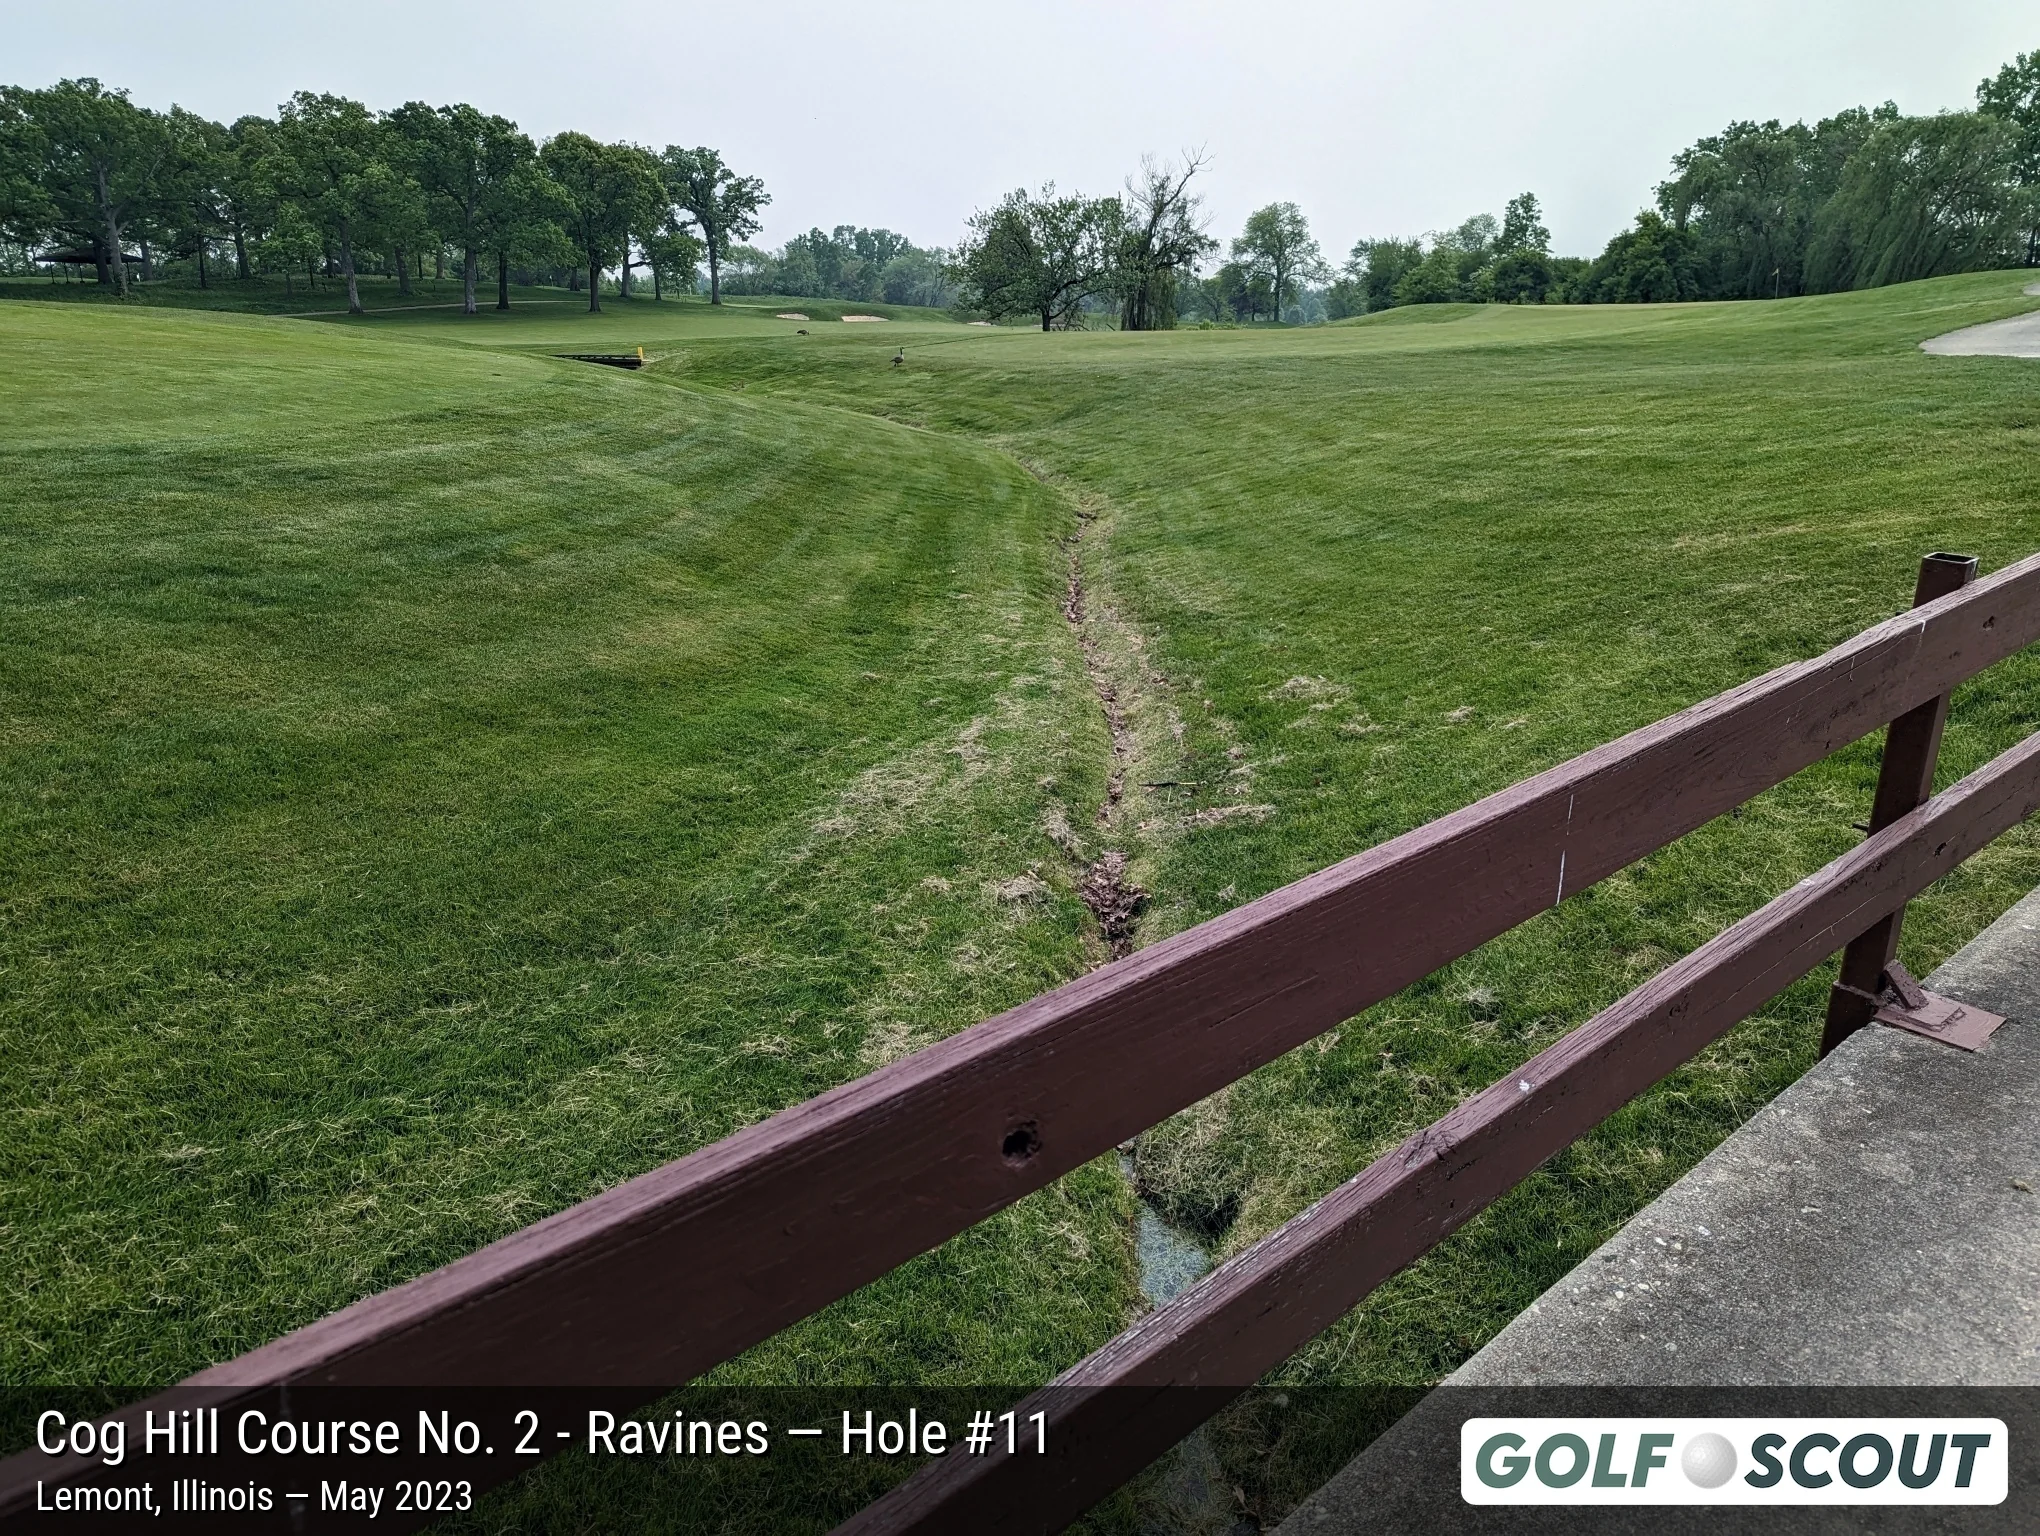
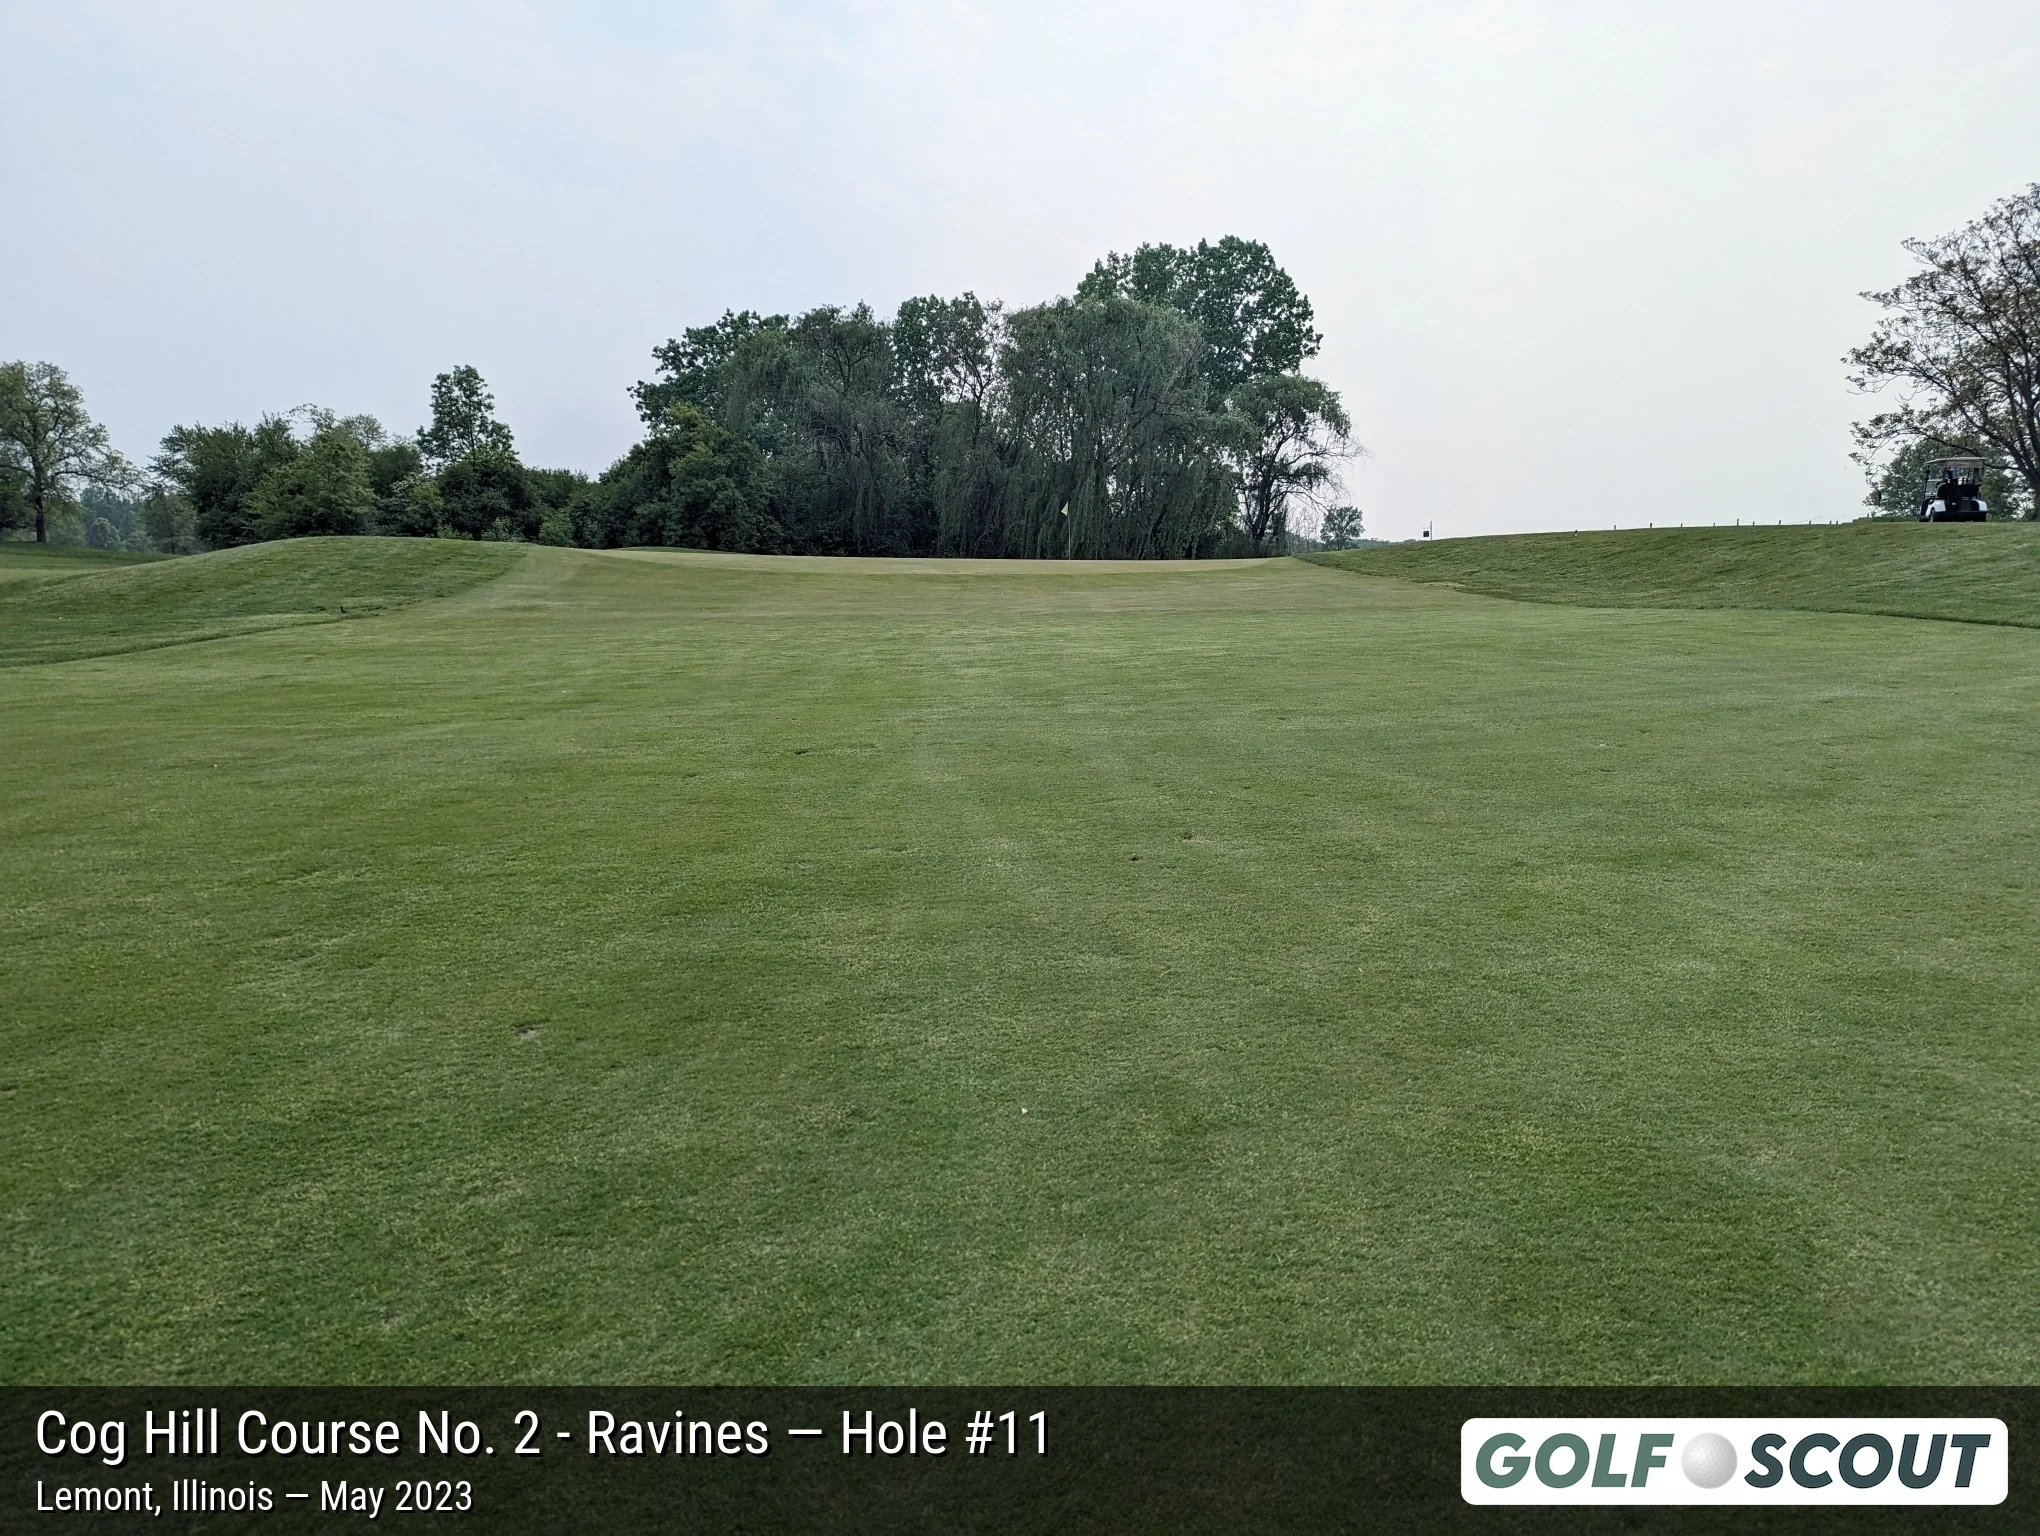
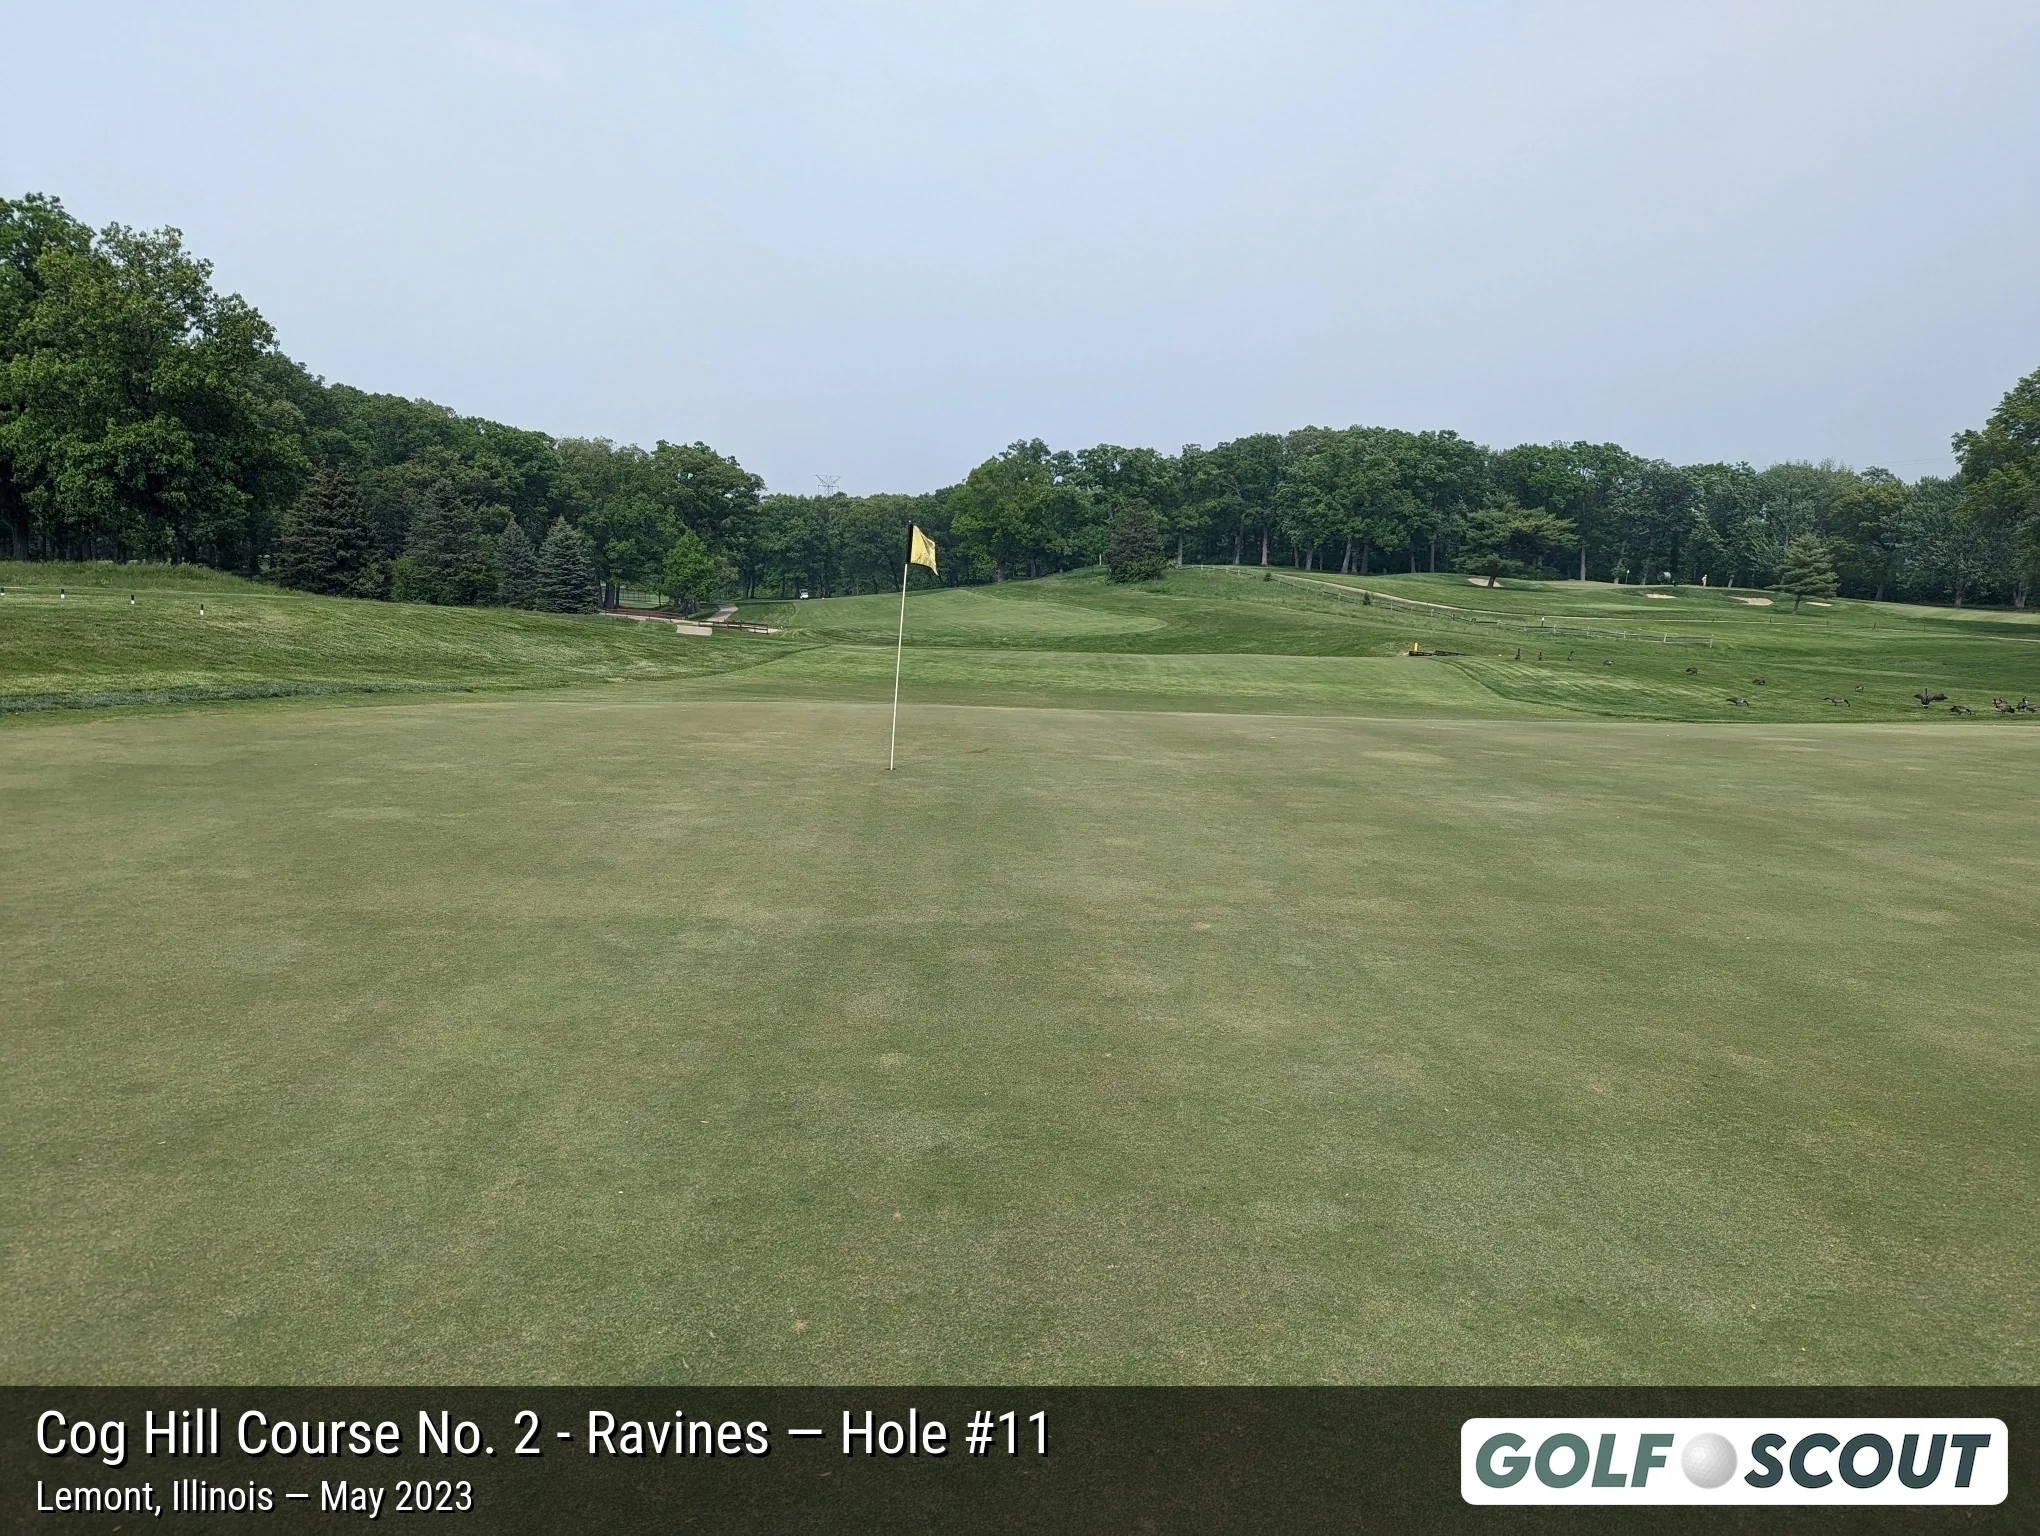
Last photo is typically a reverse angle from behind the green.
Hole 12
5 photos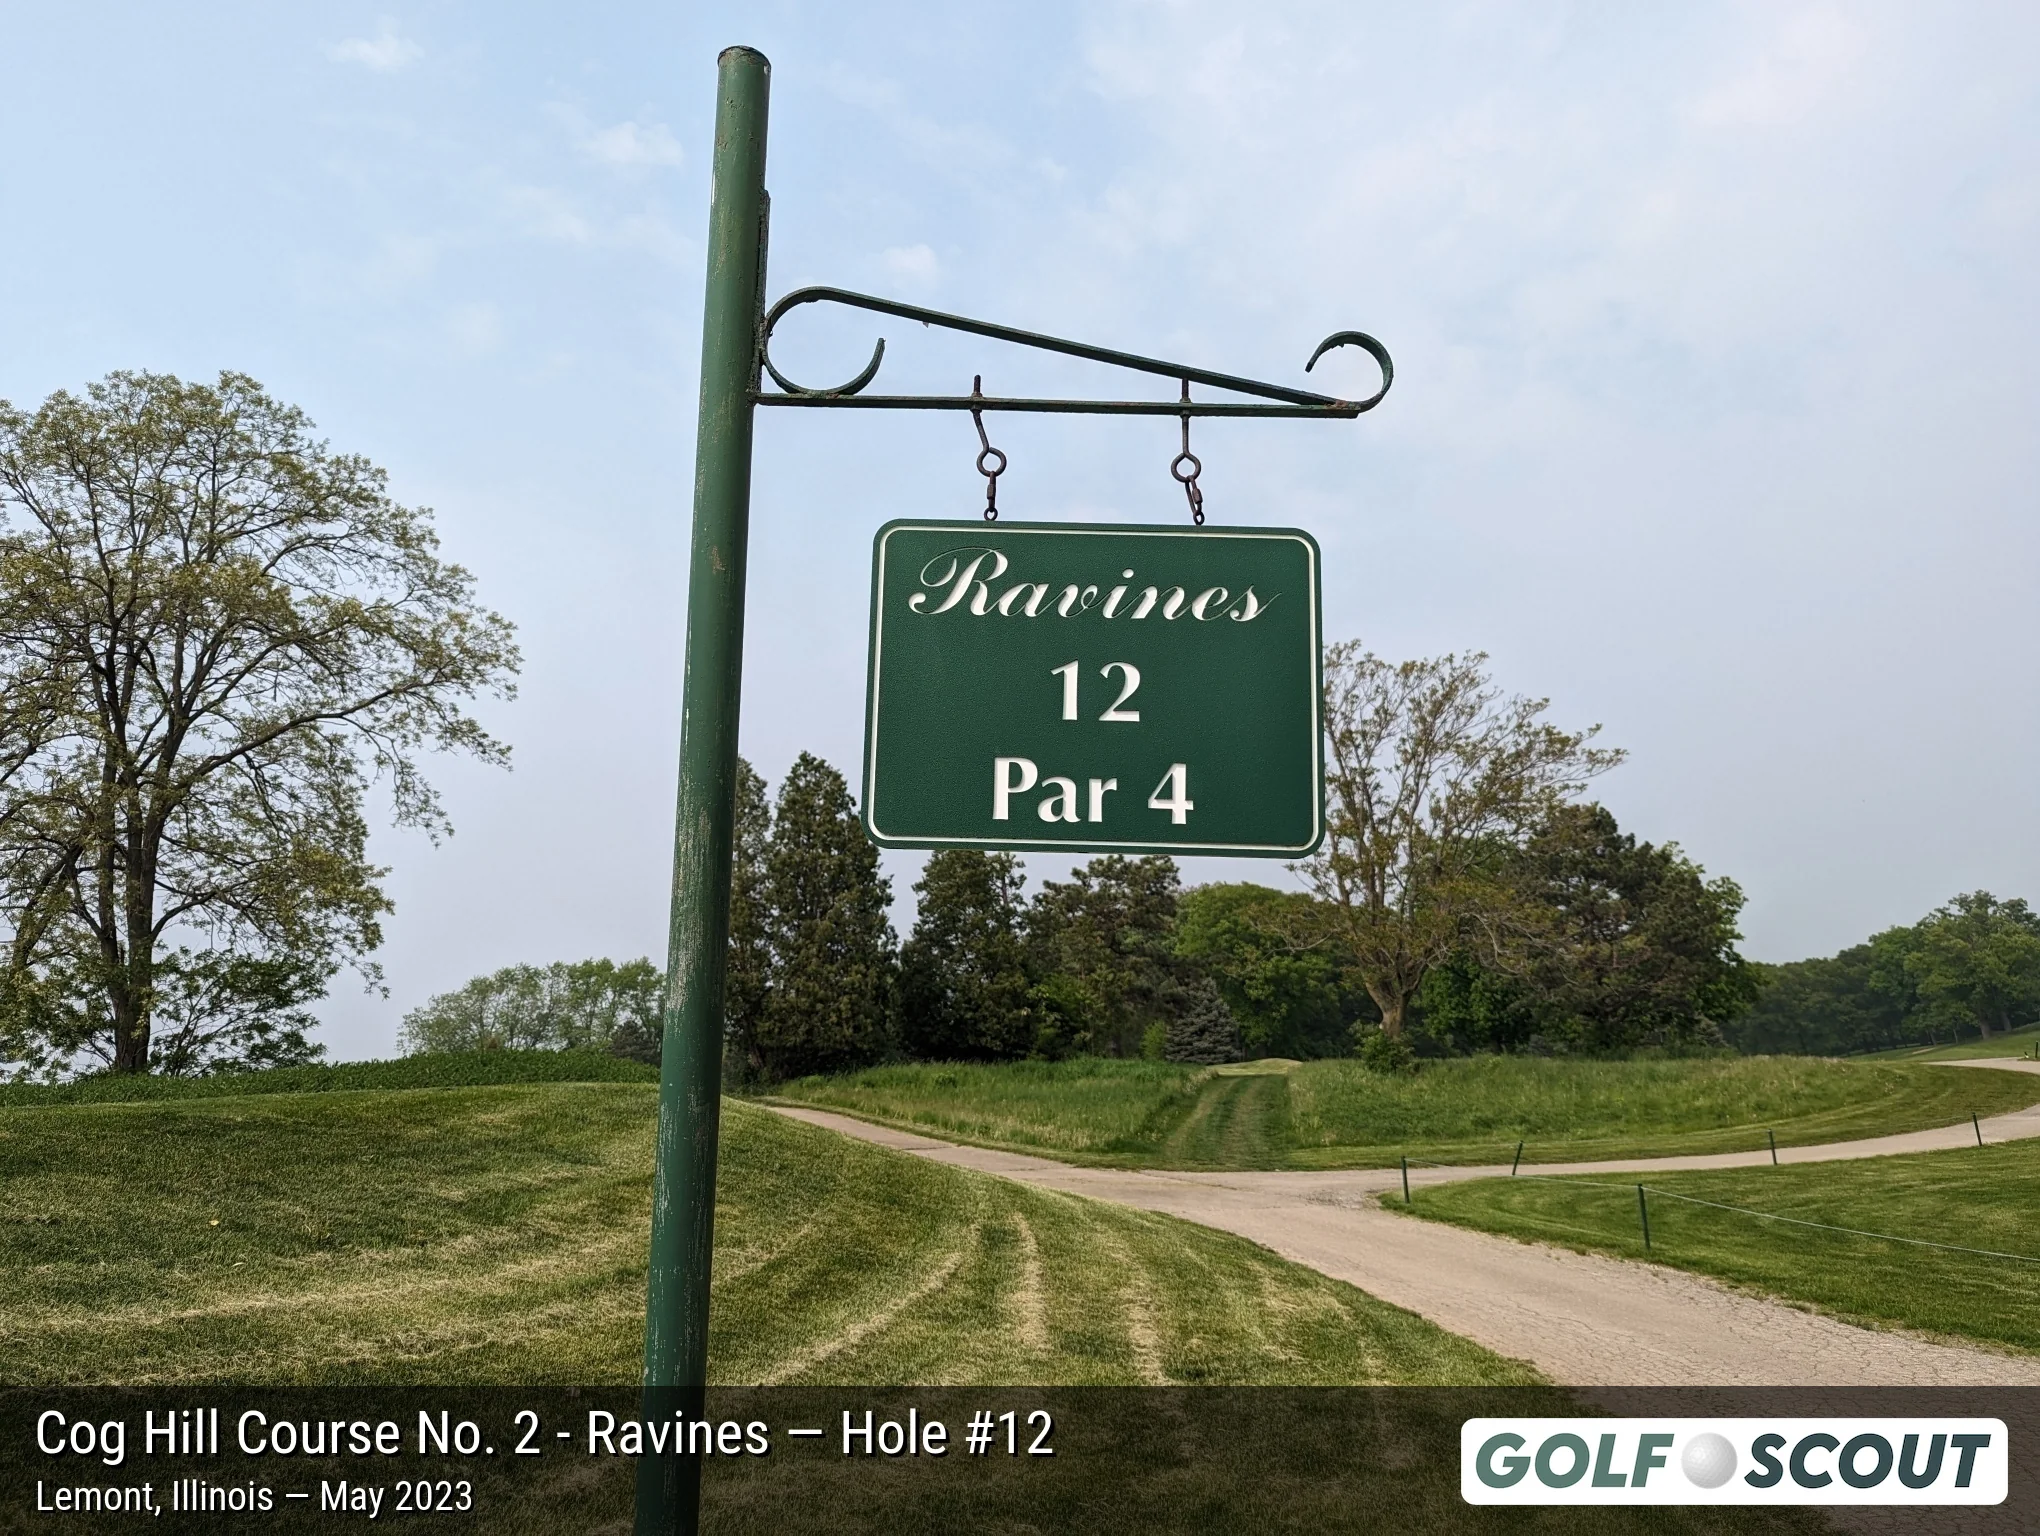
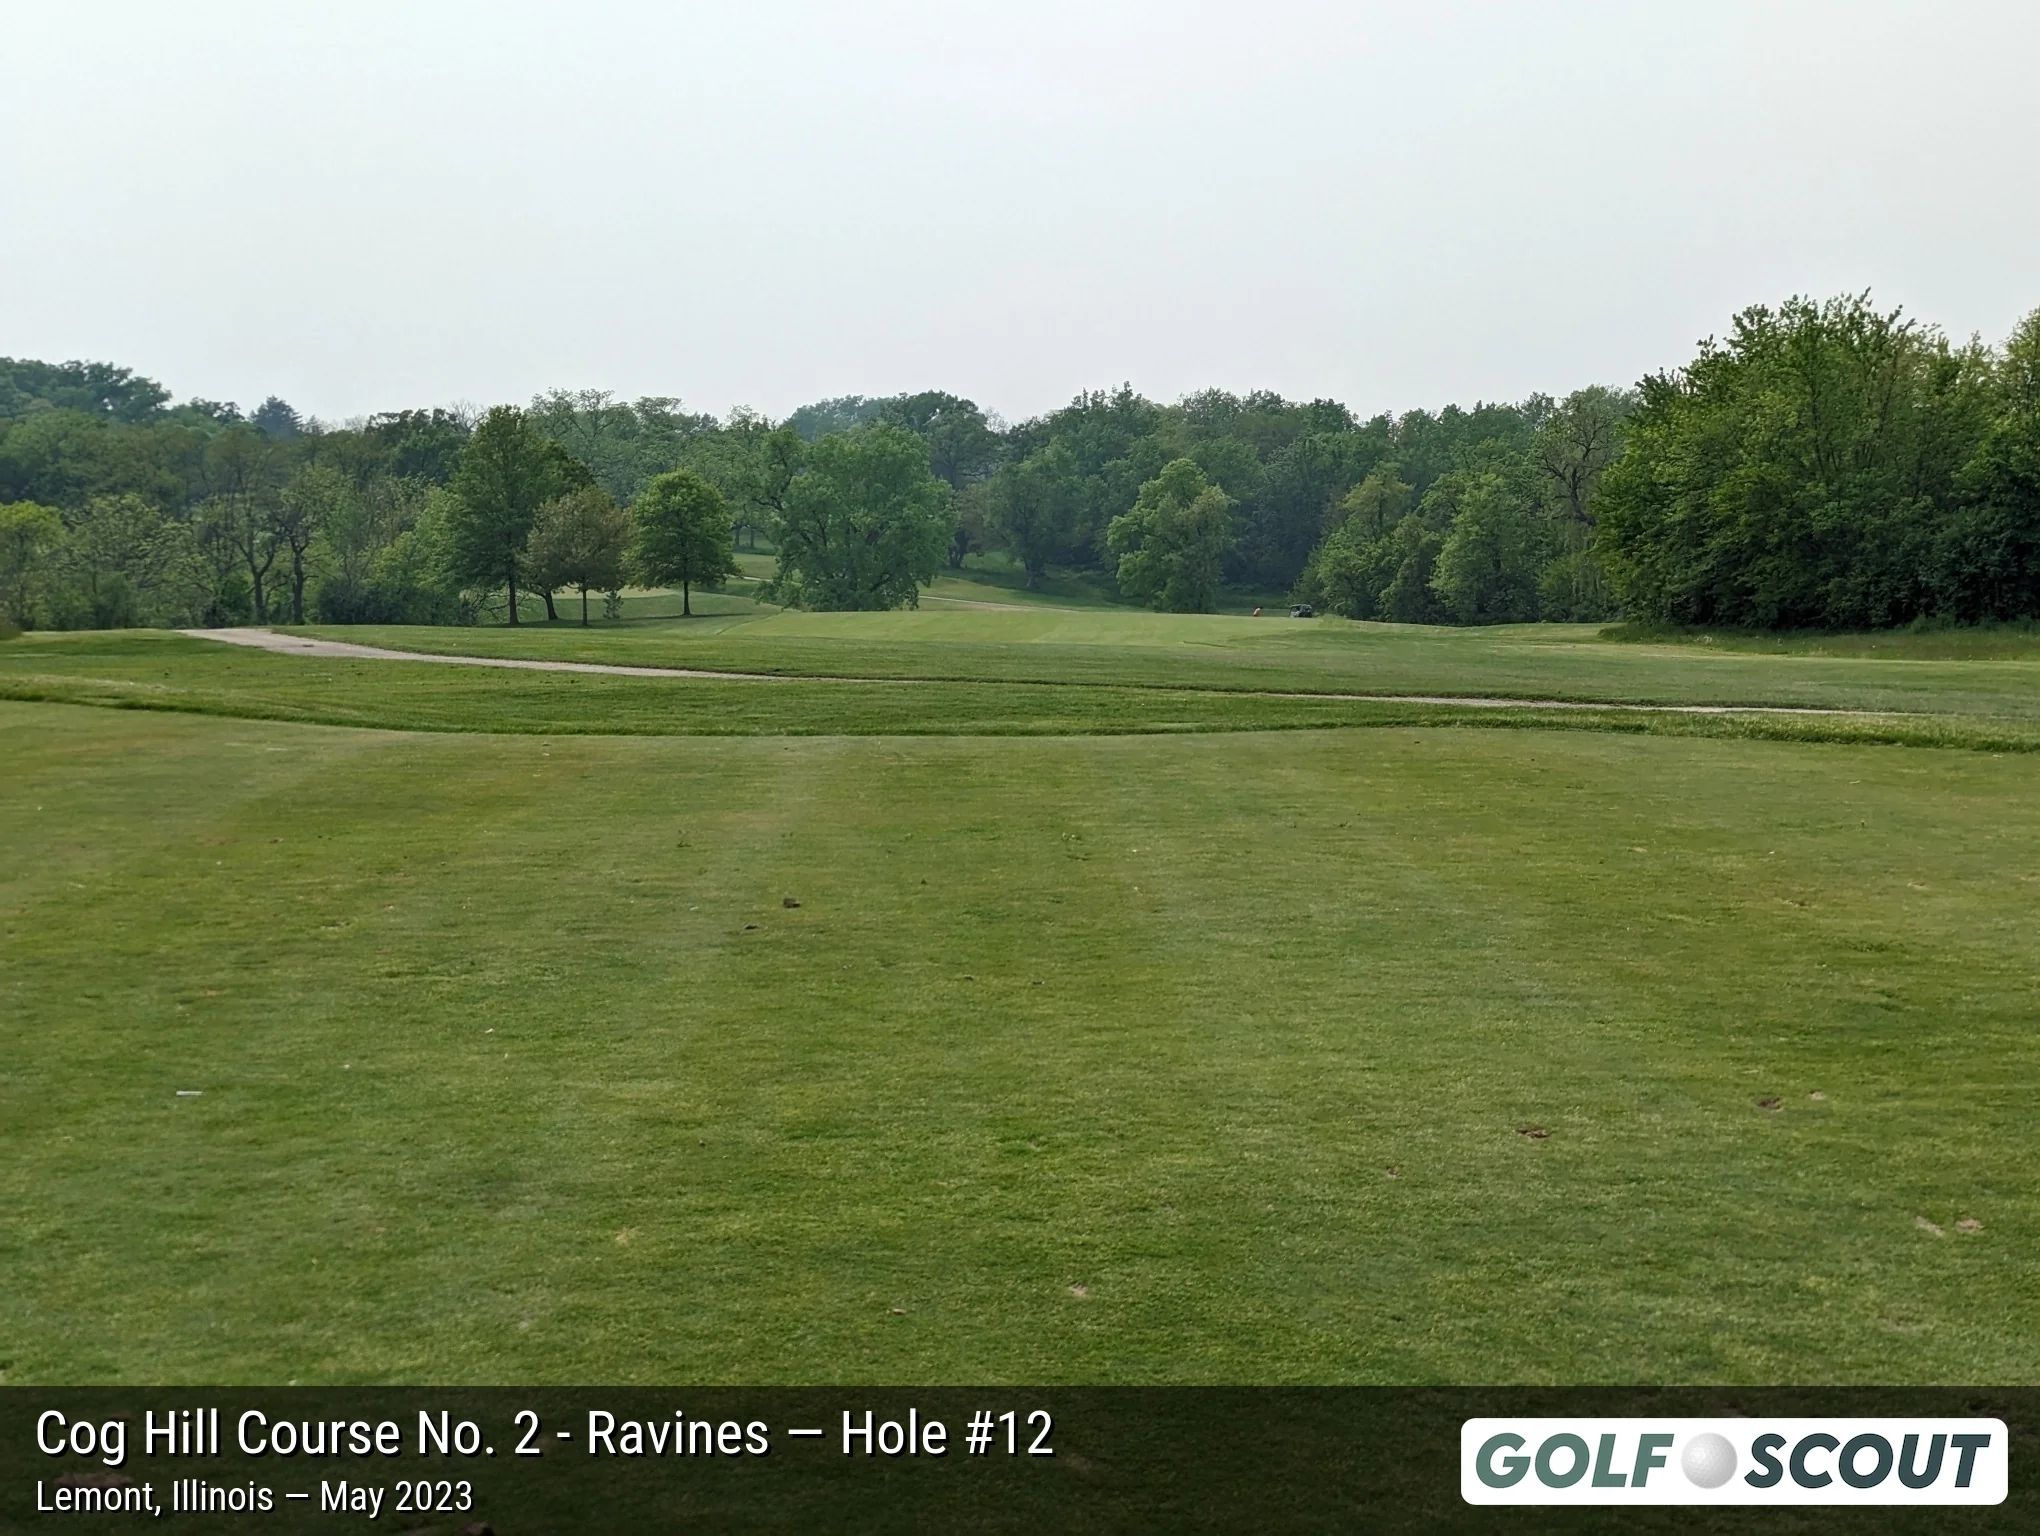
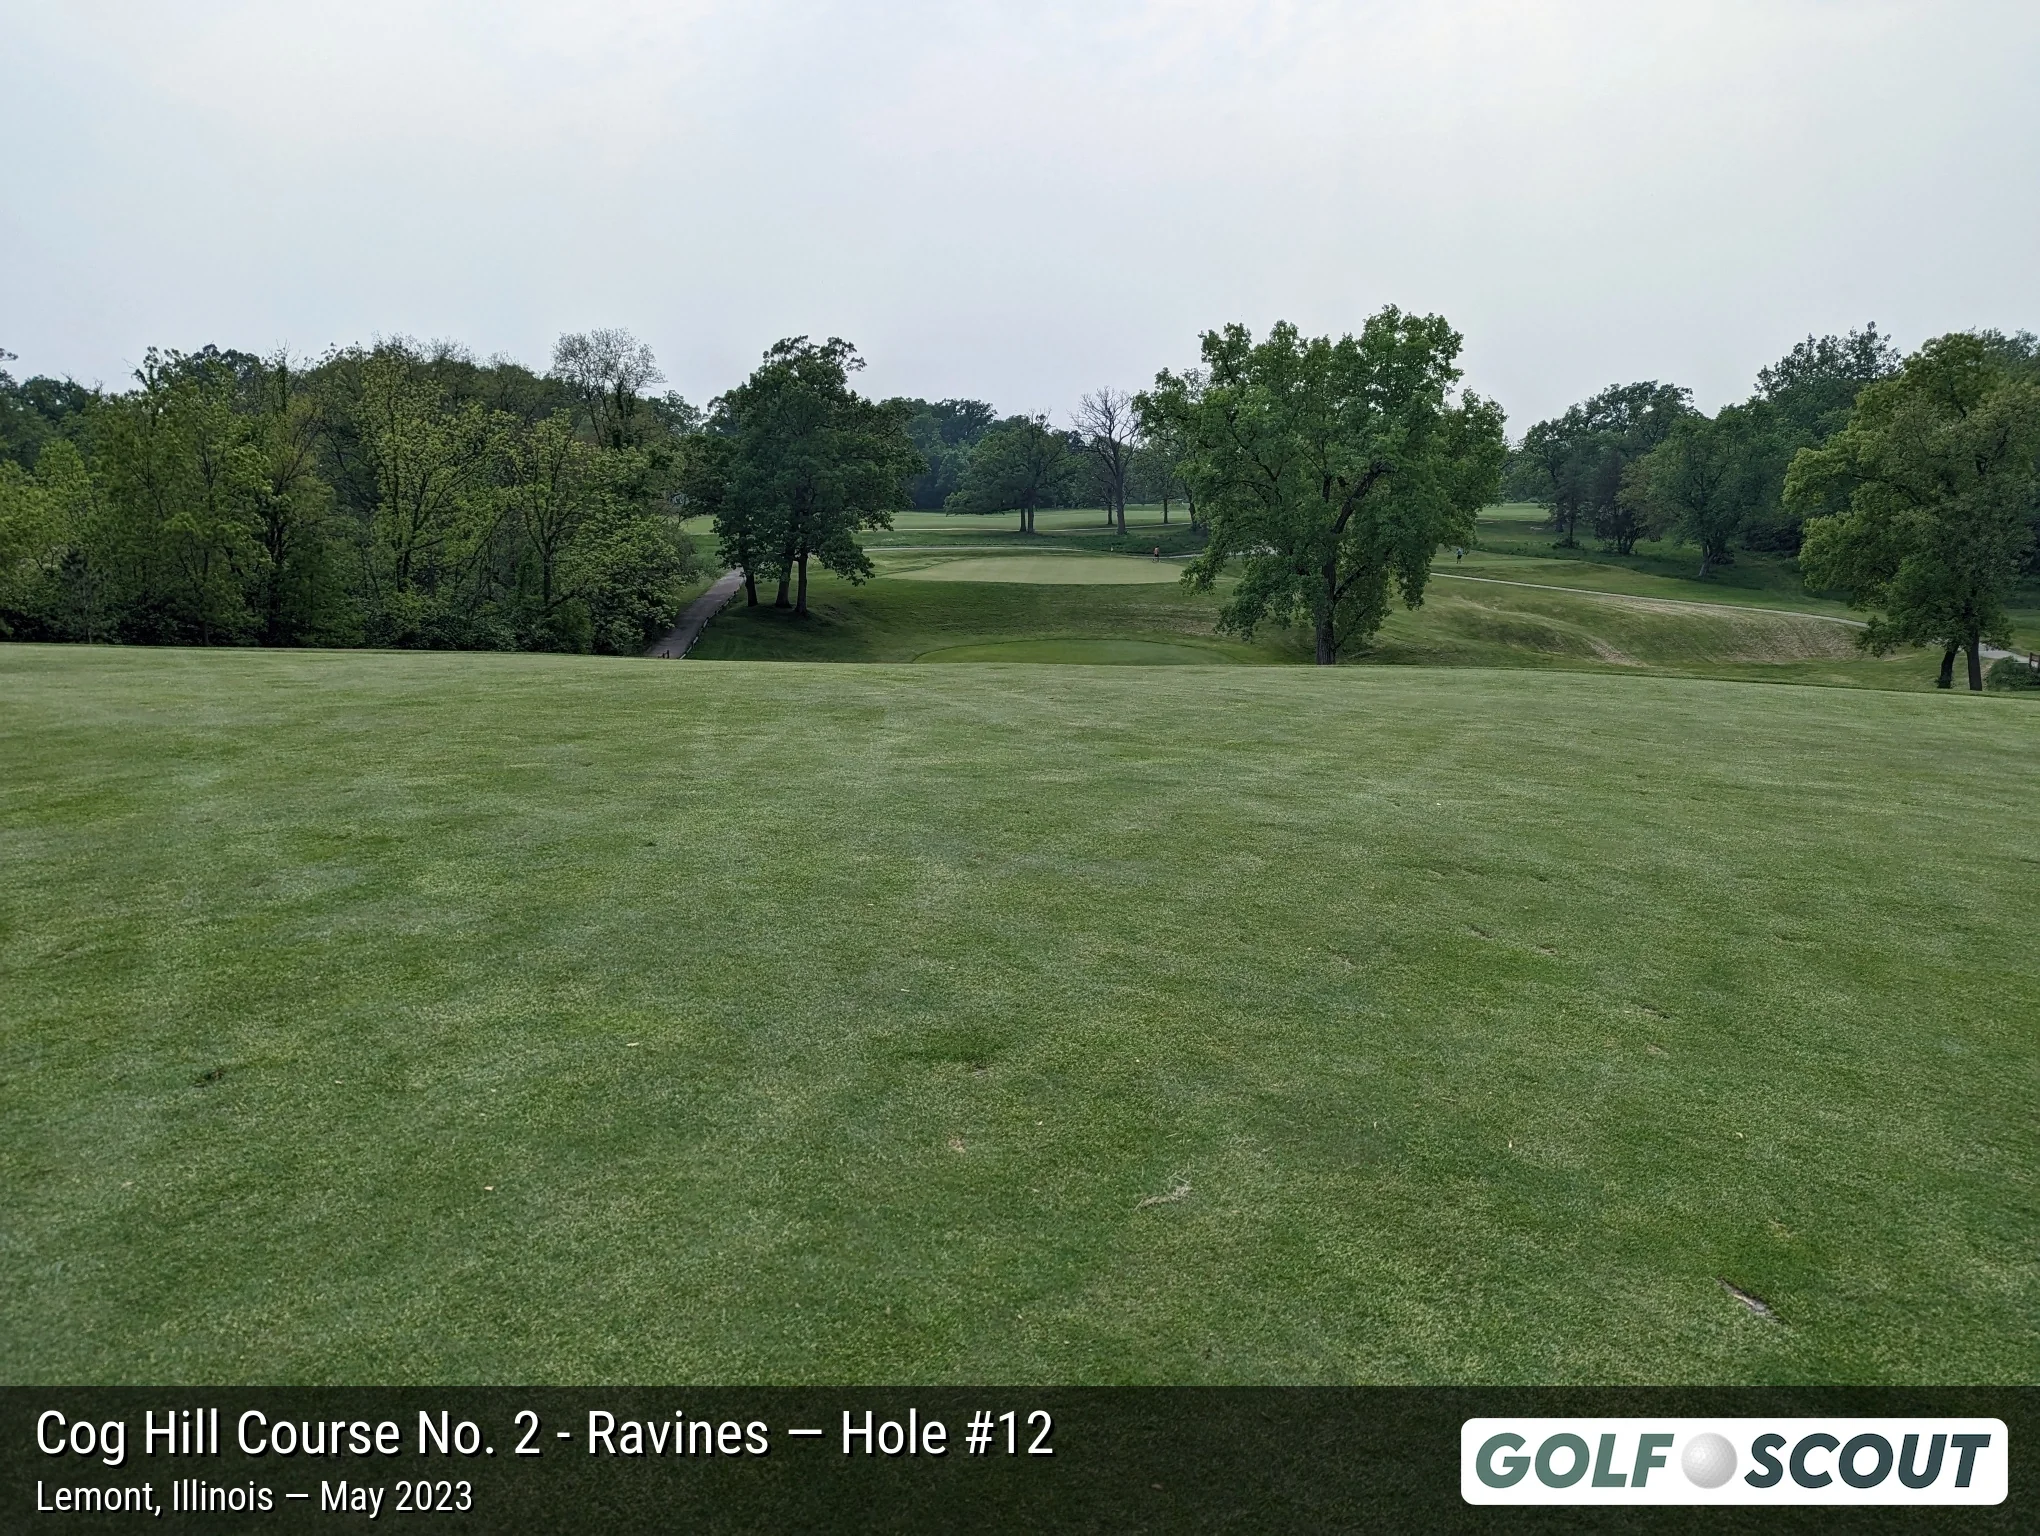
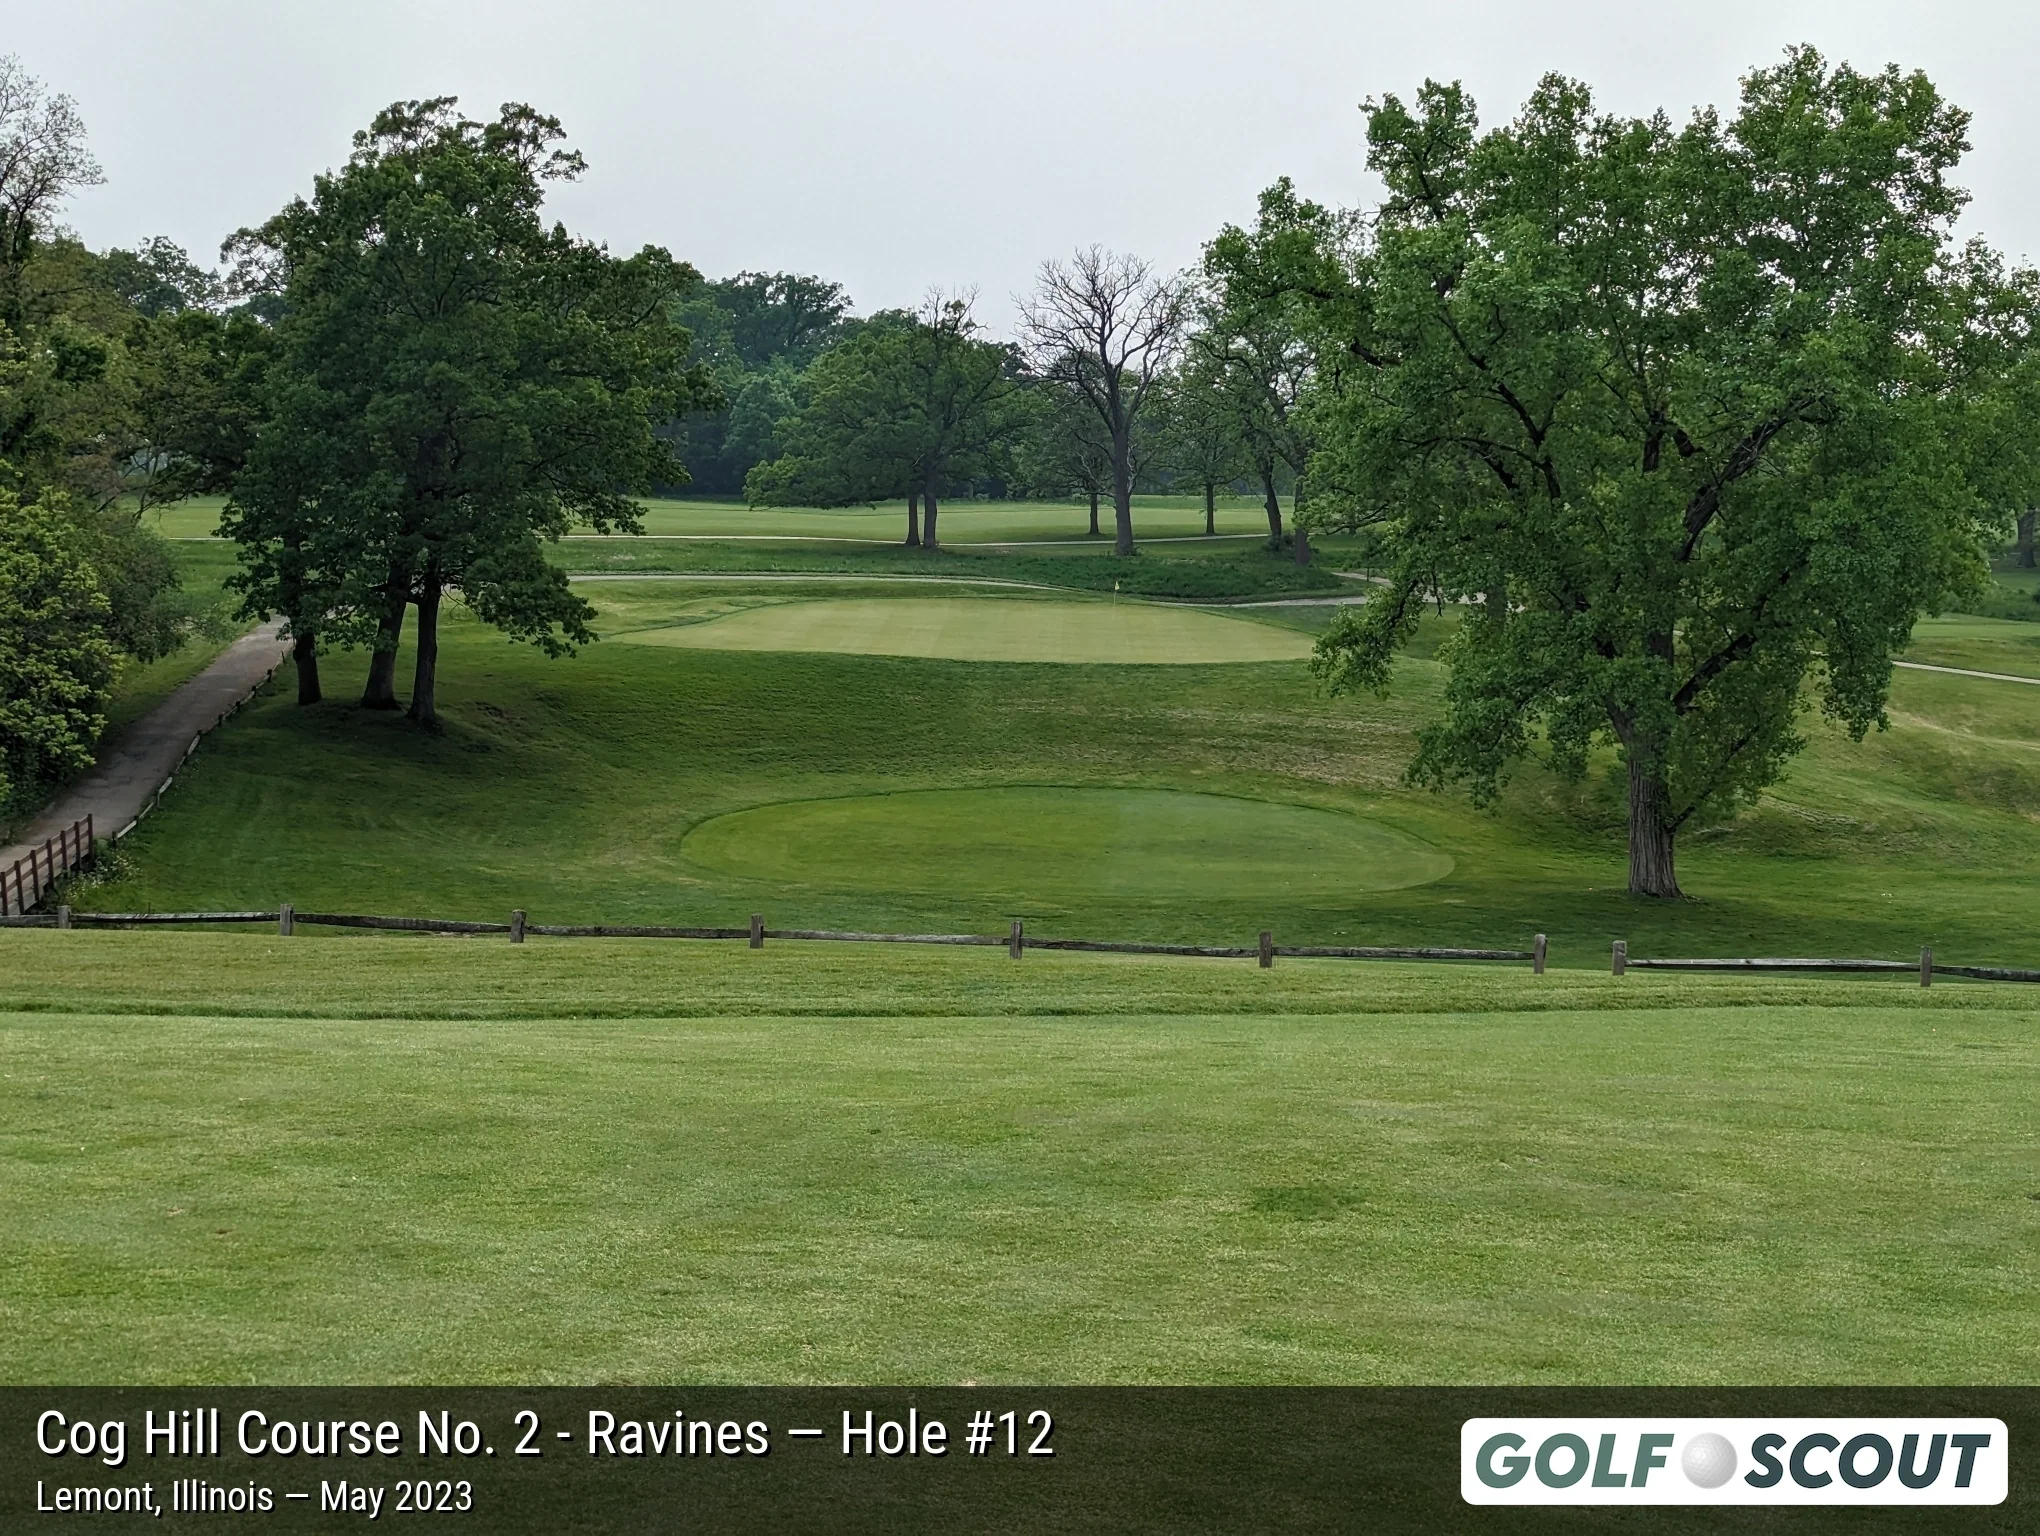
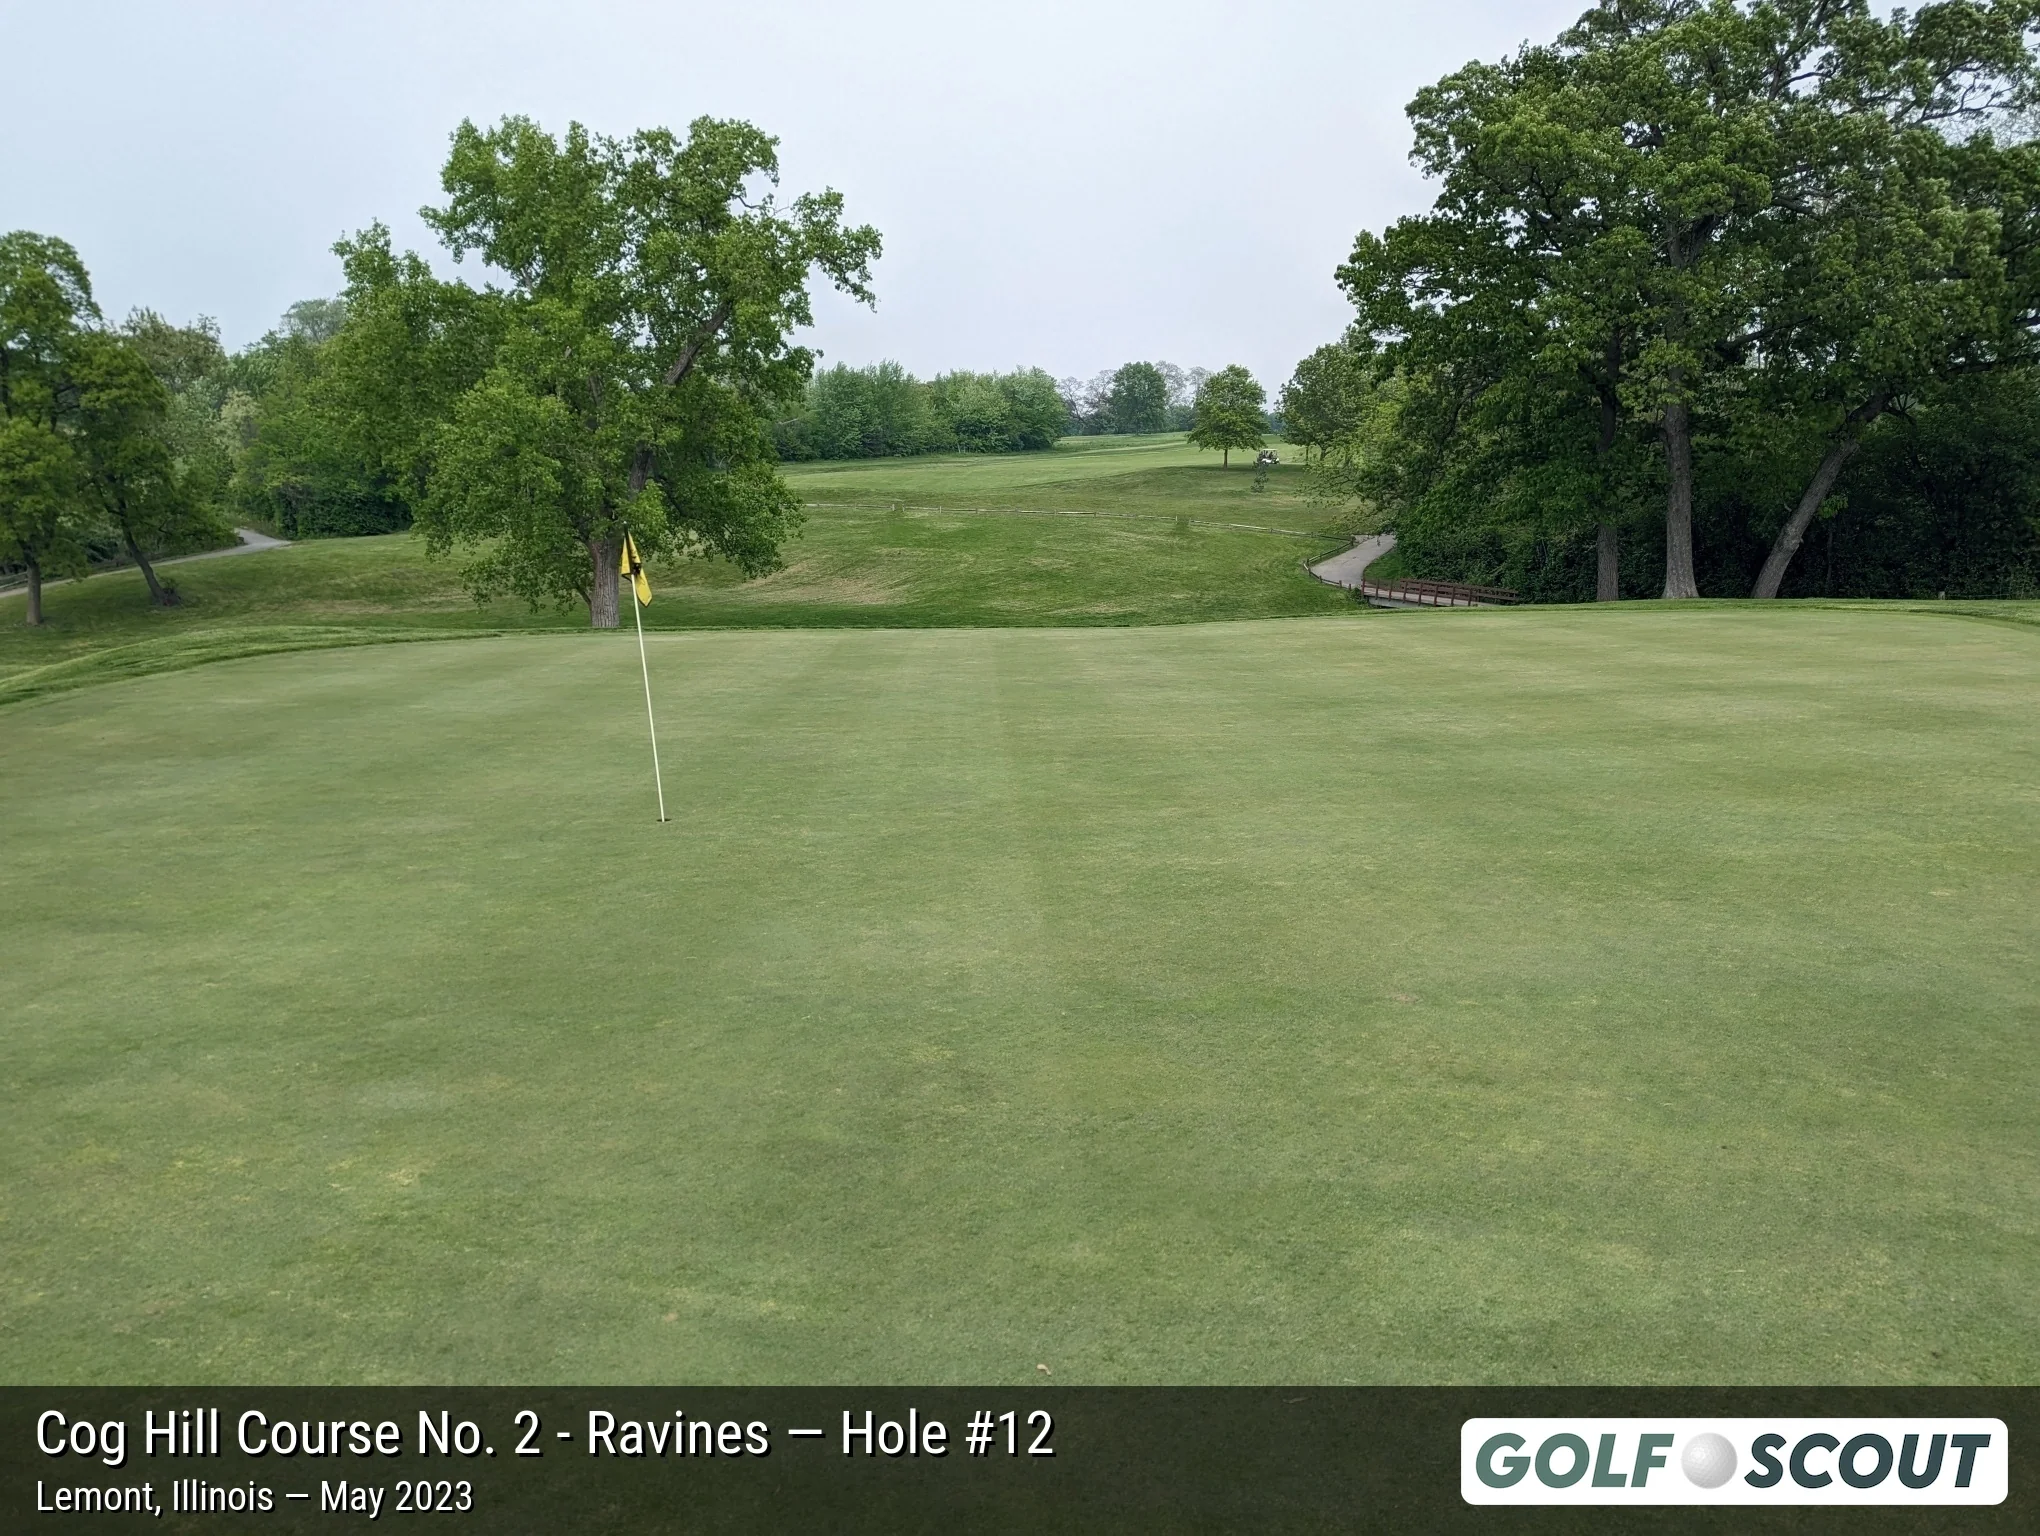
Last photo is typically a reverse angle from behind the green.
Hole 13
6 photos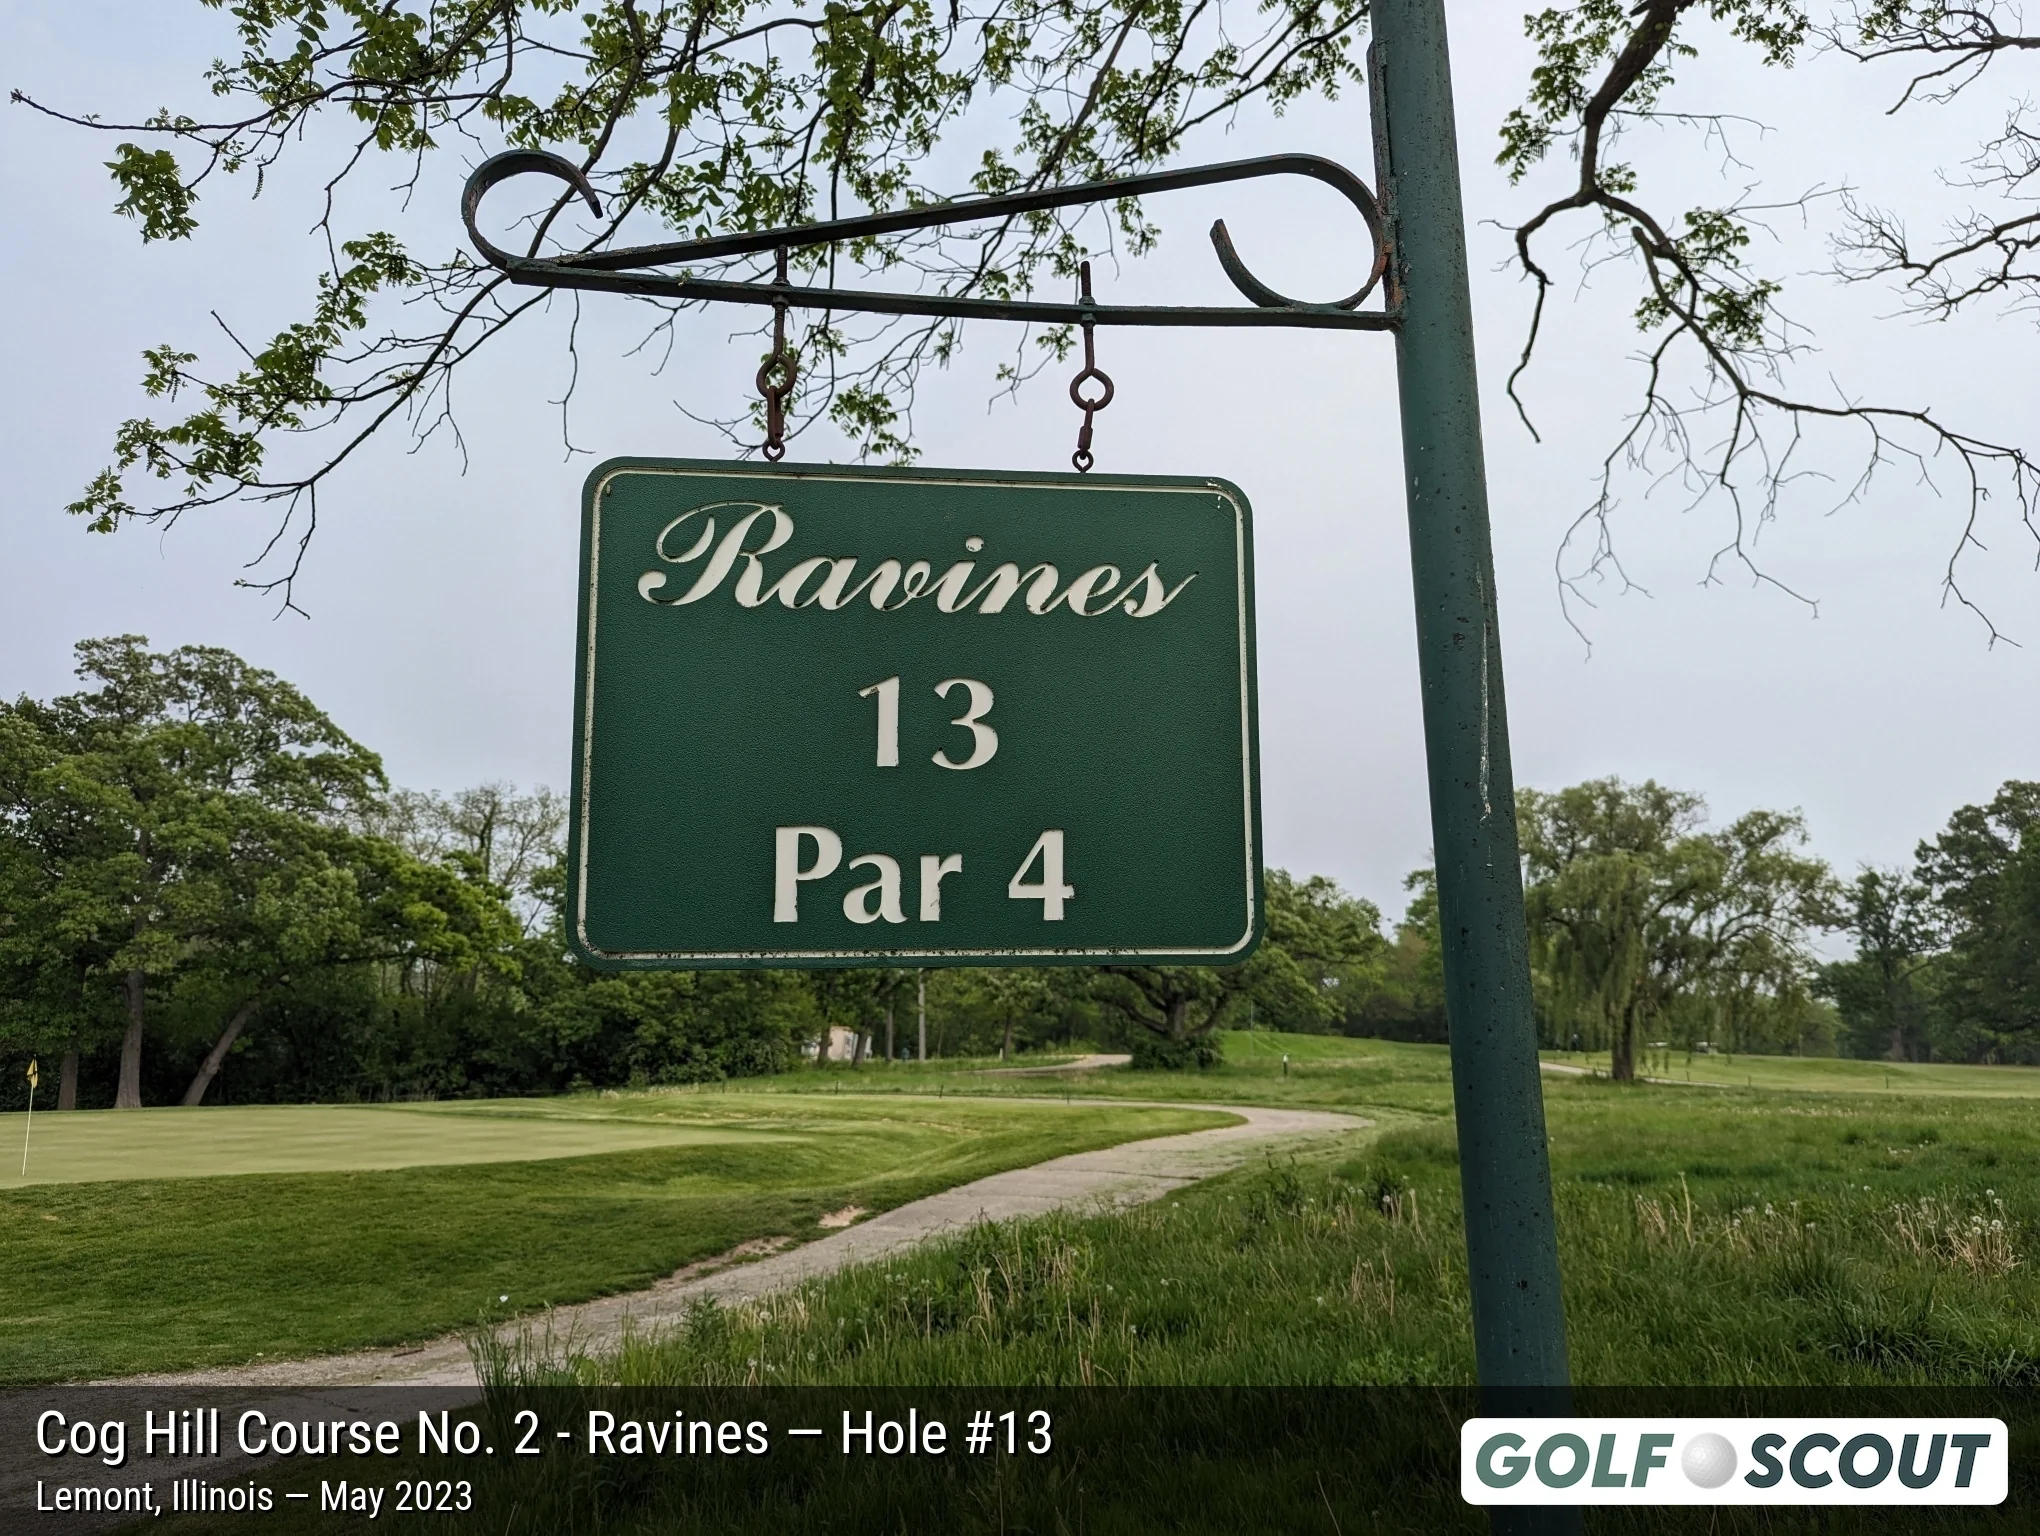
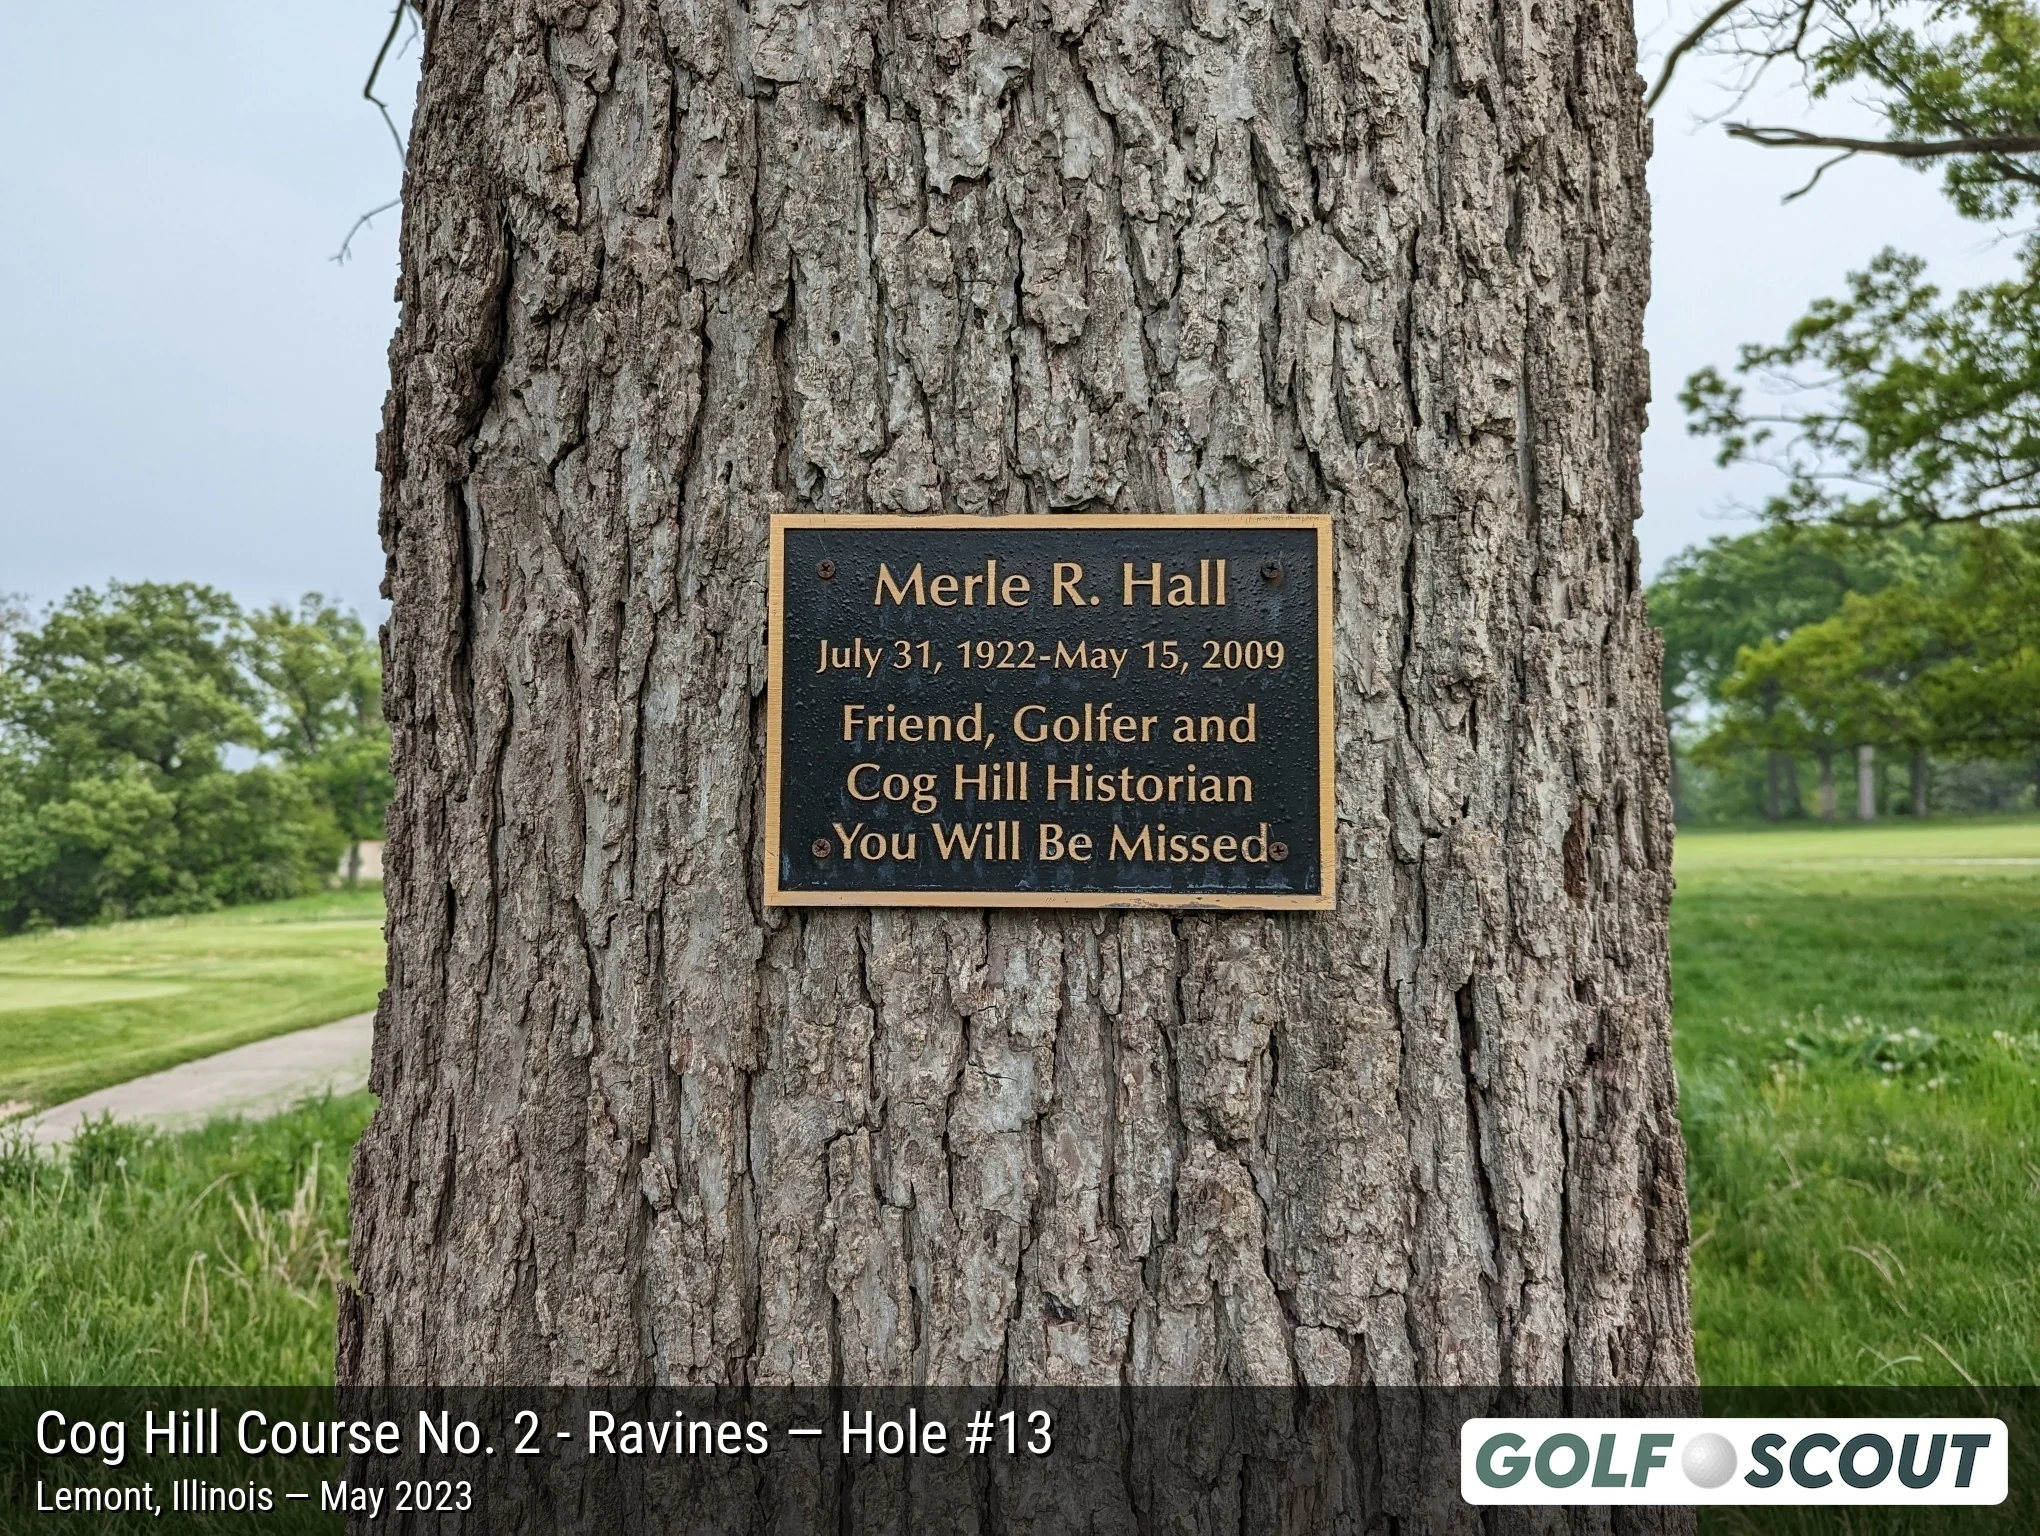
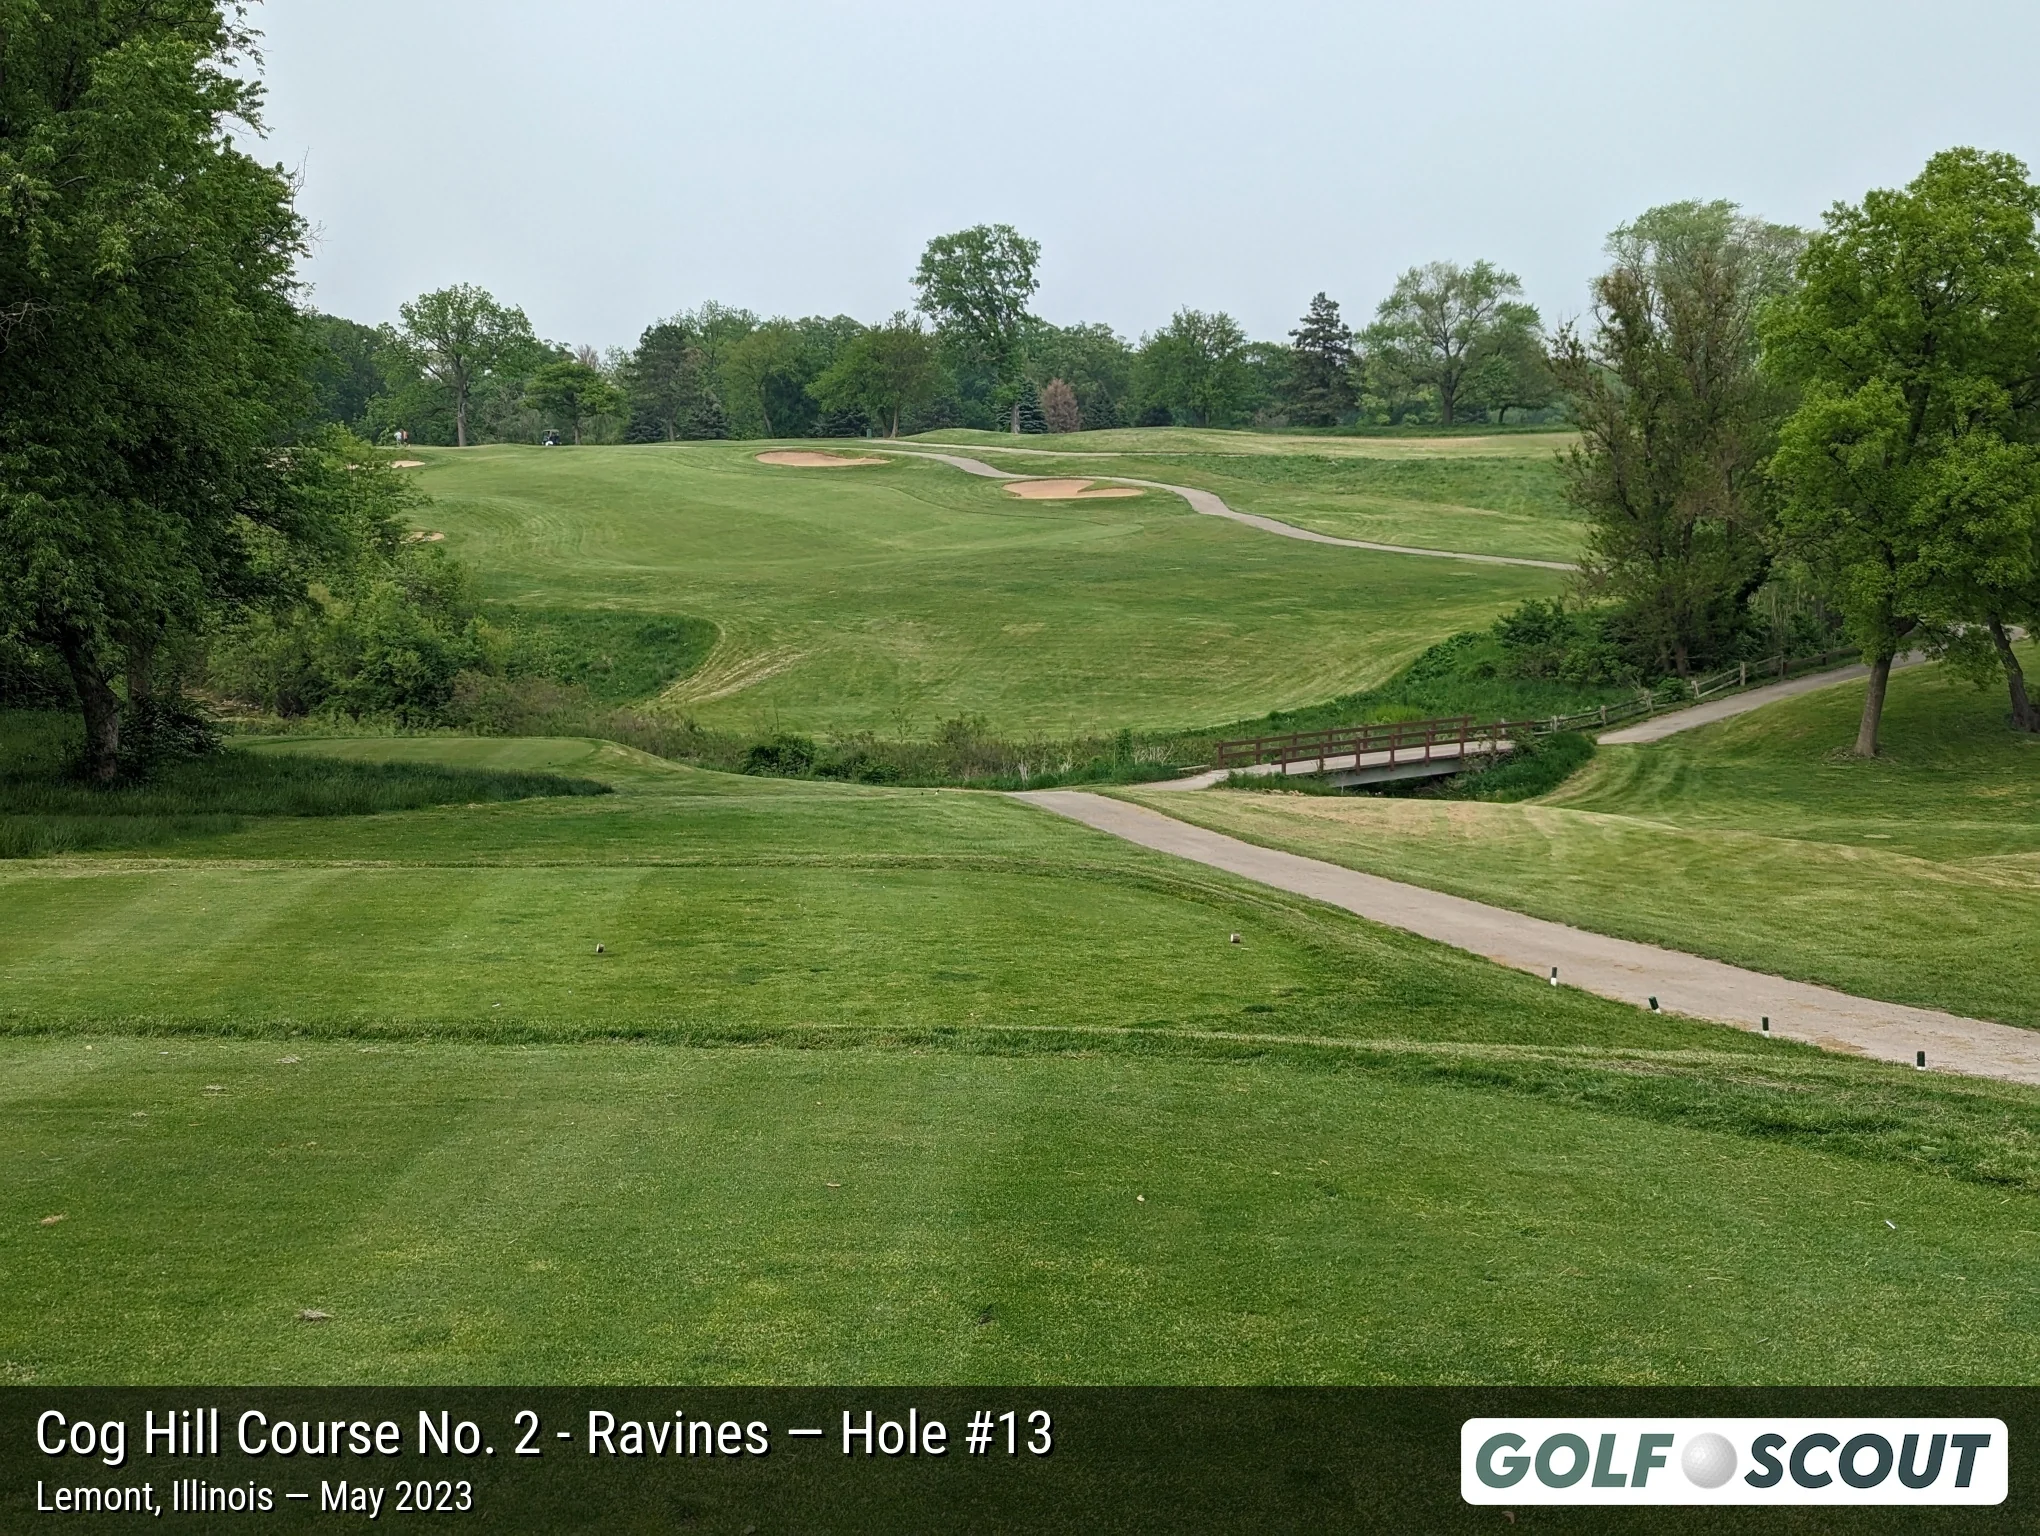
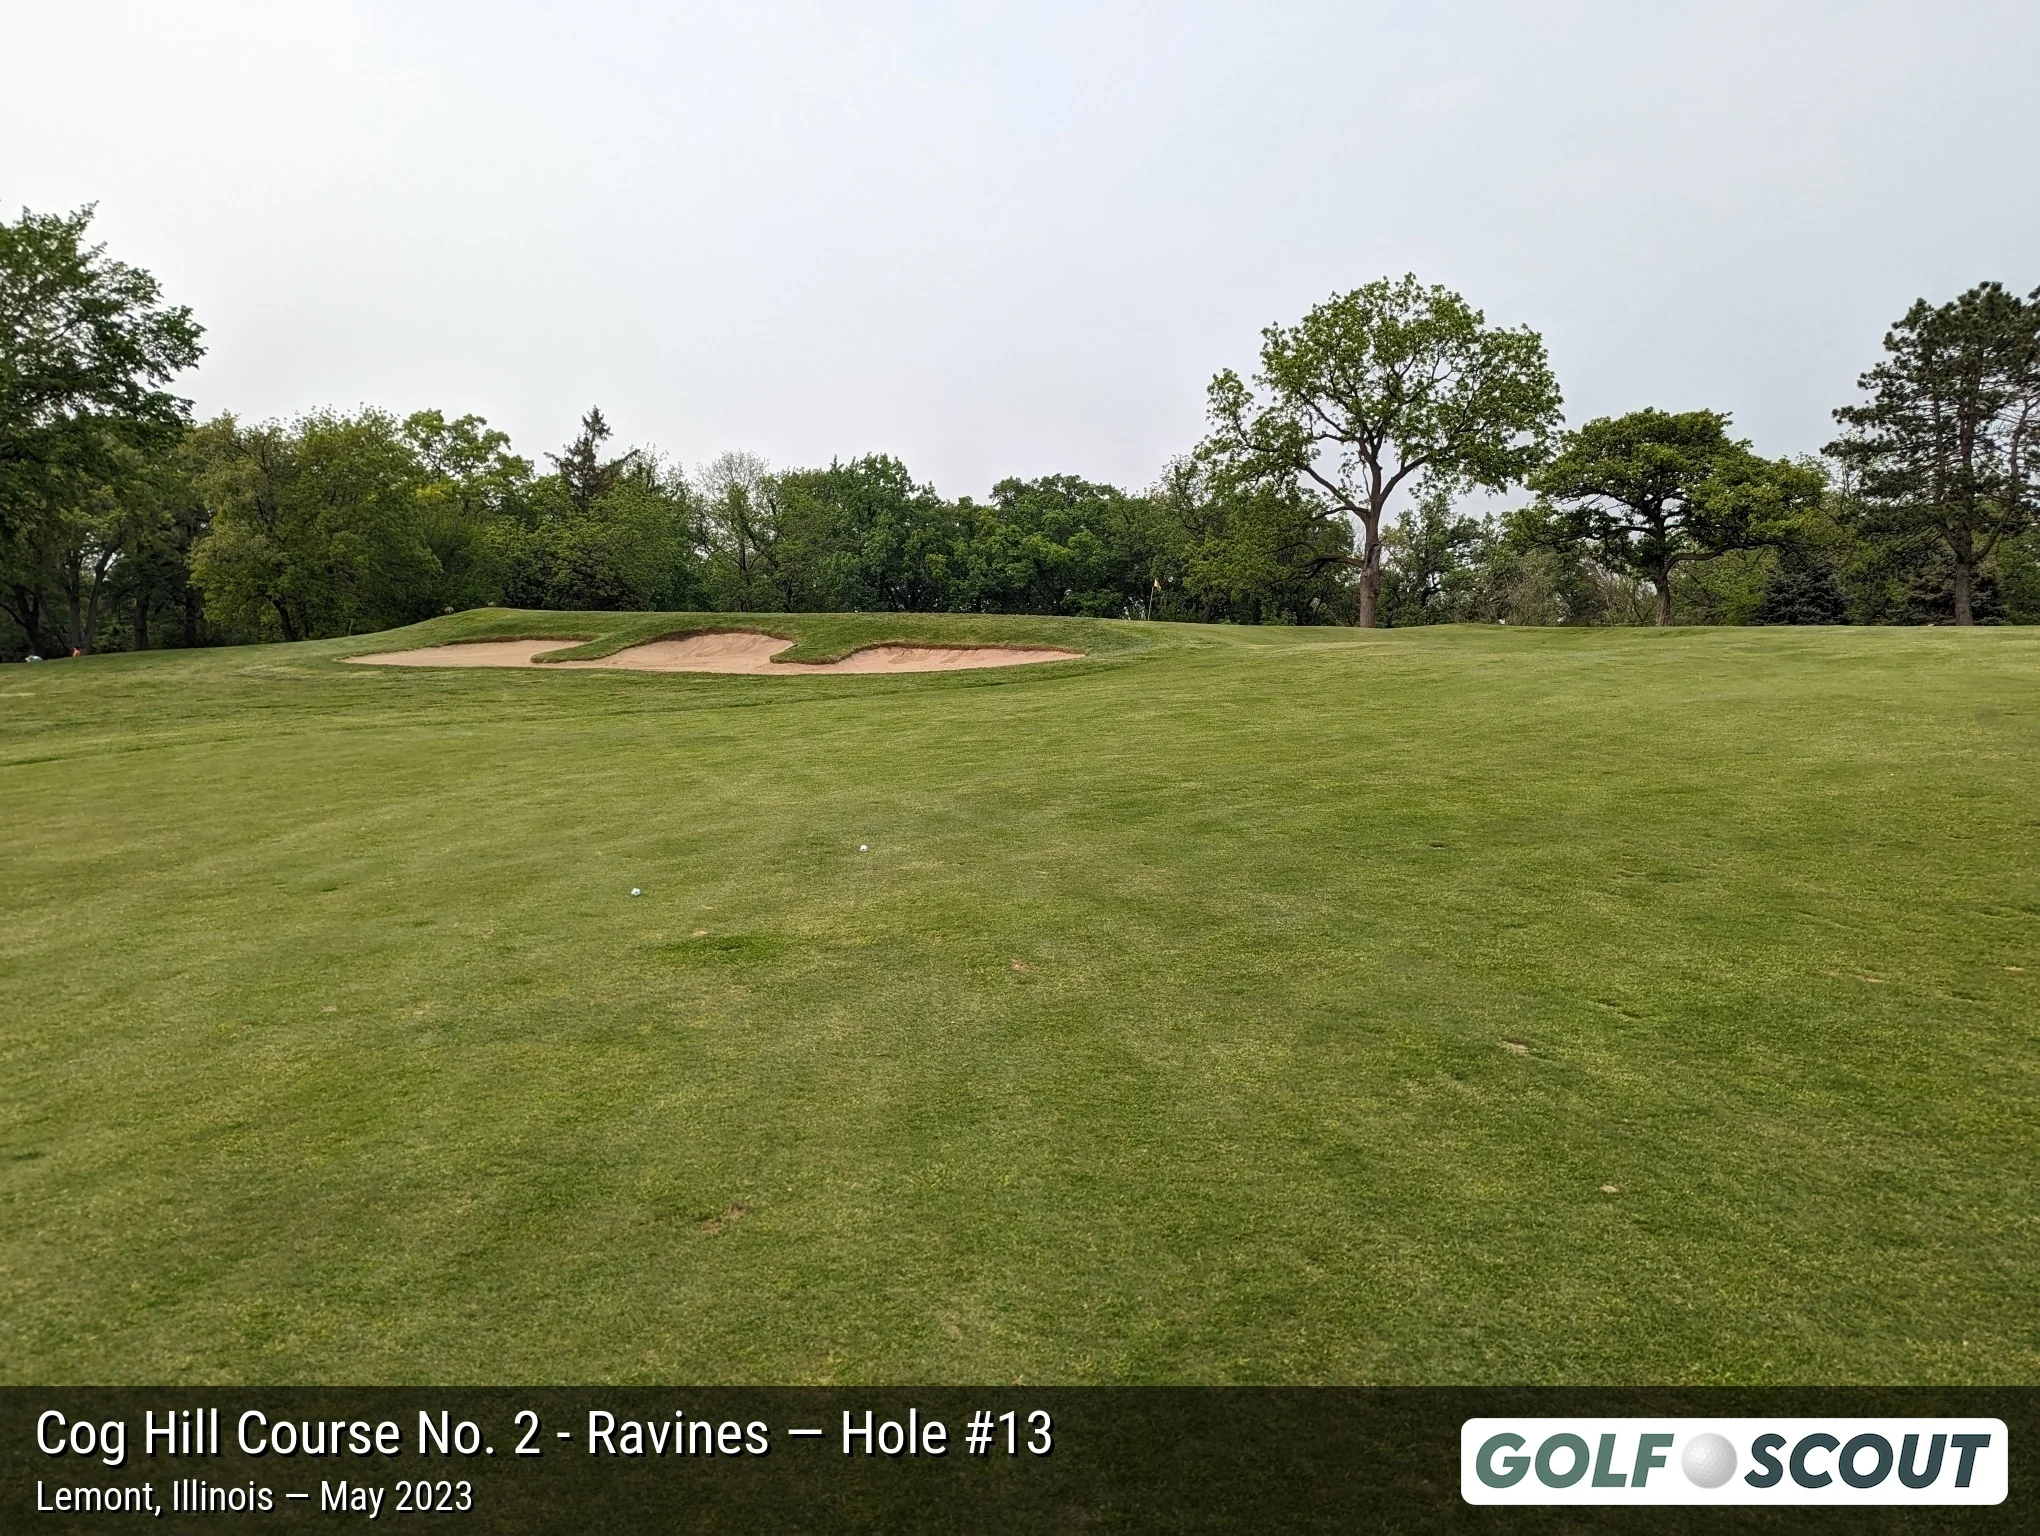
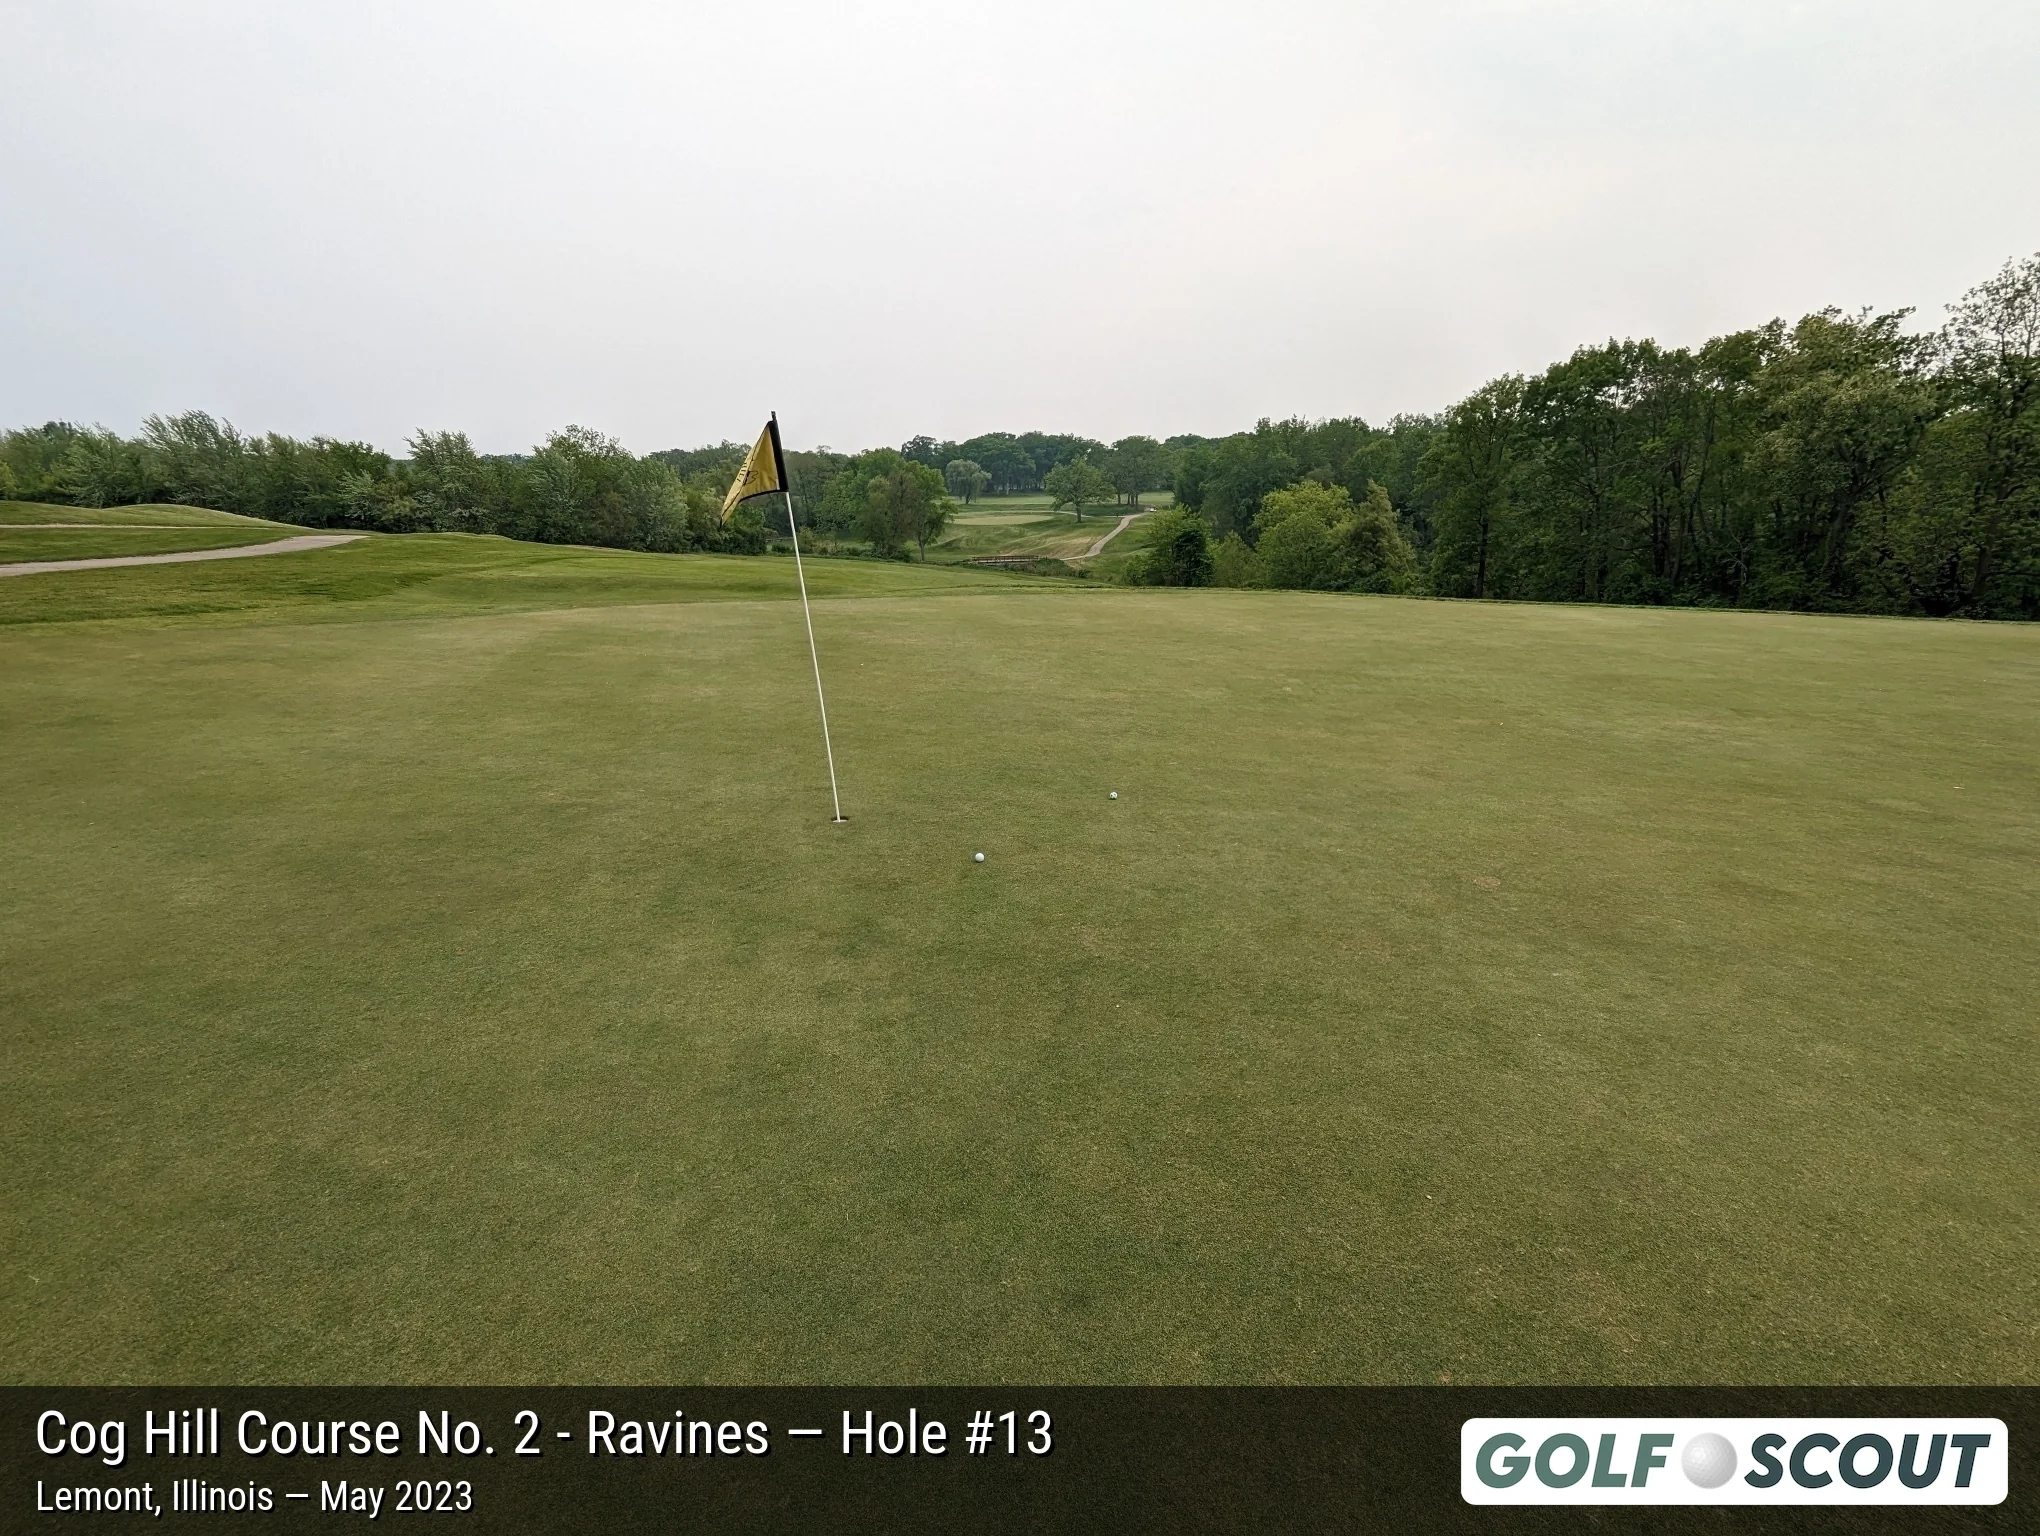
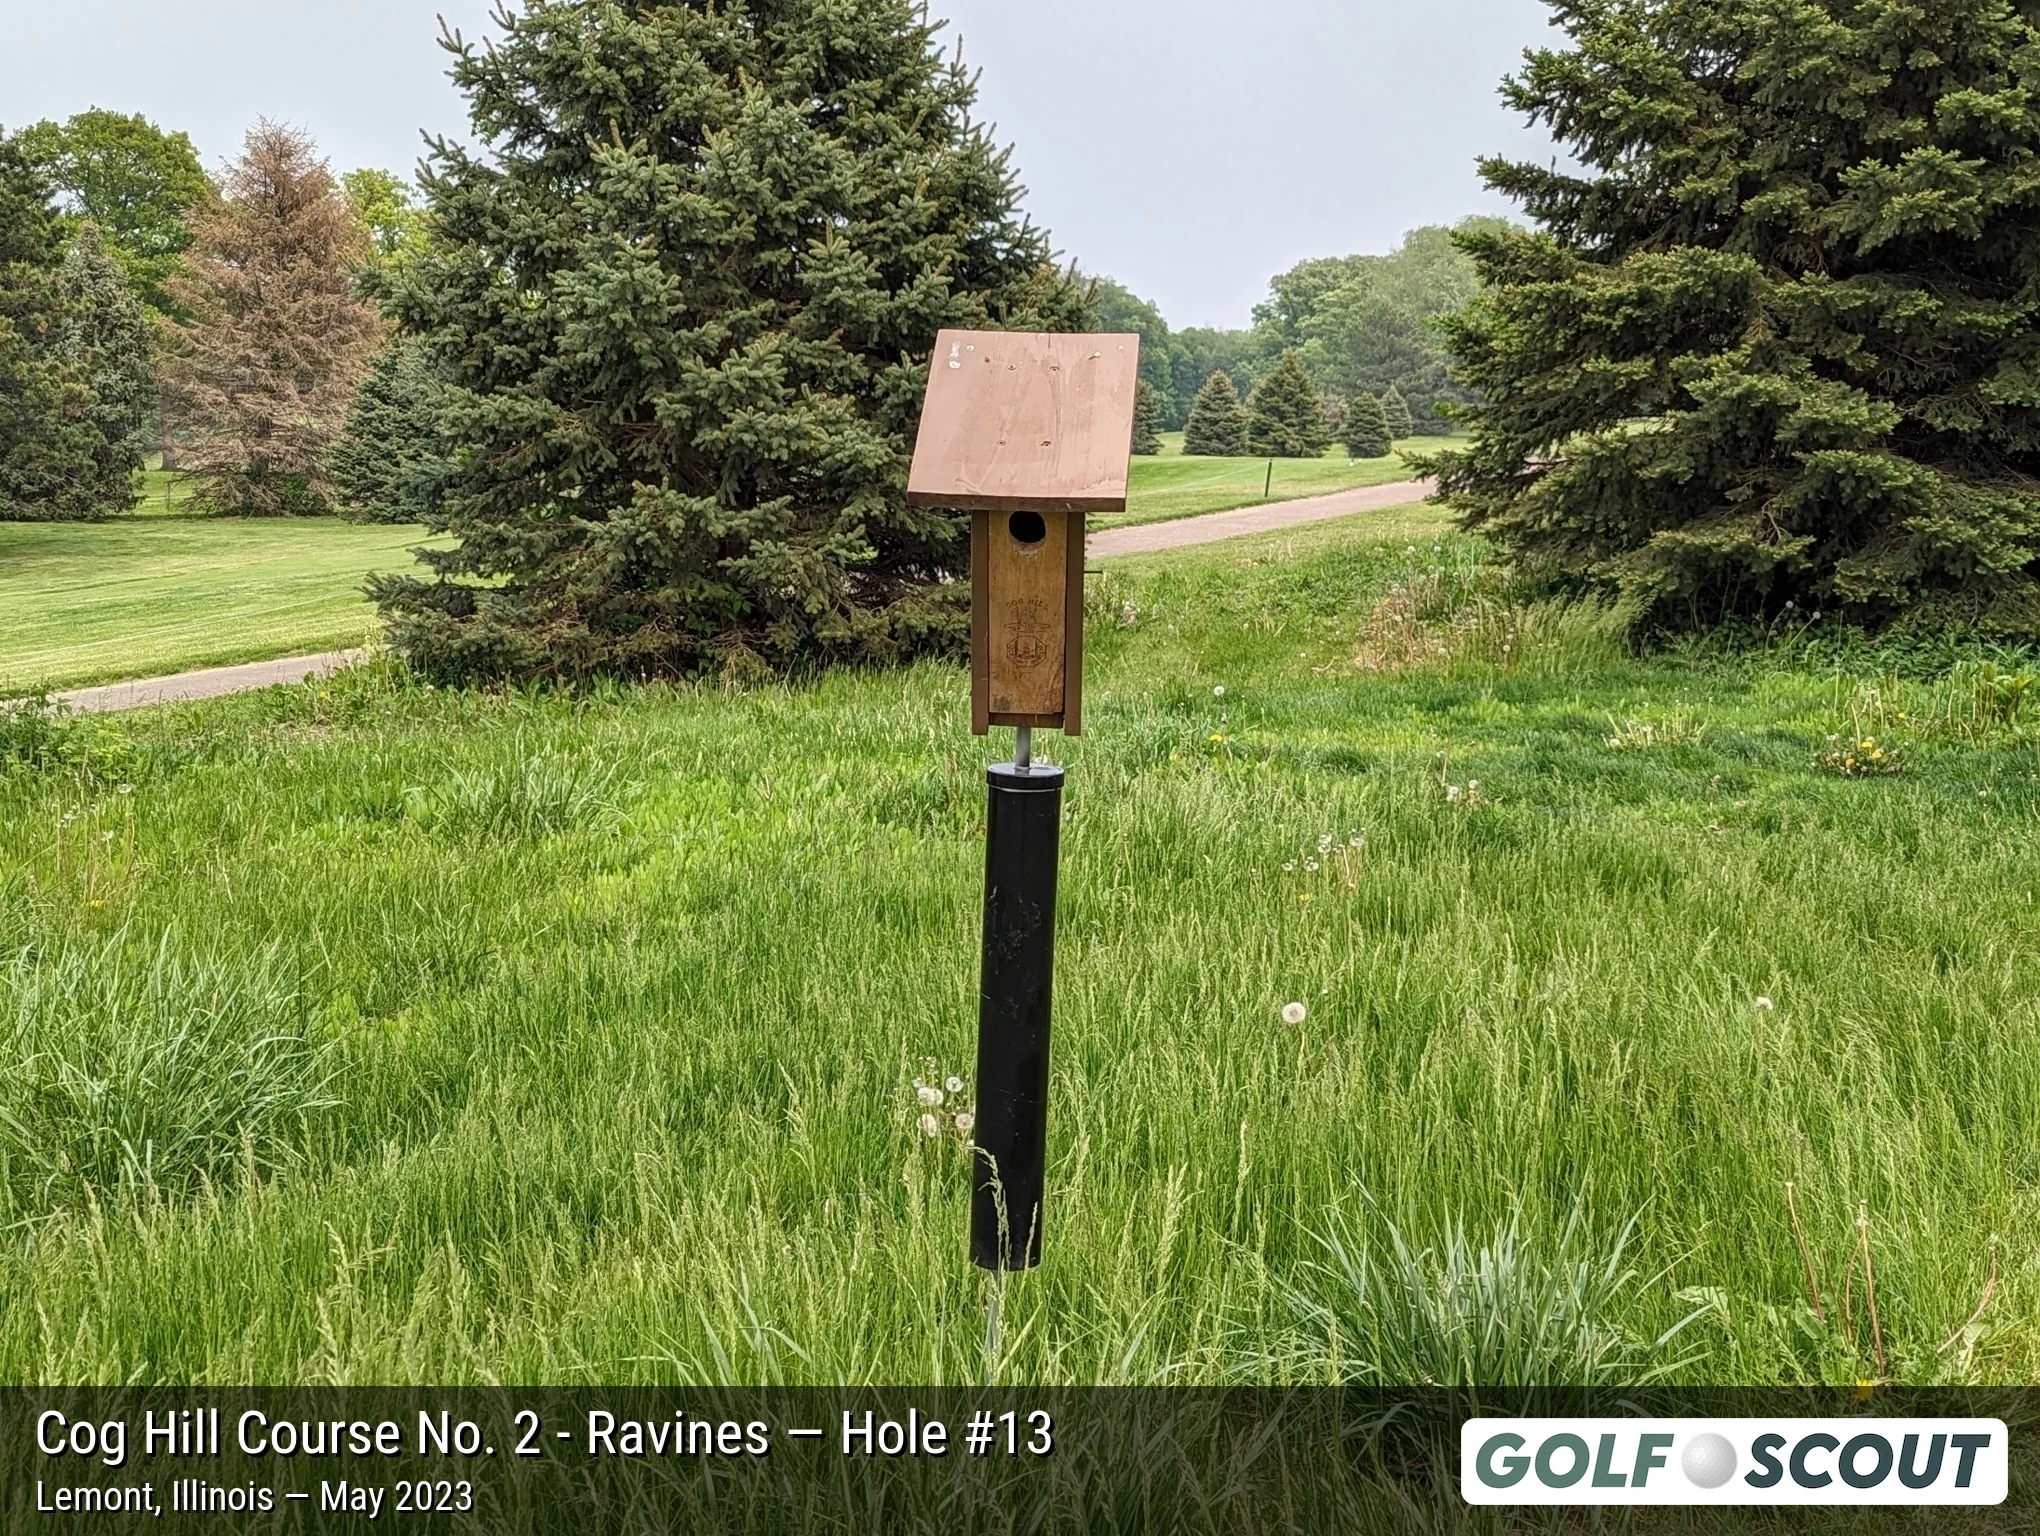
Last photo is typically a reverse angle from behind the green.
Hole 14
3 photos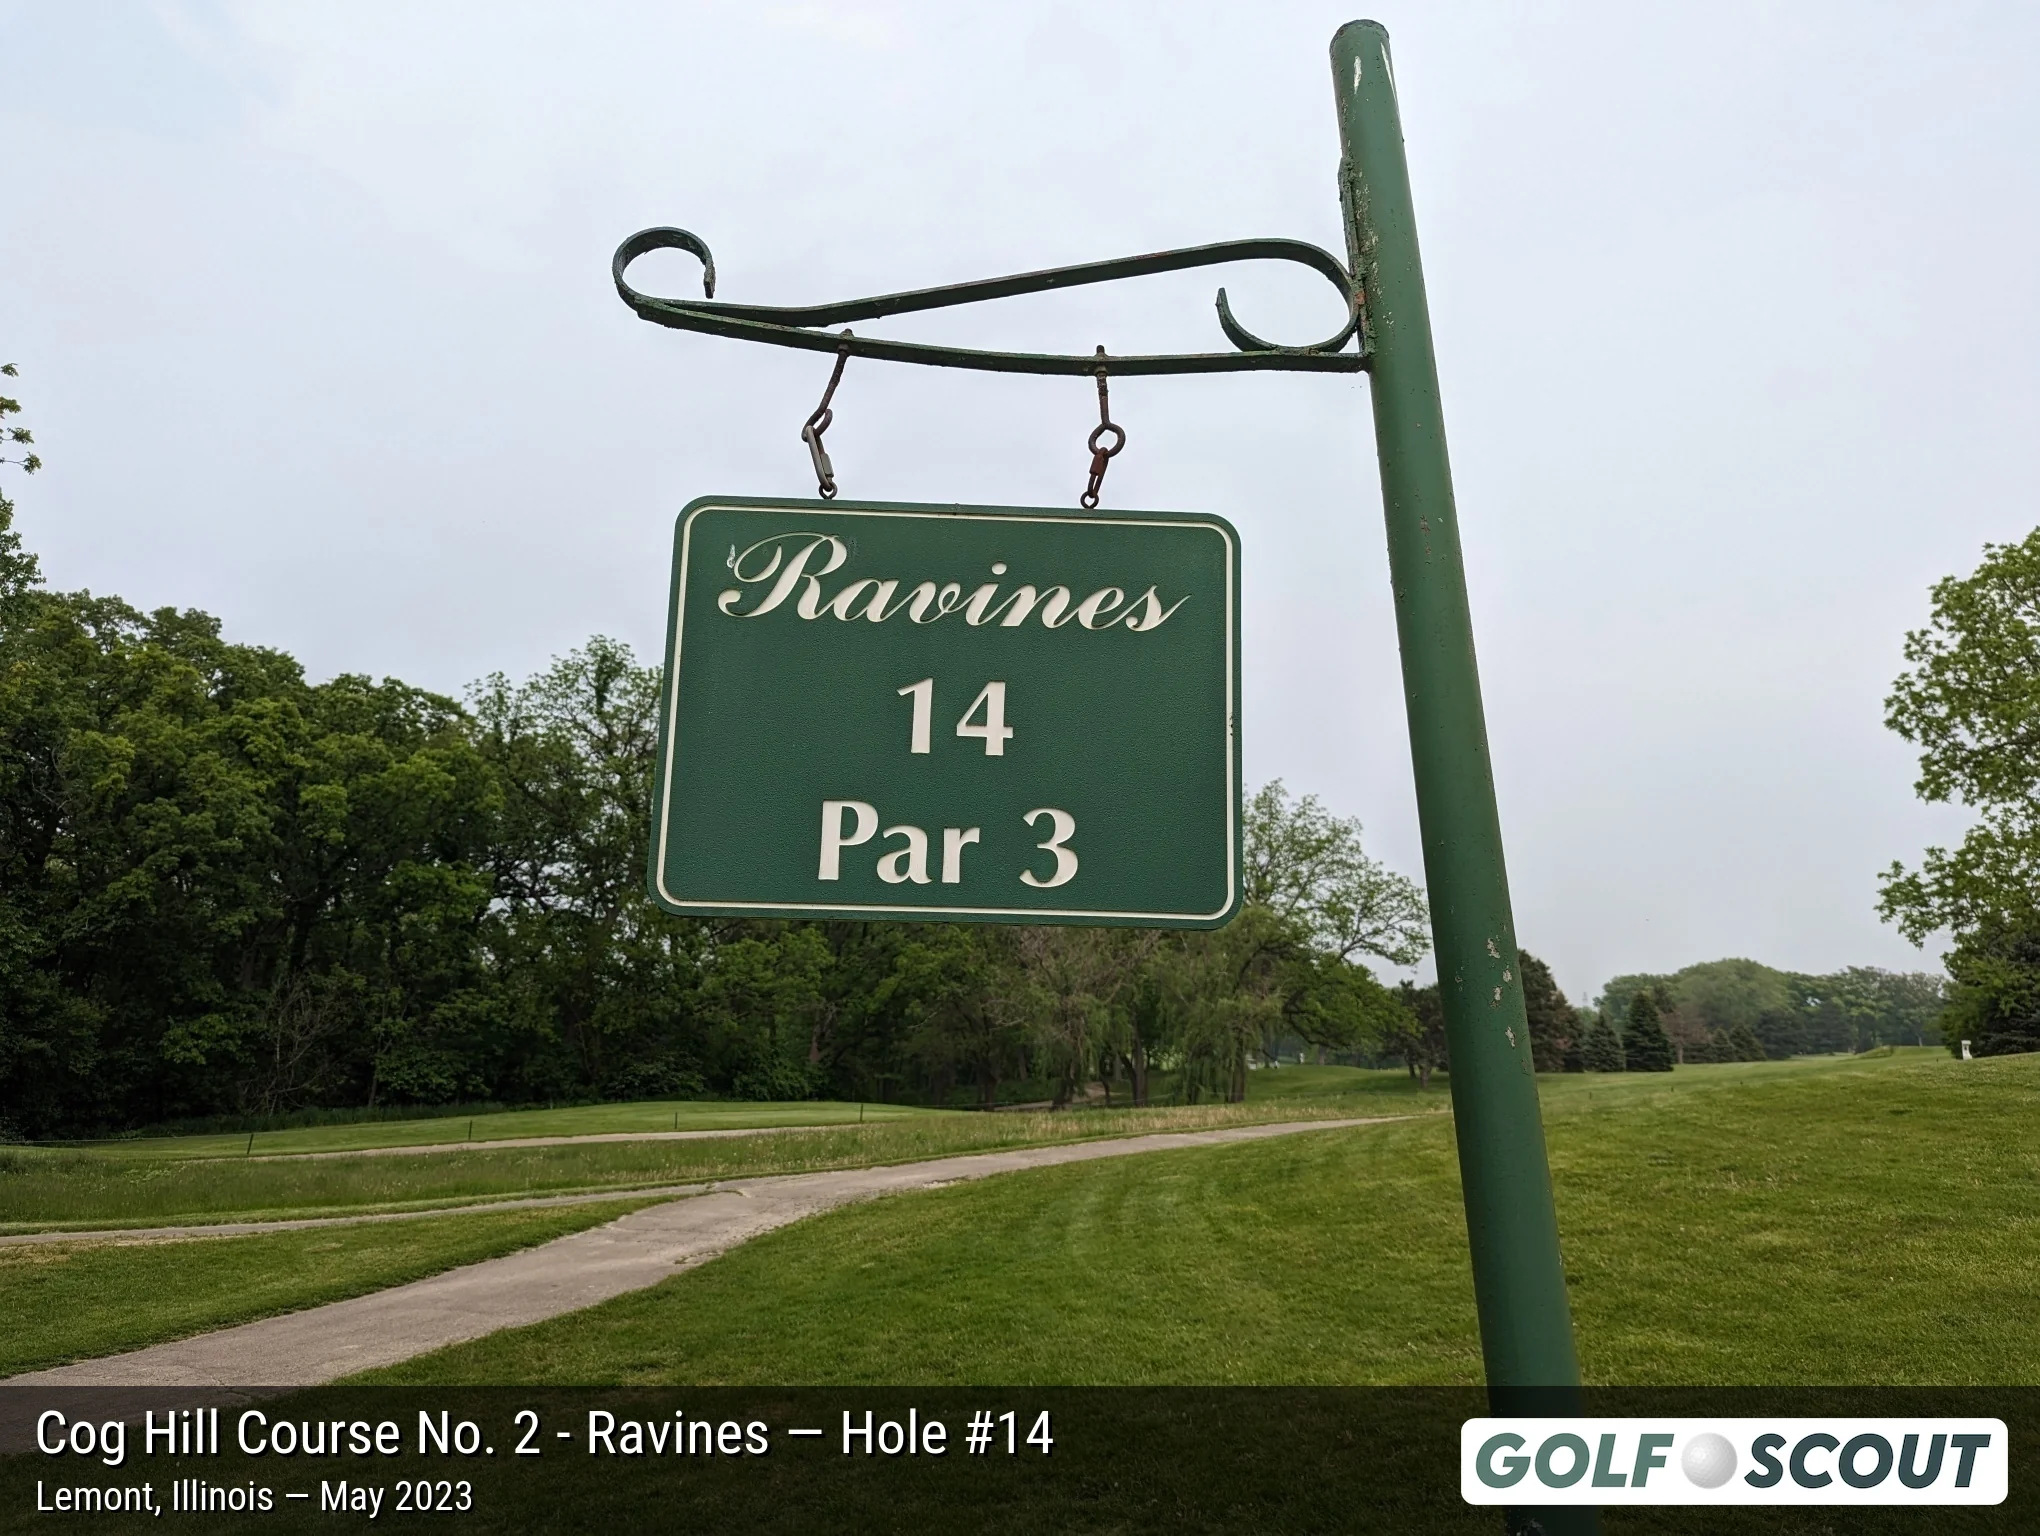
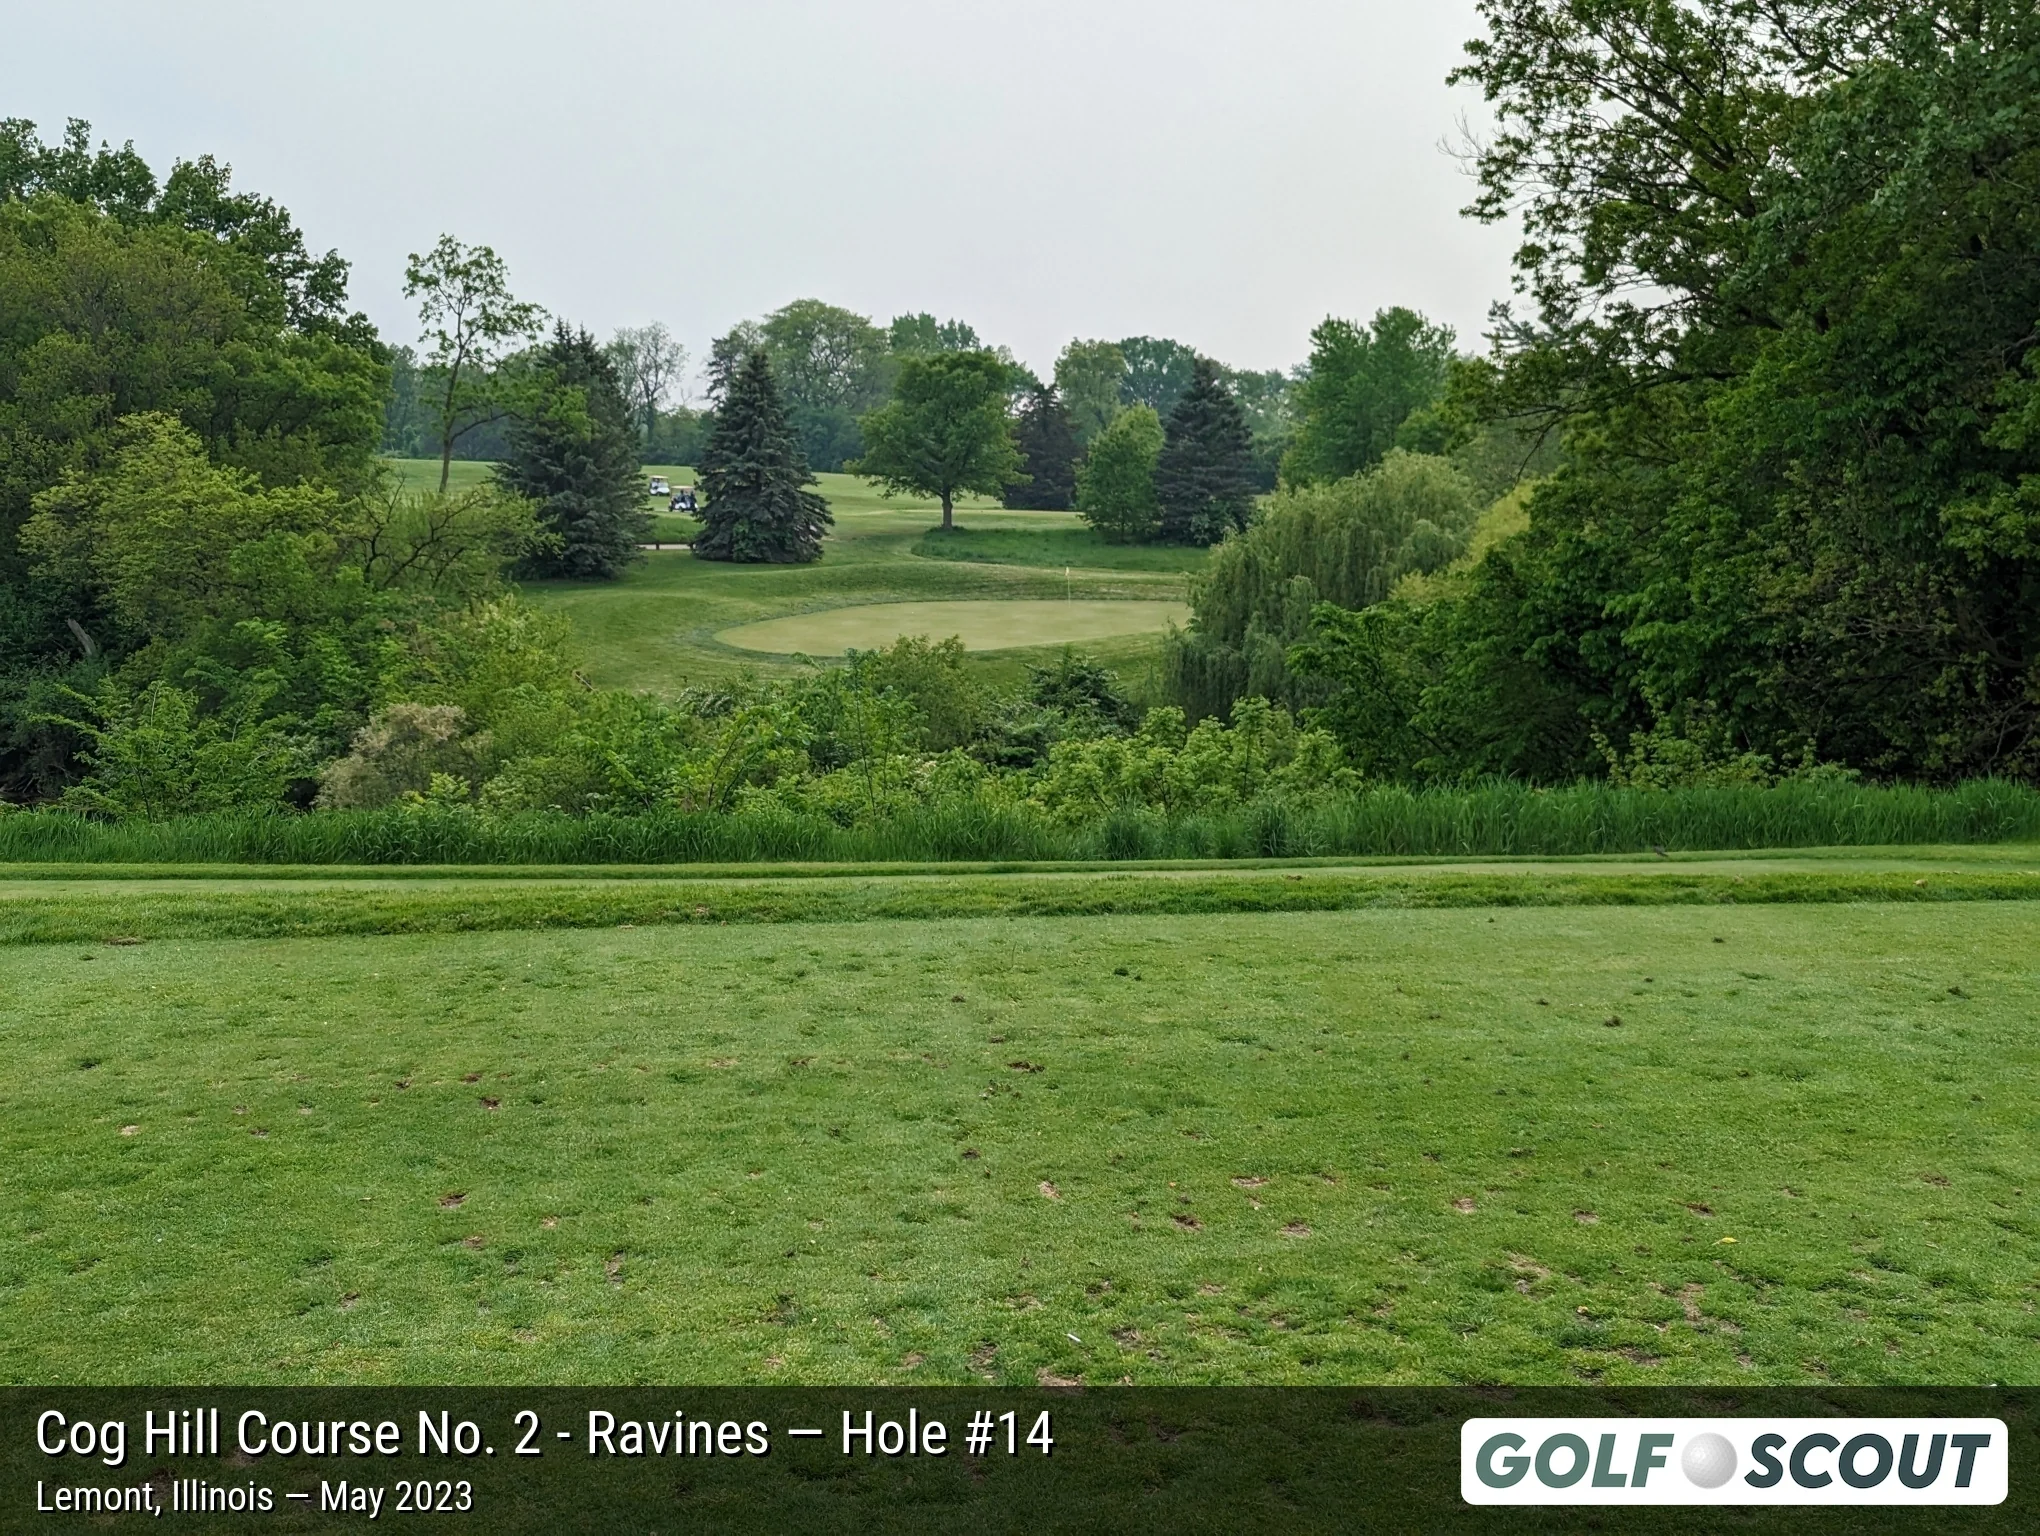
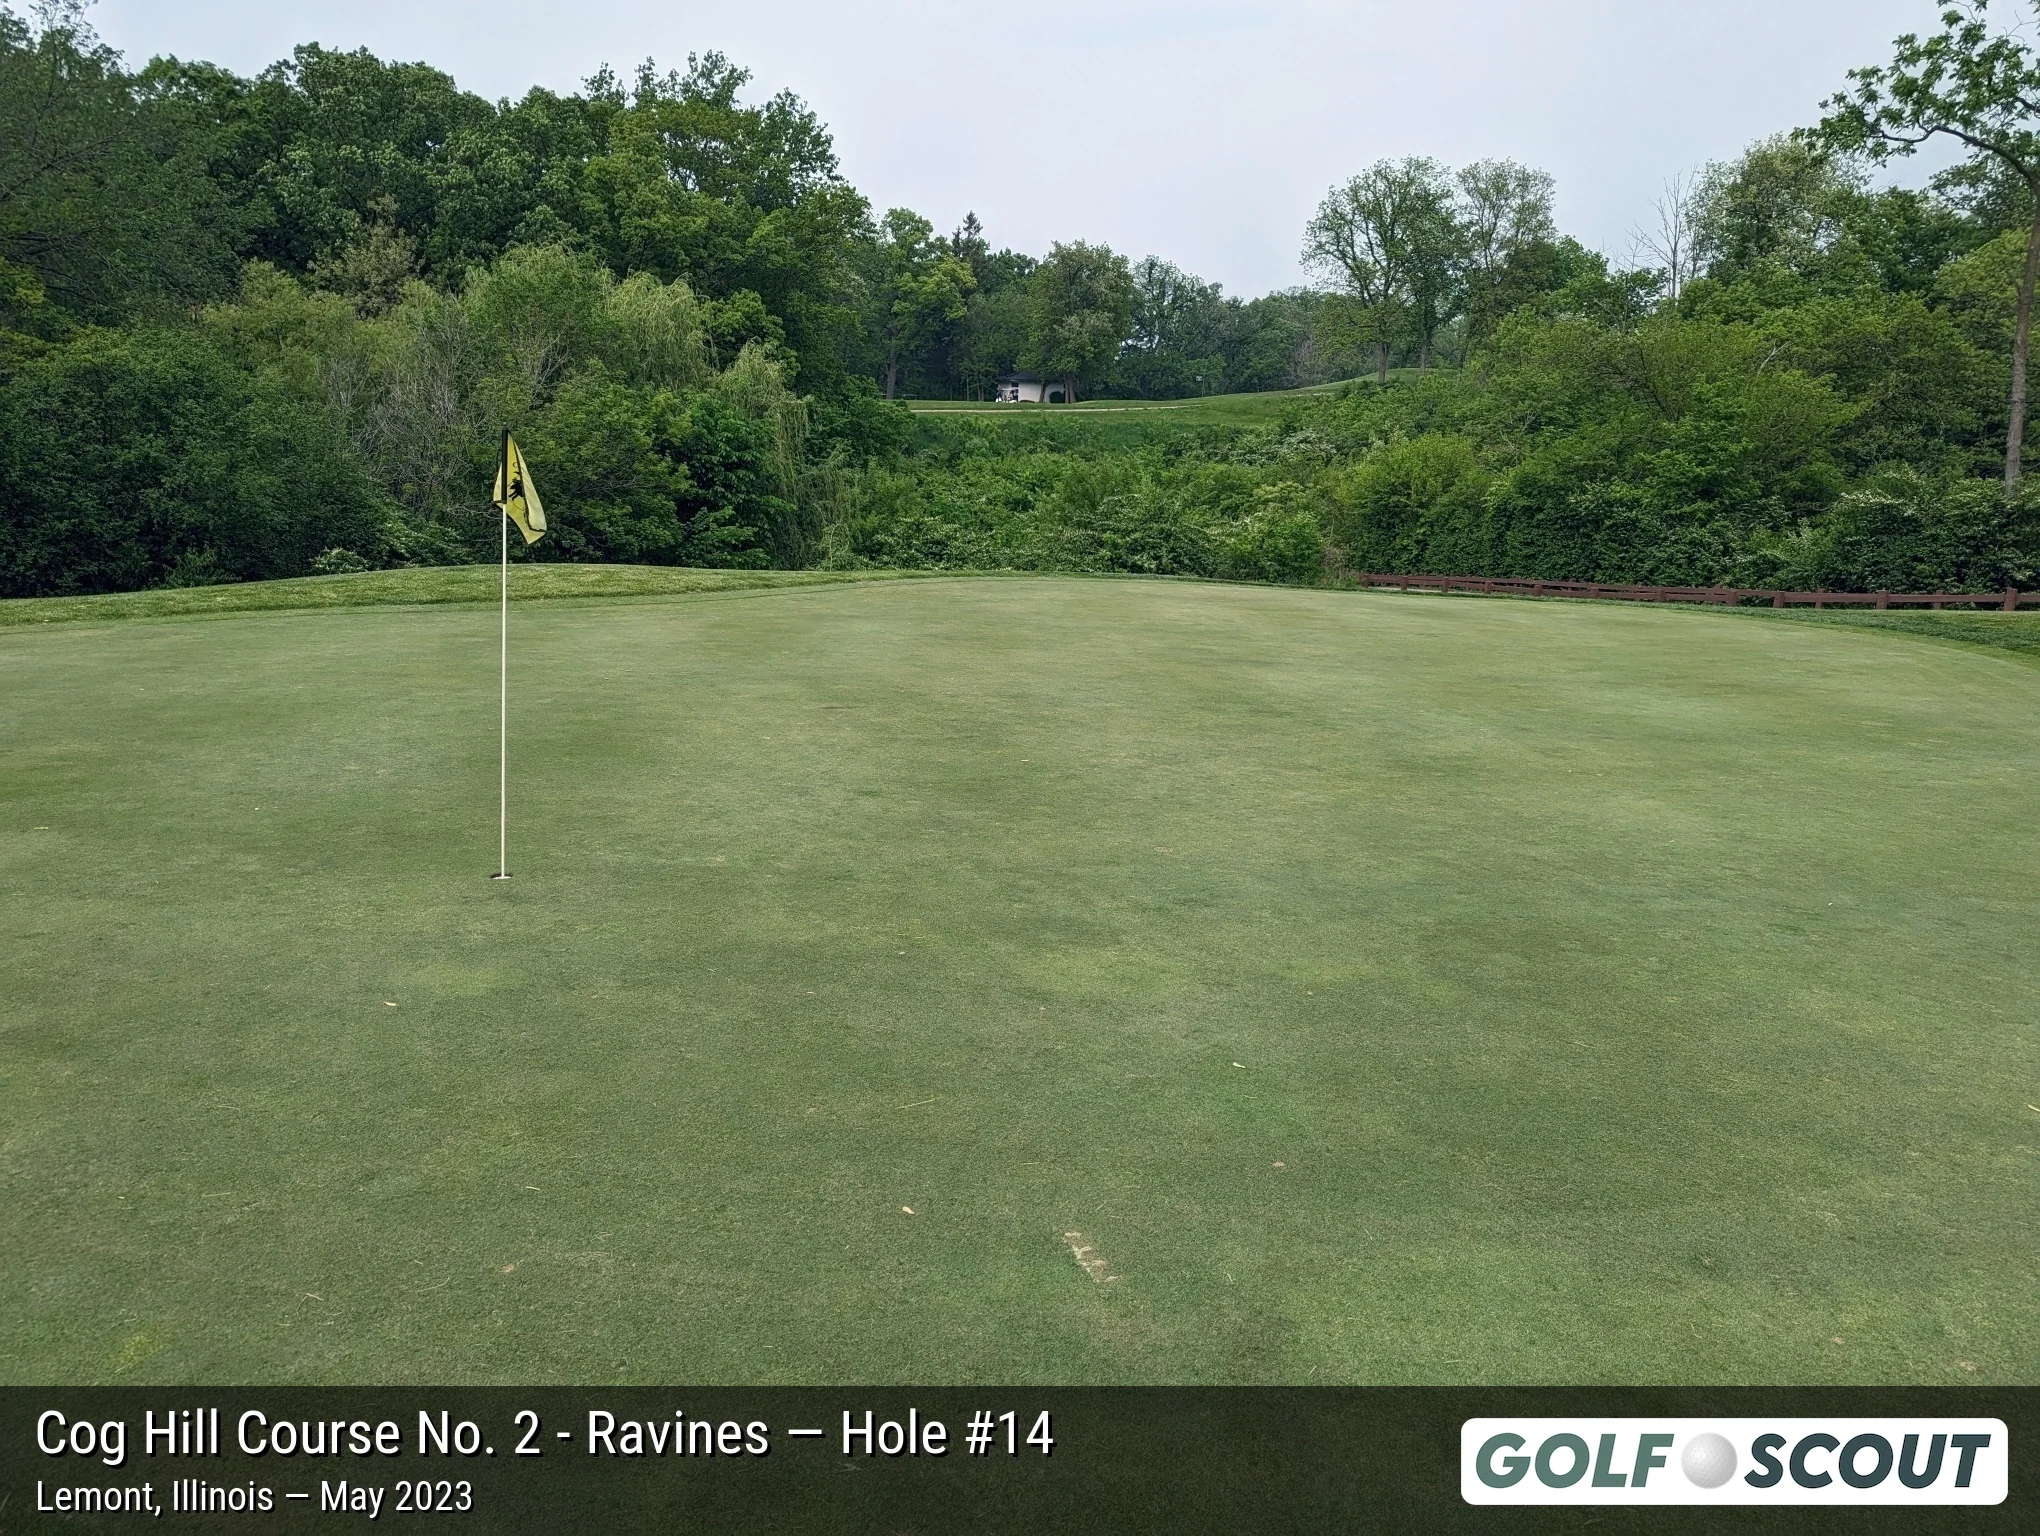
Last photo is typically a reverse angle from behind the green.
Hole 15
4 photos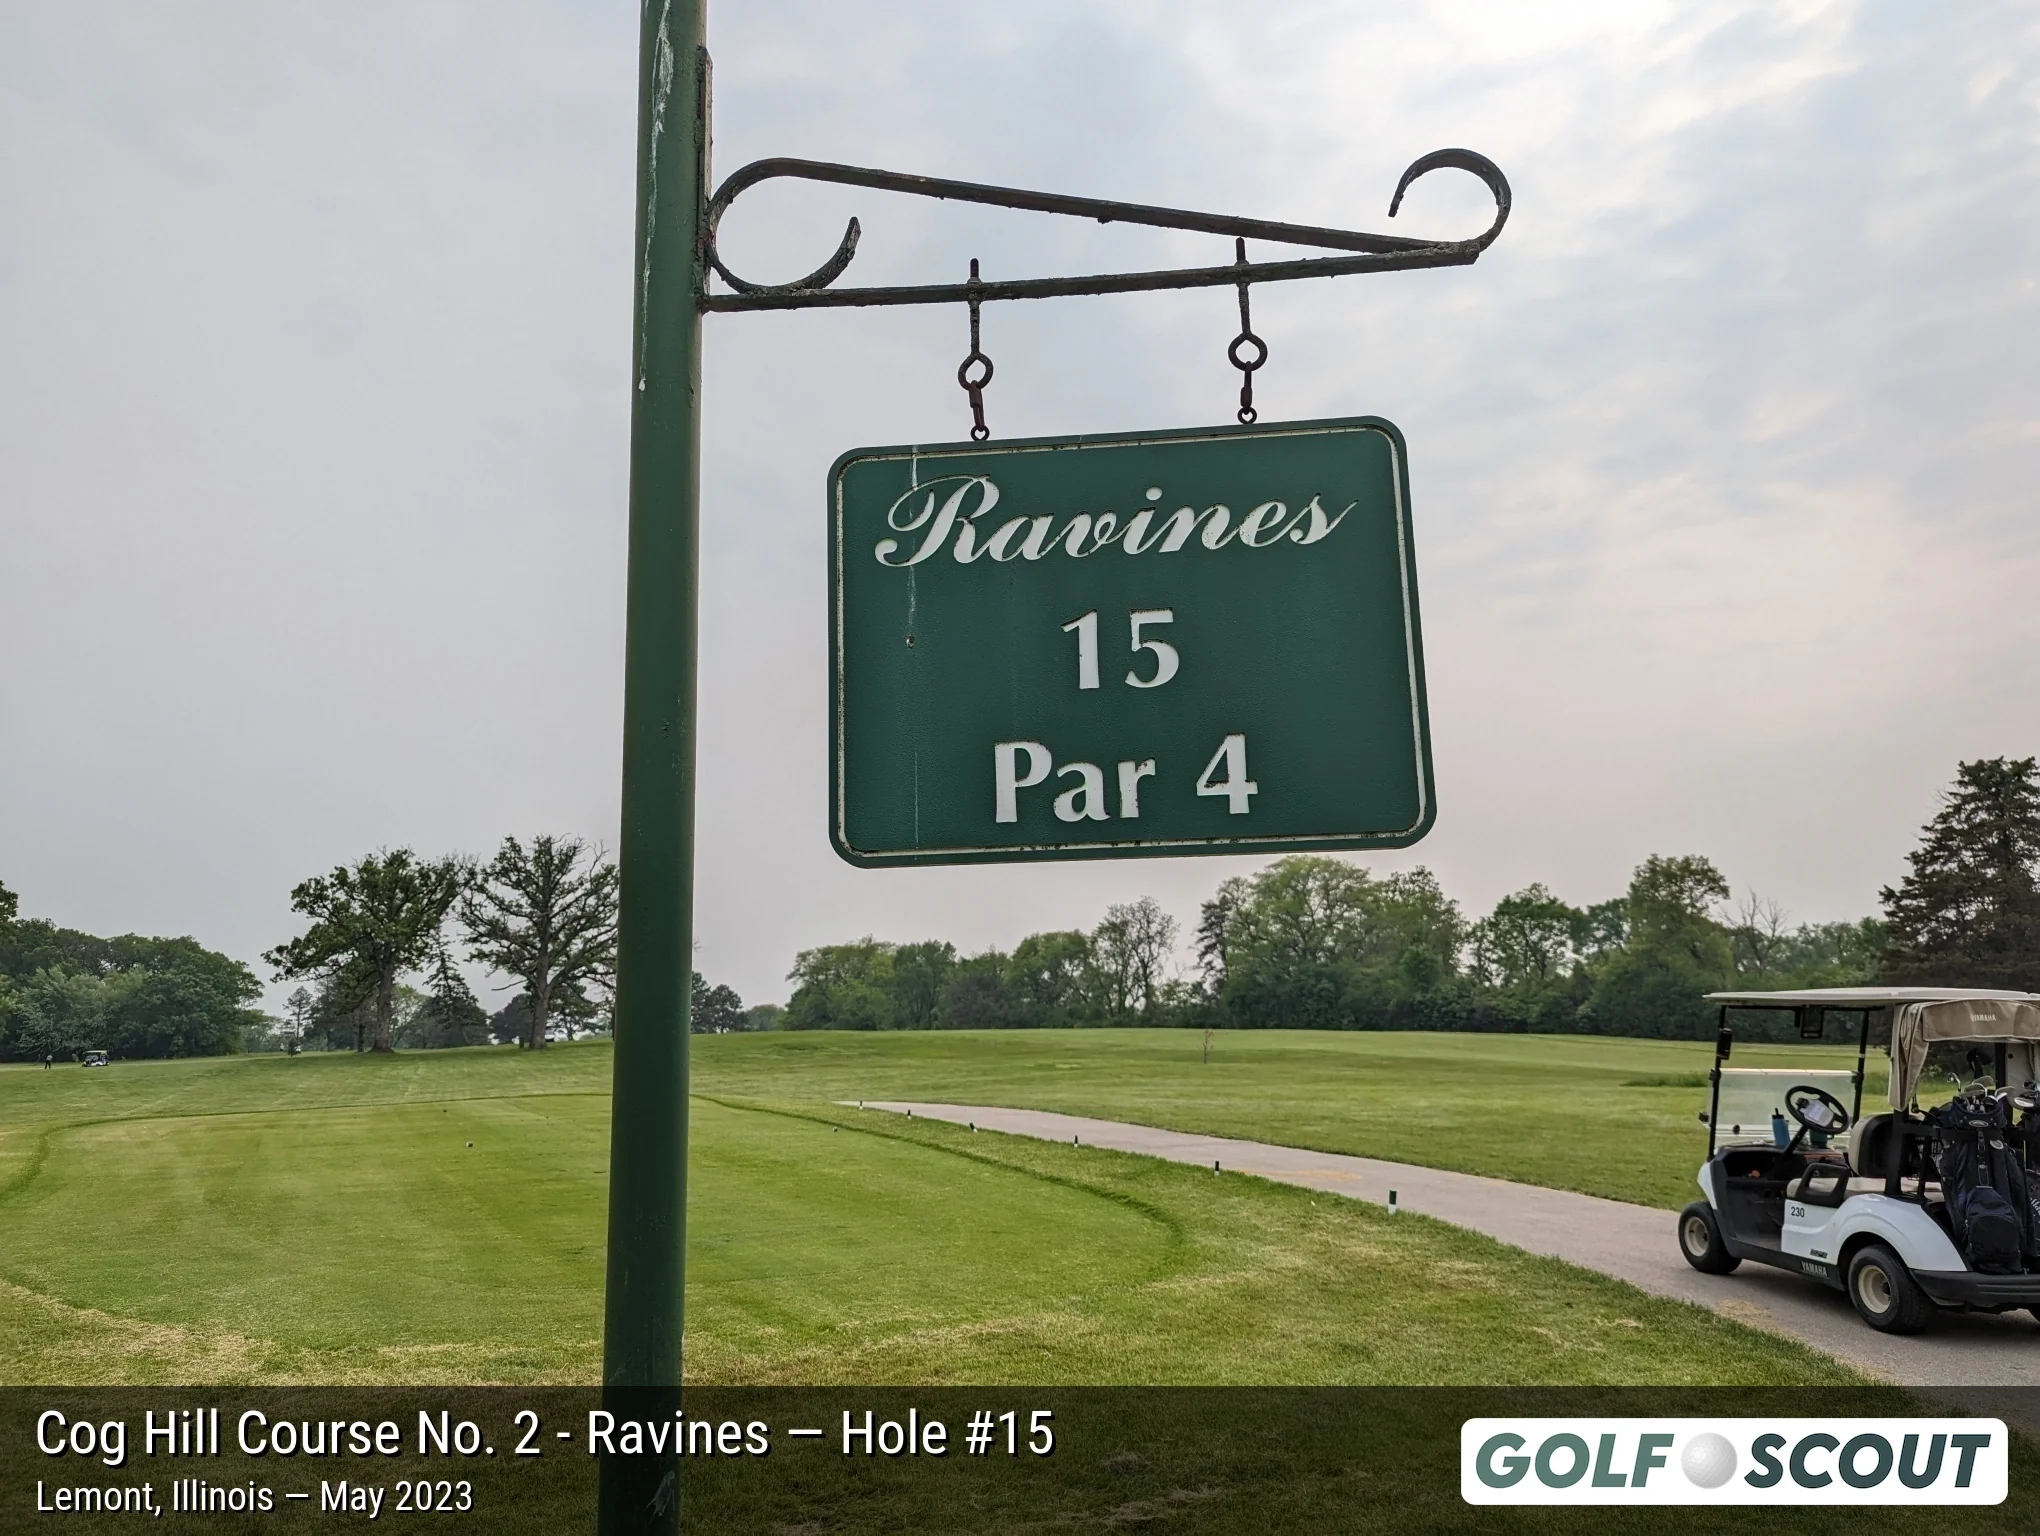
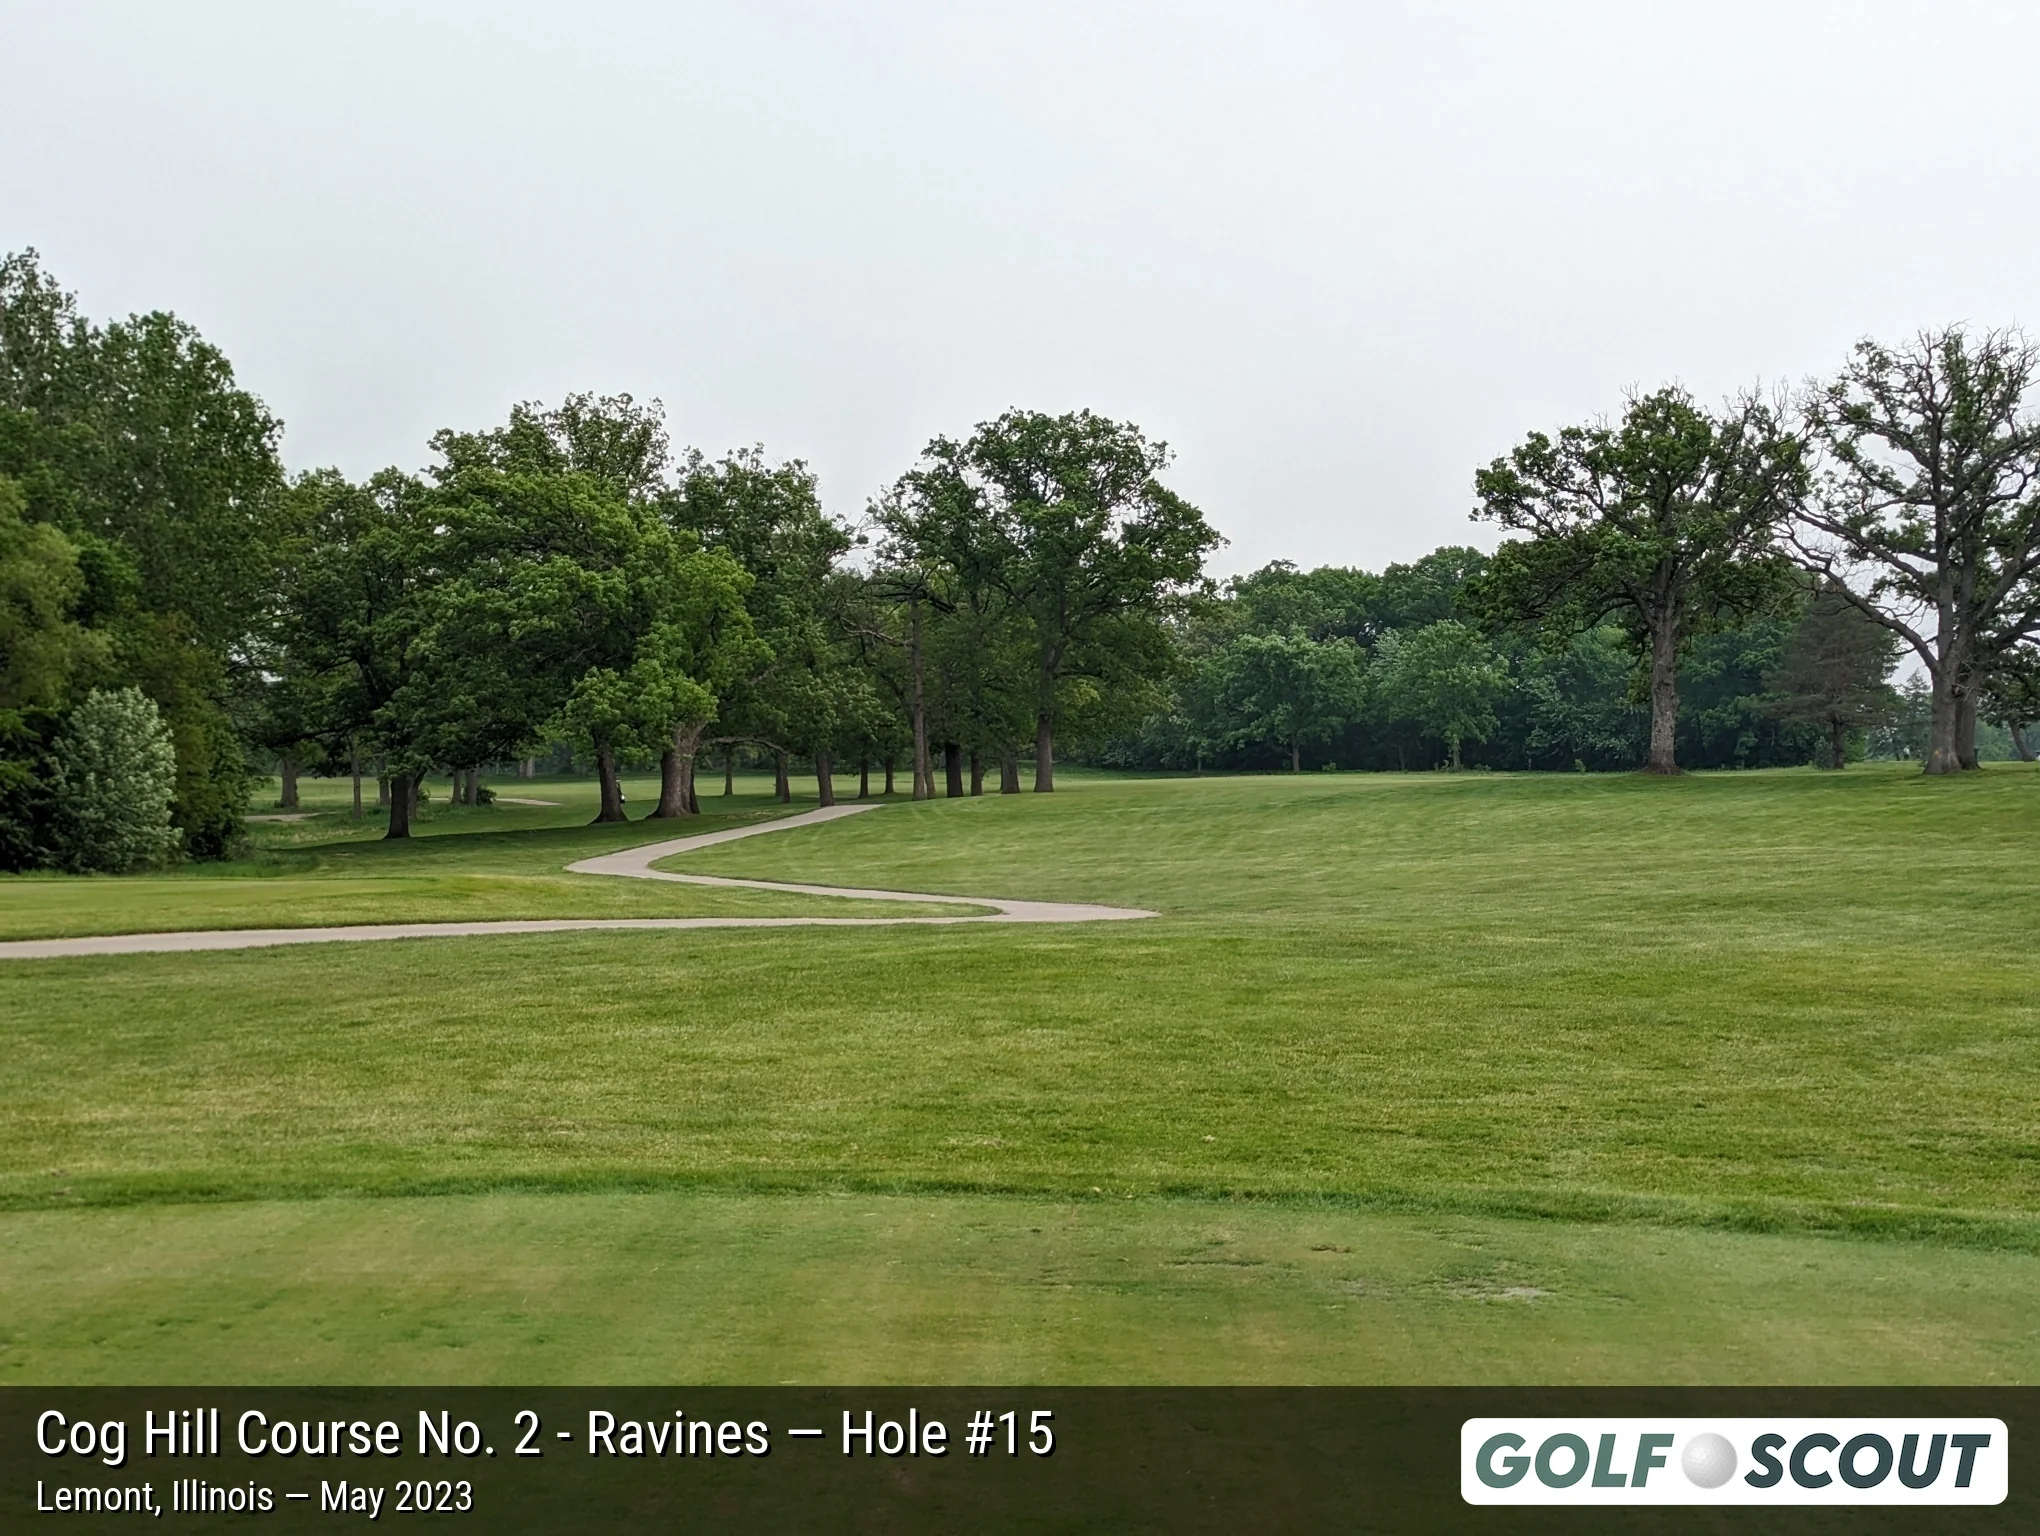
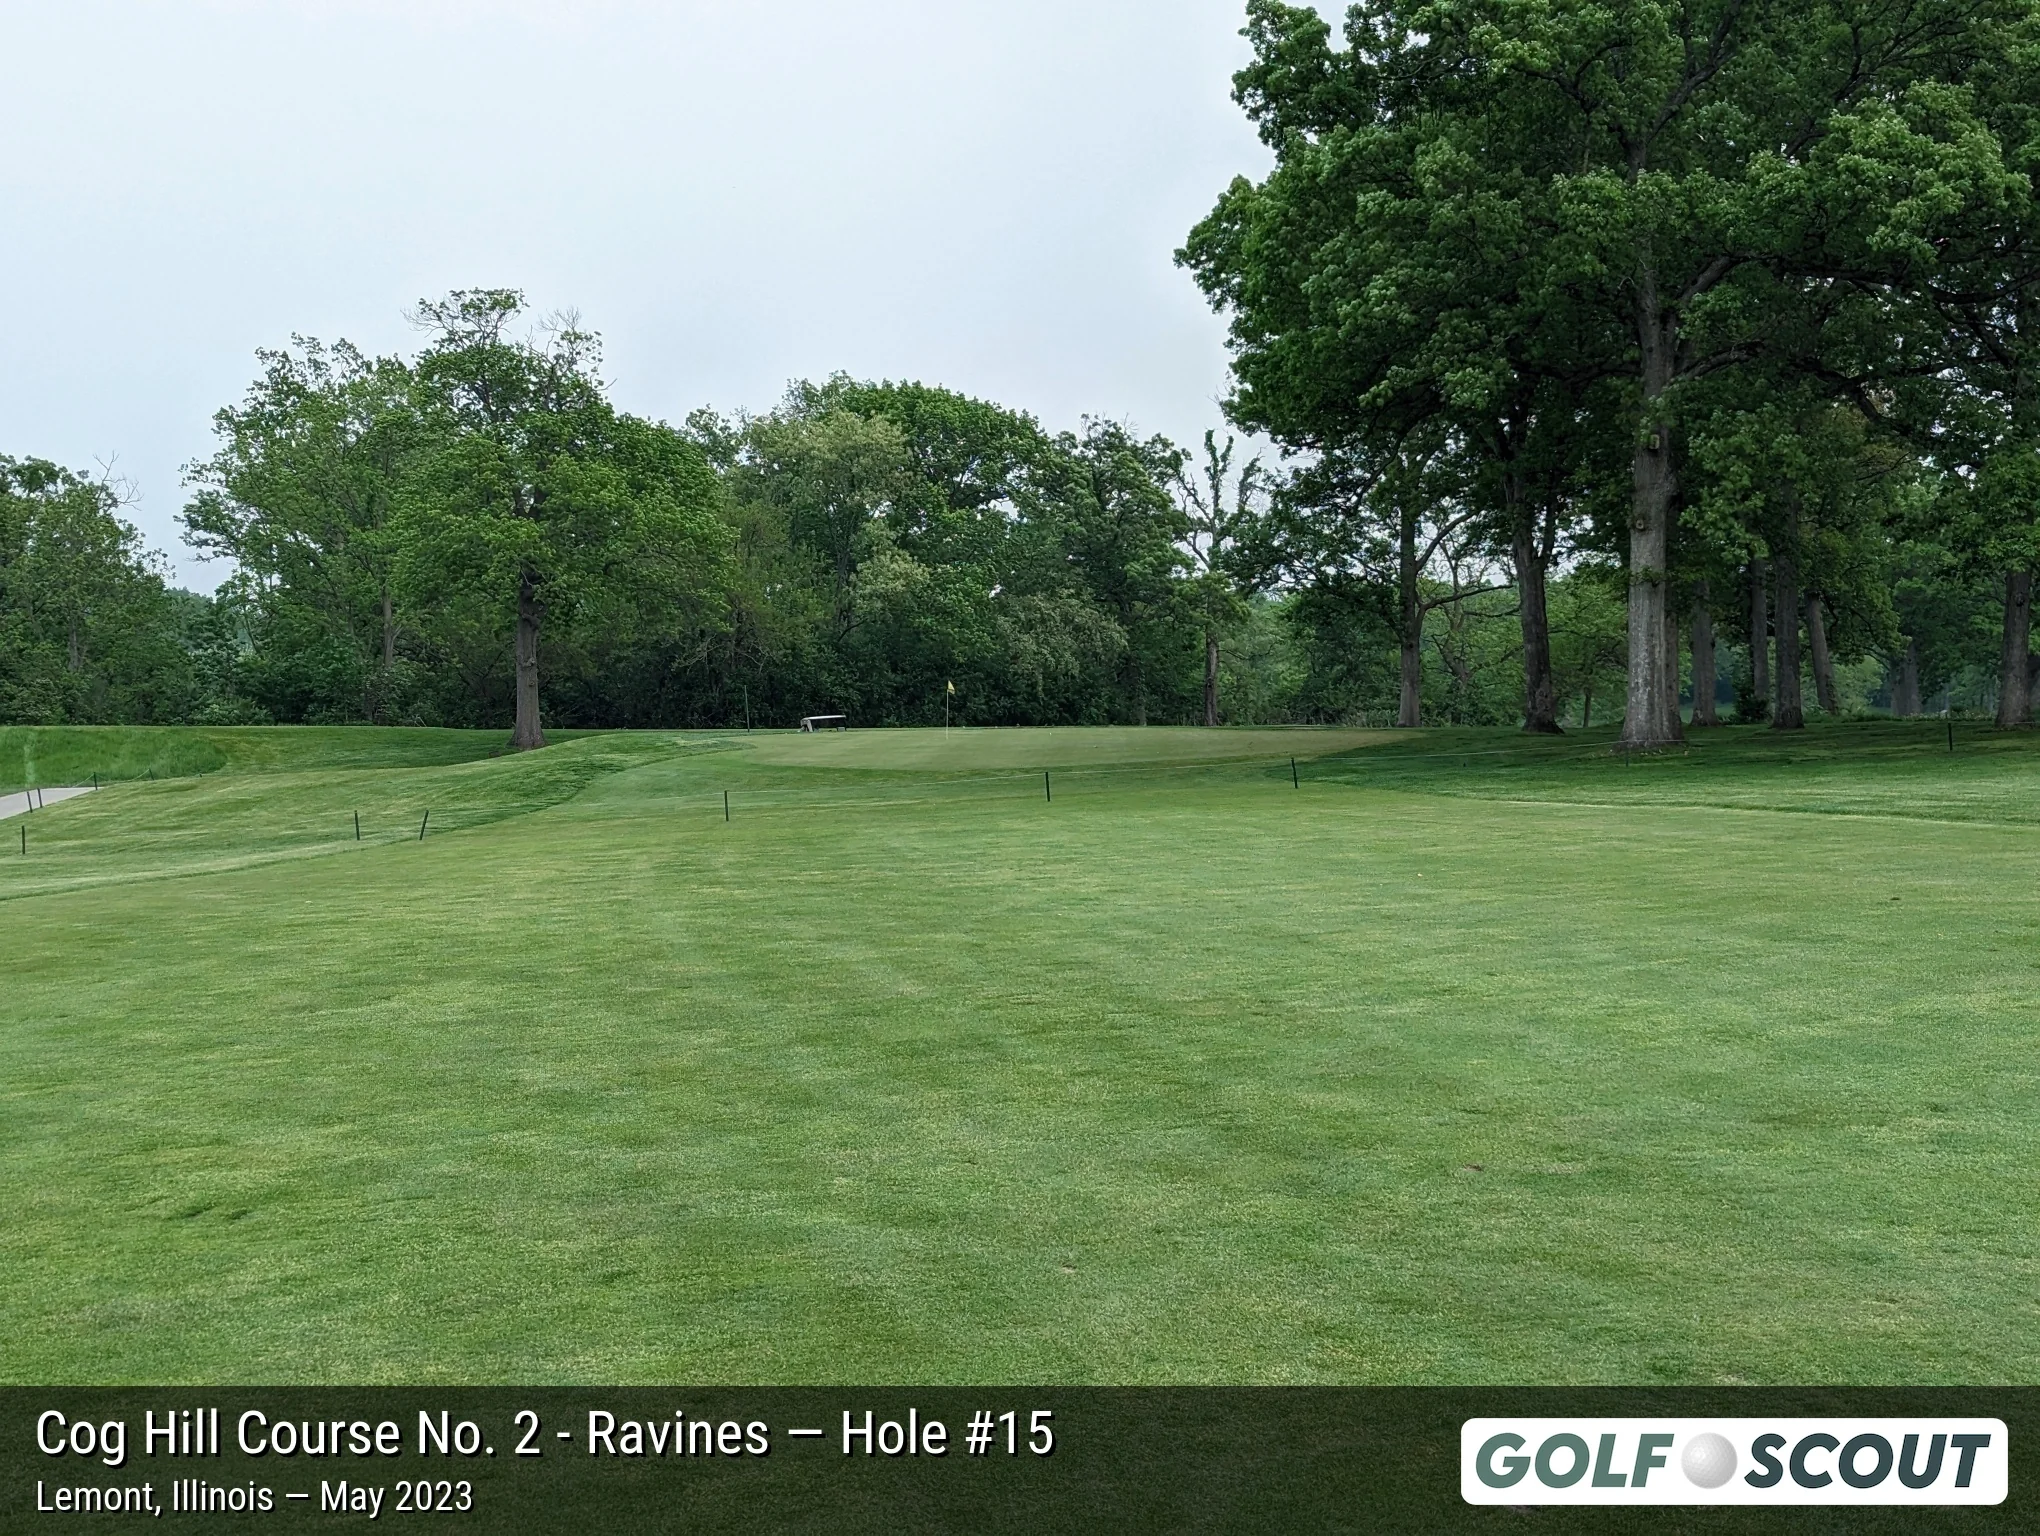
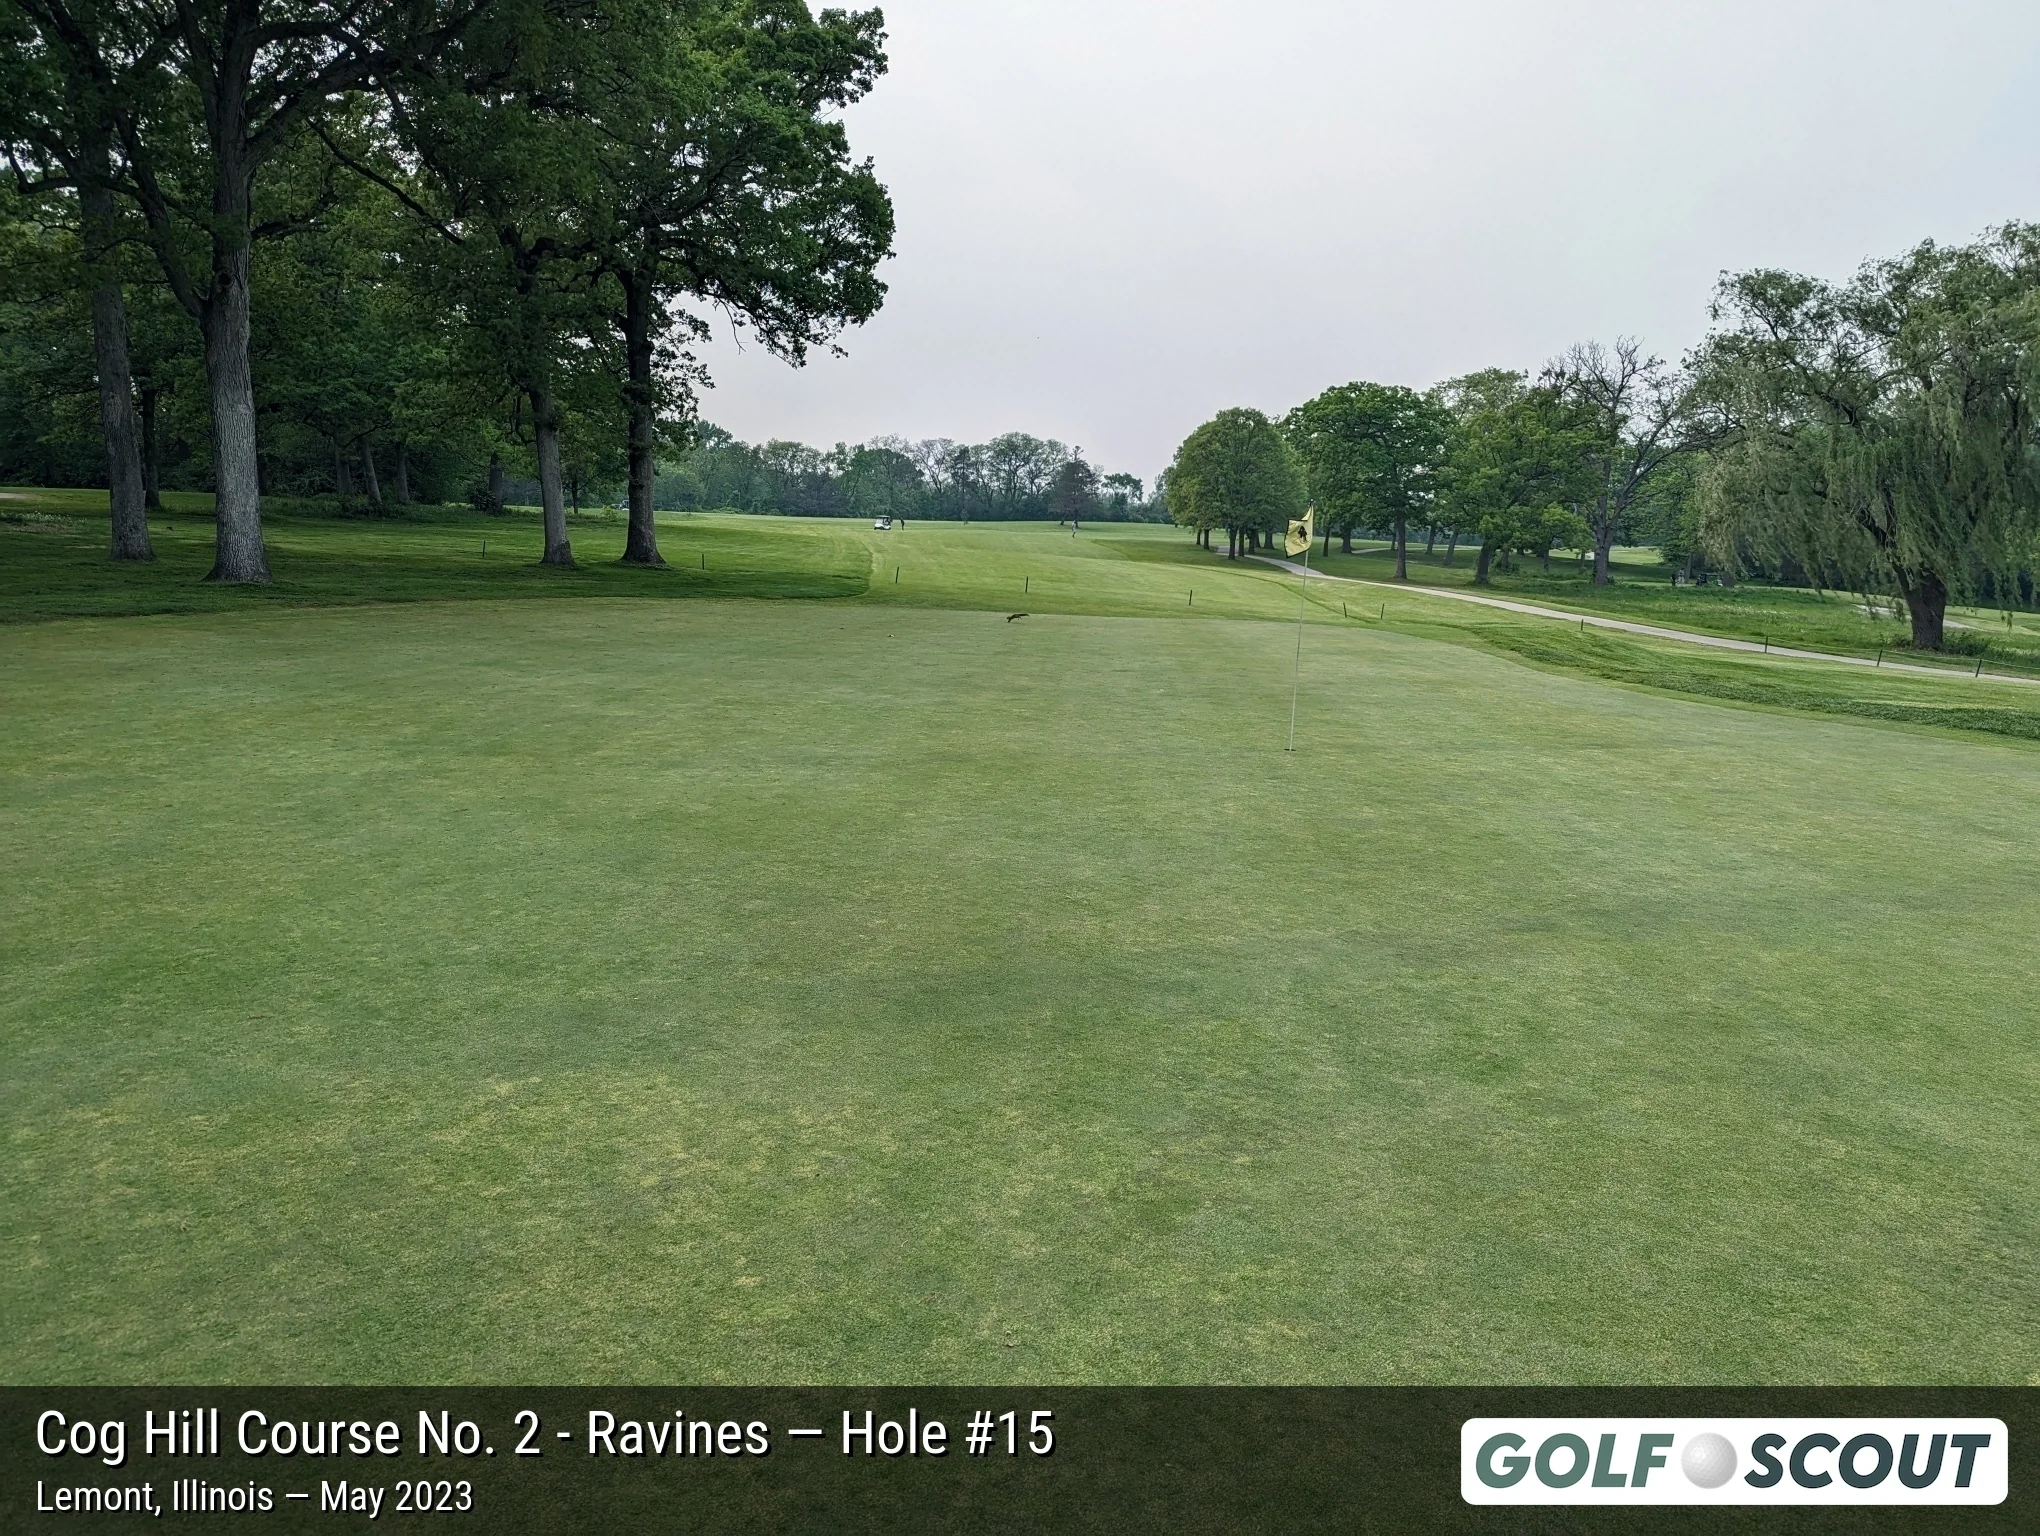
Last photo is typically a reverse angle from behind the green.
Hole 16
4 photos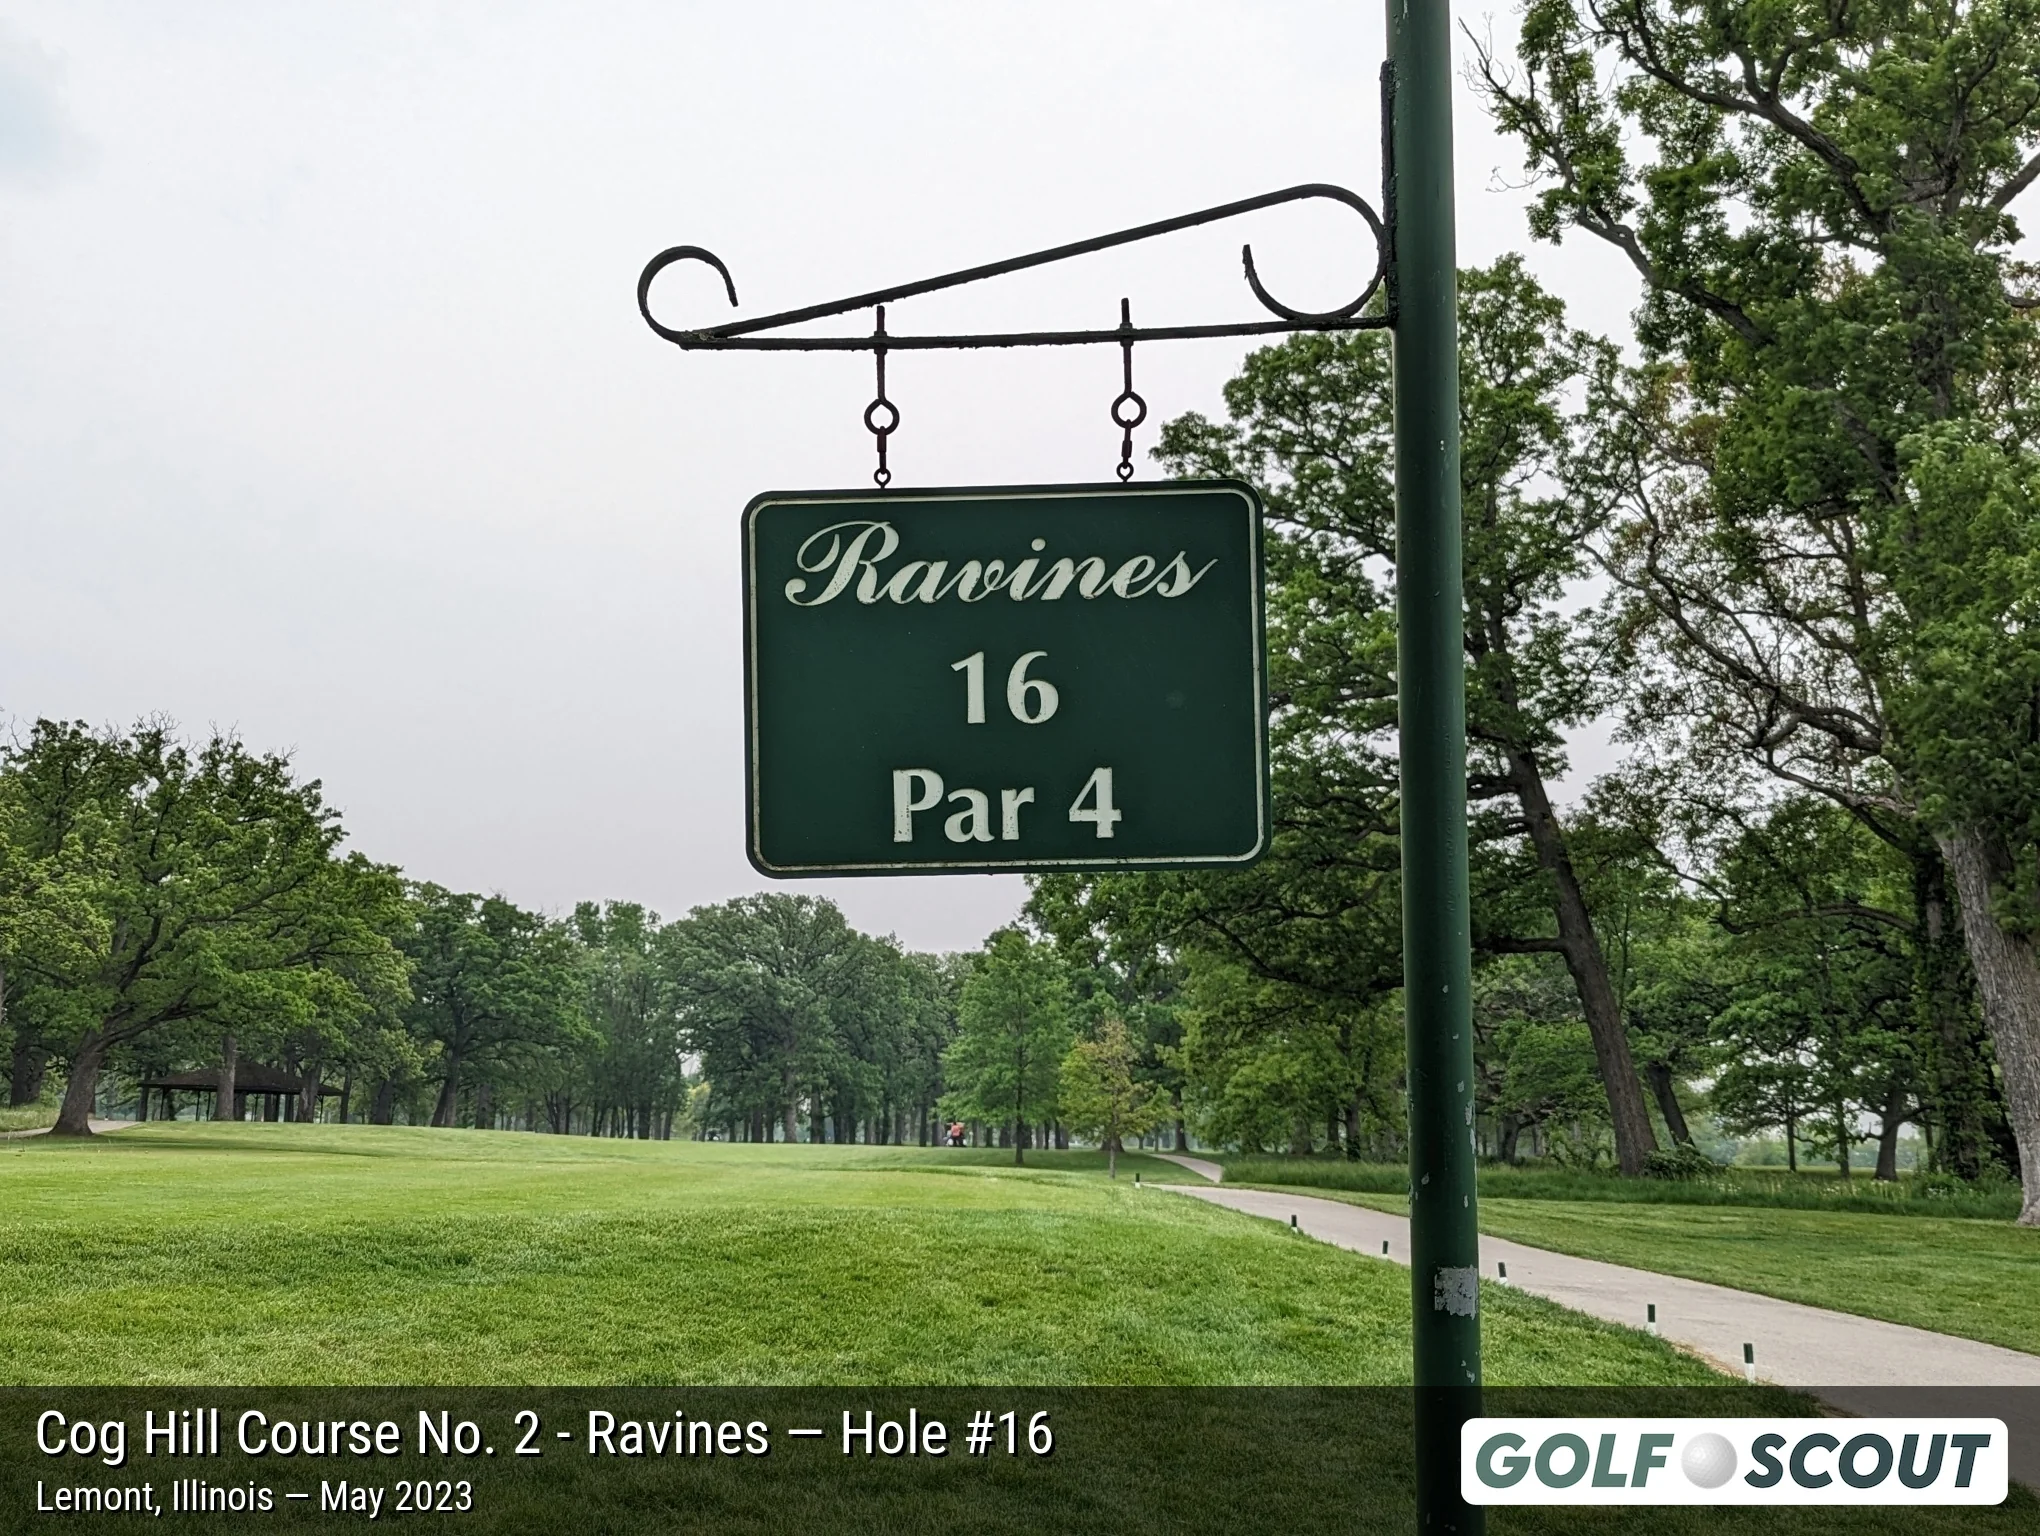
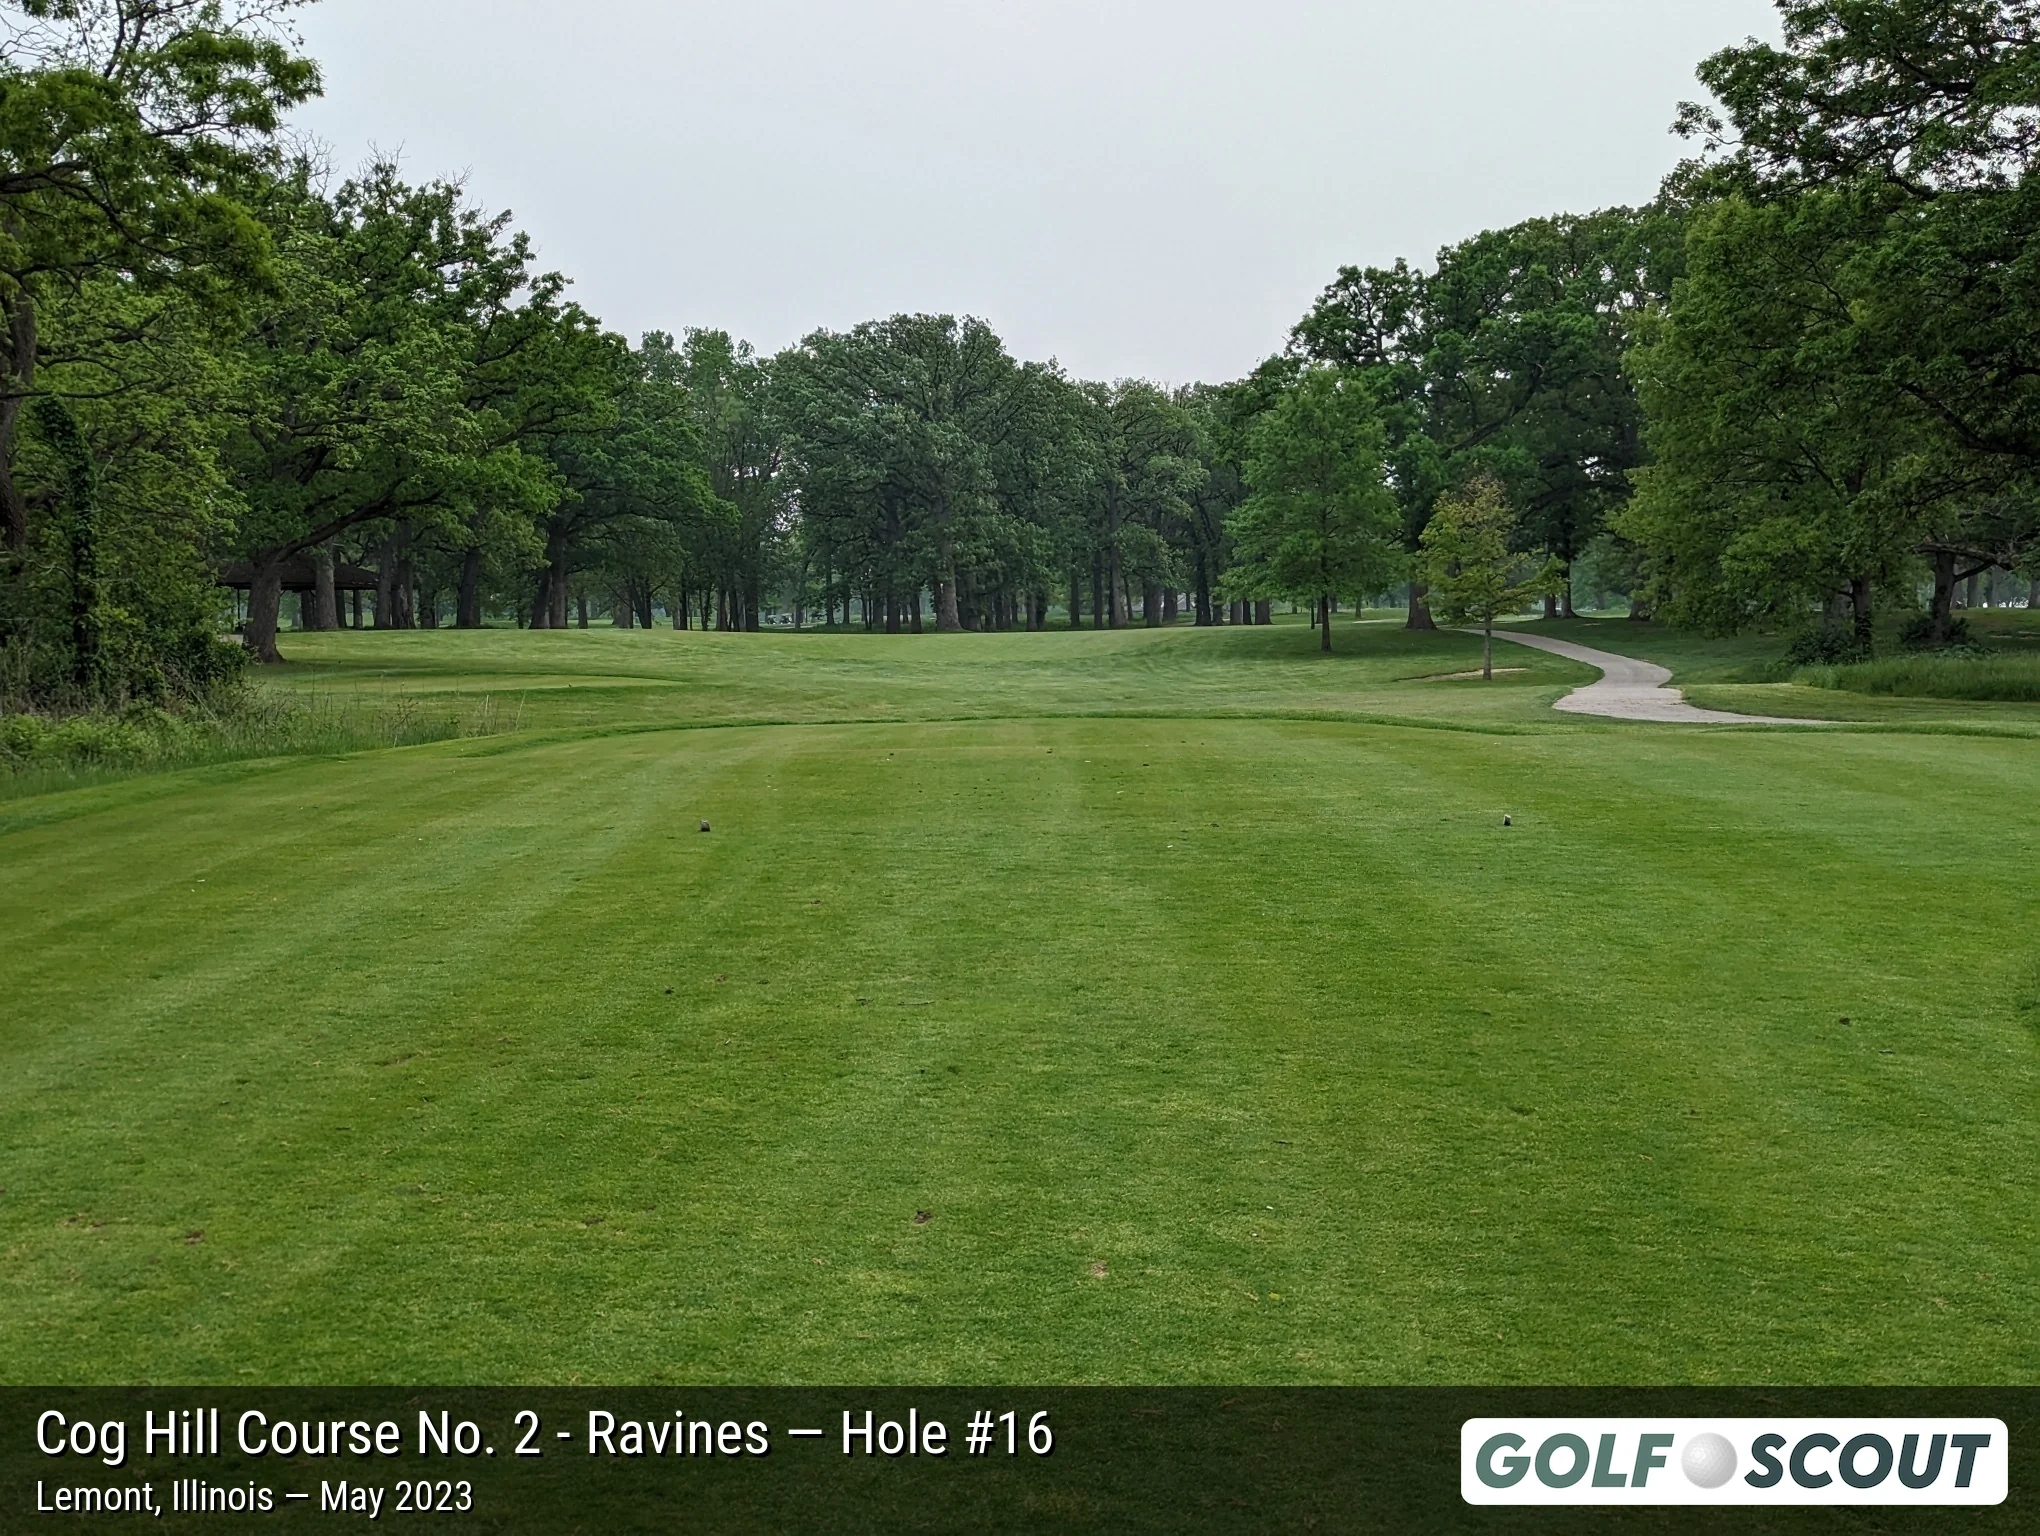
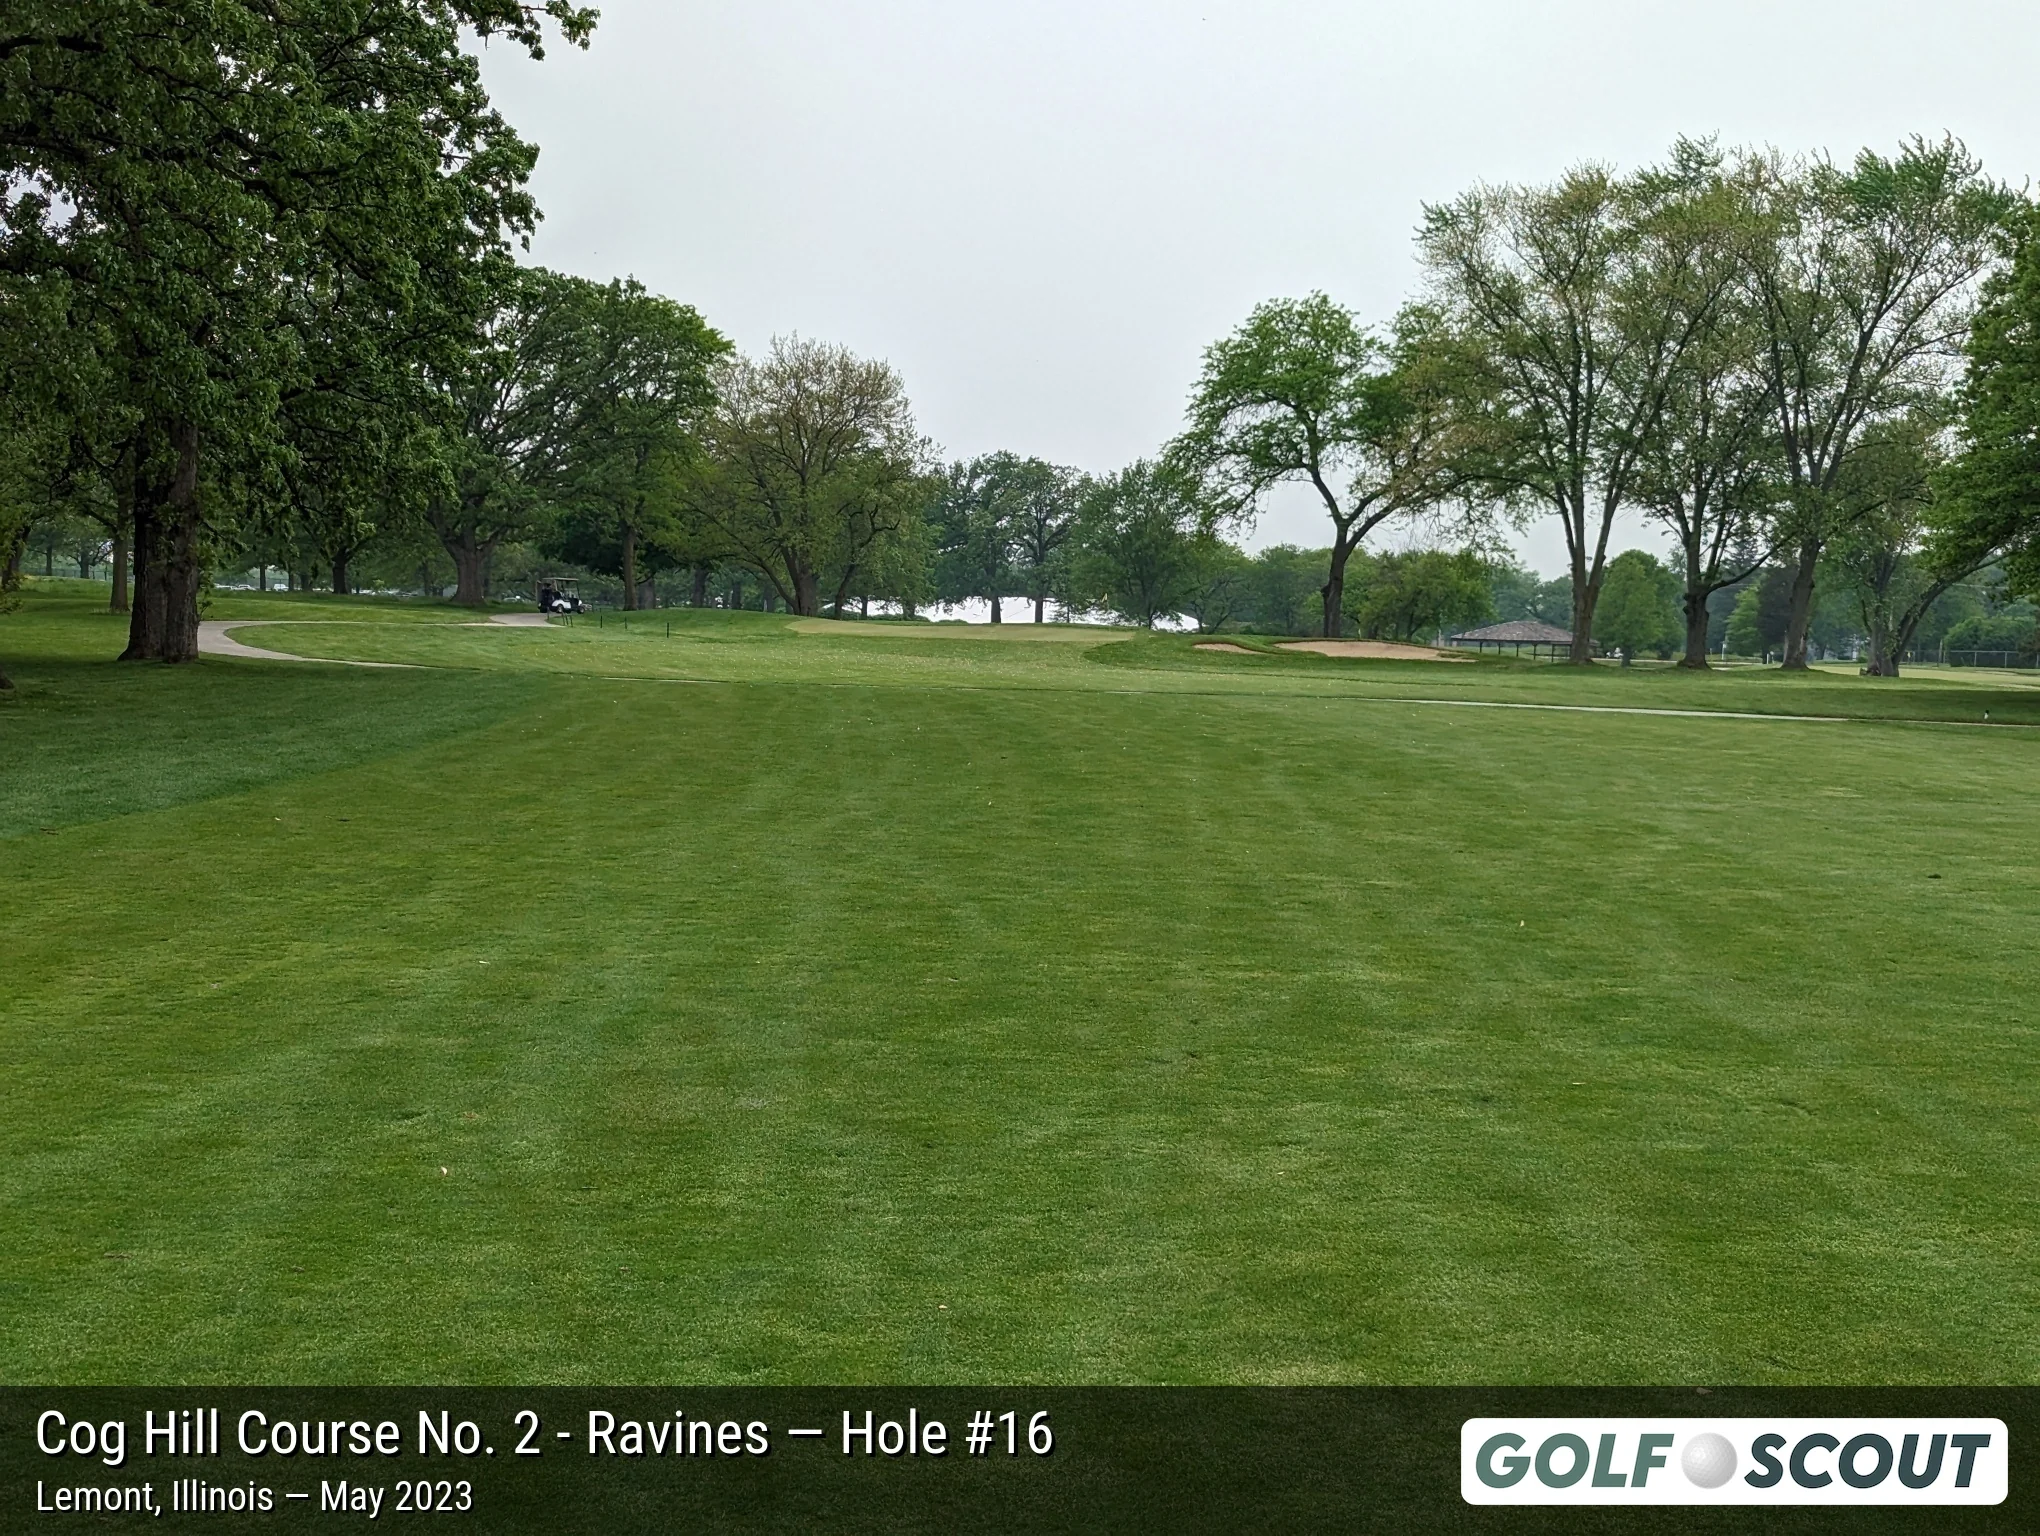
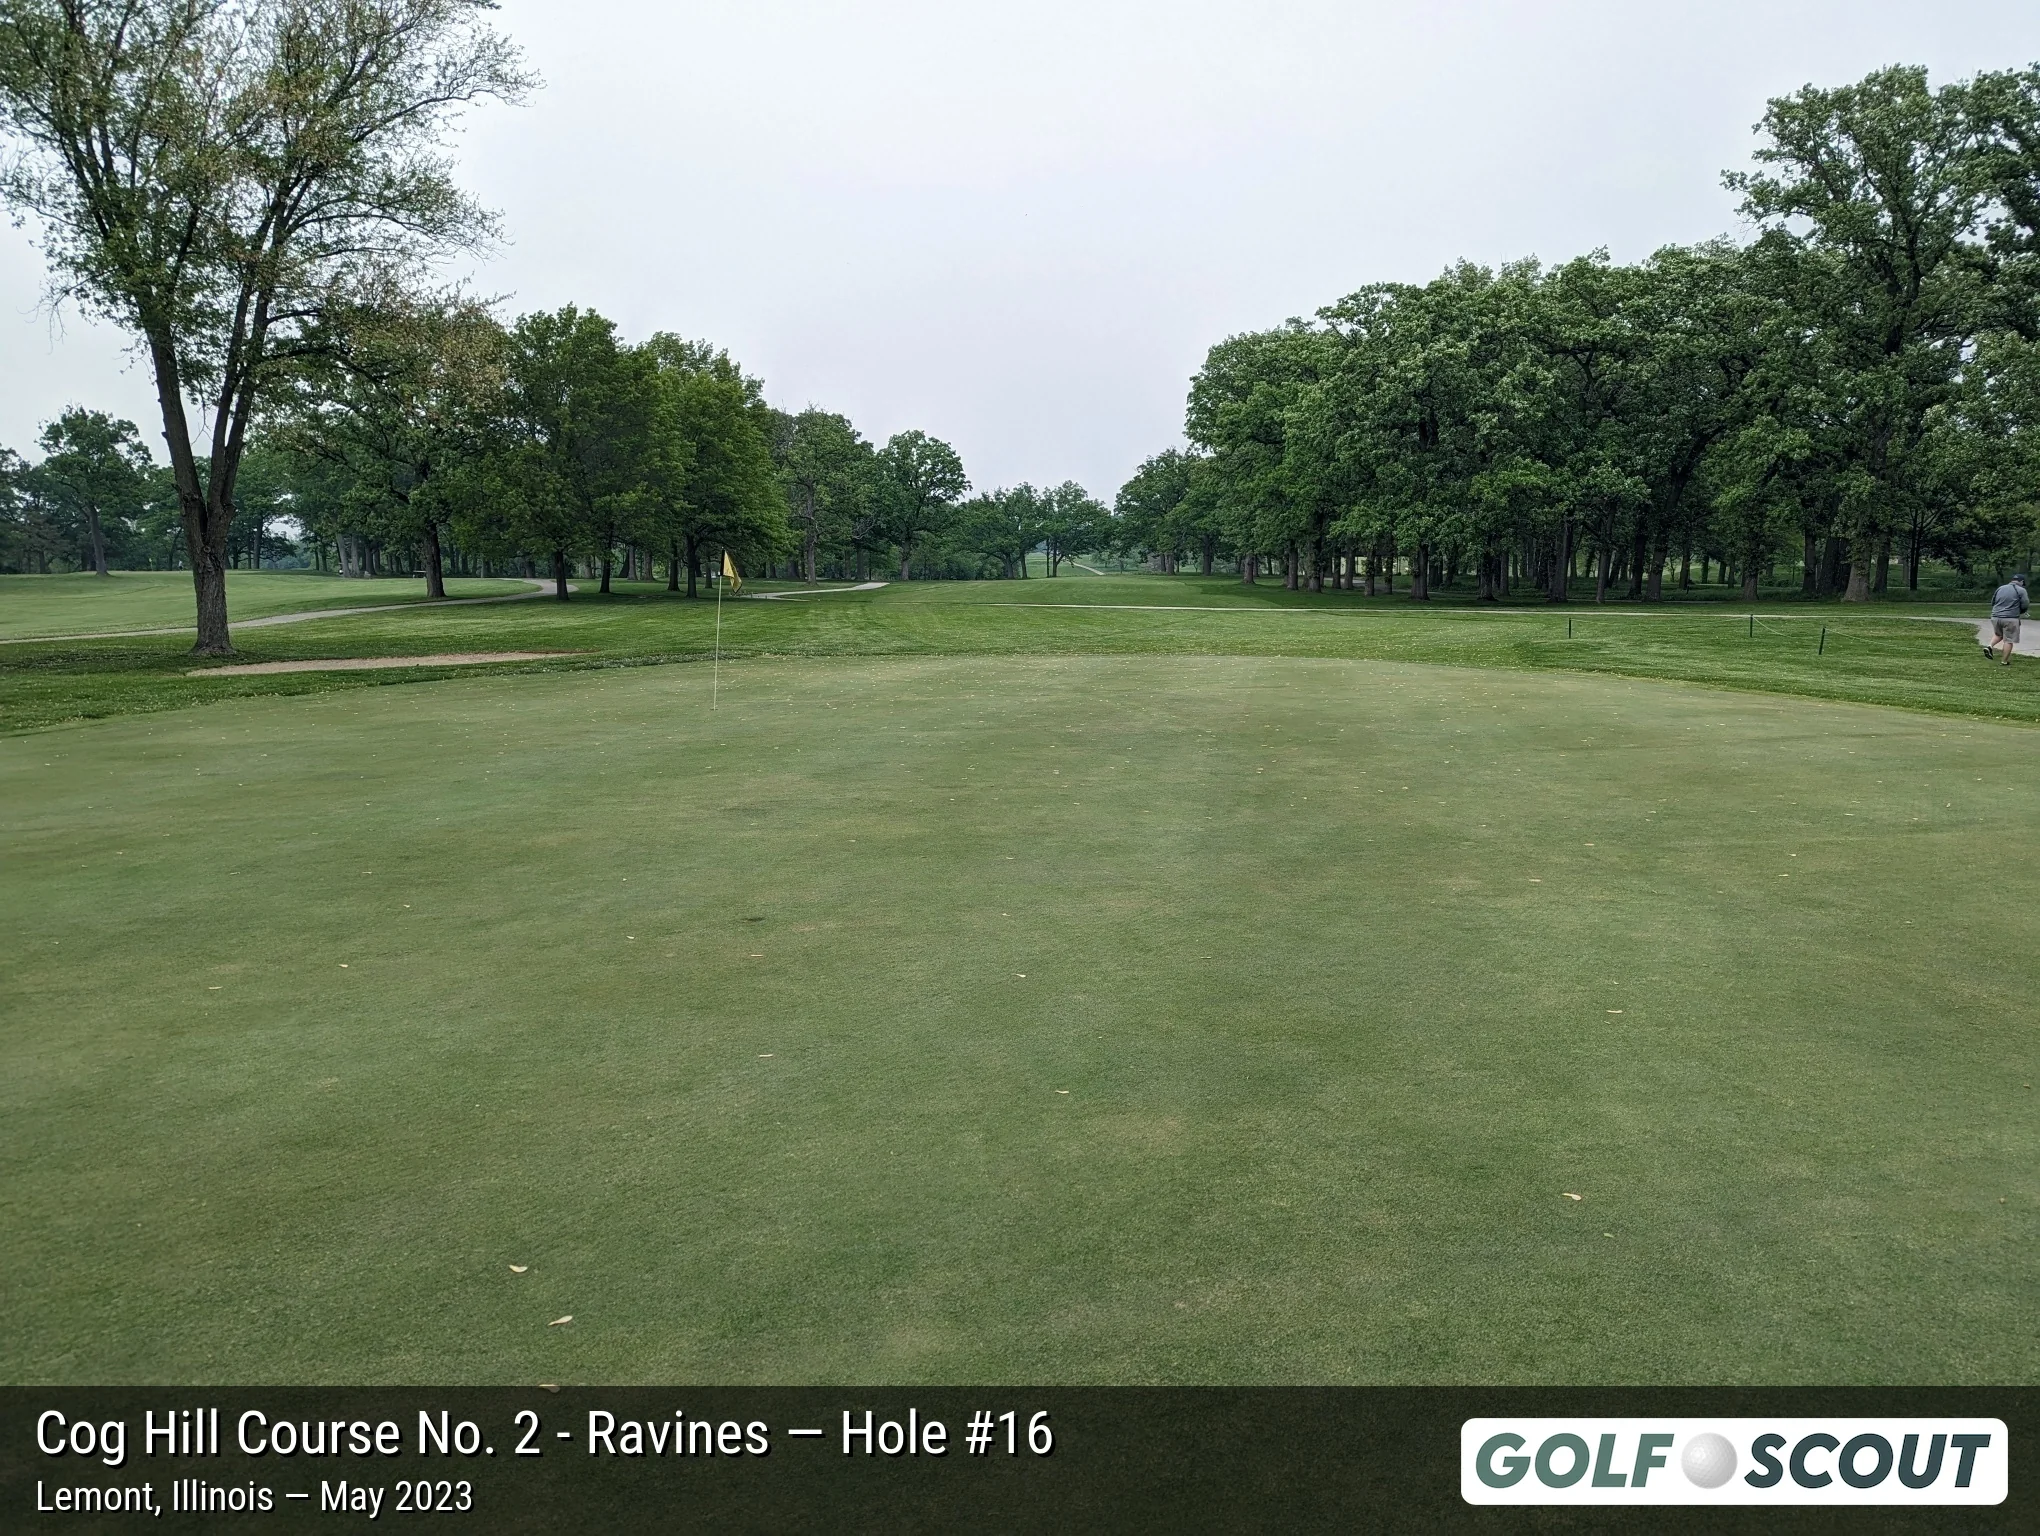
Last photo is typically a reverse angle from behind the green.
Hole 17
4 photos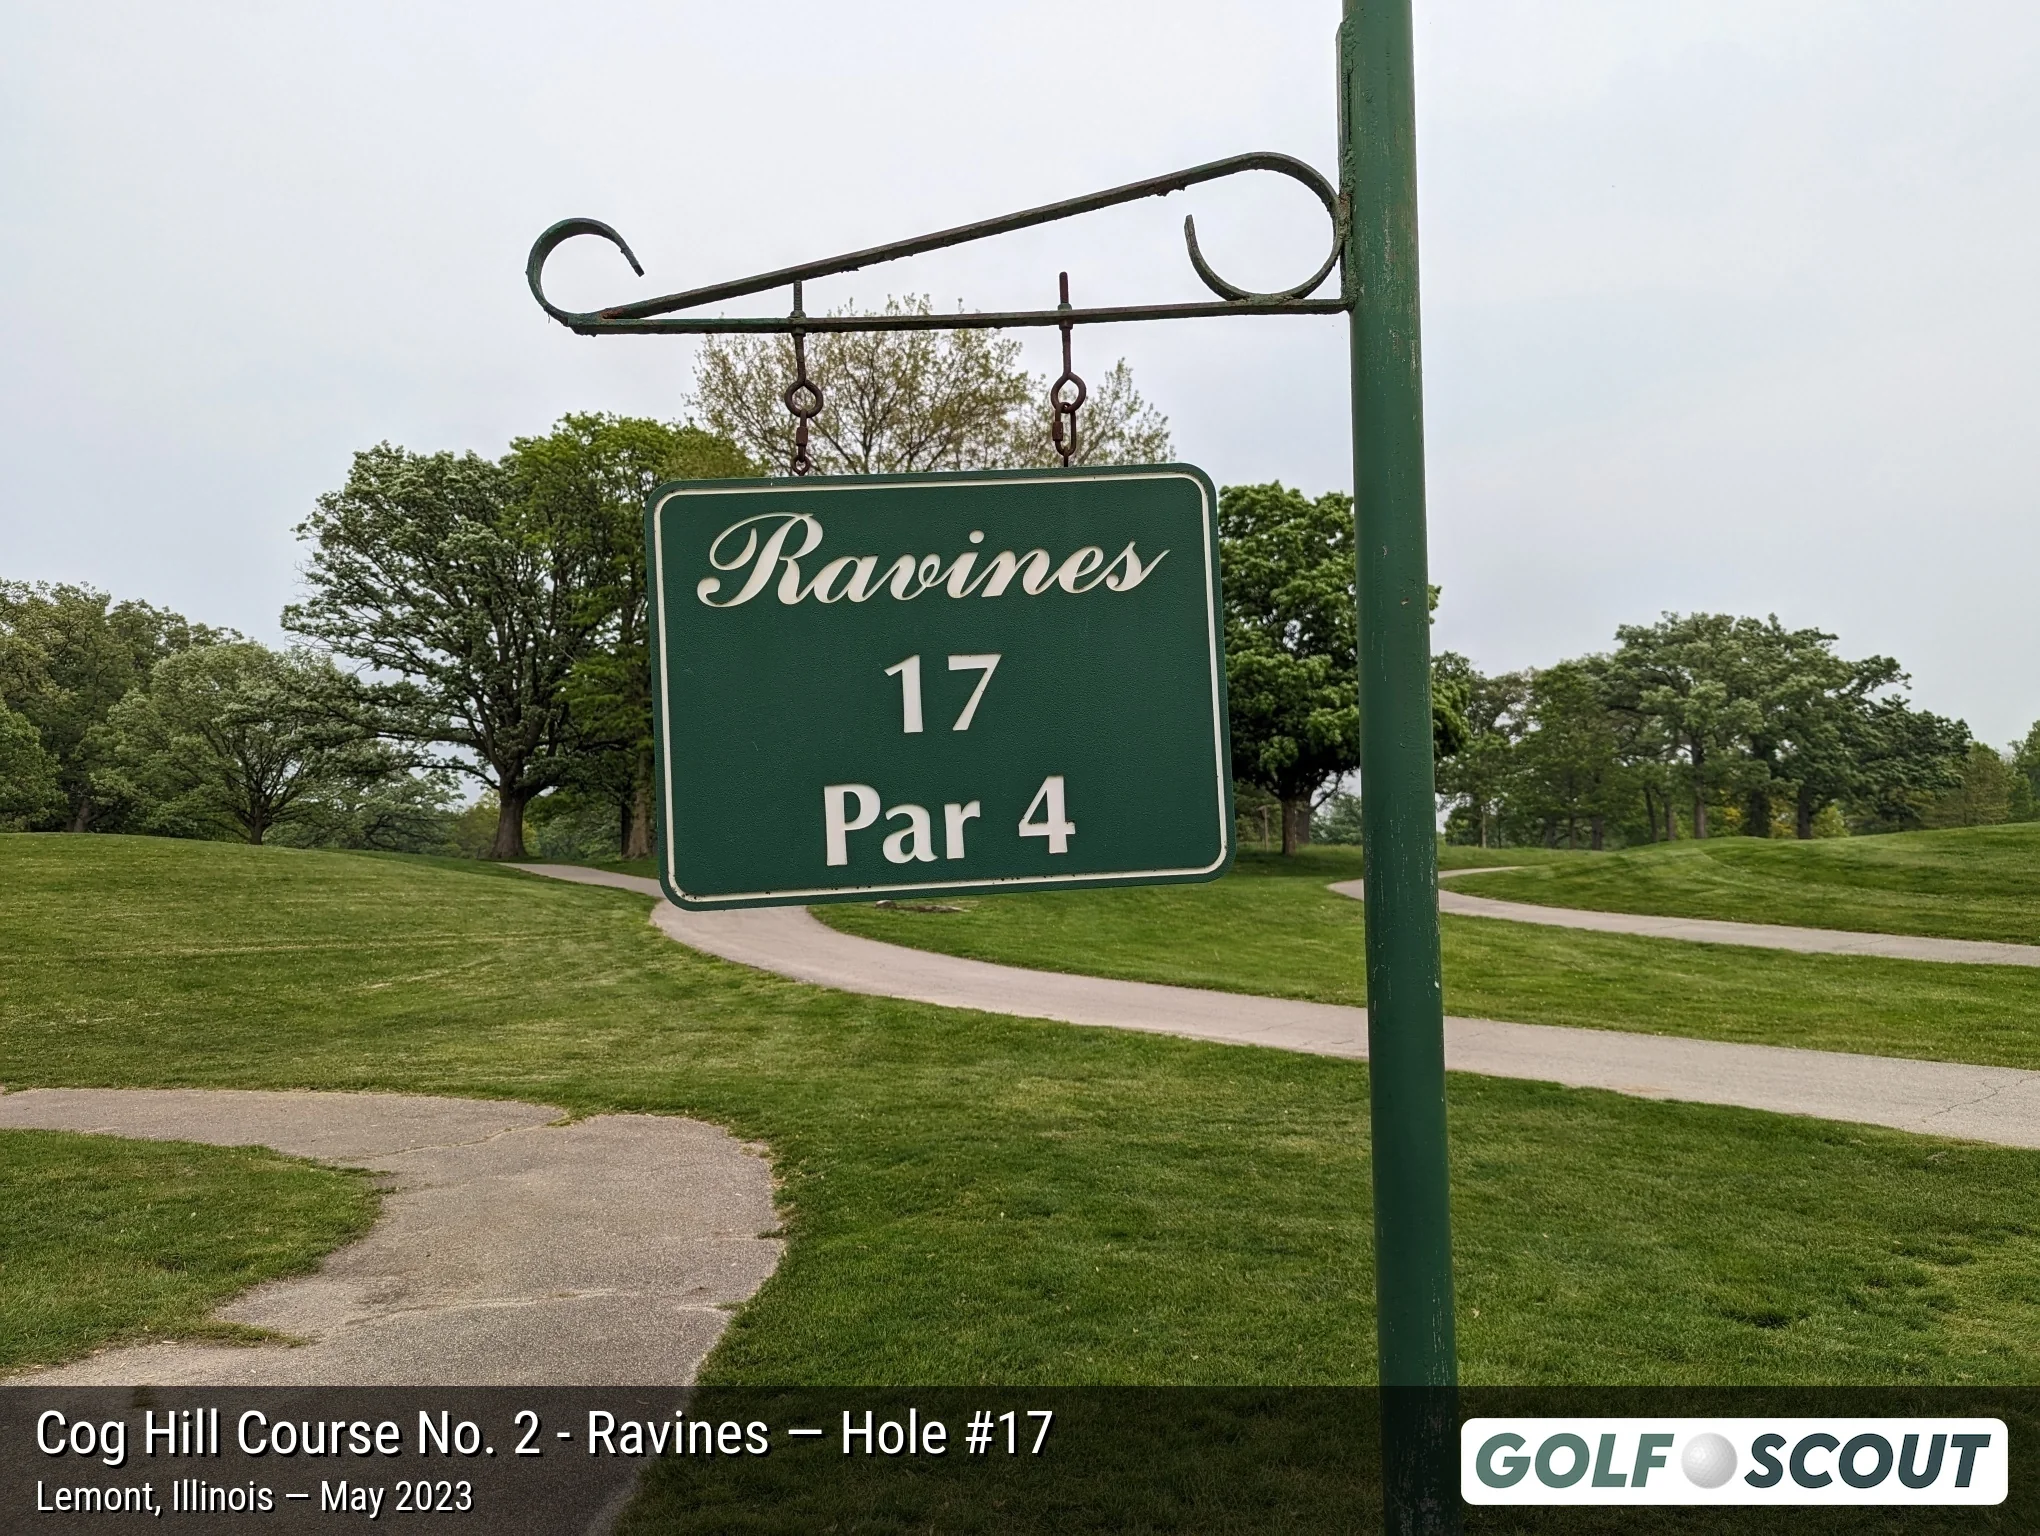
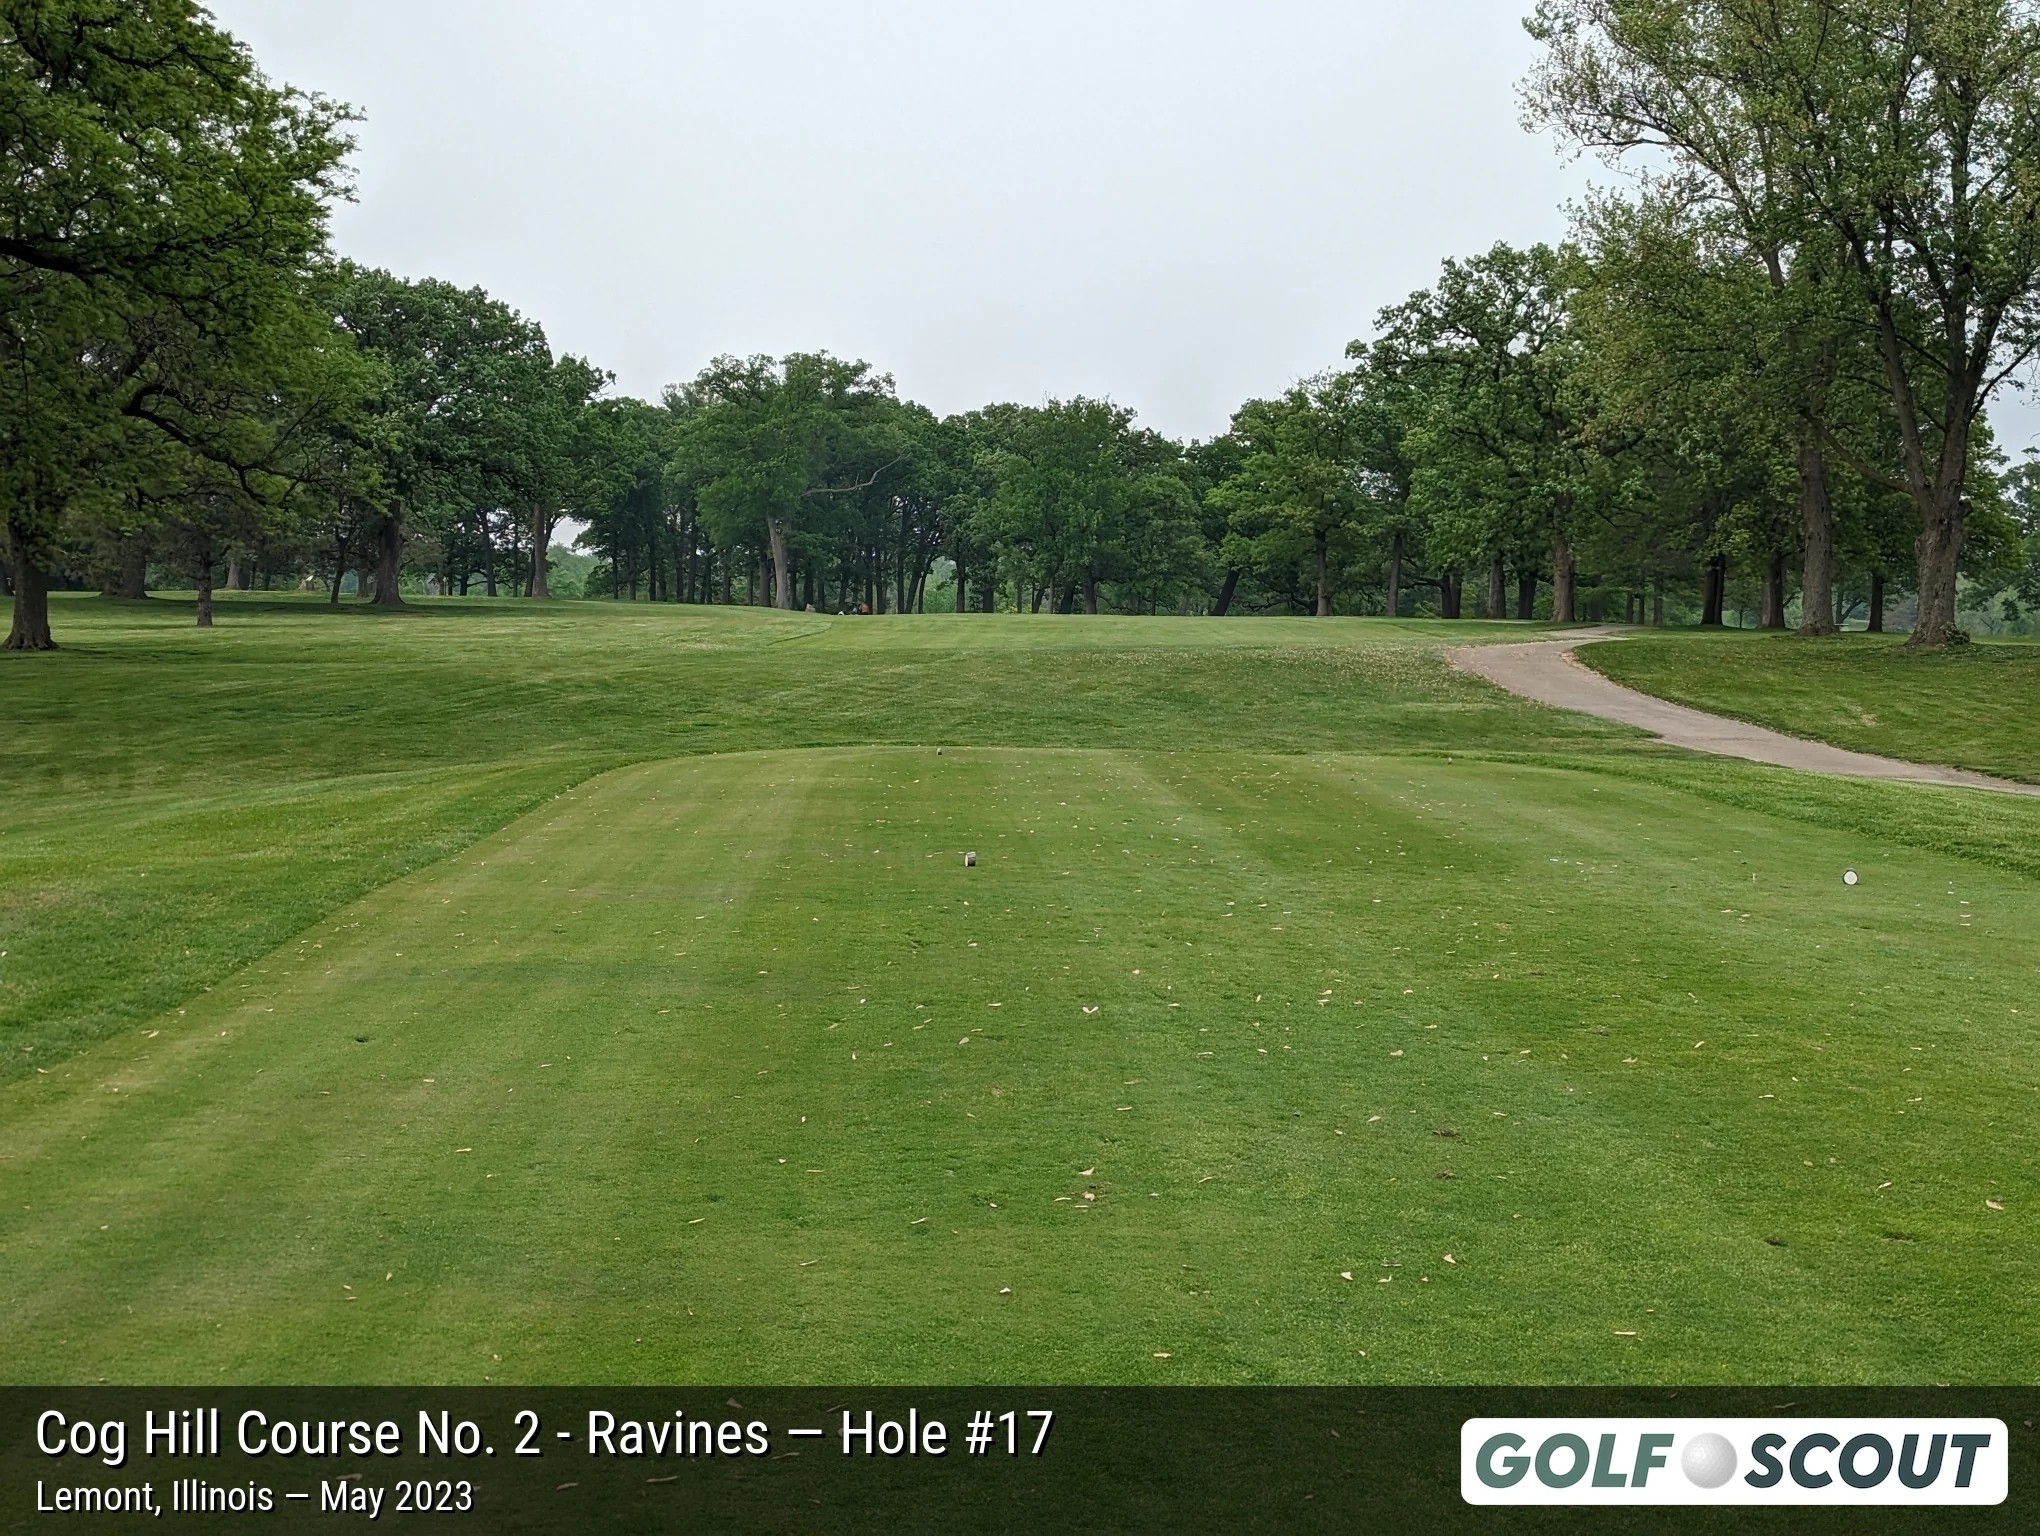
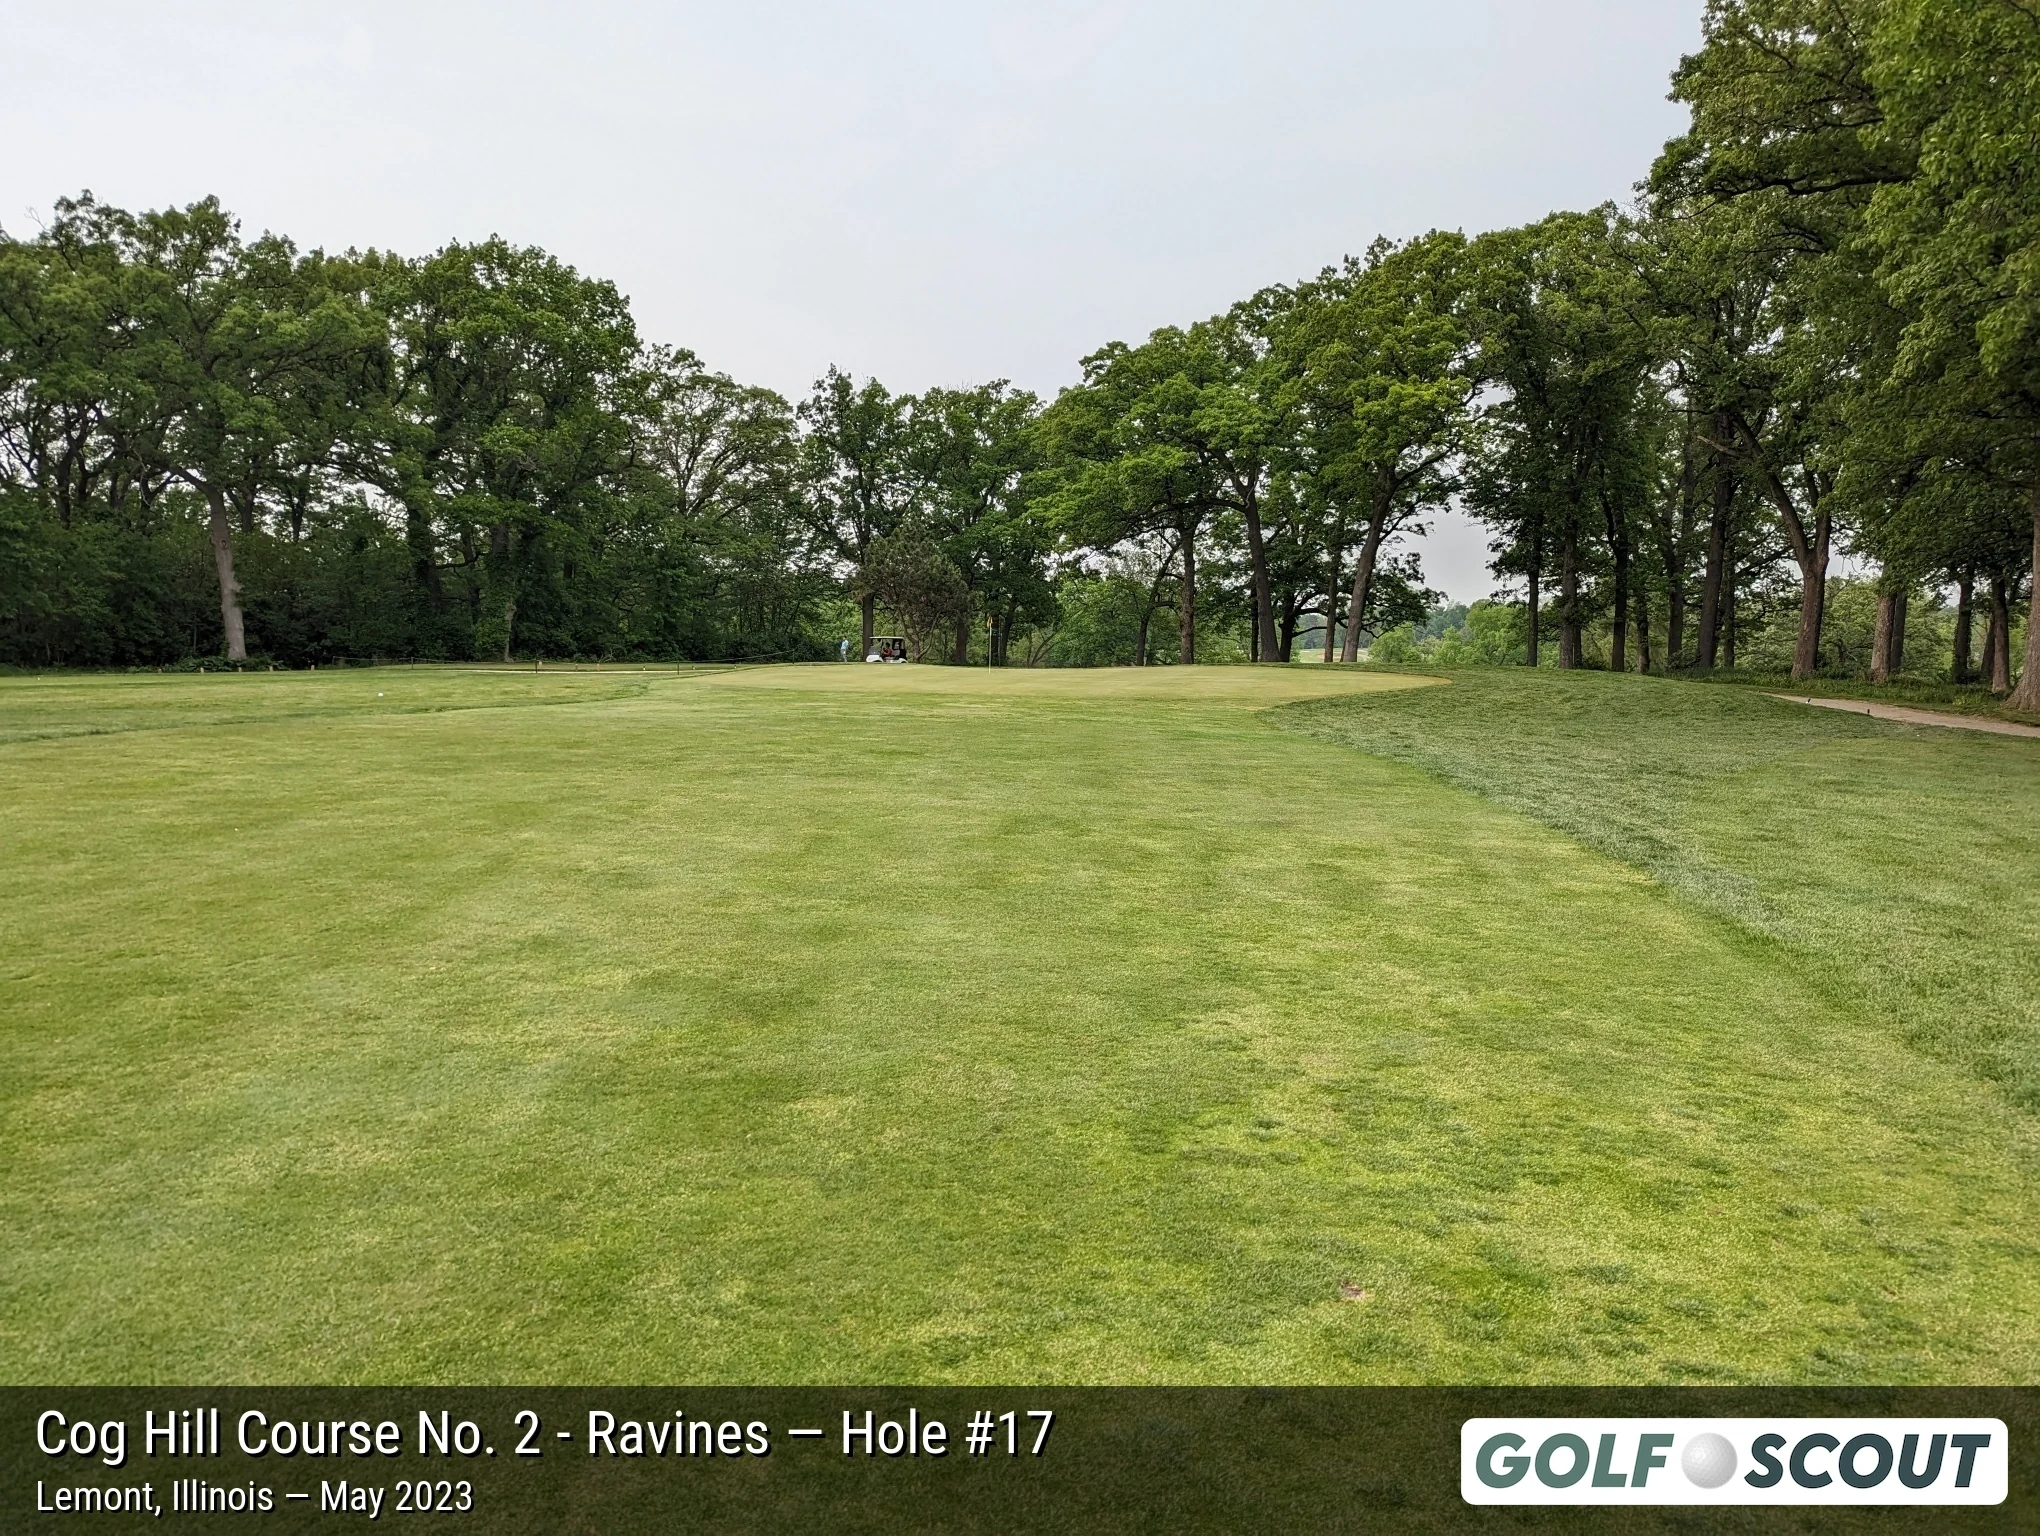
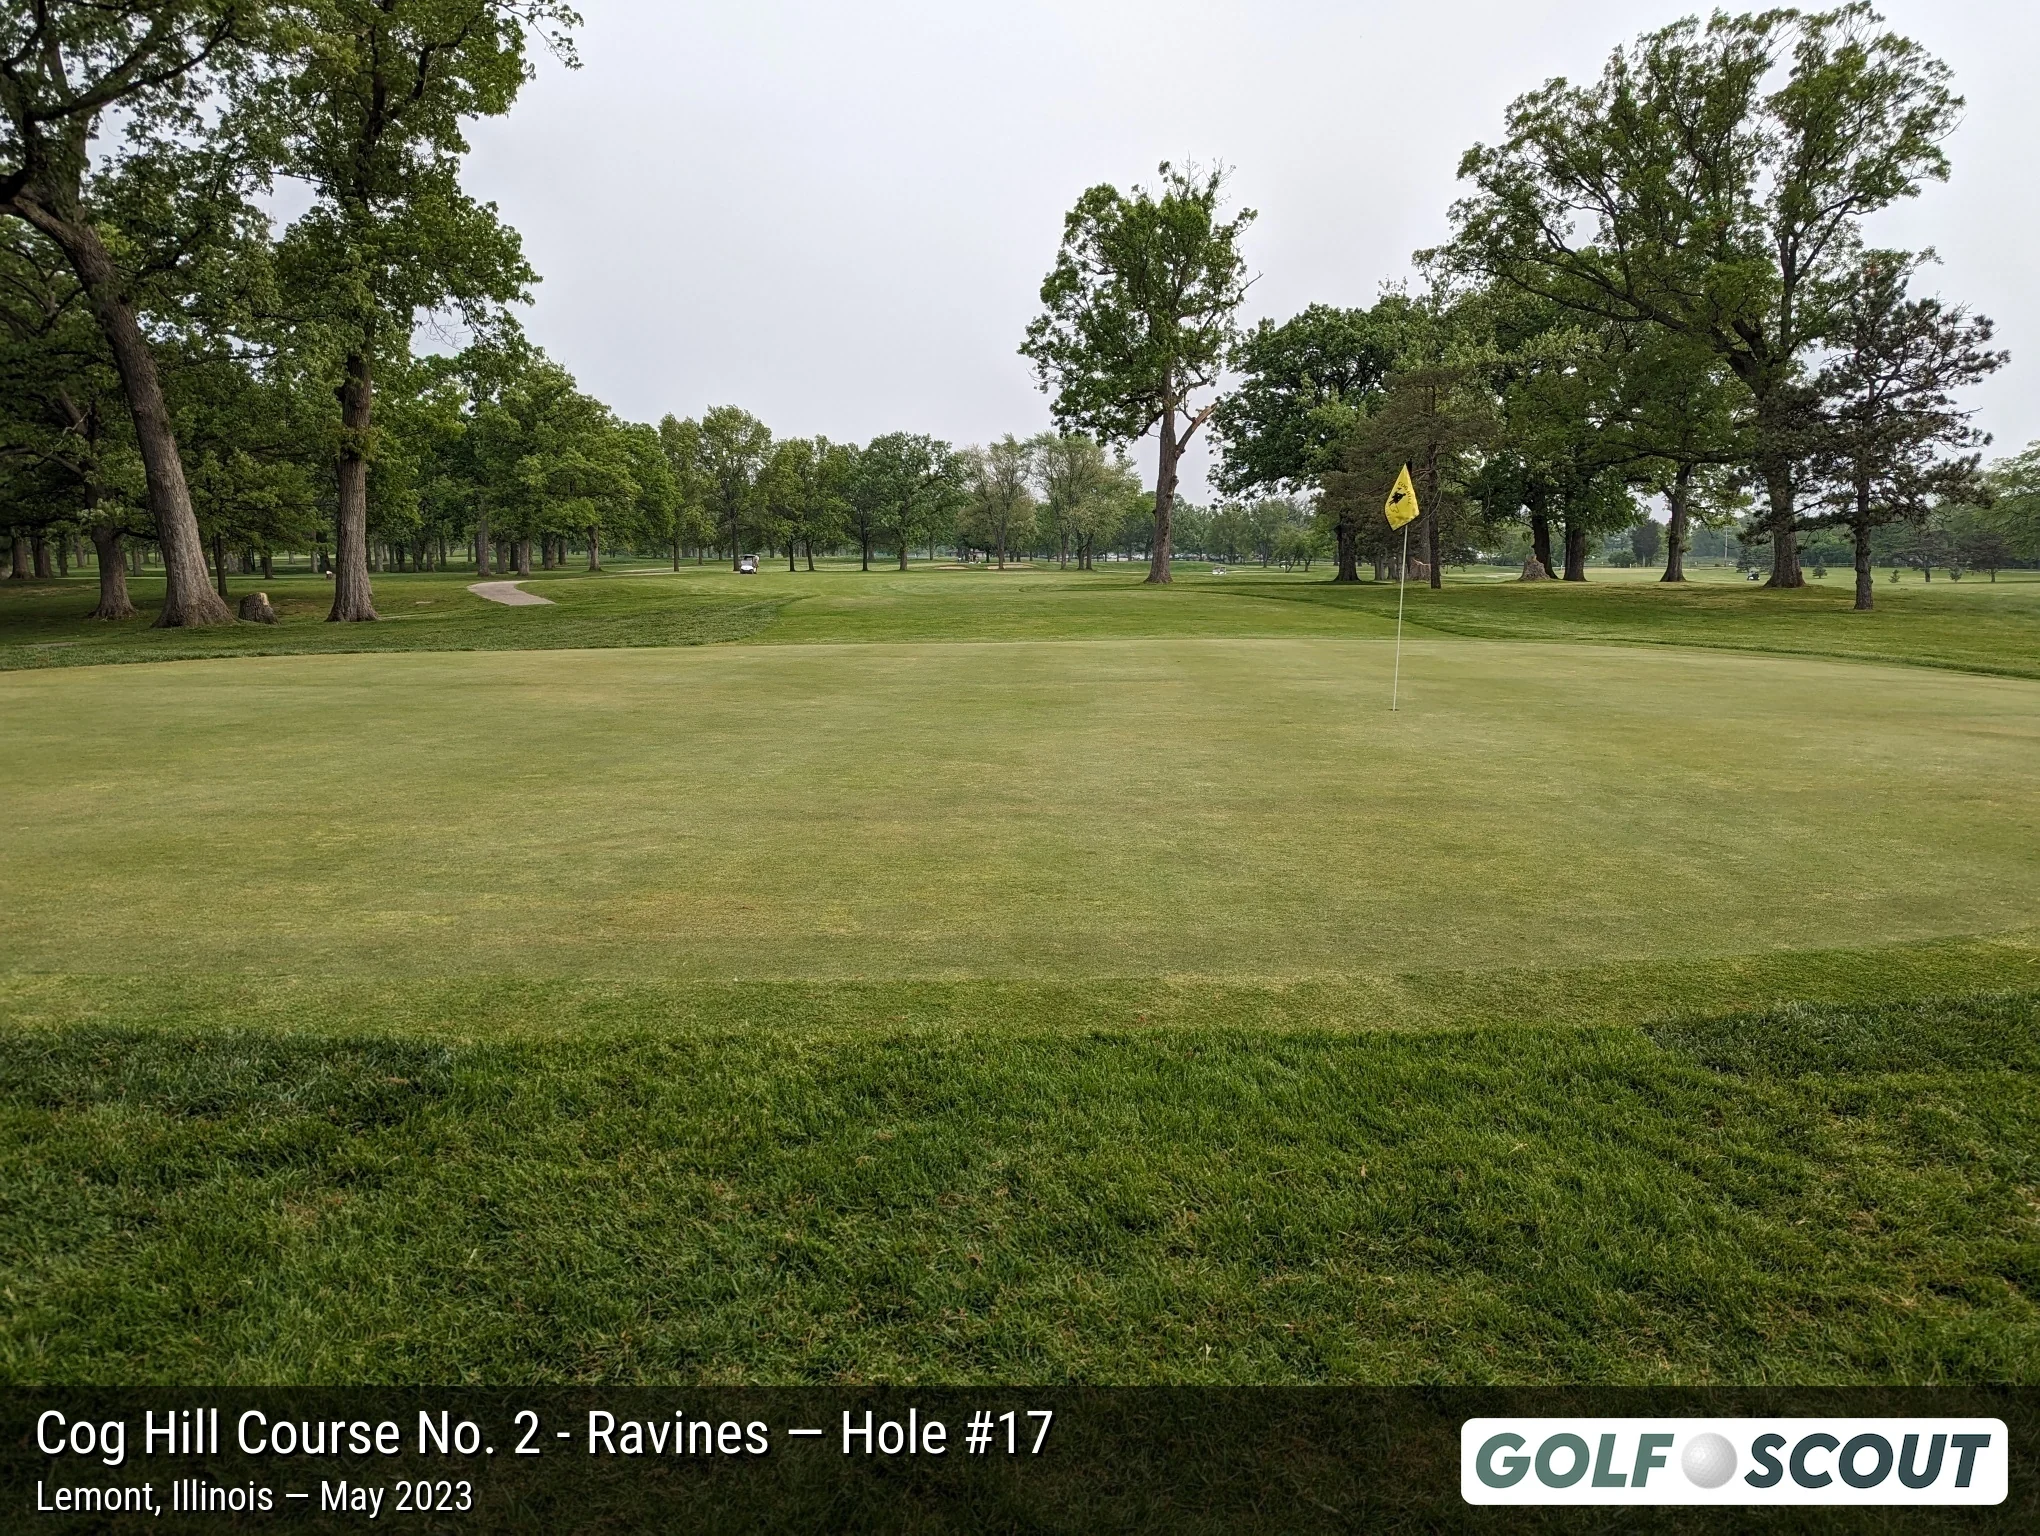
Last photo is typically a reverse angle from behind the green.
Hole 18
6 photos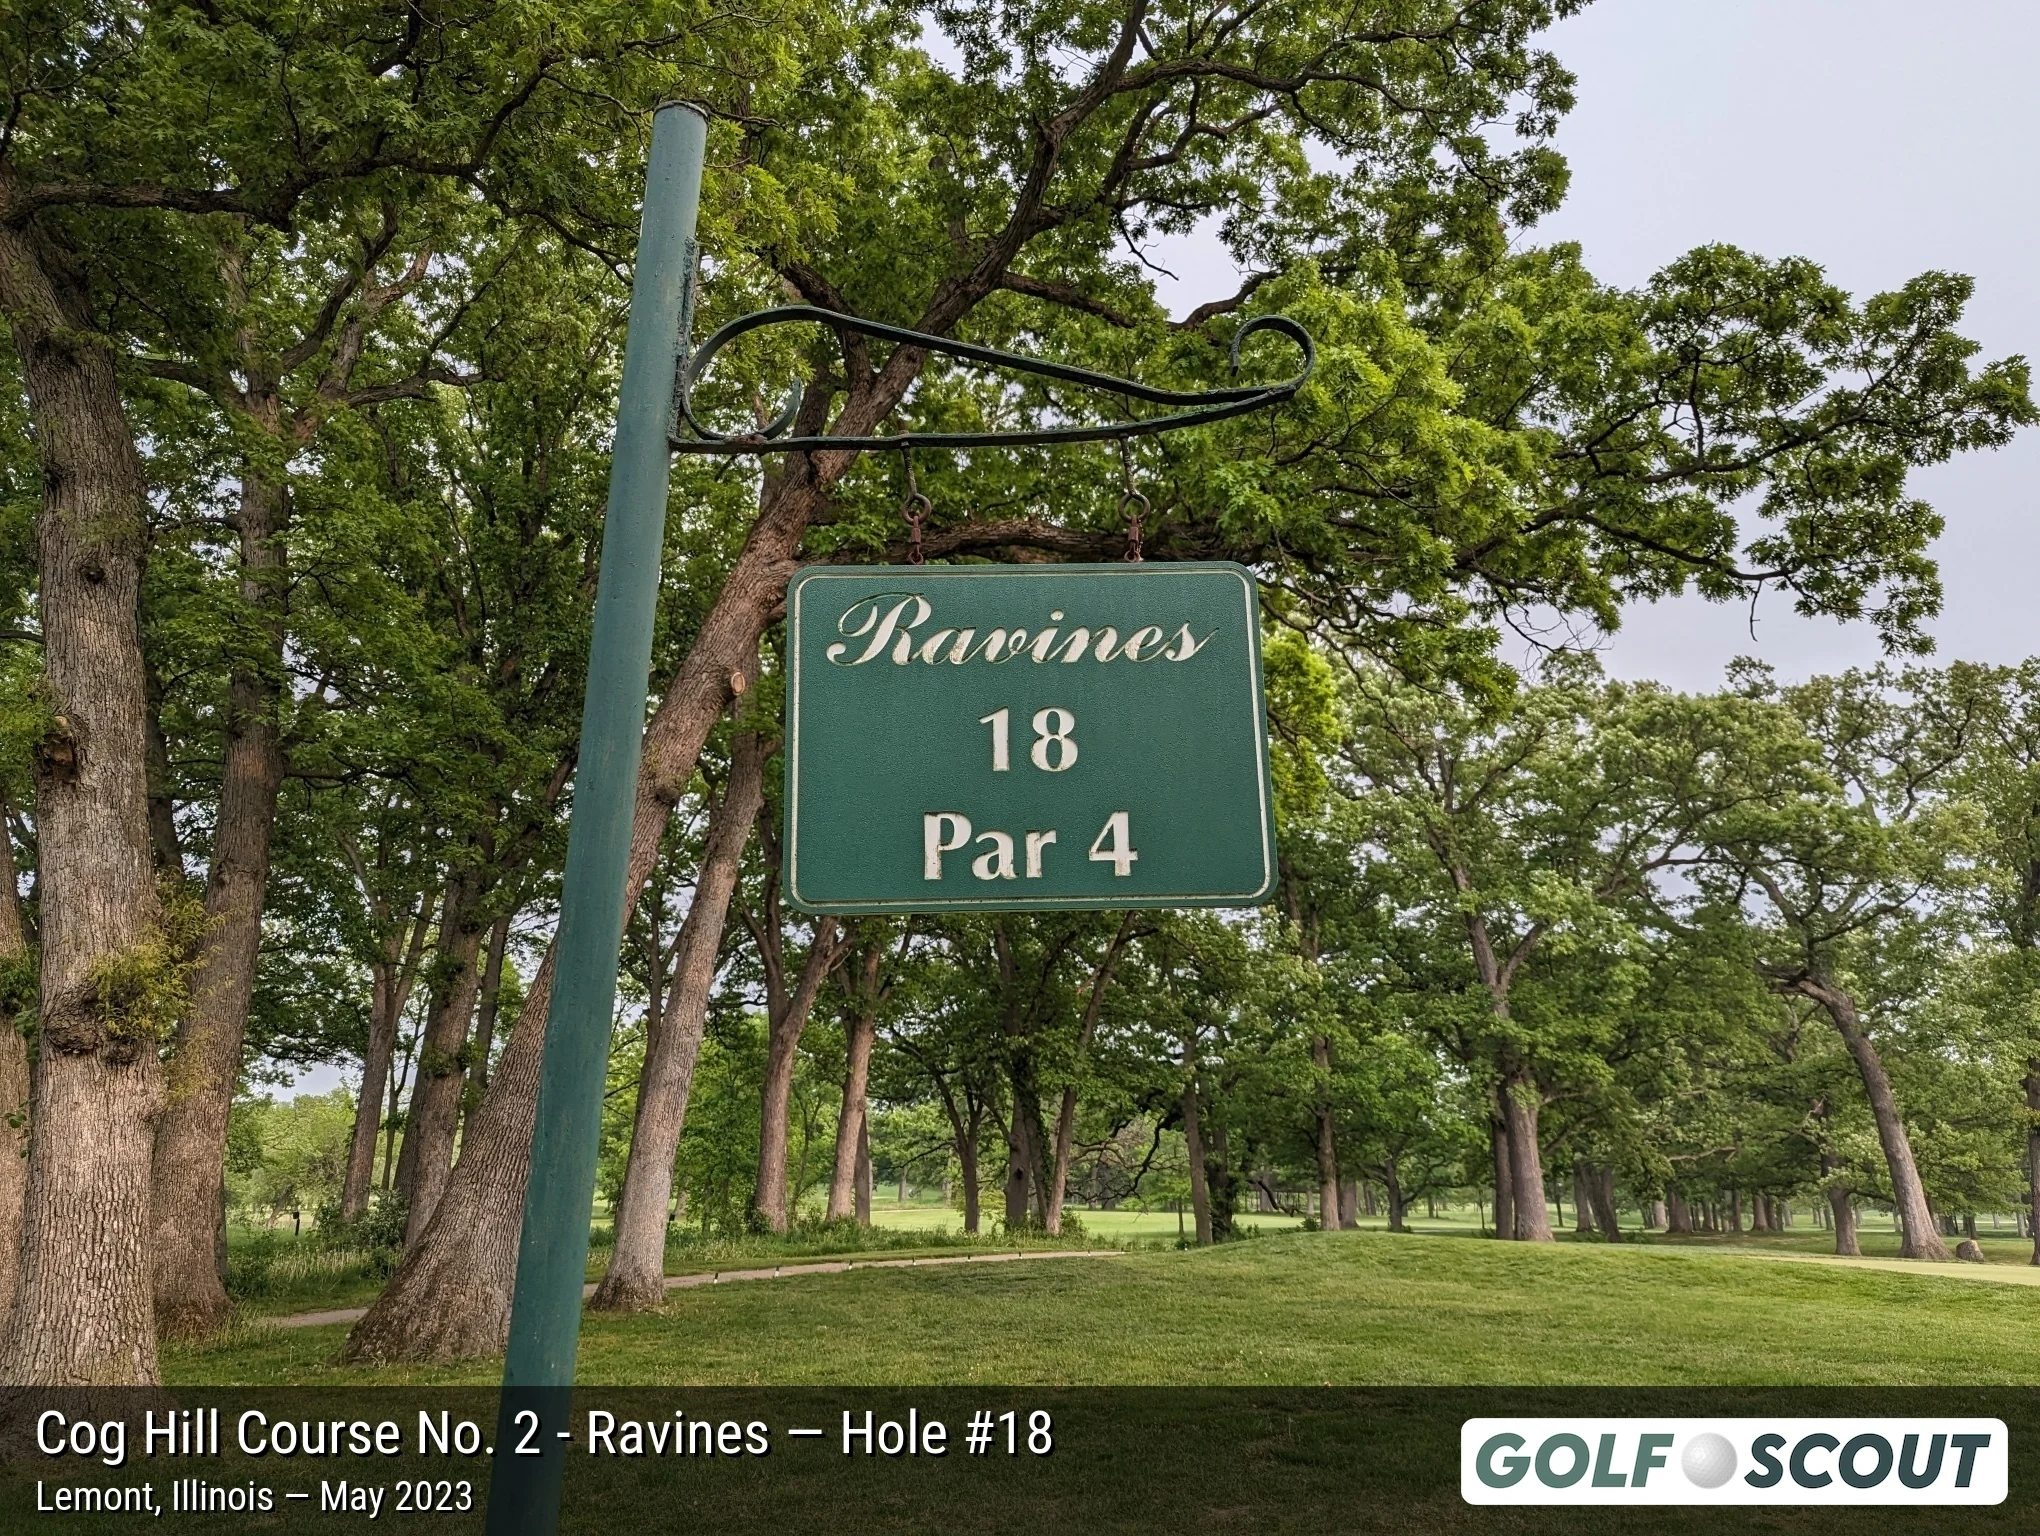
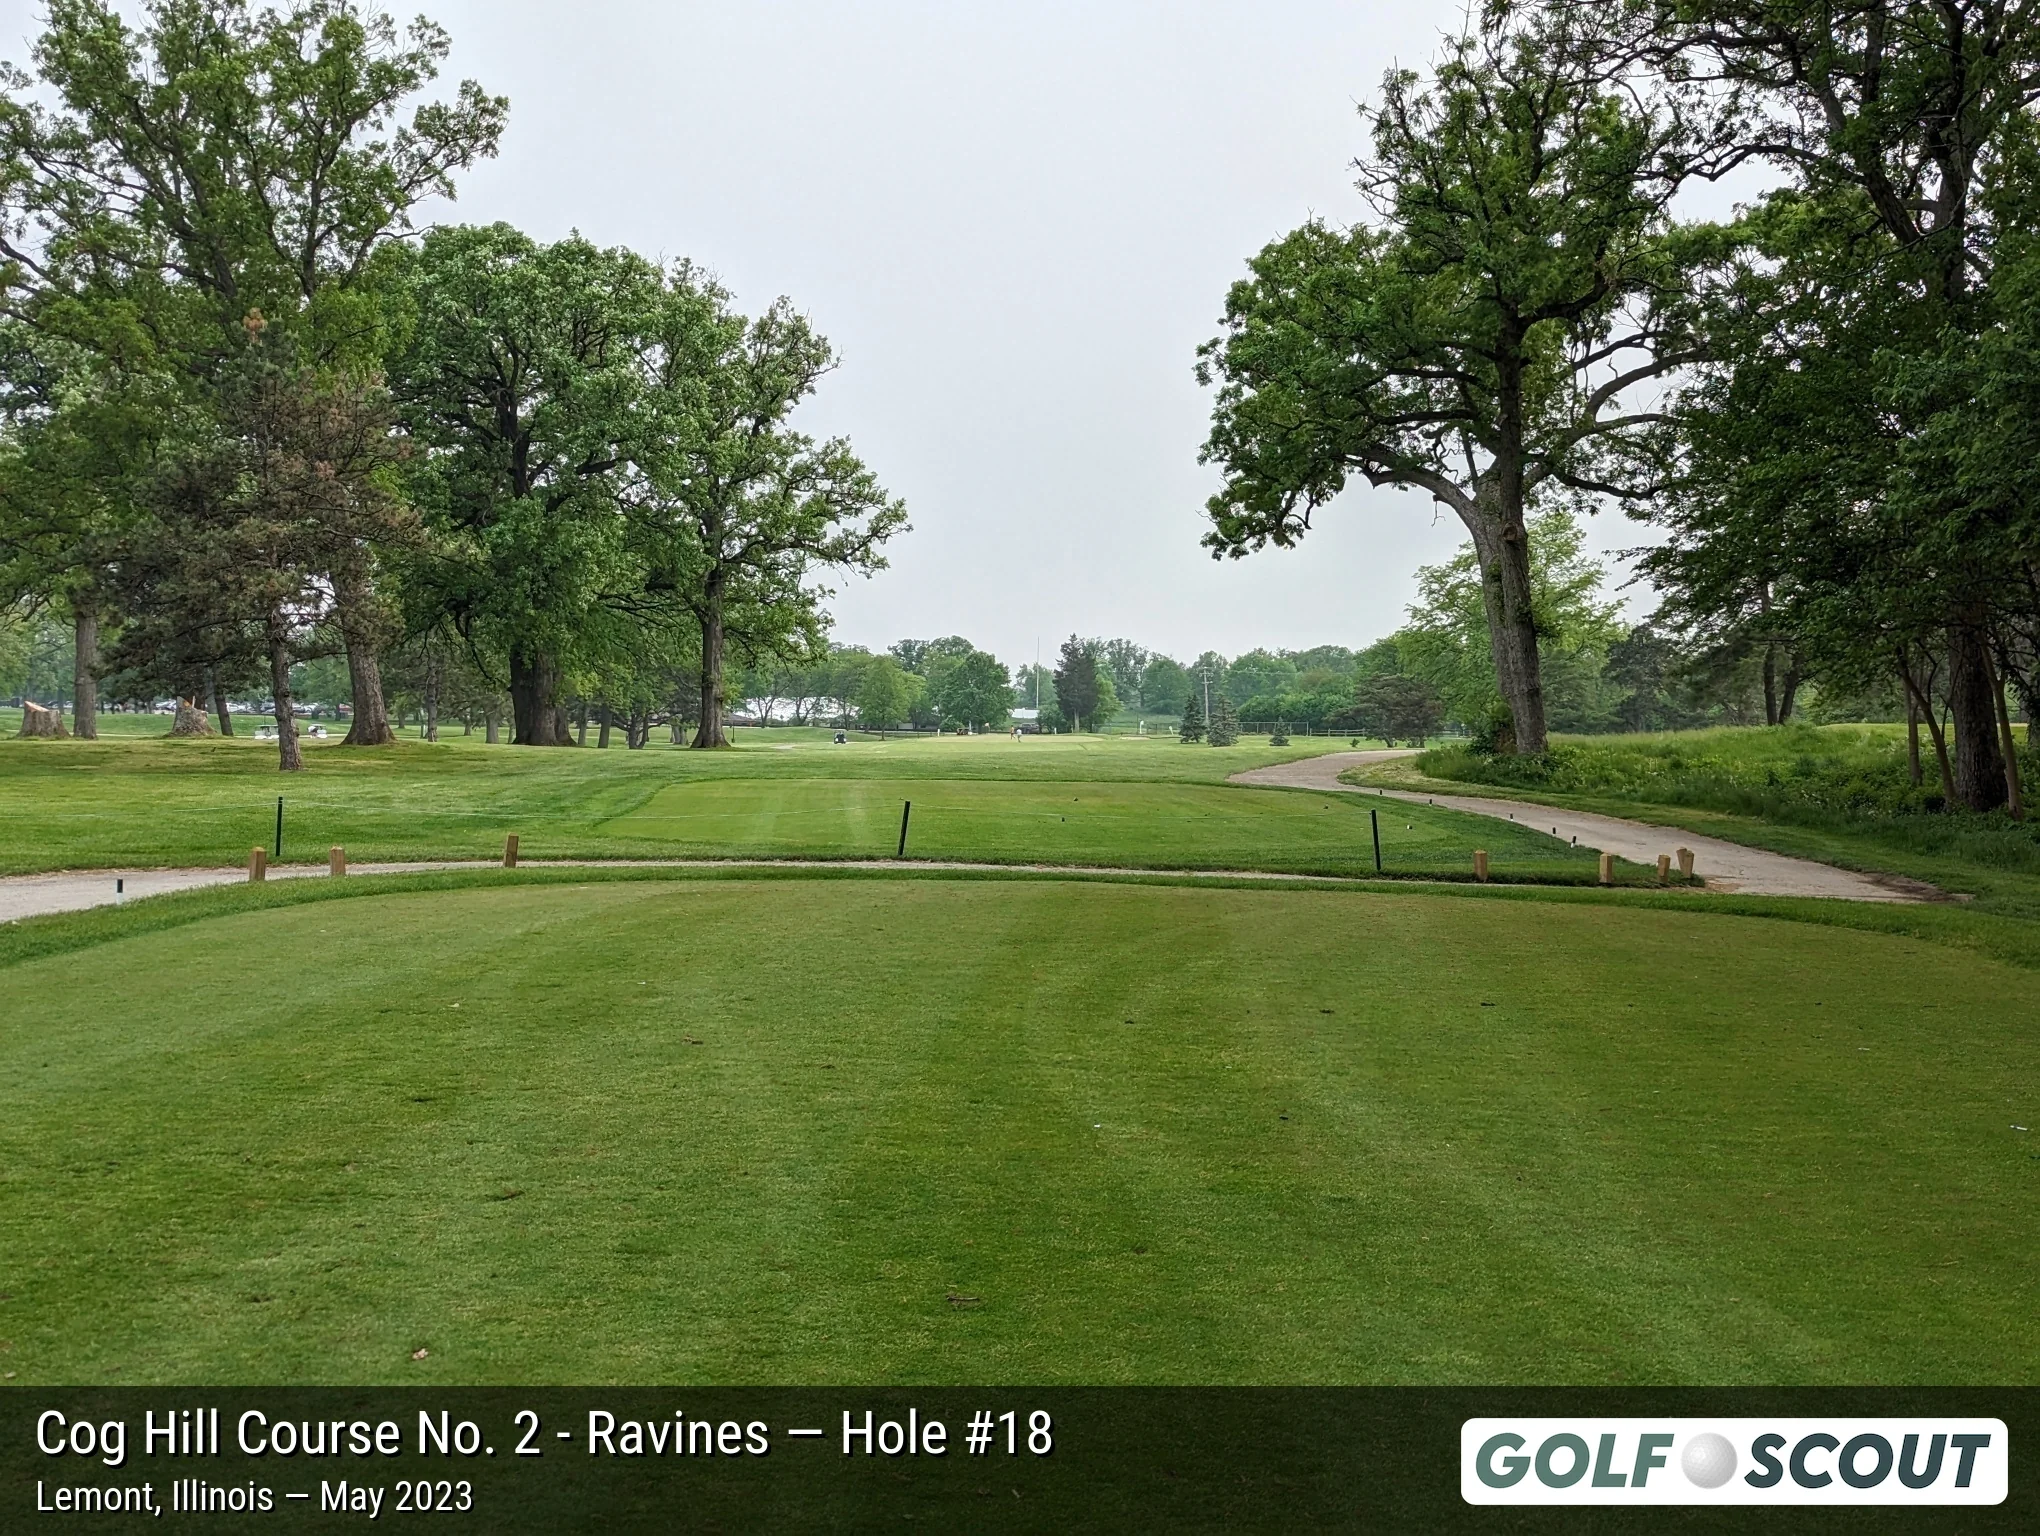
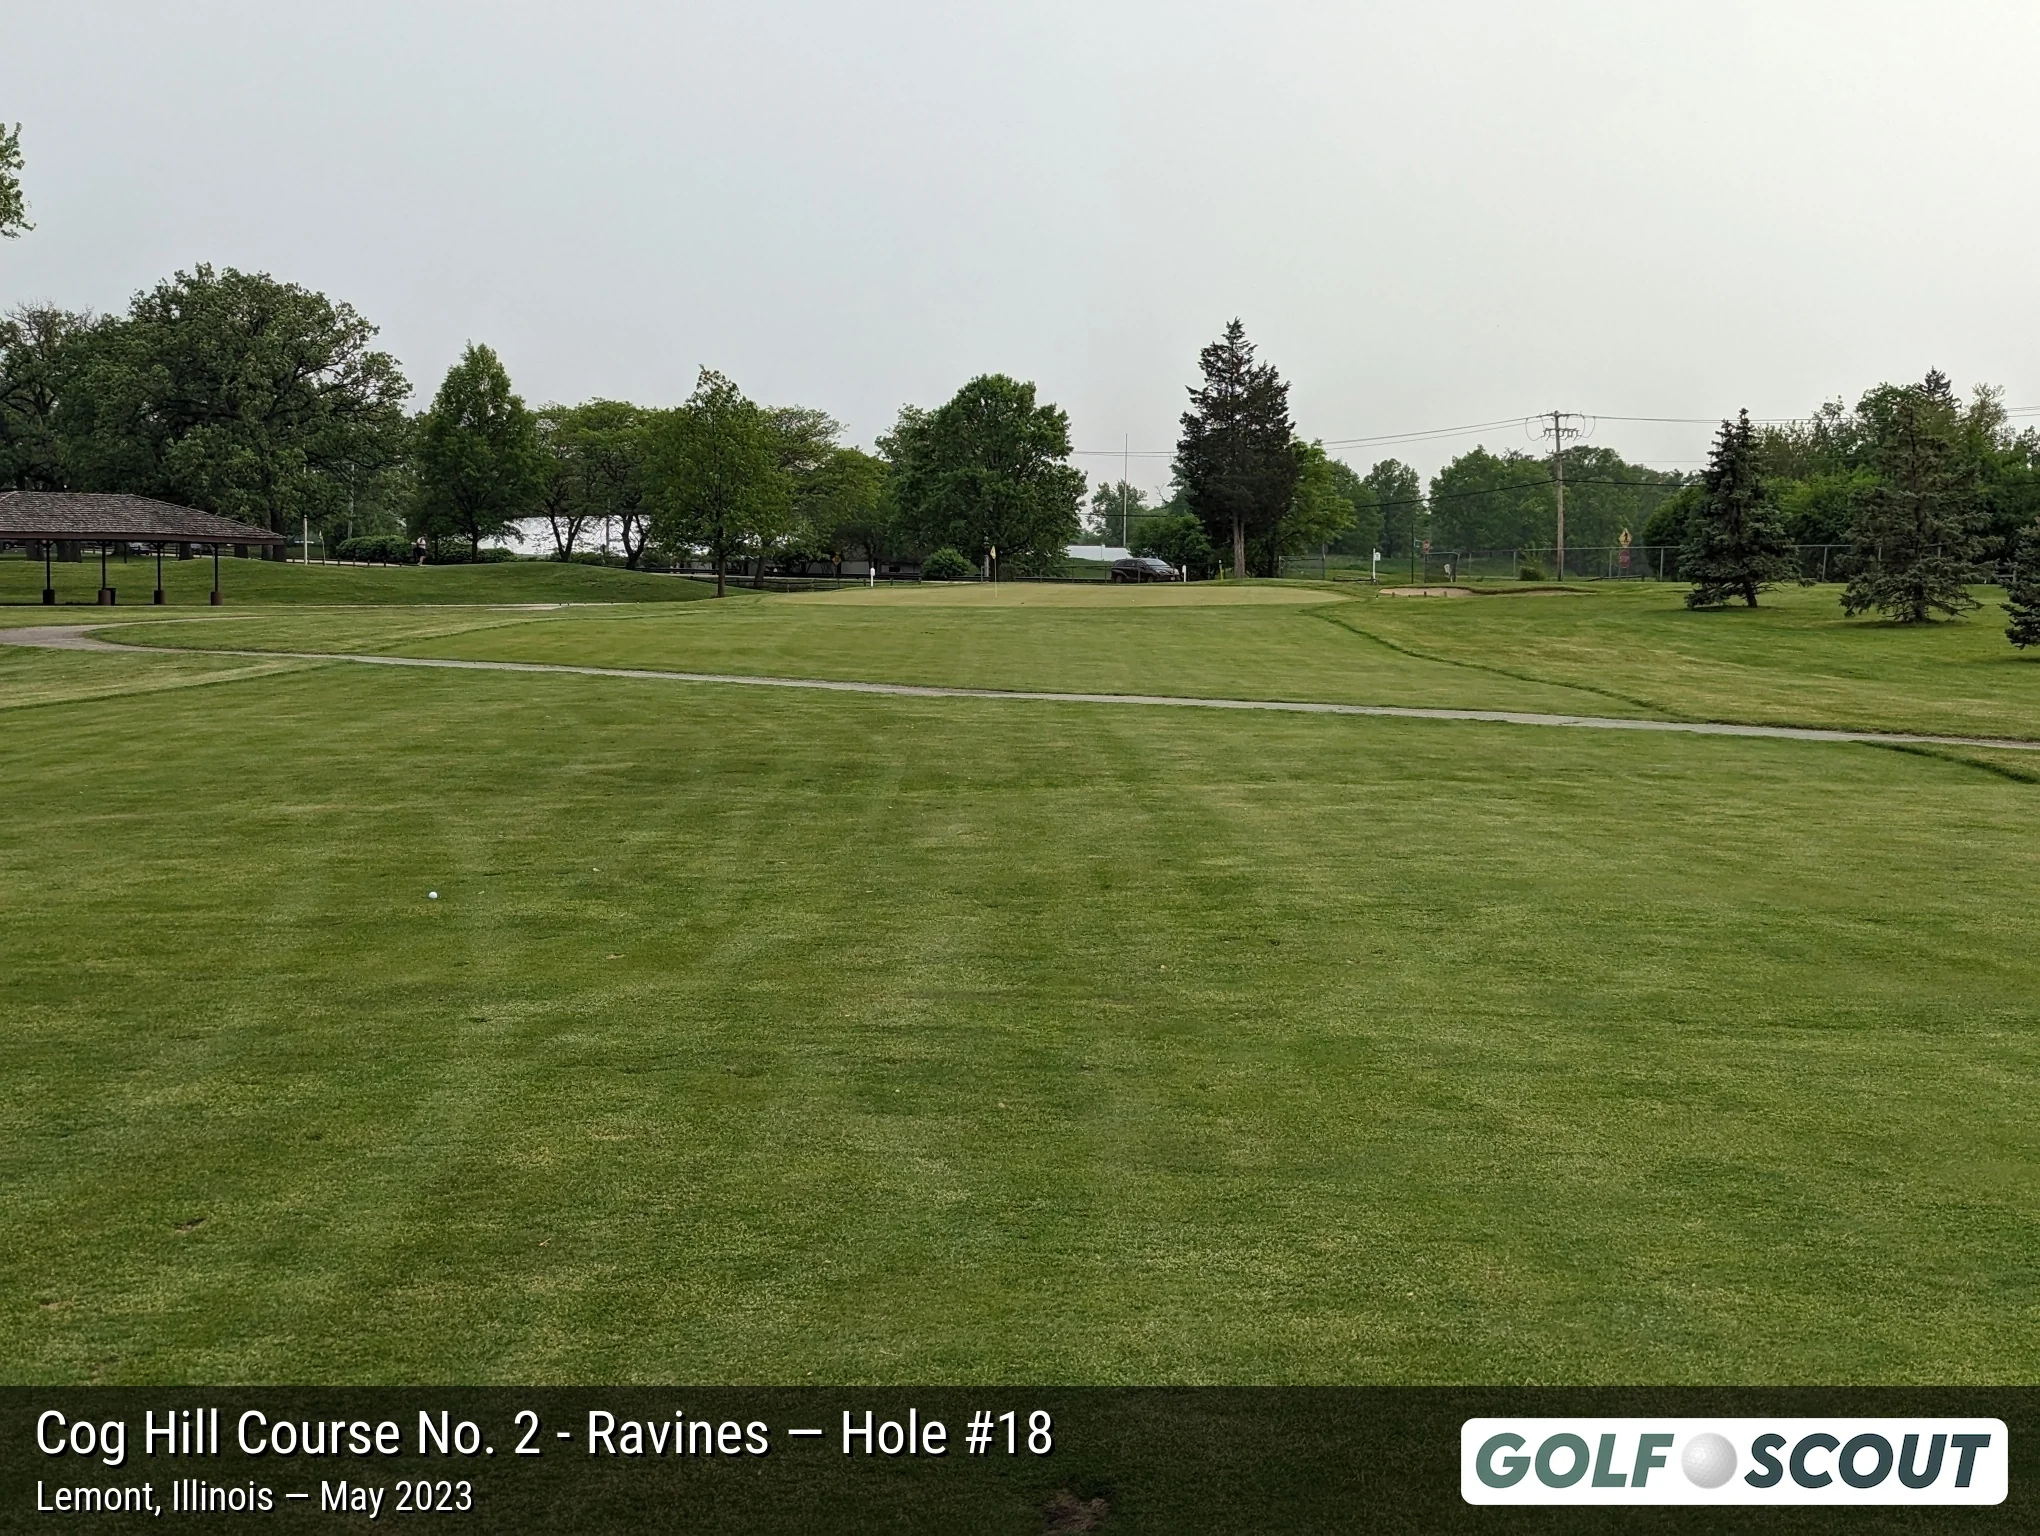
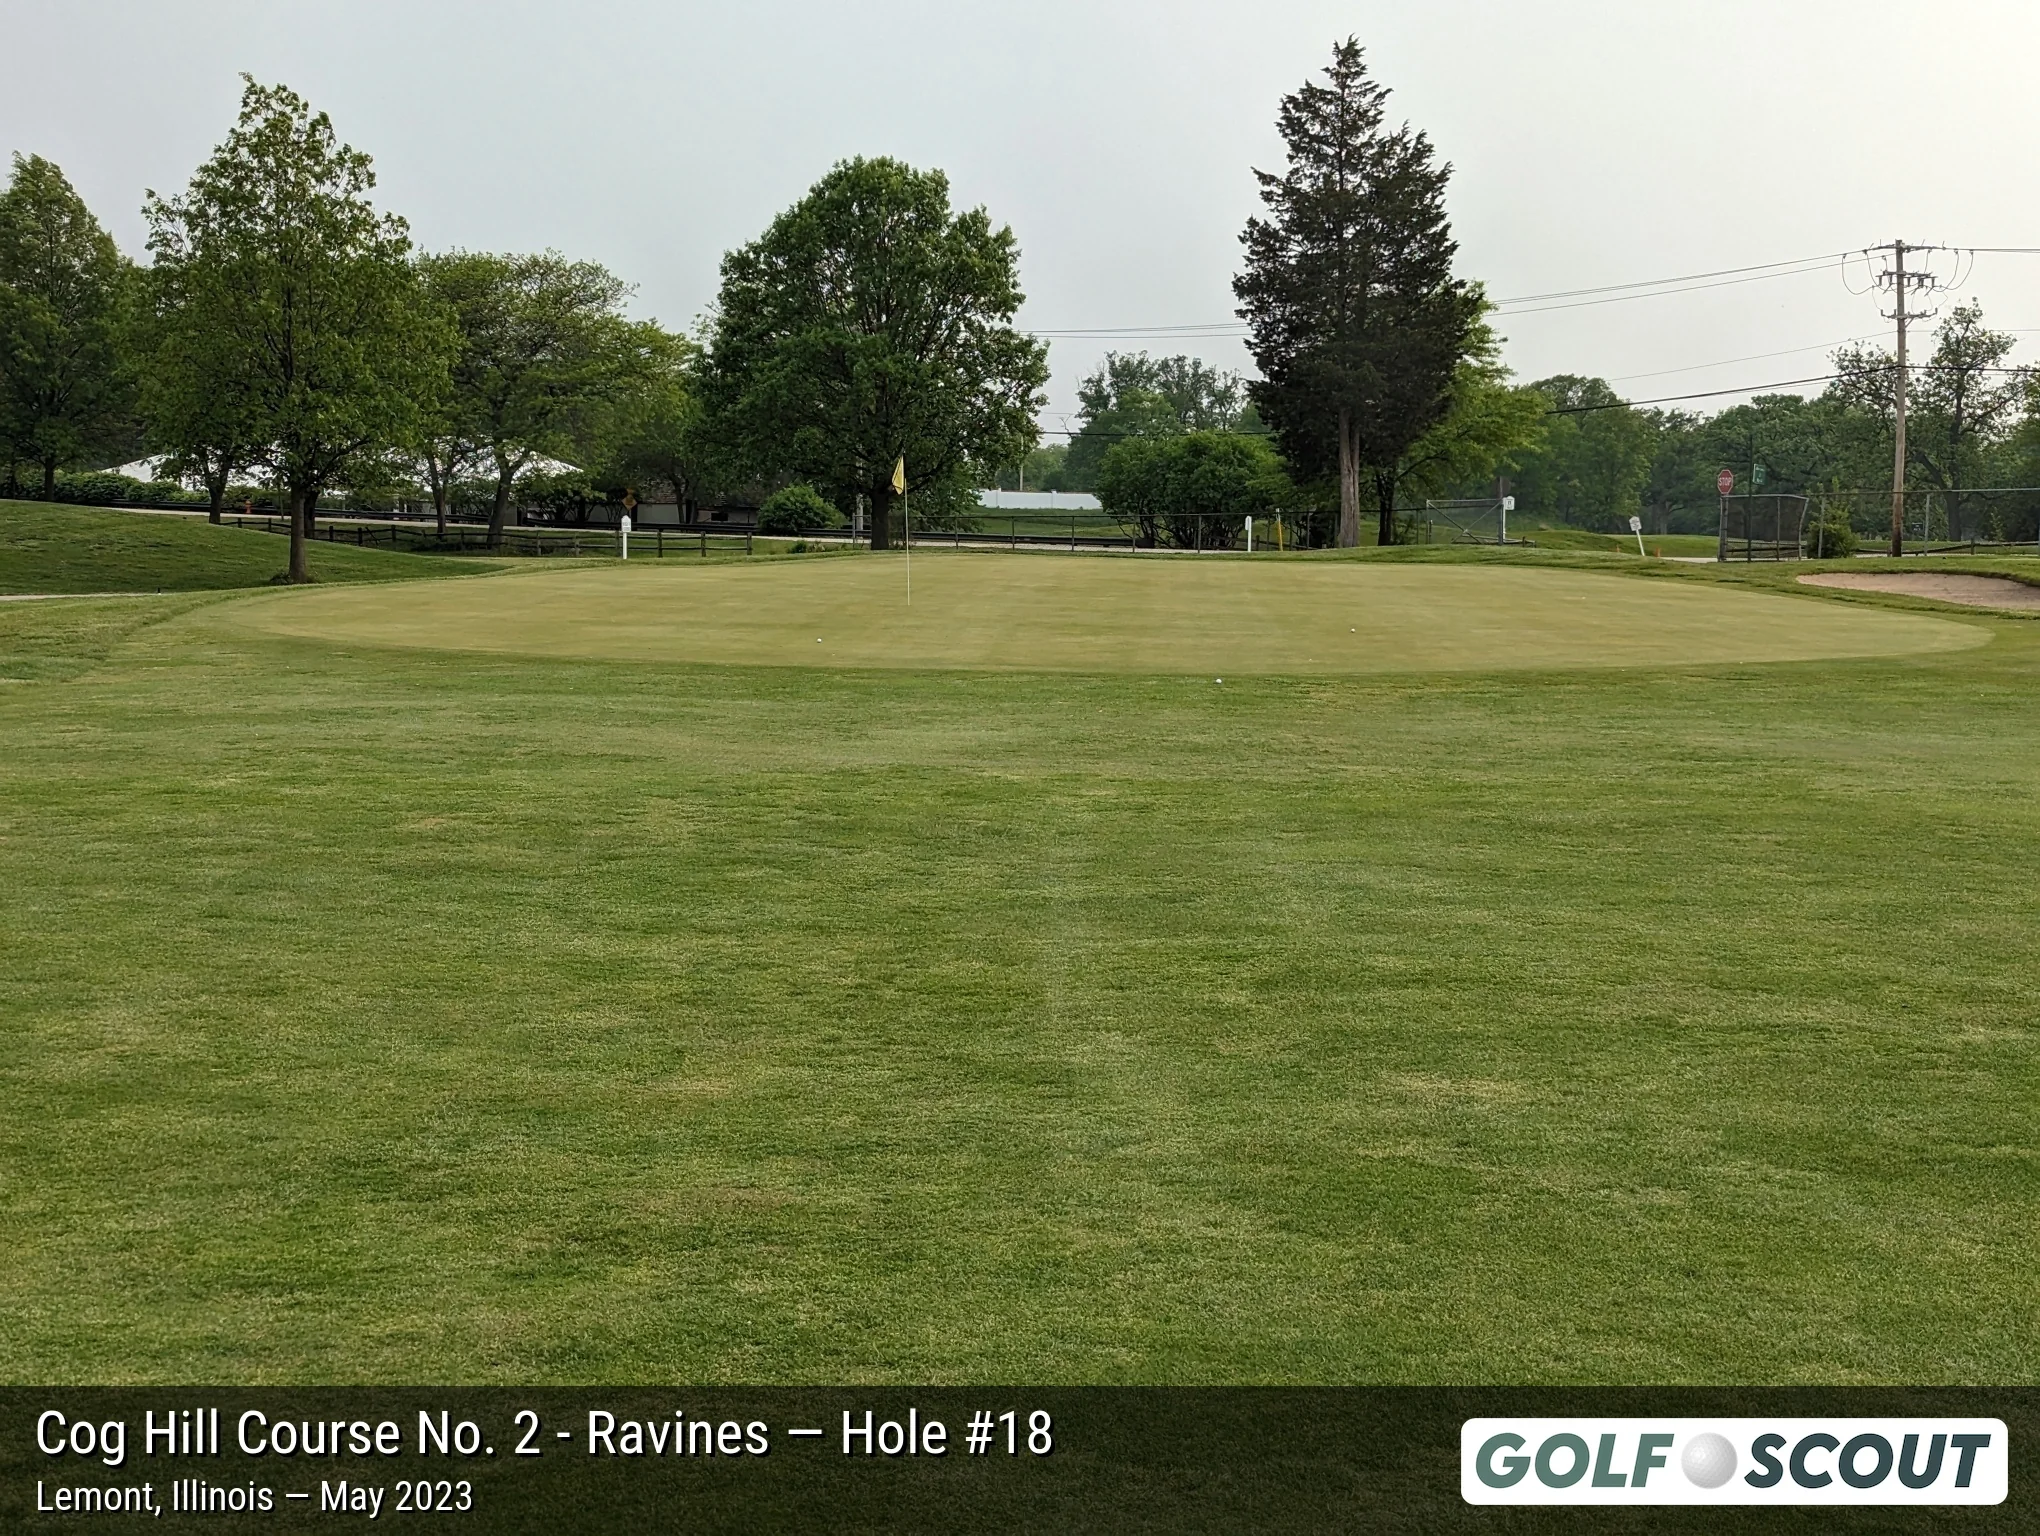
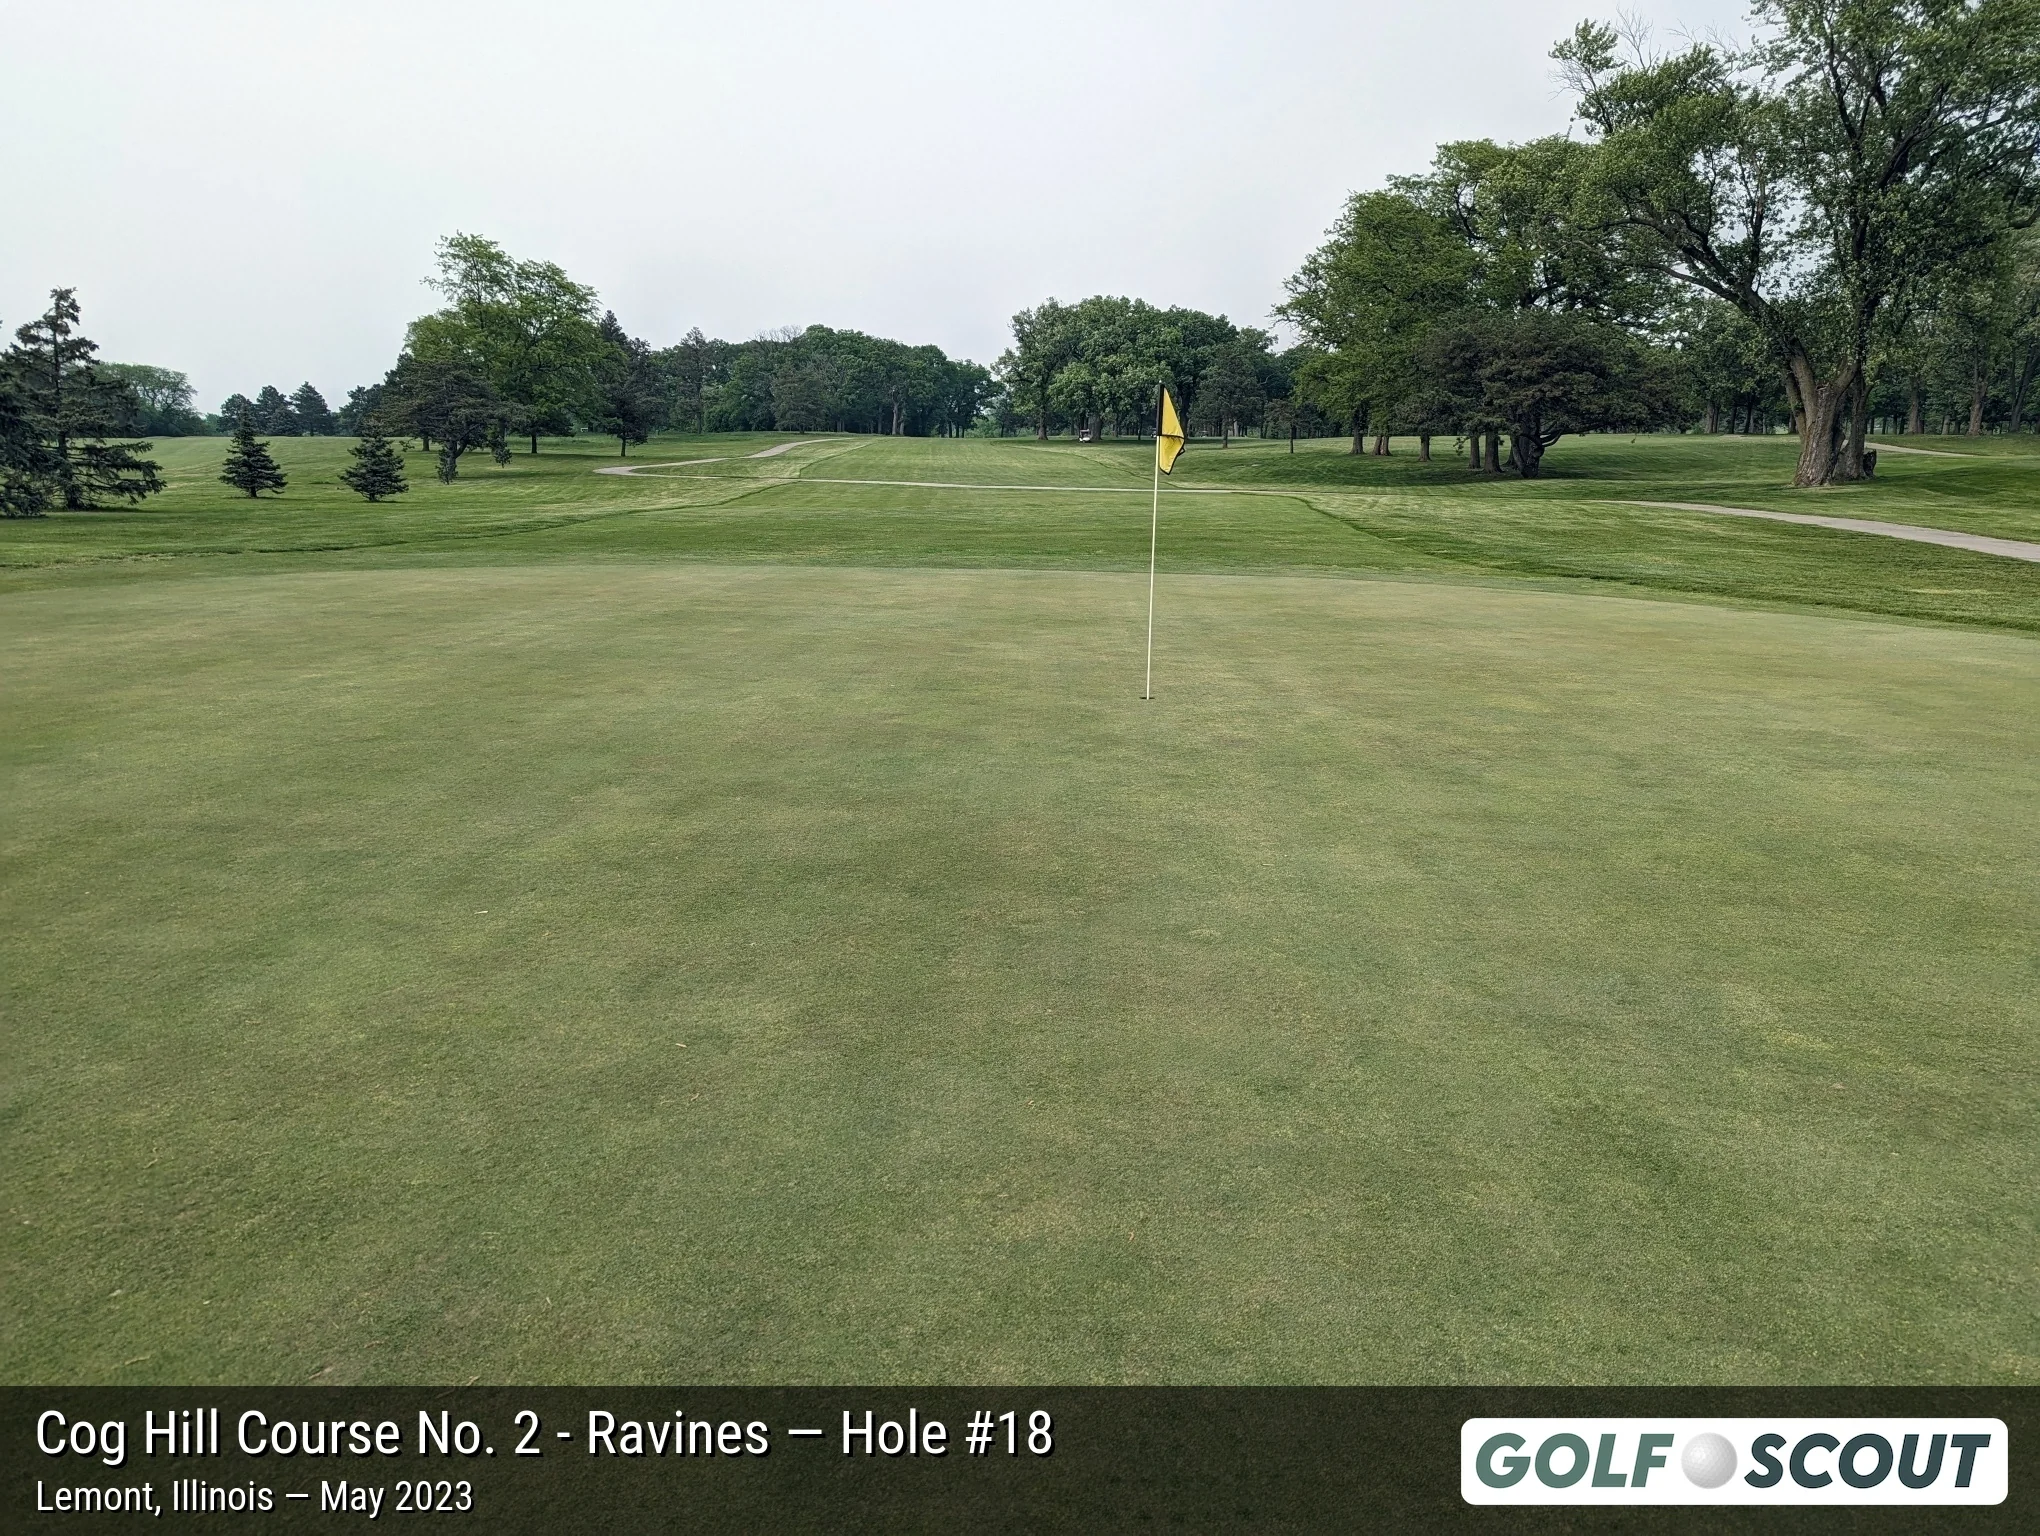
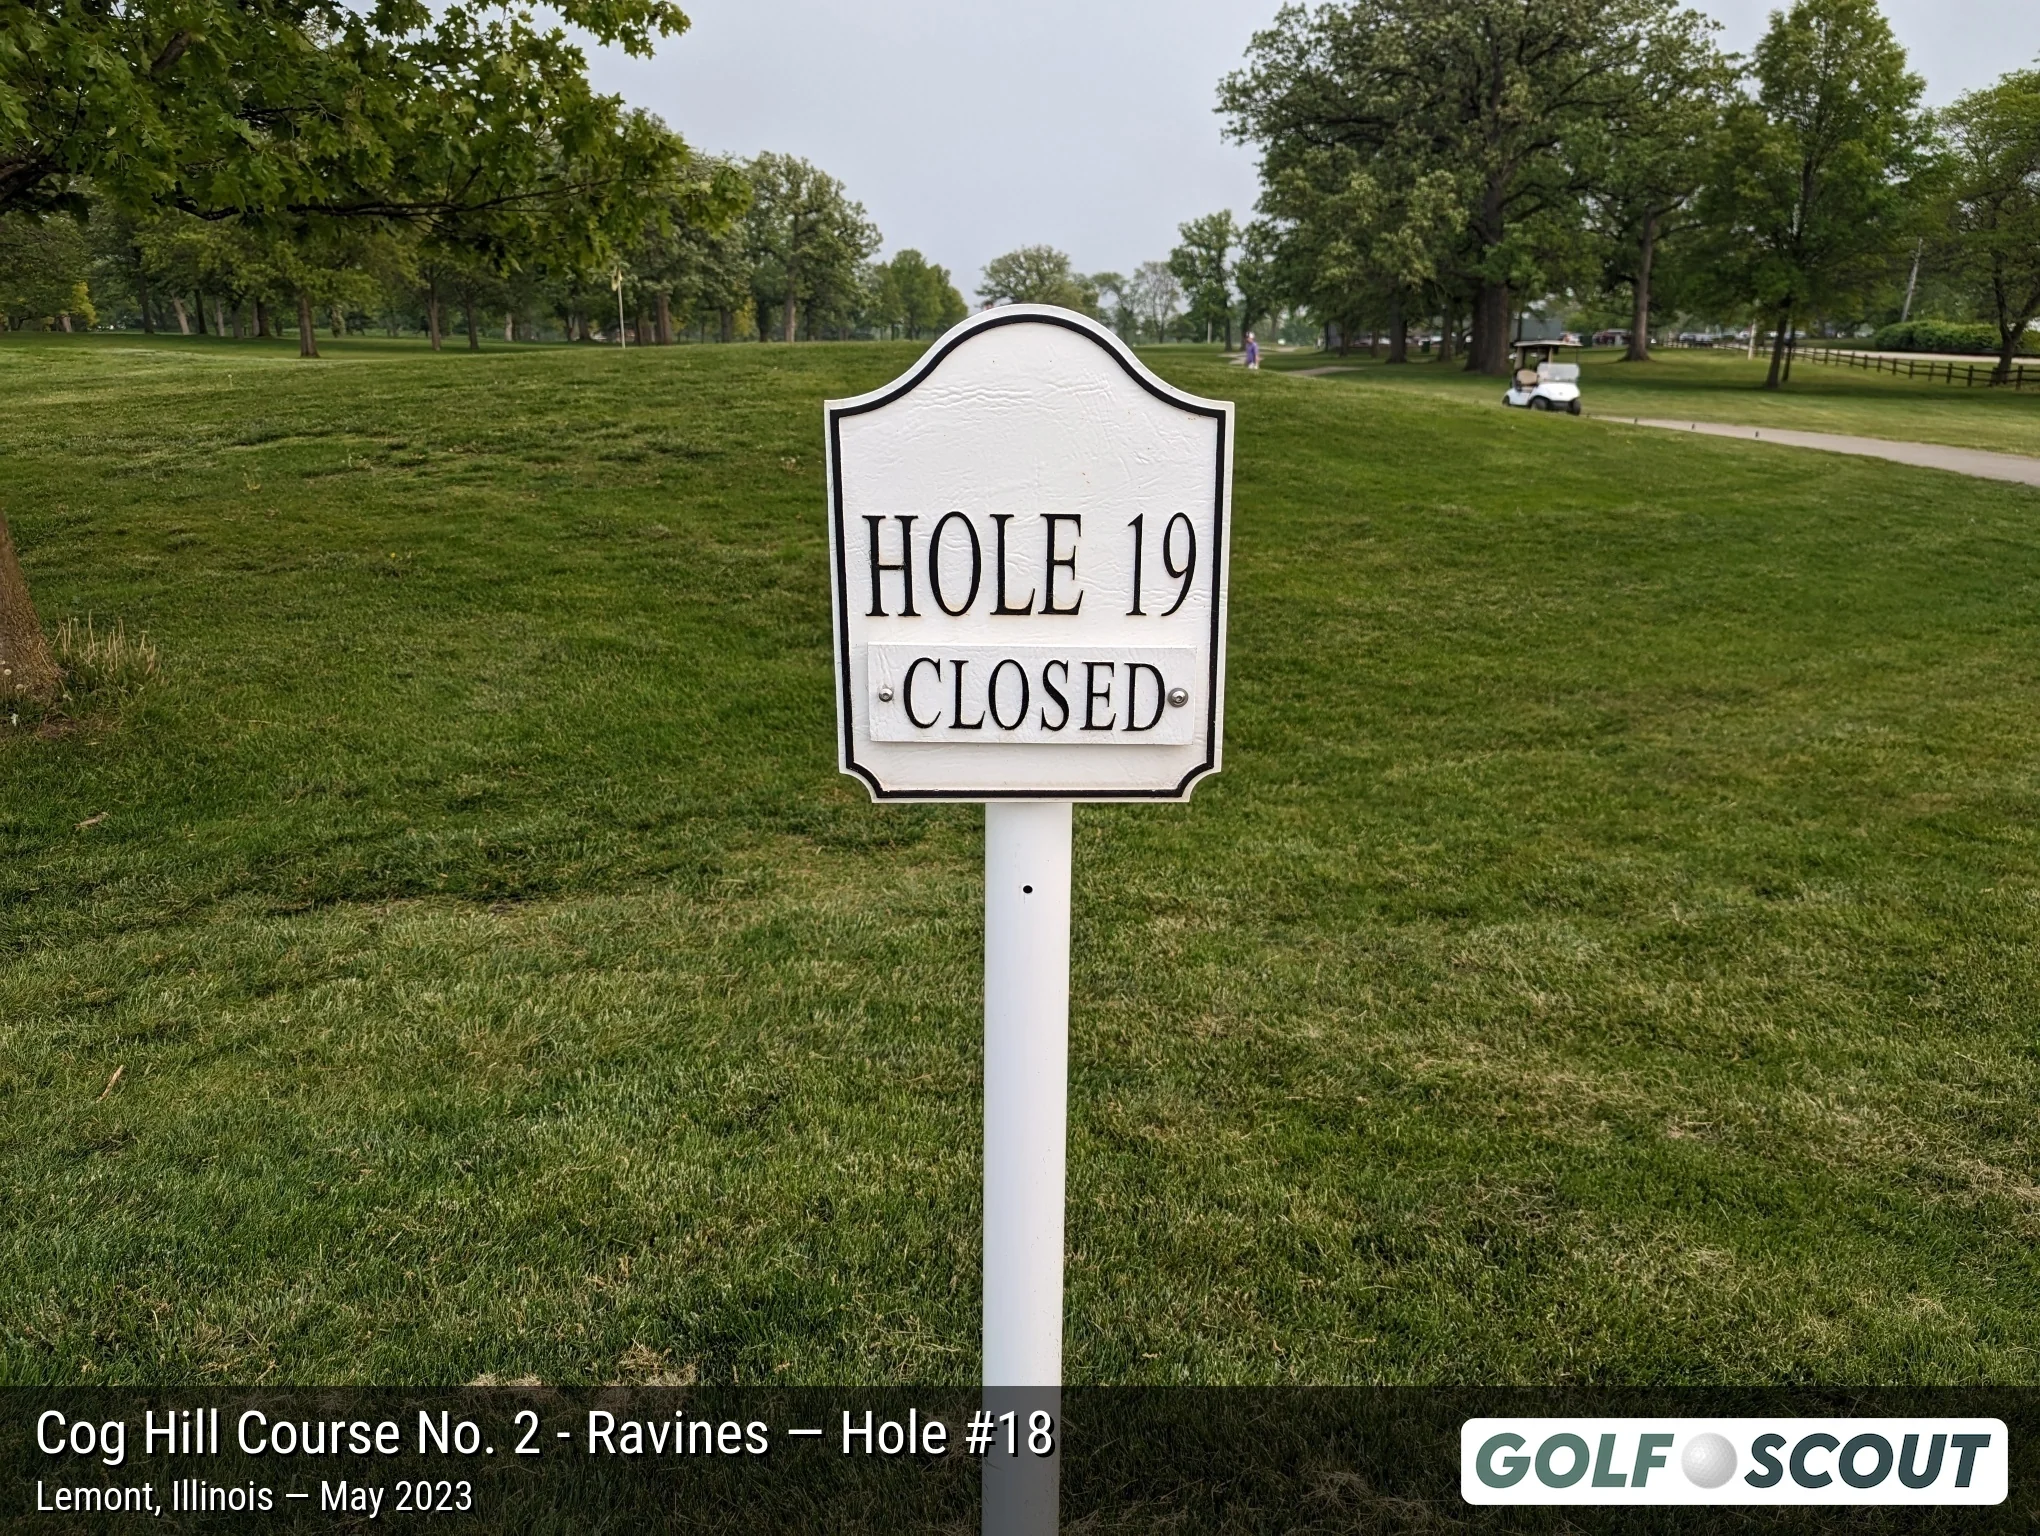
Last photo is typically a reverse angle from behind the green.
More From Cog Hill Course #2 - Ravines
 Map · Vitals Overview Scorecard Aerial Imagery Field Reports Clubhouse & Pro Shop (12) Practice Facilities (14) Restaurant & Food (7) Golf Carts (4) Other Photos (9) News FAQ
Cog Hill
Cog Hill #1
Cog Hill #3
Cog Hill #4
Featured Content
View All 211 Golf Courses
Apple Orchard Golf Course
Arboretum Club
Arlington Lakes Golf Club
Arrowhead East Course
Arrowhead South Course
Arrowhead West Course
Balmoral Woods Golf Club
Bartlett Hills Golf Club
Belmont Golf Club
Big Run Golf Club
Billy Caldwell Golf Course
Bittersweet Golf Club
Blackberry Oaks Golf Course
Blackstone Golf Club
Bliss Creek Golf Course
Bloomingdale Golf Club
Bolingbrook Golf Club
Bonnie Brook Golf Course
Bonnie Dundee Golf Club
Boone Creek Golf Club - Creekside Course
Boone Creek Golf Club - Prairie Course
Boone Creek Golf Club - Valley Course
Boughton Ridge Golf Course
Bowes Creek Country Club
Brae Loch Golf Club
Bridges of Poplar Creek Country Club
Broken Arrow Golf Club - East Course
Broken Arrow Golf Club - North Course
Broken Arrow Golf Club - South Course
Buffalo Grove Golf Course
Burnham Woods Golf Course
Calumet Country Club (Closed)
Cantigny Hillside Course
Cantigny Lakeside Course
Cantigny Woodside Course
Cardinal Creek Golf Club - Center Course
Cardinal Creek Golf Club - North Course
Cardinal Creek Golf Club - South Course
Carriage Greens Country Club
Cary Country Club
Centennial Park Golf Course
Chalet Hills Golf Club
Chapel Hill Country Club
Chevy Chase Country Club
Chicago Heights East Golf Course
Chicago Heights West Golf Course
Chick Evans Golf Course
Cog Hill Course #1
Cog Hill Course #2 - Ravines
Cog Hill Course #3
Cog Hill Course #4 - Dubsdread
Columbus Park Golf Course
Countryside Prairie Course
Countryside Traditional Course
Coyote Run Golf Course
Craig Woods Golf Club
Crane's Landing Golf Club
Crystal Woods Golf Club
Deer Creek Golf Club
Deerfield Golf Club & Learning Center
Deerpath Golf Course
Eaglewood Resort Golf Club
Edgebrook Golf Course
Flagg Creek Golf Course
Foss Park Golf Course
Fountain Hills Golf Club
Fox Bend Golf Course
Fox Lake Country Club
Fox Run Golf Links
Foxford Hills Golf Club
Fresh Meadow Golf Club (Closed)
George W. Dunne National
Glencoe Golf Club
Glendale Lakes Golf Club
Glenview Park Golf Club
Glenview Prairie Club
Glenwoodie Golf Club
Golf Center Des Plaines
Golf Club of Illinois
Golf Vista Estates Golf Course
Grayslake Golf Course
Green Garden Blue Course
Green Garden Gold Course
Green Garden Links Course
Green Meadows Golf Course
Greenshire Golf Course
Harborside International - Port Course
Harborside International - Starboard Course
HeatherRidge Golf Course
Heritage Oaks Golf Club - Classic 18
Hickory Hills Country Club
Hickory Knoll Golf Course
Highland Woods Golf Course
Highlands of Elgin Golf Course
Hilldale Golf Club
Hughes Creek Golf Club
Indian Boundary Golf Course
Inwood Golf Course
Jackson Park Golf Course
Joe Louis “The Champ” Golf Course
Klein Creek Golf Club
Lake Bluff Golf Club
Lake Park Golf Course
Lincoln Oaks Golf Course
Links at Carillon - Blue Course
Links at Carillon - Red Course
Links at Carillon - White Course
Lombard Golf Course
Lost Marsh Golf Course
Makray Memorial Golf Club
Maple Meadows Golf Course
Marengo Ridge Golf Club
Marquette Park Golf Course
Meadowlark Golf Course
Meadows Golf Club of Blue Island
Midlane Country Club
Mill Creek Golf Club
Mistwood Golf Club
Mt. Prospect Golf Club
Naperbrook Golf Course
Nickol Knoll Golf Club
Oak Brook Golf Club
Oak Grove Golf Course
Oak Hills Country Club
Odyssey Golf Foundation
Old Oak Country Club
Old Orchard Country Club
Old Top Farm Golf Course
Orchard Valley Golf Course
Palatine Hills Golf Course
Palmira Golf Club
Palos Country Club
Palos Hills Golf Club
Phillips Park Golf Course
Pine Meadow Golf Club
Pinecrest Golf Club
Pistakee Country Club (Closed)
Pottawatomie Golf Course
Prairie Bluff Golf Club
Prairie Isle Golf Course
Prairie Landing Golf Club
Randall Oaks Golf Club
Ravisloe Country Club
RedTail Golf Club
Renwood Golf Course
River Bend Golf Club
River Oaks Golf Course
Rob Roy Golf Course
Robert A. Black Golf Course
Ruffled Feathers Golf Club
Salt Creek Golf Club
Sanctuary Golf Course
Schaumburg Golf Club - Baer Course
Schaumburg Golf Club - Players Course
Schaumburg Golf Club - Tournament Course
Settler's Hill Golf Course
Seven Bridges Golf Club
Shepherd's Crook Golf Course
Shiloh Park Golf Course
Silver Lake North Course
Silver Lake Rolling Hills Course
Silver Lake South Course
South Shore Golf Course
Springbrook Golf Course
Square Links Golf Course
St. Andrews - Joe Jemsek Course
St. Andrews - St. Andrews Course
Steeple Chase Golf Club
Stonewall Orchard Golf Club
Stony Creek Golf Course
Streamwood Oaks Golf Club
Sugar Creek Golf Course
Sunset Valley Golf Club
Sydney R. Marovitz Golf Course
Tam O'Shanter Golf Course
Tamarack Golf Club
Tanna Farms Golf Club
The Evans at Canal Shores
The Glen Club
The Preserve at Oak Meadows
Thunderhawk Golf Club
Tuckaway Golf Club
Turnberry Golf Club
Twin Lakes Golf Club
Twin Lakes Golf Course
University Park Golf Club
Valley Ridge Golf Course
Vernon Hills Golf Course
Veterans Memorial Golf Course
Villa Olivia Golf Course
Village Green Golf Course (Closed)
Village Greens of Woodridge
Village Links of Glen Ellyn - 18 Hole Course
Village Links of Glen Ellyn - 9 Hole Course
Water's Edge Golf Club
Wedgewood Golf Course
Whisper Creek Golf Club
White Deer Run Golf Club
White Mountain Golf Park (Closed)
White Pines East Course
White Pines West Course
Whitetail Ridge Golf Club
Wicker Memorial Park Golf Course
Willow Crest Golf Club
Willow Hill Golf Course
Wilmette Golf Club
Wing Park Golf Course
Winnetka Golf Club
Woodruff Golf Course
Zigfield Troy Golf